
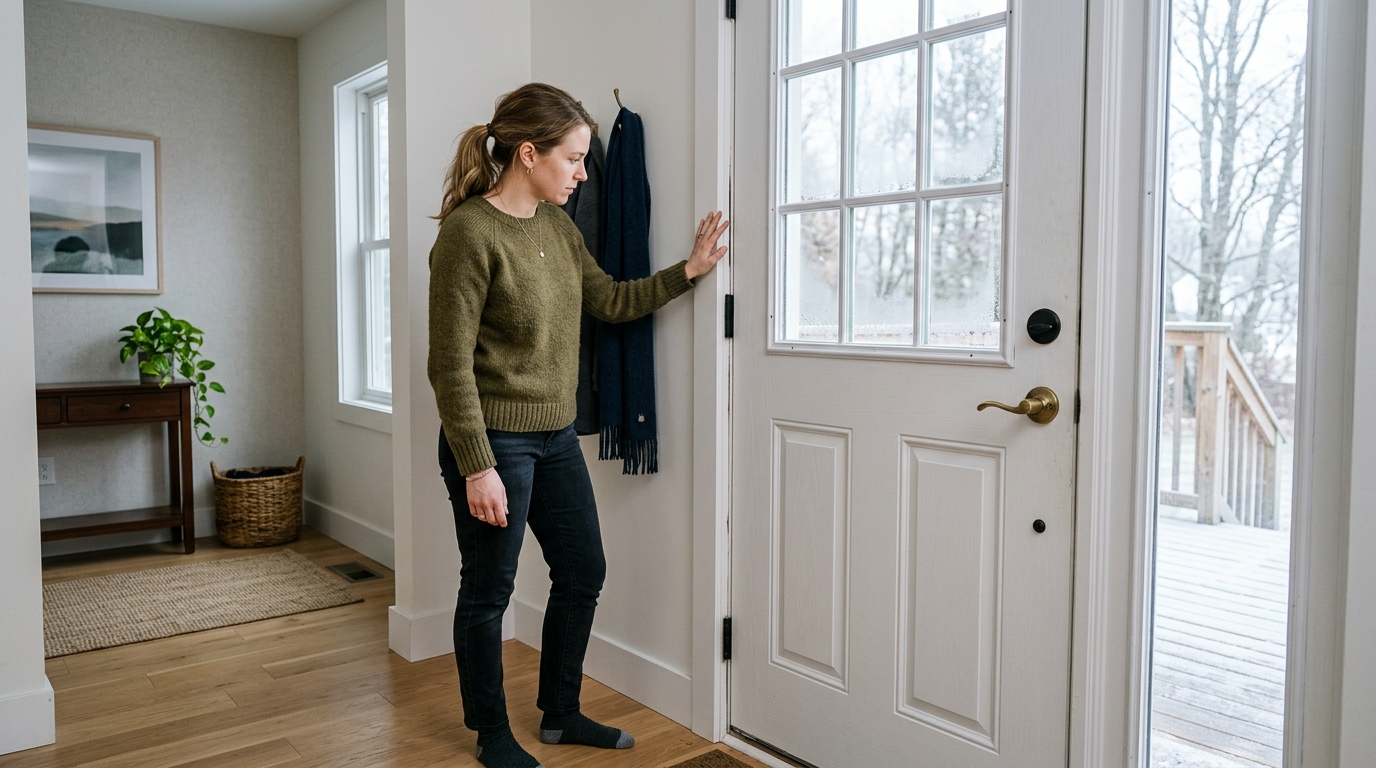
Seal a drafty exterior door at the sides, top, and bottom without making it hard to close. Covers rain-driven leaks and draught-proofing tape.
A drafty exterior door is rarely one big problem. Check the location first: the sides and top need a compressible weatherstrip, while the bottom usually needs a sweep or threshold seal. If rain is getting indoors, do not simply add more tape—find whether the door, threshold, sill, or exterior trim is directing water where it should not go.
The short version
- Locate the leak at the hinge side, latch side, top, or bottom.
- Clean and dry the contact surface, then fit a weatherstrip that compresses without making the latch fight you.
- Seal the bottom with an adjusted sweep or threshold seal; investigate rain leaks from outdoors before relying on interior weatherstripping.
This is a beginner-friendly job, but it rewards a little diagnosis. Work one edge at a time, test the latch as you go, and treat a wet threshold as a water-management problem rather than an air-leak problem.
Step 1: Find the leak before choosing a seal
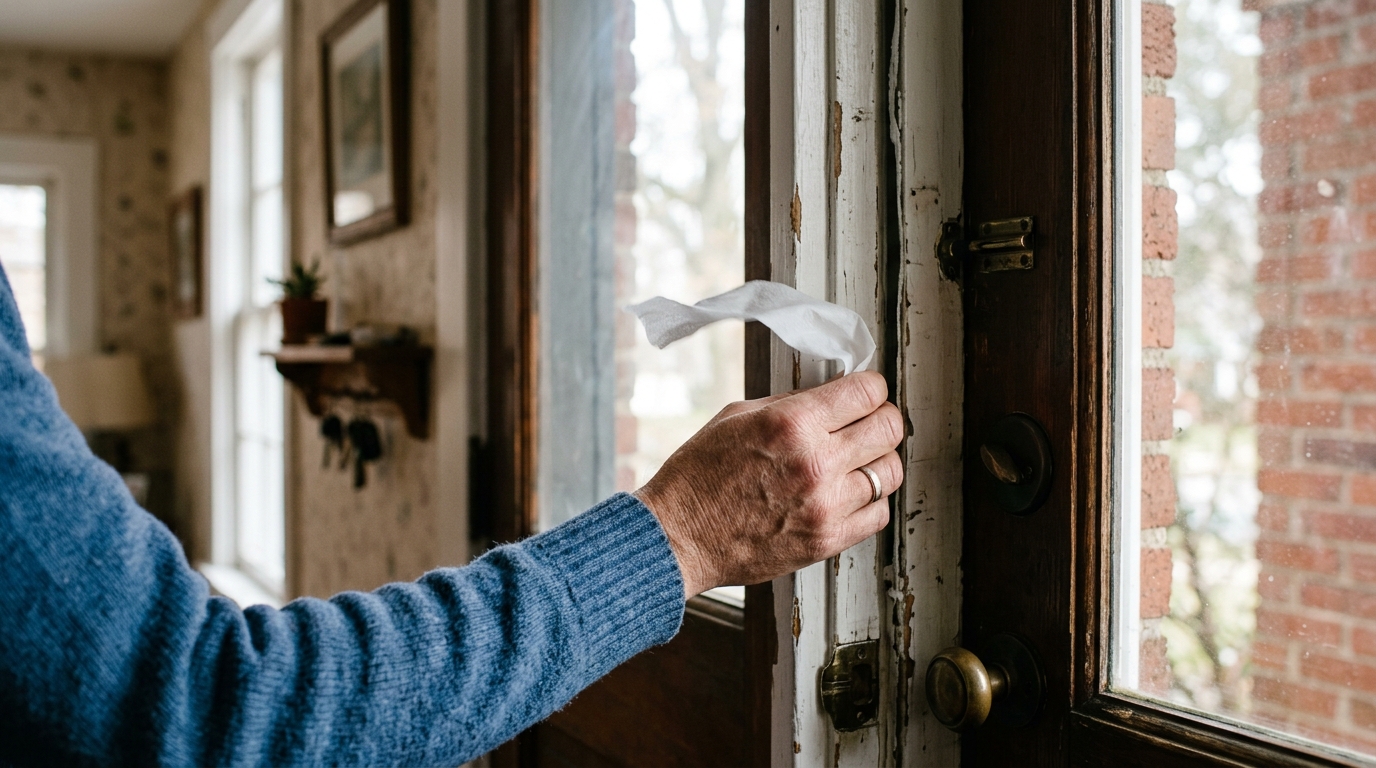
Close the door and slowly move your hand around the inside edge of the frame. A thin tissue strip will flutter where air is moving. Check the latch side, hinge side, top jamb, and bottom separately; older frames are often not square, and one edge can need a different solution from another.
If you feel a draft on the side of the door, inspect the weatherstrip on that jamb for a flattened section, a gap at the corner, or adhesive that has let go. A draft from the top is usually the same kind of problem. A draft at the bottom points instead to the door sweep, threshold, or the door's alignment. If the door scrapes, sags, or will not latch cleanly, correct that first.
Step 2: Clean and measure the frame
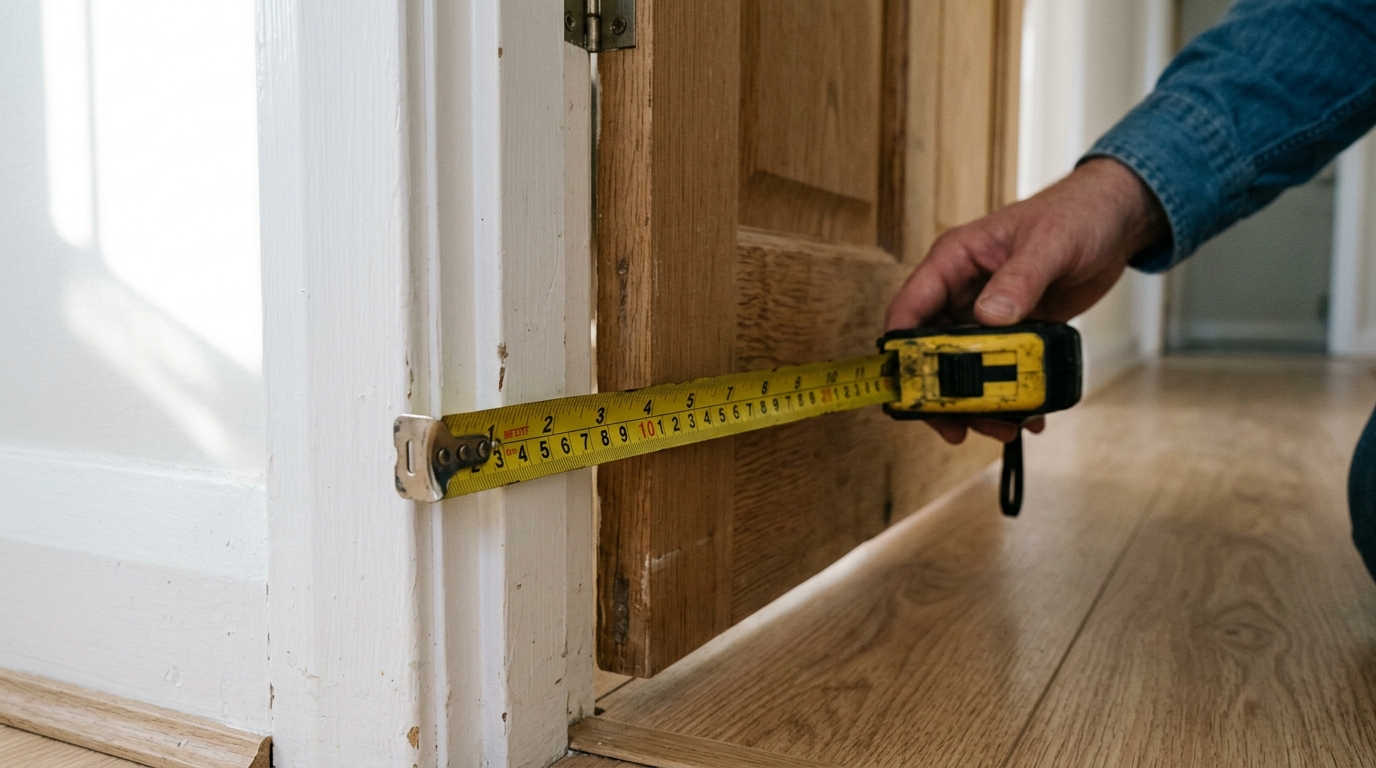
Wipe the door stop, jamb, and bottom edge with a damp cloth and mild soap if needed. Adhesive-backed weatherstripping holds only on a clean, dry surface, so let the frame dry completely. Measure each side separately rather than assuming the frame is square. Measure the door slab itself if you are fitting a sweep.
Step 3: Choose the right seal for the gap
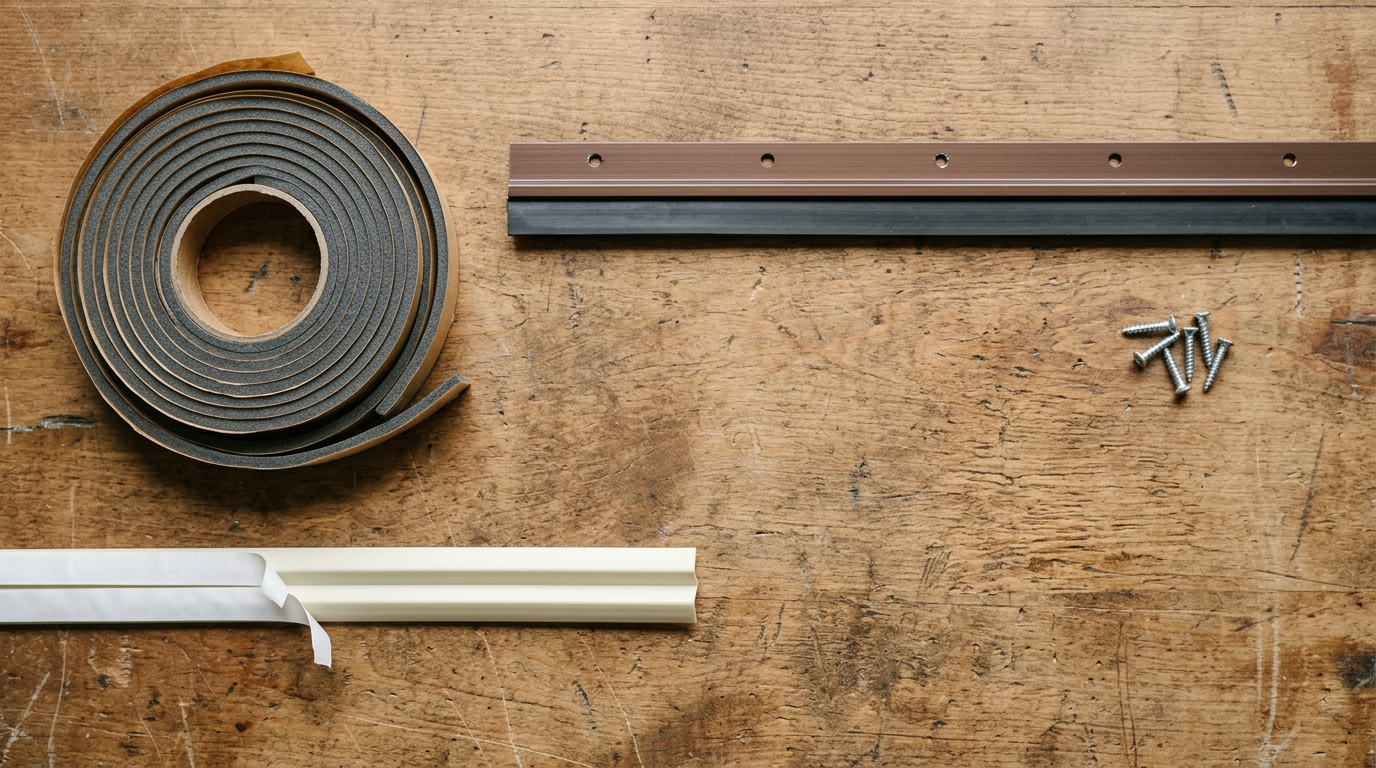
Use foam tape for a small, even, low-wear gap where a peel-and-stick repair makes sense. Use V-strip or a tension seal on the sides and top when you want a longer-lasting strip that springs back as the door closes. Put a door sweep on the bottom edge when air moves under the door.
Do not buy one bulky strip and try to solve every leak with it. The right seal compresses enough to block air without requiring a shove to latch the door. If you have to force the door shut, the material is too thick, misplaced, or compensating for a door that needs adjustment.
Step 4: Fit weatherstripping to the sides and top
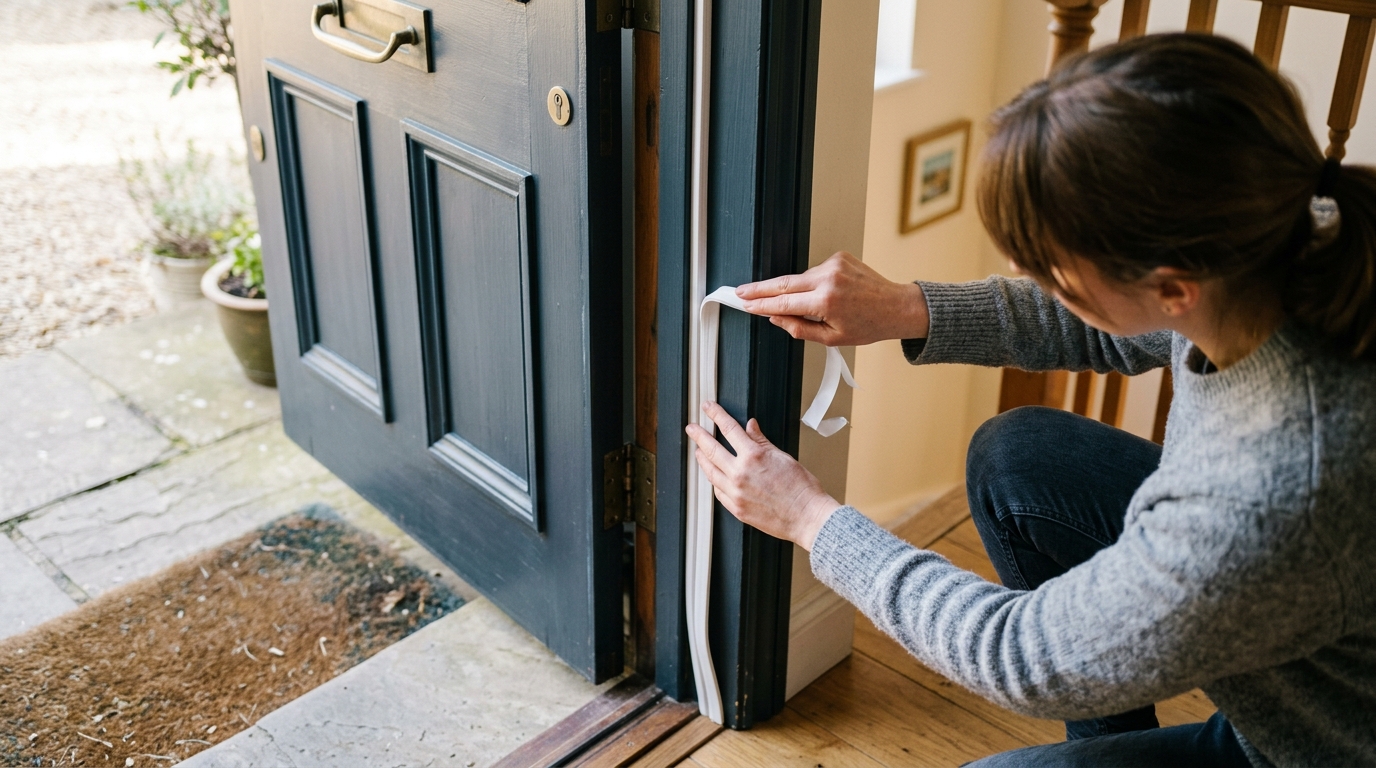
For adhesive foam tape, cut each piece to length, peel back a little liner at a time, and press it onto the stop molding without stretching it. For V-strip, orient the open side so the door compresses it when it closes. Fit the top first, then the two sides, keeping the corners snug rather than piling material on top of itself.
This is also the method called draught proofing in the UK. “Draught excluder tape” is simply a useful name for an adhesive foam or rubber strip when it is sized for the gap. Whether you call it weatherstripping or draught-proofing tape, test the door after each side: a continuous, light compression is the goal.
Step 5: Seal the bottom of the exterior door
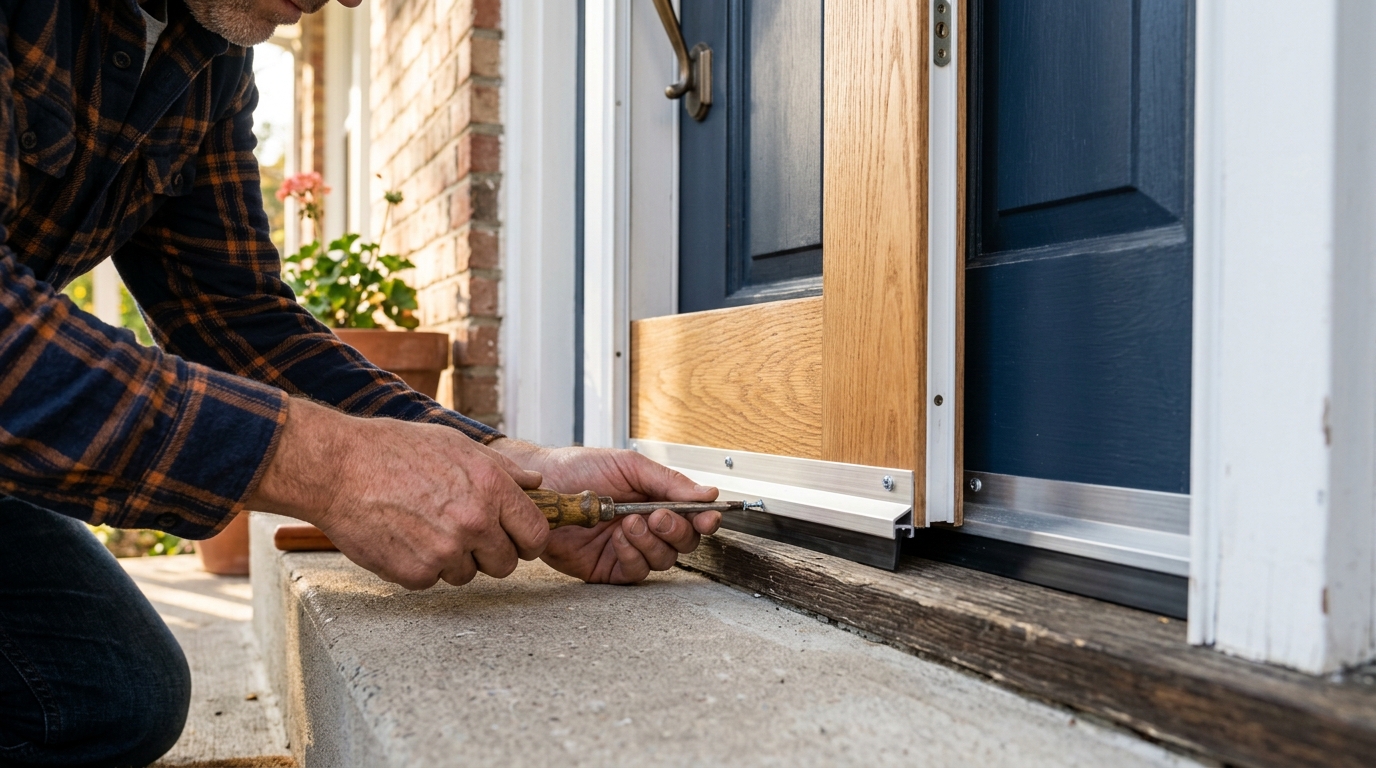
To seal the bottom of an exterior door, close it and hold the sweep in place so its flexible edge just brushes the threshold or floor. Mark the holes, predrill if the hardware calls for it, then fasten the sweep. Make small adjustments and retest rather than setting it to press hard from the start.
A bottom gap may also be caused by a worn threshold seal, a cracked threshold, or a door that has dropped on its hinges. A sweep cannot make up for a badly misaligned door. If the opening is uneven, address the alignment or threshold before adding a thicker sweep.
Step 6: Stop rain from getting past an exterior door
Weatherstripping slows air and wind-driven moisture at the moving edges of a door. It does not repair a failed threshold, missing exterior caulk, damaged sill pan, loose brick molding, or water that is being driven behind the frame. If rain appears on the inside floor, inspect from outdoors during dry weather: look for cracked caulk at the trim, gaps where trim meets siding, failed flashing above the door, and a threshold that does not shed water outward.
Start with the door's drainage path. Clear debris from the threshold, confirm the exterior side is not trapping water against the sill, and replace worn exterior seals with products suitable for that exposure. Do not seal shut any designed weep or drainage path. If water is entering behind the trim, staining the wall, or recurring after a simple exterior-seal repair, pause and have the flashing or sill detail assessed; more interior tape will hide the symptom, not stop the leak.
Step 7: Test the close and make small corrections
Open and close the door several times. It should latch with normal pressure, not a shove. Repeat the tissue test around the frame. If one corner still leaks, correct that small gap instead of making every seal thicker.
Related door and draft guides
Once this door is sealed, use the guide that matches the next weak point rather than applying the same material everywhere:
- Replace worn exterior-door weatherstripping when an existing kerf or compression seal has flattened, torn, or stopped springing back.
- Weatherstrip doors and windows before fall for a room-by-room seasonal check that includes more than this one entry door.
- Choose and install a door sweep that stops cold drafts when the bottom gap—not the jamb—is the source of the cold air.
- Weatherproof a drafty basement door when a below-grade or utility entry has different moisture and threshold conditions.
- Seal drafty windows for winter to deal with the window leaks that can make a finished door repair seem ineffective.
- Seal exterior gaps where pipes and wires enter the house for the wall penetrations that often leak beside an otherwise well-sealed door.
- Compare weatherstripping for drafty doors and windows when you want help selecting among common materials before buying.
- See our tested exterior-door weatherstripping kit picks if you need a complete kit rather than a small repair roll.
FAQ
Can weatherstripping stop rain from coming under a door?
It can reduce wind-driven moisture at the door's moving edges, but it cannot repair a damaged threshold, failed flashing, or an exterior drainage problem. Investigate those from outdoors first.
Is draught excluder tape the same as weatherstripping?
Often, yes. It is a common British-English name for the foam or rubber tape used to seal a small gap. Size it to the gap and make sure the door can still latch normally.
Should I weatherstrip the sides or install a sweep first?
Test first. Use weatherstripping for the sides and top; use a sweep or threshold seal for the bottom. The two jobs solve different gaps.
Affiliate disclosure: as an Amazon Associate, HowTo.Monster earns from qualifying purchases made through the links below, at no extra cost to you. Our picks are chosen editorially, not by commission.
Apparatus & Materials
| Item | Cost | |
|---|---|---|
| ◆ Door sweep Blocks the gap at the bottom edge where drafts often enter most strongly. Our pick: Kanzzy Soundproof Door Weatherstripping Kit with sweep. | $15–$25 | Buy now |
| ◆ Foam weatherstripping tape Seals the top and sides of the door where the gaps are small and uniform. Our pick: Yotache adhesive foam weatherstrip, 1 inch by 1/16 inch, 33 feet. | $8–$12 | Buy now |
| ◆ Mild cleaner and rag Cleans dust and grease so adhesive-backed material bonds properly. | $3–$10 | — |
| ◆ Scissors or utility knife Cuts the strips and sweep to length after test-fitting. Our pick: WORKPRO Premium all-metal retractable utility knife. | $8–$10 | Buy now |
| ◆ Tape measure Measures each jamb side and the door width so the seal is cut accurately. Our pick: STANLEY FATMAX 25-foot tape measure. | $12–$20 | Buy now |
| V-strip weatherstripping Creates a longer-lasting compression seal for the door jamb. Our pick: Frost King M13WH V-Seal weather-strip, 7/8 inch by 17 feet. | $4–$12 | Buy now |
Notes on the sources
The ranking at right reflects our editorial judgment after reading each source in full. For a summary of this entry in brief, see the source ranked first. For the chemistry and underlying principles, see the last.


