
Find the basement door leak, replace worn weatherstripping, add a sweep, and seal stationary trim gaps without trapping moisture.
A drafty basement door is usually not one problem. It is three small failures lined up in a row: tired weatherstripping around the jamb, a worn sweep at the bottom, and little fixed gaps where the frame meets the wall. Fix those in the right order and the basement feels less clammy, the floor above runs warmer, and you do not have to pretend a rolled towel is a building material.
The important distinction is simple: weatherstripping seals the moving parts of the door, while caulk or low-expansion foam seals stationary cracks around trim and framing. Do not caulk the door shut. Do not bury an active water problem under sealant. Start by finding the air path, then make the door close against a soft, continuous gasket.
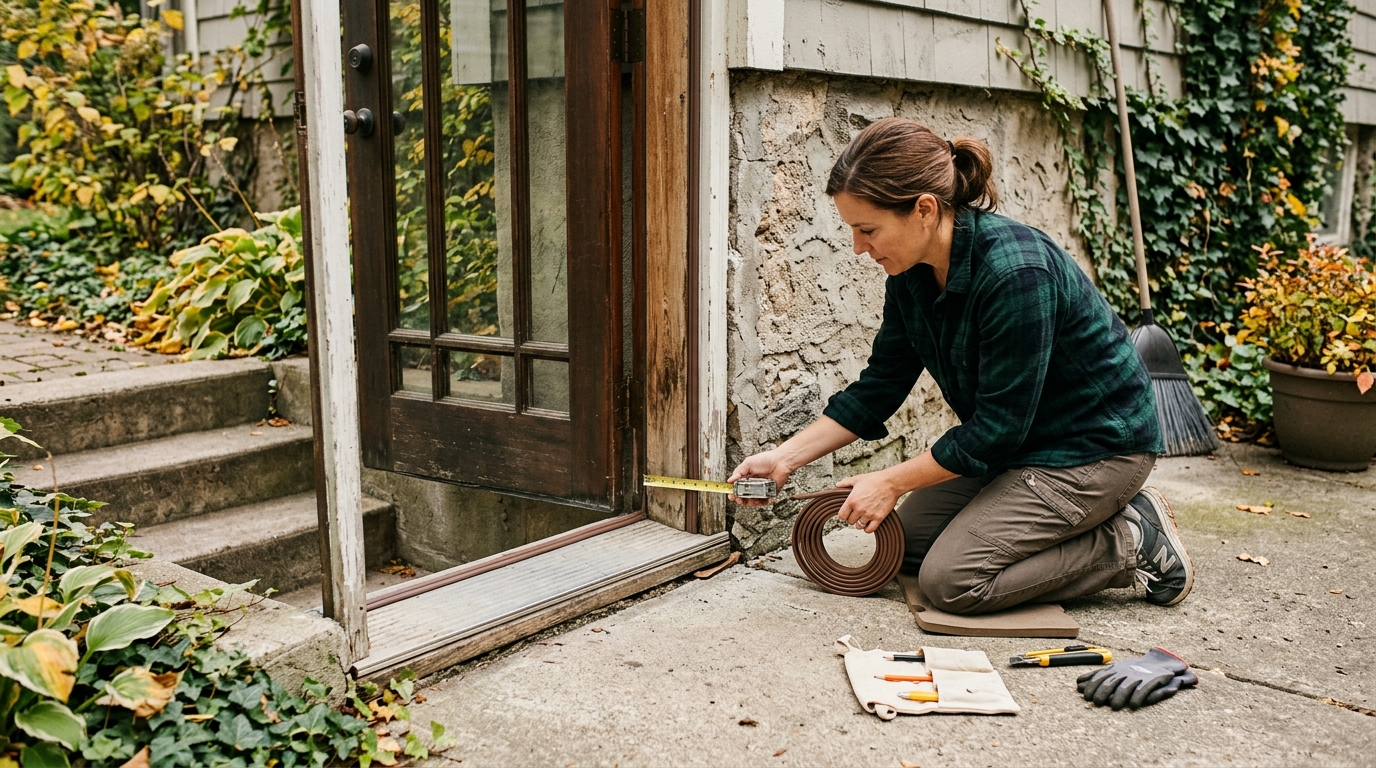
Step 1: Find the leak before you buy parts
Close the basement door on a dry day and look for daylight around the top, latch side, hinge side, and threshold. If the basement is dim, turn off nearby lights and shine a flashlight from the other side. Any line of light is a line of moving air. Mark the worst places with painter's tape so you do not lose them once the door is open.
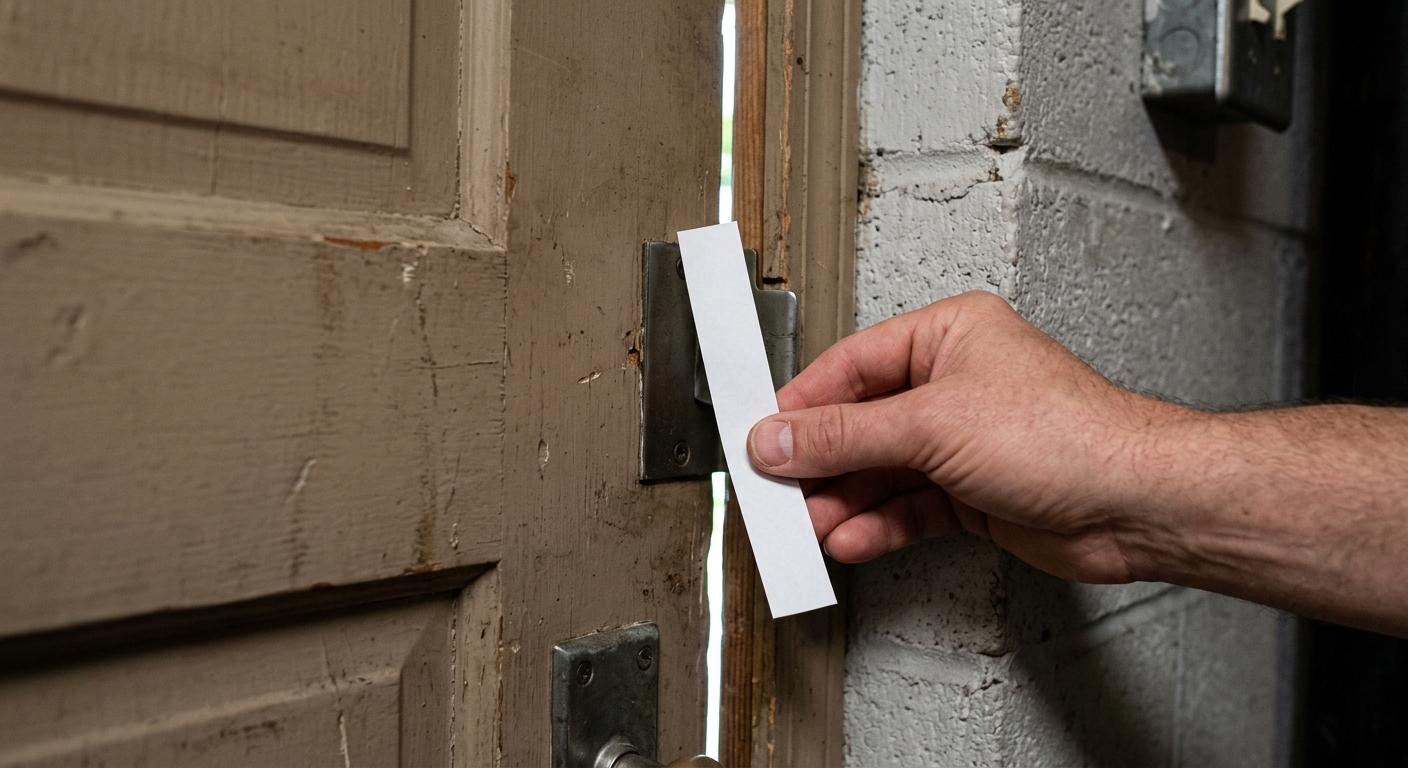
Next, do a paper test. Close the door on a strip of printer paper at several points around the jamb. If the paper slides out with no resistance, the seal is not compressing there. If the door will not latch where the paper is tight, the door may be out of square or the old seal may already be too thick in one spot.
Check for moisture before you seal anything. A basement walkout door with puddling, soft trim, musty staining, or peeling paint may have a drainage or bulkhead problem, not just a draft. Air sealing can make a good door better; it cannot cure water running toward the foundation. If the area is wet after rain, fix gutters, grading, threshold drainage, or door flashing first.
Step 2: Replace the jamb weatherstripping
Open the door and inspect the existing weatherstripping along the top and two sides. Many exterior doors use kerf weatherstripping: a foam-covered bulb attached to a thin fin that presses into a slot in the jamb. If the old bulb is crushed, torn, painted stiff, missing at the corners, or flattened where the latch hits, pull it out and replace the full run instead of patching one sad inch.
Measure the head jamb and both side jambs separately. Cut the new pieces slightly long, then trim them for a snug corner fit. The top piece should meet both side pieces without a notch of daylight. Press kerf weatherstripping into the groove by hand, using a plastic putty knife if needed; do not gouge the foam with a screwdriver. For screw-on weatherstripping, run a thin bead of caulk behind the carrier only where the manufacturer calls for it, align the strip with the screw holes, and fasten it without bowing the metal or plastic.
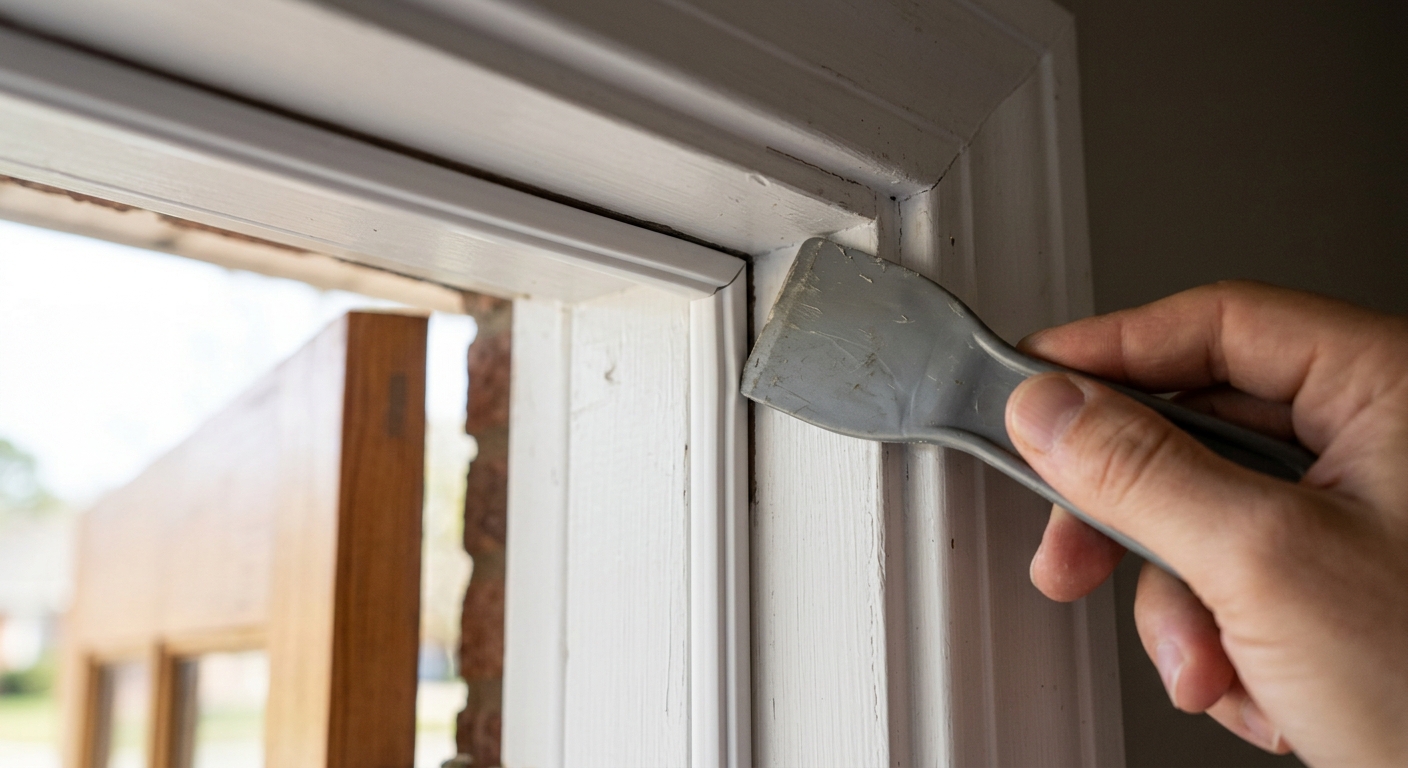
Close the door gently and test the latch. The new seal should compress, not fight. If the door has to be slammed, the strip is too thick, not seated, or bunched at a corner. Adjust now. A tight-looking seal that keeps the door from latching will be left unlatched on the first cold night, which is not the performance target.
Step 3: Seal the bottom with a sweep that actually touches the threshold
The bottom of a basement door does a harder job than the sides. It has to block drafts, tolerate grit, shed a little exterior moisture, and clear a threshold that may not be perfectly level. Look at the old sweep from inside with the door closed. If you see light under it, if the vinyl fins are torn, or if the sweep is stiff and curled, replace it.
Measure the door width, then choose a sweep made for exterior doors. A screw-on adjustable sweep is more durable than a peel-and-stick strip on a cold, dusty basement door. Hold the sweep against the door bottom so the flexible bulb or fins touch the threshold evenly without folding under themselves. Mark screw holes, predrill if the door skin needs it, and fasten from the center outward.
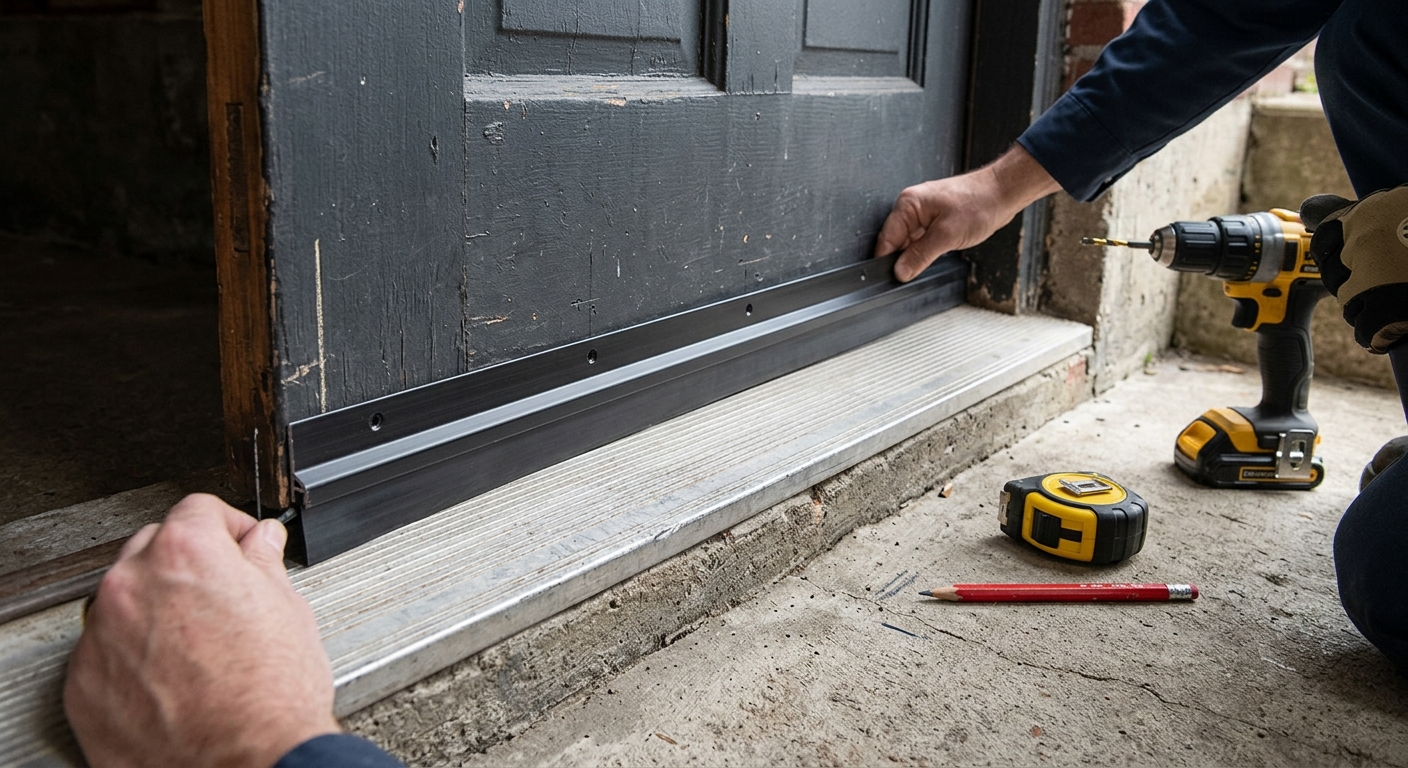
Open and close the door several times. The sweep should drag lightly, not scrape hard. If your threshold is adjustable, raise or lower it in small turns so the sweep compresses evenly across the full width. Do not caulk across the bottom edge of an exterior threshold unless the door or threshold instructions specifically call for it; many assemblies need a drainage path.
Step 4: Seal stationary frame and trim gaps
Once the moving seal works, handle the fixed gaps. Run your hand around the interior trim where the casing meets the wall and where the jamb meets the trim. If you feel air there, the leak is behind the trim or through a small crack in the finish joint. For hairline and narrow gaps, clean the surface, apply paintable caulk, and smooth it into a continuous bead. Caulk belongs here because these parts do not move.
For wider hidden gaps behind removable trim, use the light touch. Cut the paint line first so you do not tear the wall. Pull trim carefully, inspect for moisture or rot, then seal the rough-opening gap with low-expansion window-and-door foam or backer rod plus caulk. Do not pack material so tightly that it bows the jamb. A door frame only has to move a little before the latch and weatherstripping stop lining up.
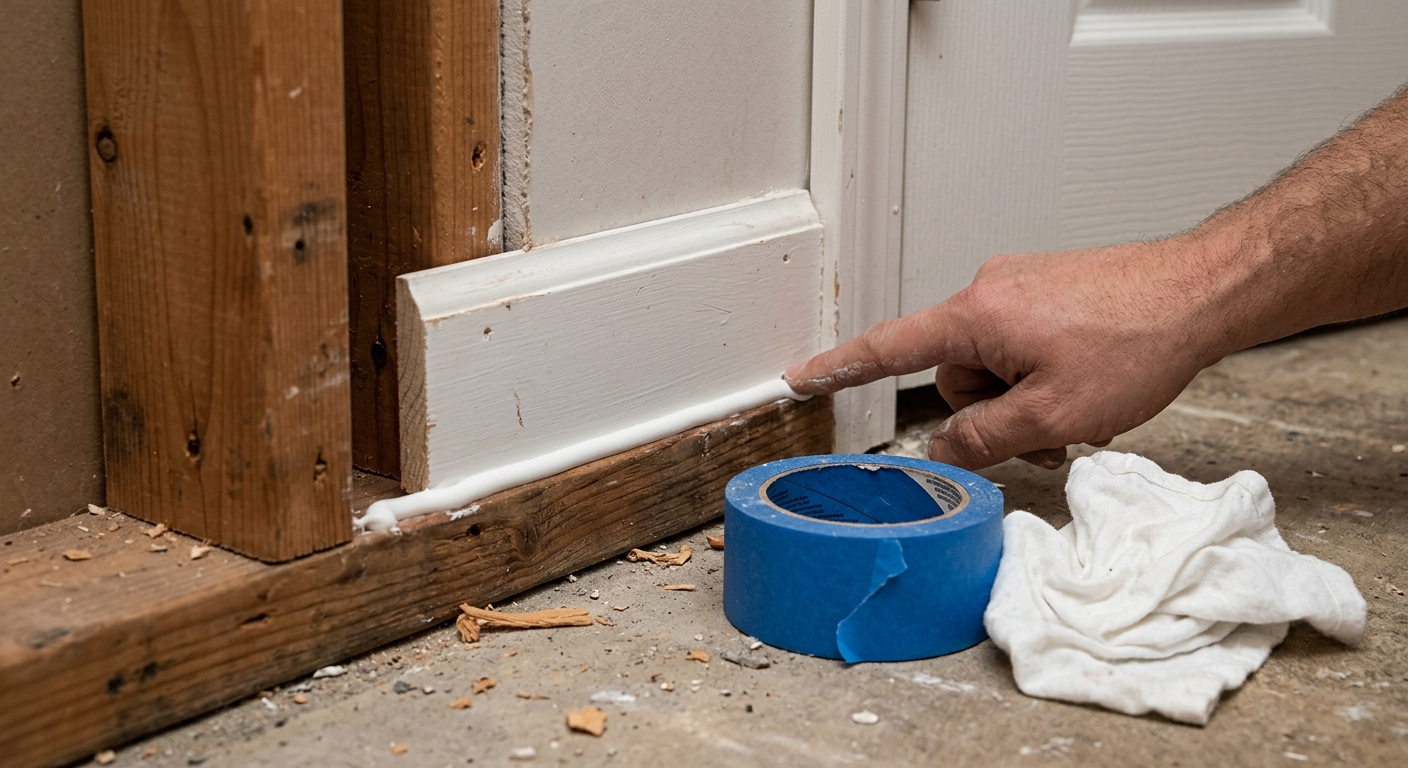
Let caulk cure as directed before painting or exposing it to heavy moisture. If you find mold, damp insulation, rotten wood, or wet concrete behind trim, stop the cosmetic sealing and fix the moisture source. Dry water-damaged material promptly, and keep basement humidity under control so the new seal does not simply hide a mold problem.
Step 5: Retest, tune, and check after the first cold night
Repeat the paper test around the door. You want light resistance at the top, both sides, and bottom. Use your hand or an incense stick near the seams if you need a second check, but keep flame and smoke away from stored solvents, gas appliances, and dusty utility areas. The goal is a boring door: it latches normally, closes without daylight, and does not whistle when the wind hits that side of the house.
After the first cold night or wind-driven rain, inspect the threshold and the basement floor. A good weatherproofing job blocks drafts without trapping water. If you see condensation on the door, moisture on the floor, or a new musty smell, improve ventilation or dehumidification and look again for water entry. Weatherproofing is part of basement maintenance, not a license to ignore humidity.
If the door is badly warped, the frame is racked, the threshold is rotten, or the slab has settled away from the door, replacement parts may only buy time. That is still useful for a season, but plan a proper door or threshold repair before winter makes the opening harder to work on.
Troubleshooting & FAQ
Why is my basement door still drafty after new weatherstripping?
The remaining leak is usually at the threshold or behind the trim, not in the new jamb seal. Retest with paper around all four sides, then check for air at the casing where the door frame meets the wall. If the door will not compress the seal evenly, look for loose hinges, a sagging slab, or a racked frame.
Should I use caulk or weatherstripping on a drafty door?
Use weatherstripping where the door moves and compresses against the jamb or threshold. Use caulk on stationary cracks around trim, casing, and frame joints. If you caulk a moving joint, the bead will tear, smear, or keep the door from working.
Can I use peel-and-stick foam on a basement exterior door?
You can use it for a short-term fix on a clean, dry, smooth surface, but it is not the best first choice for an exterior basement door. Cold temperatures, dust, and moisture make adhesives fail. Kerf or screw-on weatherstripping holds better and is easier to tune.
How tight should the door sweep be?
It should touch the threshold with light compression across the full width. If it folds, squeals, or makes the door hard to close, it is too low or too thick. If you can see light under it, it is too high or the threshold is uneven.
When should I replace the door instead of weatherproofing it?
Replace or professionally repair it when the slab is warped, the frame is rotten, the threshold is loose, or water is entering through the assembly after rain. Weatherstripping works when the door is basically sound. It cannot make a damaged opening square, dry, or structurally reliable.
Affiliate disclosure: as an Amazon Associate, HowTo.Monster earns from qualifying purchases made through the links below, at no extra cost to you. Our picks are chosen editorially, not by commission.
Apparatus & Materials
| Item | Cost | |
|---|---|---|
| ◆ Adjustable exterior door sweep Our pick is the KS Hardware adjustable double-bubble sweep because it screws on, tunes to uneven threshold gaps, and includes an exterior drip-cap profile. | $31–$44 | Buy now |
| ◆ Kerf door weatherstripping kit Our pick is the Litaibai 40-foot kerf seal because it covers the top and side jambs with enough extra length for careful trimming and uses a press-in flange instead of adhesive. | $15–$20 | Buy now |
| ◆ Paintable window-and-door caulk Seals narrow stationary cracks where casing meets the wall or jamb; choose a paintable interior/exterior formula matched to your surface. | $5–$10 | — |
| Low-expansion window-and-door foam Useful only if you remove trim and find wider stationary rough-opening gaps; use low-expansion foam so the jamb does not bow. | $8–$14 | — |
| Plastic putty knife Helps press kerf weatherstripping into the jamb groove without cutting the foam bulb. | $3–$6 | — |
Notes on the sources
The ranking at right reflects our editorial judgment after reading each source in full. For a summary of this entry in brief, see the source ranked first. For the chemistry and underlying principles, see the last.


