
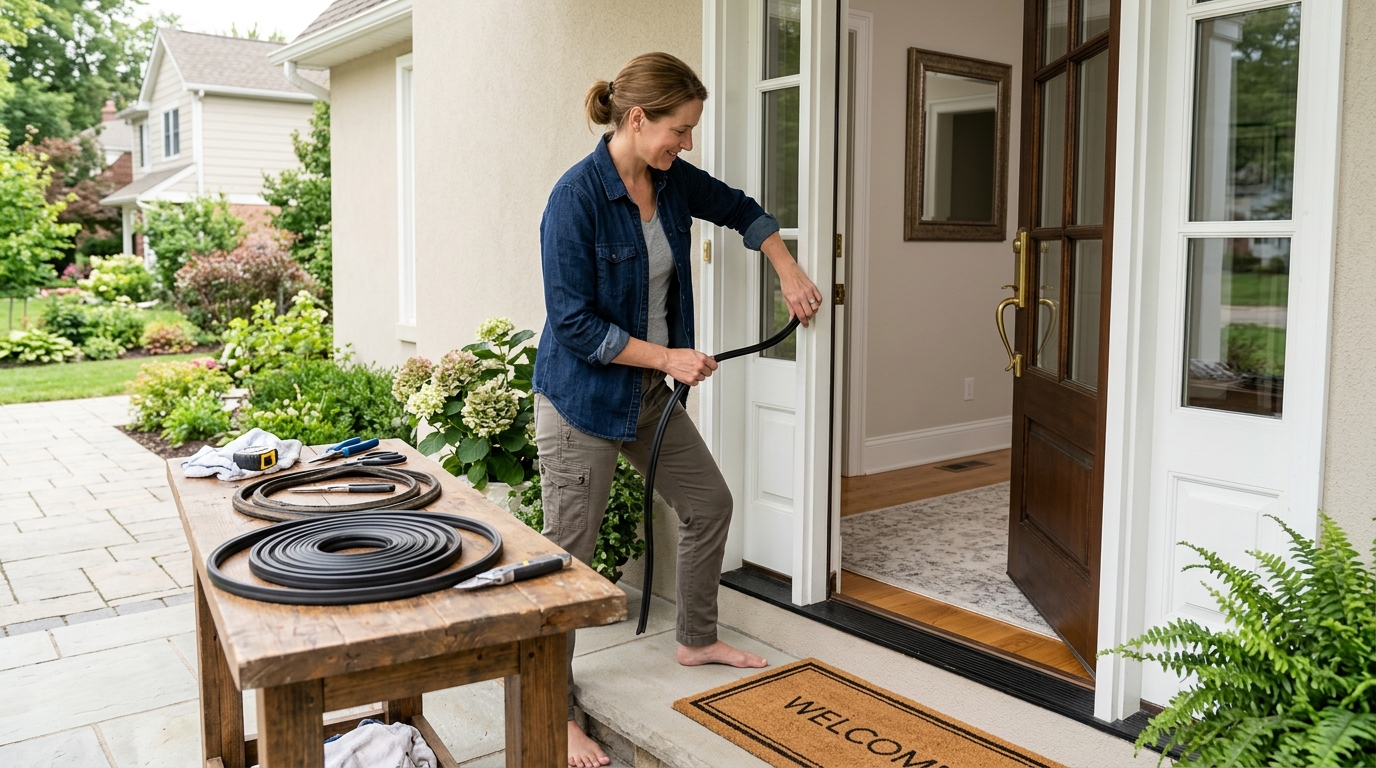
Replace worn exterior door weatherstripping with a simple, accurate process that helps cut drafts, light, and moisture around the frame.
A worn exterior door seal does more than let in a draft. It can also invite dust, moisture, insects, and the kind of hallway chill that makes a room feel unfinished even when the heat is running. The good news is that replacing weatherstripping is usually a straightforward job if you identify the door style first and match the seal to the way the original was installed. Most modern prehung exterior doors use kerf or channel-style weatherstripping on the top and sides, while the bottom edge may use a separate door sweep or a concealed door-bottom insert.
The trick is not to buy the first strip that looks close enough. A seal that is too thick can make the door hard to latch, and one that is too thin leaves the same gap you started with. Take a minute to inspect how the existing strip attaches, measure the opening, and buy the same style whenever possible. See our tested picks for a fit-first comparison of kerf and adhesive options. That keeps the repair simple and gives you the best chance of getting a tight, even seal on the first try.
Step 1: Identify the seal style and the source of the leak
Start by closing the door and looking for light around the edges. A thin line of daylight usually points to a bad jamb seal; air coming from under the slab usually means the bottom seal or threshold is the culprit. Slip a piece of paper around the perimeter and under the door. If the paper moves freely in one section but not others, you have found the weak spot.
Now inspect the existing weatherstripping. If it slides into a narrow slot in the jamb, it is a kerf or channel style. If it is held on with screws, you likely have a jamb-mounted metal strip. If it is stuck on with adhesive foam, it may be a surface-applied replacement that can be removed and replaced without special hardware. Match the replacement to the original style instead of trying to force a different one into place.
Step 2: Remove the old weatherstripping cleanly
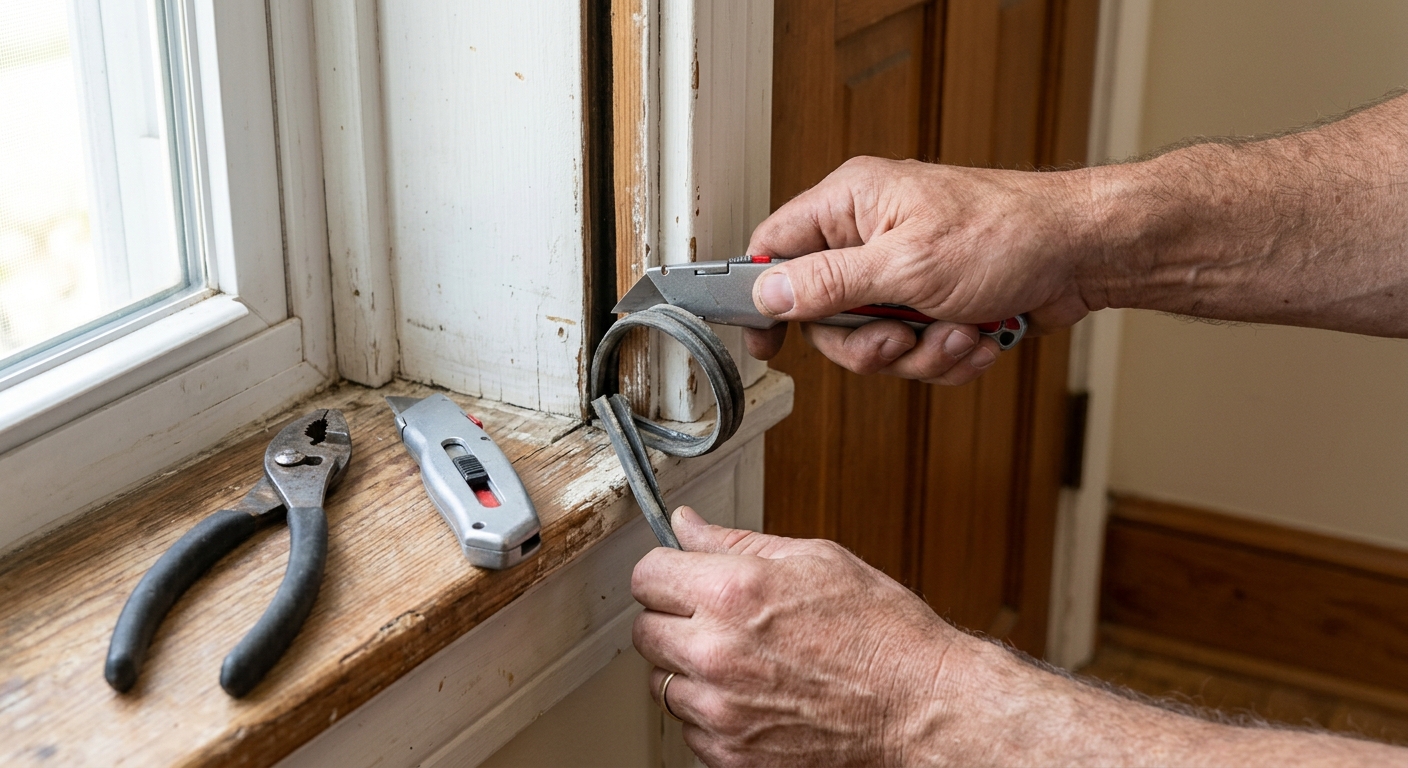
Open the door and work one side at a time so you do not lose track of the fit. If the old seal is kerf-style, pull it straight out of the channel starting at one end. If it is screwed on, back out the screws carefully and save them until you know whether the new piece uses the same fasteners. For adhesive foam, score the edge with a utility knife and peel slowly so you do not tear paint or gouge the jamb.
Once the old material is off, clean the surface. Remove loose caulk, bits of foam, dirt, and any sticky residue that would keep the new seal from seating properly. This is also the moment to check the jamb and threshold for damage. If the wood is swollen, split, or badly out of square, a new strip may help but it will not fully solve the draft until the underlying problem is corrected.
Step 3: Measure, cut, and install the new seal
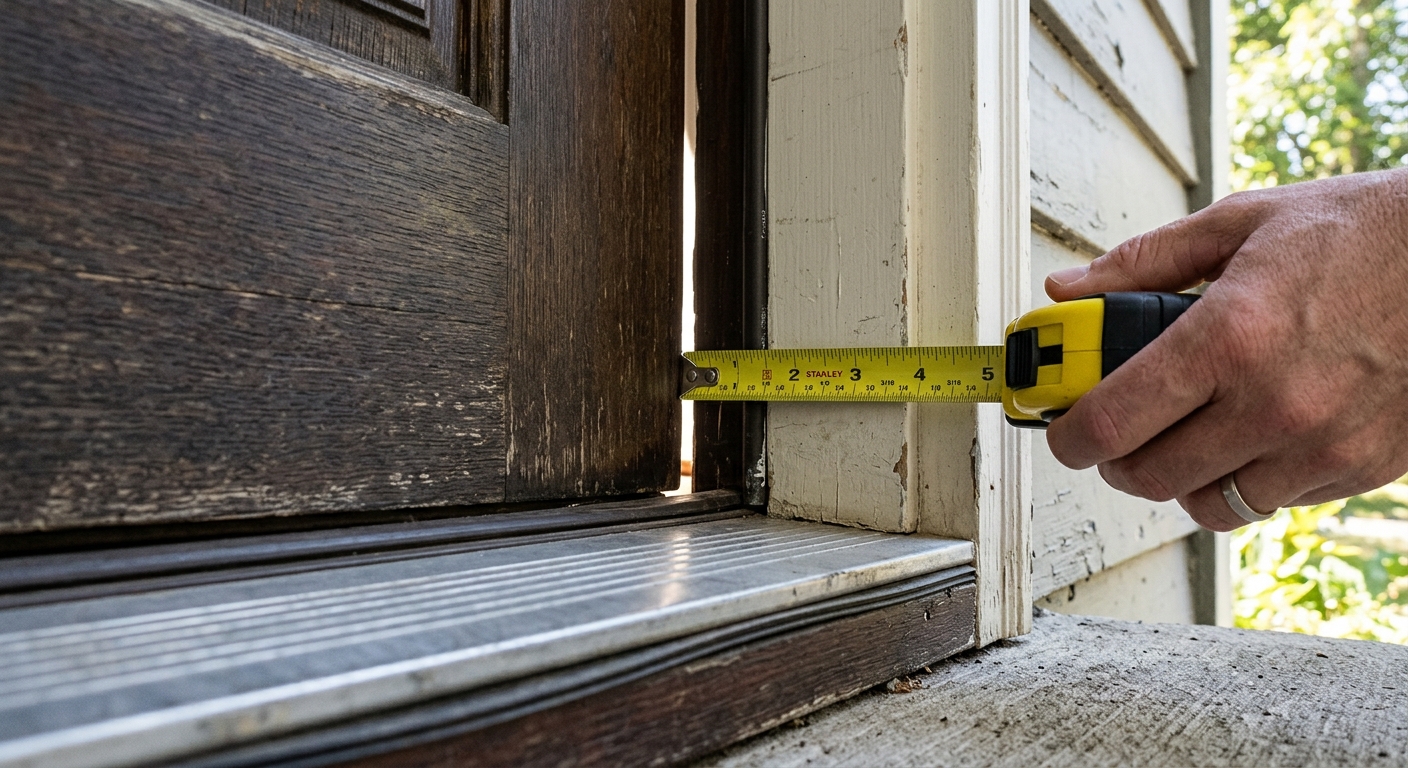
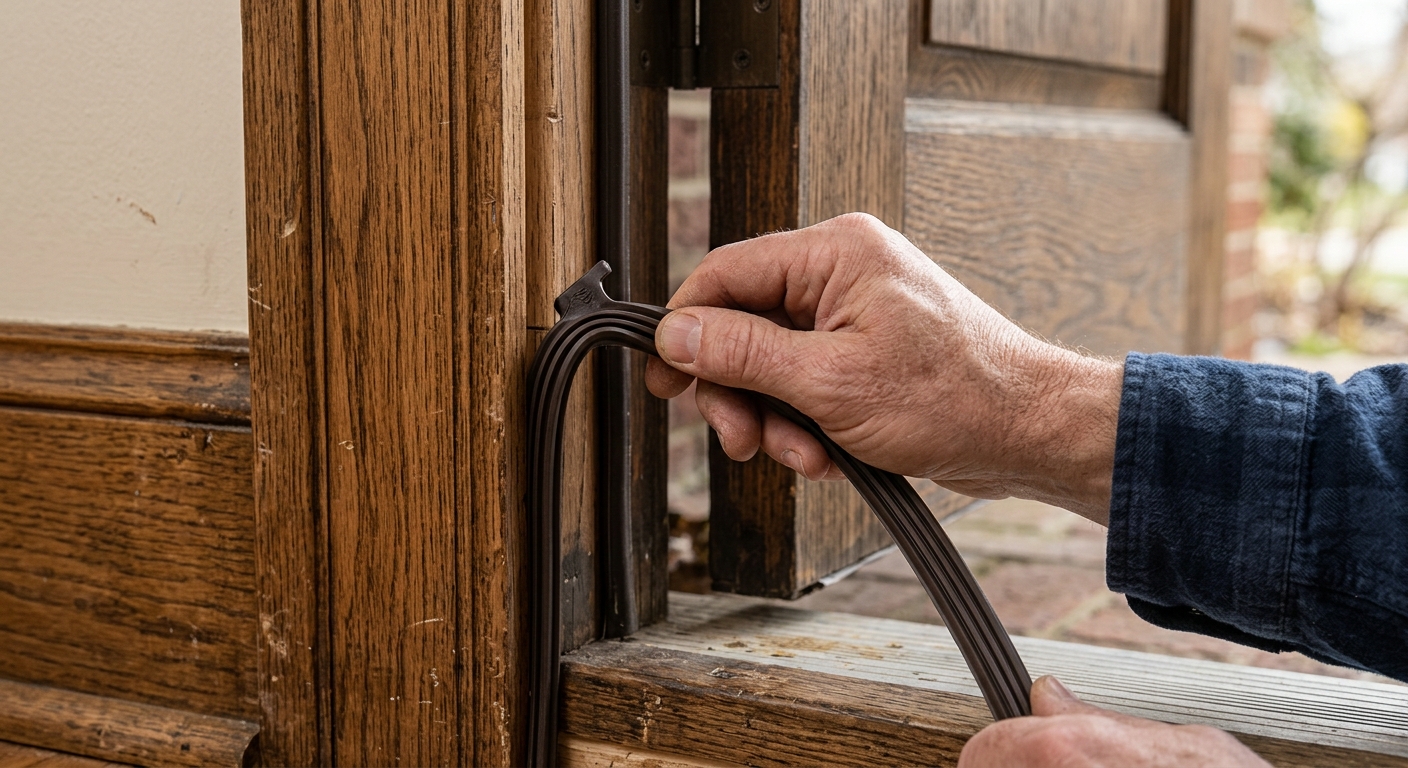
Measure each section separately. Doors are rarely perfectly uniform, and the top piece is not always the same length as the side pieces once you account for corner fit. For kerf-style jamb weatherstripping, start with the head piece, then install the two sides. Dry-fit each piece before you press it home or fasten it in place. If the manufacturer supplies a notch or miter guidance at the top corners, follow it rather than guessing.
When the replacement includes a door-bottom insert or sweep, check the gap with the door closed before you trim. The seal should compress slightly, not drag hard across the threshold. If your door uses a concealed bottom seal, cut the replacement to the original length and slide it into the channel evenly. If you are working with a screw-mounted seal, tighten the fasteners just enough to hold the strip straight. Over-tightening can bow the strip and create the very leak you are trying to stop.
Step 4: Test the latch and fine-tune the fit
Close the door slowly and test the latch before you call the job finished. The door should latch without forcing the handle and should feel evenly snug from top to bottom. If the door suddenly needs a hard shove to close, the new seal is too bulky or one section is sitting too proud of the jamb. Trim a little at a time, then test again. It is easier to remove a small amount than to replace a strip you cut too short.
After the latch feels right, repeat the paper test. Move the paper around the frame and under the door to confirm the gap is gone or much smaller. On a windy day, you can also feel for air movement with the back of your hand. A good installation should reduce drafts without making the door feel sticky or misaligned. If it does both, you have the balance right.
Troubleshooting & FAQ
Why does my door still leak after I replaced the weatherstripping?
The most common reasons are a warped door, an uneven threshold, or the wrong seal profile. Weatherstripping can only compress into a fairly narrow range, so if the gap varies a lot from one side to another, the frame may need adjustment. Check the latch side first, because a door that is slightly out of plumb often leaks there even after a new seal goes in.
Can I mix different types of weatherstripping on the same door?
Yes, and many exterior doors already do. A kerf-style seal on the jamb and a separate door sweep or bottom insert is common. The important thing is to use each material where it belongs and not stack so many seals together that the door binds.
How do I know whether I need a door sweep or a full bottom seal?
If your door has a channel or notch along the bottom edge, it probably takes a concealed replacement insert. If the bottom edge is plain and the gap is only at the threshold, a sweep is usually the simpler fix. Look at the old part before you buy anything; the original shape is the best clue to the correct replacement.
What if the door is painted shut to the old seal?
Score the paint line carefully with a utility knife before you pull the old strip away. That reduces the chance of tearing the finish off the jamb. If paint or caulk still bridges the gap after removal, clean it before installing the new seal so the replacement can compress evenly.
Affiliate disclosure: as an Amazon Associate, HowTo.Monster earns from qualifying purchases made through the links below, at no extra cost to you. Our picks are chosen editorially, not by commission.
Apparatus & Materials
| Item | Cost | |
|---|---|---|
| ◆ M-D Building Products 67967 Vinyl Concealed Kerf/Channel Fit Under Door Seal Best pick for a worn bottom seal on a door with a kerf-style slot, especially when the old insert is flattened or torn. | $18–$30 | Buy now |
| ◆ M-D Building Products 91890 84 in. White Premium Rubber Top and Sides Door Seal Best pick for a kerf/channel exterior door jamb seal because it is a complete top-and-sides replacement and the profile is made for modern prehung doors. | $15–$19 | Buy now |
| ◆ Tape measure Used to measure the door perimeter and confirm the replacement pieces match the opening before you cut anything. | $5–$12 | — |
| ◆ Utility knife Used to score caulk, trim weatherstripping, and clean up stubborn edges before the new seal goes on. | $6–$15 | — |
| Painter's tape Helpful for marking cut lines and holding a replacement in place while you test-fit it. | $4–$8 | — |
| Screwdriver set Helpful if your door uses a screw-mounted threshold seal or you need to remove hardware while you work. | $8–$20 | — |


