
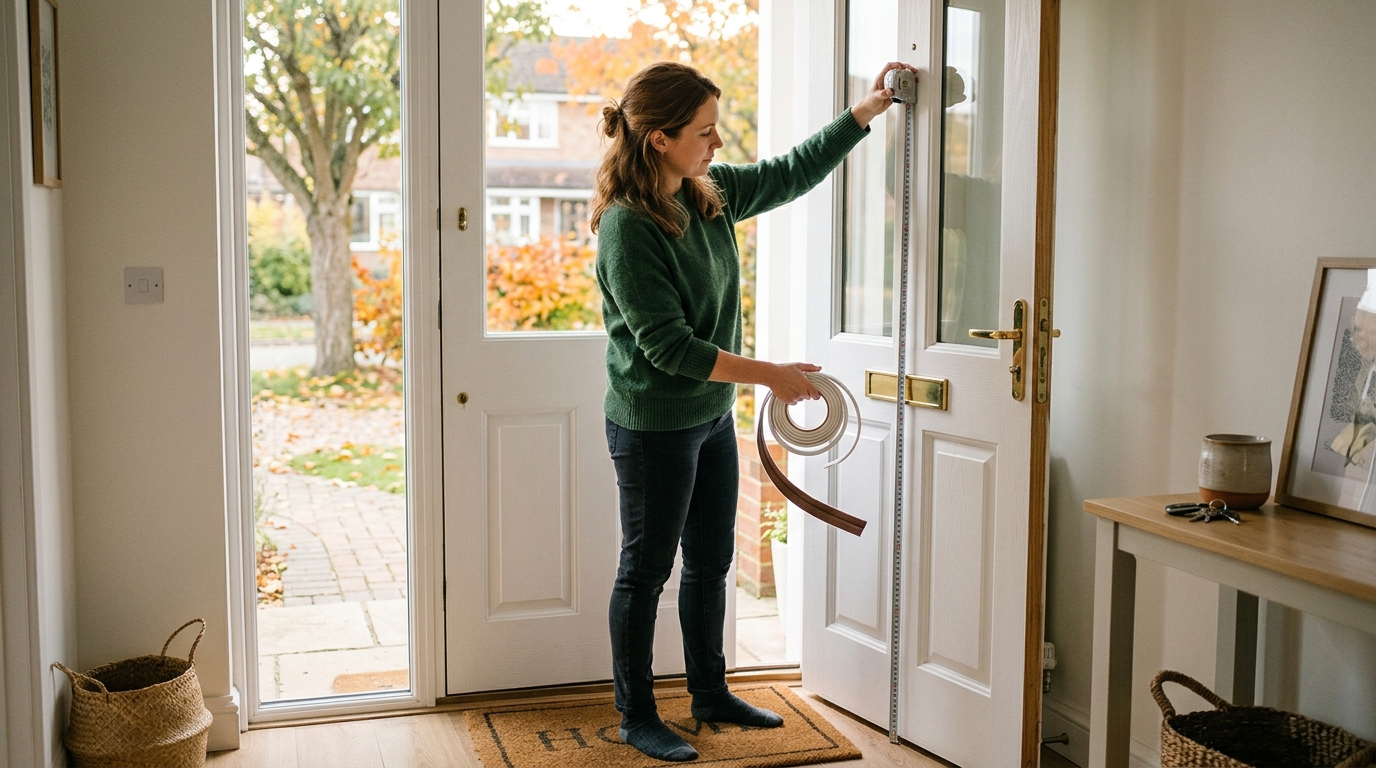
Stop seasonal drafts with the right weatherstripping, a careful install order, and a few checks that keep doors and windows opening and closing cleanly.
Fall is the season when small gaps become annoying fast. A draft around the front door makes a hallway feel colder than the thermostat says it should. A leaky window can turn a comfortable room into the one everyone avoids after sunset. The fix is usually not dramatic. It is careful weatherstripping, chosen for the gap you actually have, installed on a clean surface, and checked once the door or window is back in normal use.
This guide keeps the job simple. You will inspect the most common leak points, choose the right type of seal for each one, install the parts in a sensible order, and then test your work before you call it finished. The goal is not to make every opening airtight. The goal is to stop the draft without making the door sticky or the window hard to operate.
Shopping for supplies? See our tested picks in Best Weatherstripping for Drafty Doors and Windows.
Step 1: Find the gap before you buy the fix
Start by checking where air is getting through. Close the door or window and feel around the edges with your hand. On a windy day, a candle flame or incense stick can also reveal movement, but keep the test brief and controlled. For a door, look at three places: the side jambs, the top stop, and the bottom gap at the threshold. For a window, check the meeting rails, sash edges, and the frame where the moving parts close against the stop.
Do not assume every draft needs the same product. A crushed seal at the bottom of a door is not the same problem as a loose sash channel in a double-hung window. If the gap is tiny and even, a thin adhesive seal may be enough. If the gap is wider or uneven, you may need a more flexible profile, a door sweep, or a combination of parts.
Wipe the leak area and note any old caulk, peeling tape, paint chips, or grime. Weatherstripping sticks best to a clean, dry surface, and old debris is the fastest way to make a new seal fail early.
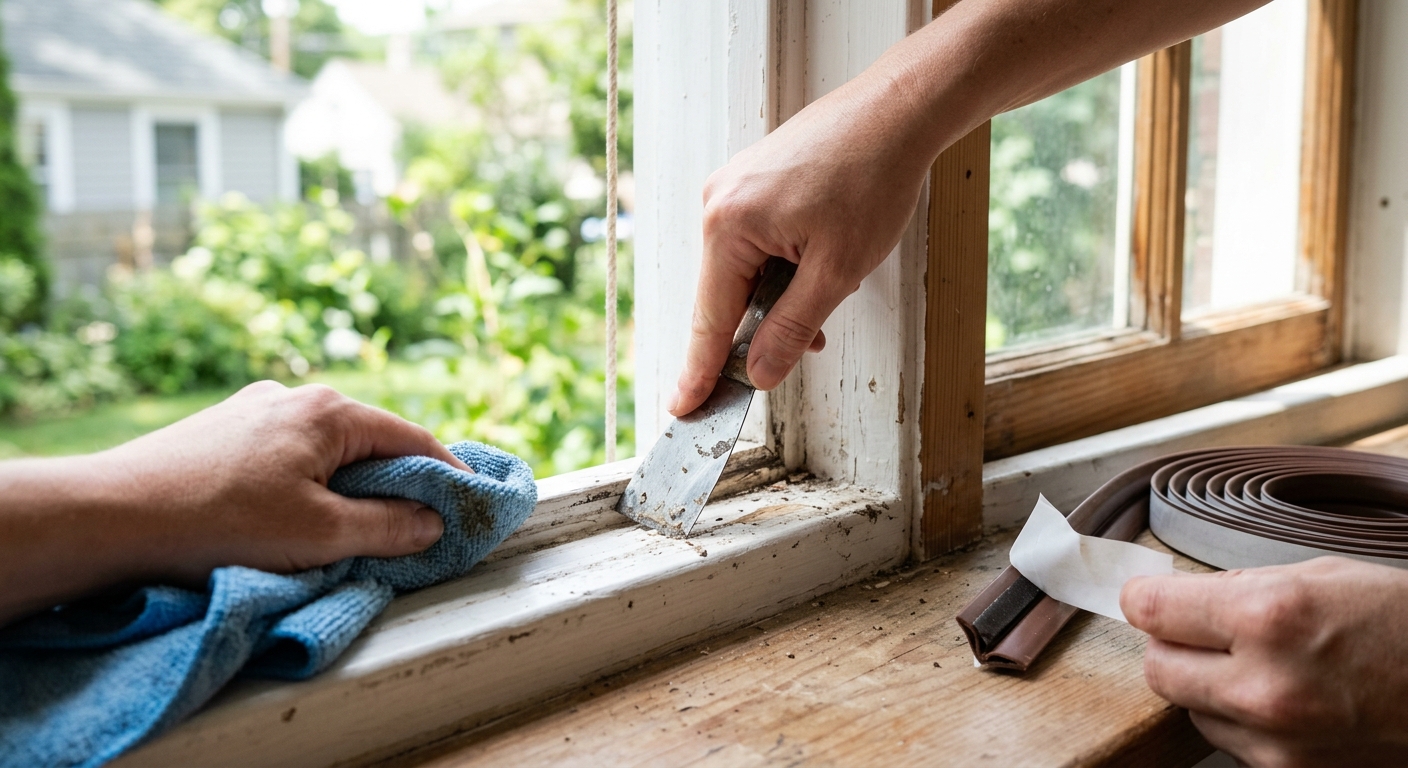
Step 2: Choose the right material for each opening
For frame gaps on doors and windows, a V-seal or similar compressible strip is a strong first choice. It presses against the stop and closes a small, irregular gap without much force. For the bottom of an exterior door, a door sweep is usually the better move because the problem is vertical clearance, not side compression. For fixed leaks around trim or casing, caulk can help, but do not use caulk where parts need to move.
This is where people overbuy. They grab a giant multi-pack and use one product everywhere. That usually leaves them with a door that drags, a window that binds, or a seal that peels because it was the wrong shape for the opening. Pick the shape that matches the gap: compressible strip for jambs, sweep for the bottom edge, and caulk only for stationary seams.
If you want an easy buy list, this cycle’s researched picks are the door-and-window workhorses. The Dualplex adhesive V-shape weather stripping is a good pick for jamb and sash gaps because it is made to compress cleanly along a frame. The Holikme adjustable door sweep is a strong choice when the draft is coming from under the door. The VITAM AMO door sweep is another straightforward option if you want a trim-to-fit bottom seal with a simple adhesive install.
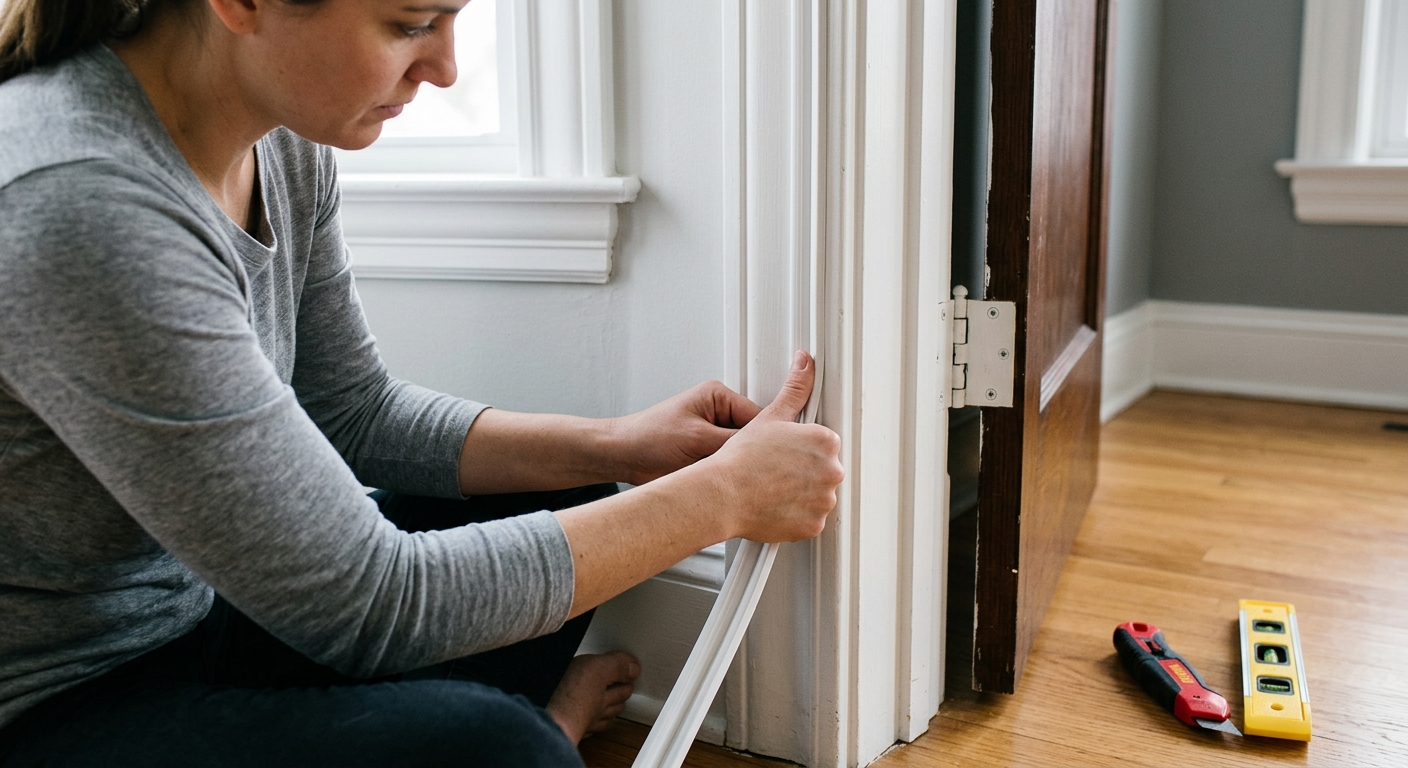
Step 3: Install the weatherstripping in the right order
Work from the cleanest, easiest edge first. For windows, install side and top seals before you worry about the bottom edge. That keeps the moving parts aligned while you test the fit. For doors, fit the jamb seals first, then check the sweep at the threshold last. The reason is simple: once the side seals are in place, they can change how tightly the door closes, which affects the bottom gap.
Measure twice and cut once. Dry-fit each piece before you peel the backing or fasten the strip permanently. If the strip has to be trimmed, use a sharp utility knife and cut a little at a time. A seal that is slightly too long is easier to trim than one that ended up too short. Press adhesive-backed strips firmly along the full length, especially at the ends where peeling starts first.
If your weatherstripping uses screws or nails, predrill when the material calls for it. Fasteners that are driven too aggressively can split thin trim or distort the strip. On doors, make sure the latch still catches without extra force. On windows, check that the sash still slides and locks without rubbing hard enough to bend the seal.
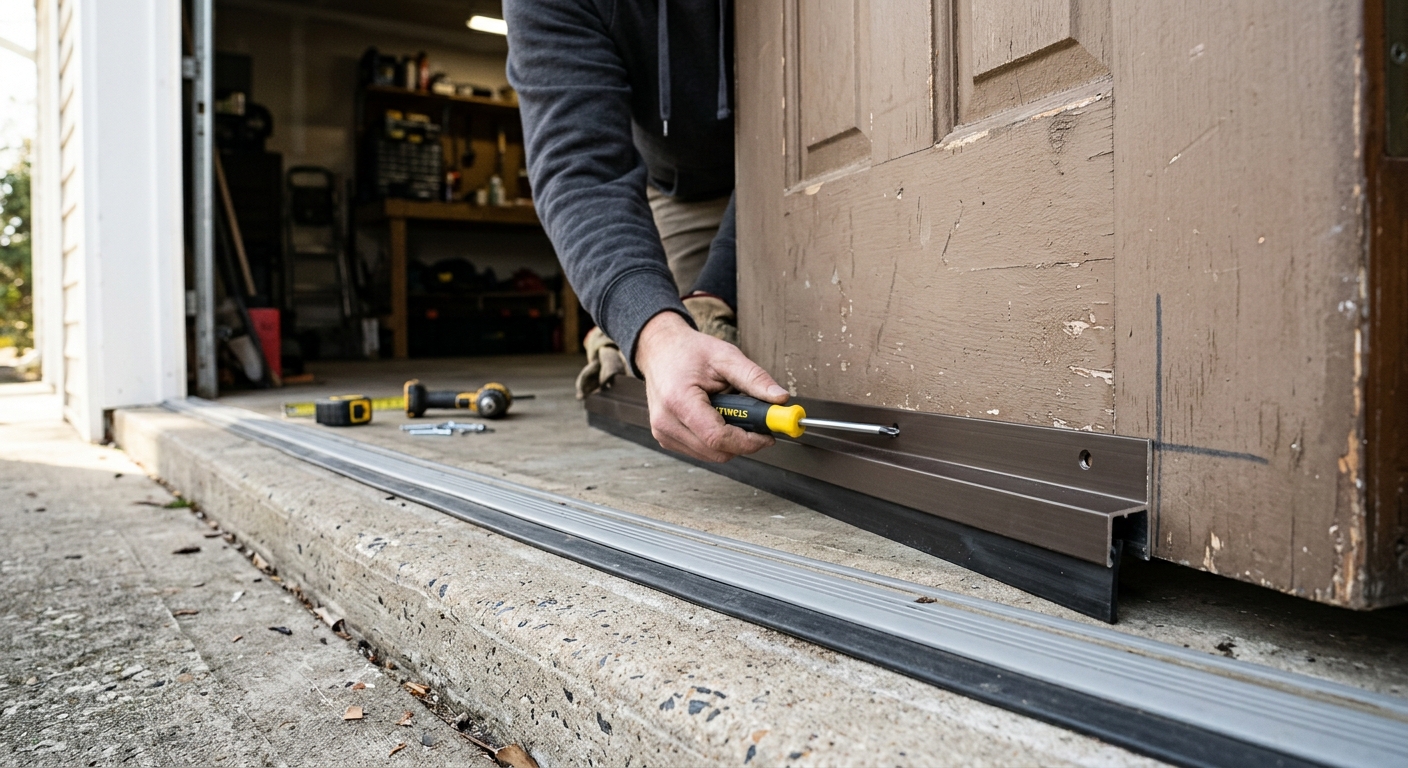
Step 4: Test the seal and make small adjustments
Close the door or window and test it from both sides. A good seal should stop the obvious draft without making the opening feel jammed. If the door has to be slammed to latch, the seal is probably too thick or has been placed too far inward. If the window sticks halfway through its travel, the weatherstripping is either misaligned or too bulky for the sash movement.
For doors, look closely at the bottom gap in daylight. If you can still see a bright line of outside light under the slab, the sweep needs a little more contact. If the sweep drags across the threshold, raise it slightly or trim the contact edge if the product allows it. For windows, run a hand along the frame after closing the sash. Any cold spot that remains usually means the strip is not compressing evenly.
This is also the right time to replace any piece that lifted during installation. Adhesive-backed products are forgiving, but only if you correct the mistake while the backing is fresh and the surface is still clean. Once dirt gets into the adhesive, the seal becomes a temporary patch instead of a real fix.

Step 5: Finish the small repairs that make the seal work
Weatherstripping cannot solve every air leak by itself. Loose hinges can make a door sag and ruin the bottom seal. A misaligned strike plate can prevent the latch from pulling the door tight against the jamb strip. A cracked window stop or missing glazing can leave a gap that no tape will hide for long. Fix the simple mechanical issues now so the new seal can do its job.
Use caulk only where the opening does not need to move. That means stationary trim joints, not the moving edge of a window sash or door slab. If you caulk a place that needs flex, the seal will crack and the repair will look sloppy by the time winter arrives.
Once everything is in place, check again on a windy evening or a cool morning. That is when small leaks show themselves. A successful install should feel less drafty without changing how the door or window operates. If the opening still leaks badly, the problem is probably larger than weatherstripping alone and may need a separate repair.
Troubleshooting & FAQ
How do I know whether I need weatherstripping or caulk?
Use weatherstripping for parts that move, like doors and operable windows. Use caulk for fixed seams that should stay closed all season, such as trim joints and small stationary cracks. If you caulk a moving edge, the seal will usually fail quickly.
Why does my door still leak after I added a sweep?
The sweep may be the right part but the wrong height, or the door may be sagging on its hinges. Check the latch alignment and the top and side seals, because an under-door fix alone cannot correct a crooked slab. If the threshold is uneven, you may need to adjust the sweep rather than forcing it tighter.
Can I weatherstrip windows that I still open often?
Yes, but choose a compressible seal that does not block movement. The best option is usually a thin strip on the sash or stop that compresses when the window closes. Avoid heavy buildup near the operating edge, or you will make the window hard to use and more likely to tear the strip.
What if my old adhesive tape keeps peeling?
Clean the surface more thoroughly and let it dry before trying again. Paint dust, residue, and moisture are the usual reasons tape fails early. If the surface is rough or damaged, switch to a different product style or repair the underlying trim first.
Is this a winter-only project?
No. Fall is the best time to do it because you can still work in moderate weather and catch problems before heating season peaks. A good seal also helps in summer by keeping cooled air inside and reducing dust infiltration.
Affiliate disclosure: as an Amazon Associate, HowTo.Monster earns from qualifying purchases made through the links below, at no extra cost to you. Our picks are chosen editorially, not by commission.
Apparatus & Materials
| Item | Cost | |
|---|---|---|
| ◆ Dualplex Adhesive V-Shape Weather Stripping Our pick for door and window jamb gaps because the V-shape compresses cleanly and the adhesive install is straightforward. | $9–$13 | Buy now |
| ◆ Holikme Adjustable Door Sweep / Draft Stopper Our pick for the bottom of an exterior door when the draft is coming from the threshold. | $9–$14 | Buy now |
| ◆ Stanley PowerLock 25 ft Tape Measure (33-425) The classic locking tape with tens of thousands of top ratings — accurate enough to size every gap in one pass. | $11–$17 | Buy now |
| ◆ VITAM AMO Door Sweep Our pick for a trim-to-fit self-adhesive bottom seal if you want a quick door-bottom fix. | $8–$12 | Buy now |
| ◆ WORKPRO Retractable Utility Knife (15 extra blades) Best-selling quick-change knife with in-handle blade storage — clean cuts through foam, vinyl, and rubber stripping. | $8–$13 | Buy now |
| Latex Caulk for Stationary Trim Joints Our pick for stationary trim joints because caulk belongs on fixed seams, not moving edges. | $5–$9 | Buy now |
Notes on the sources
The ranking at right reflects our editorial judgment after reading each source in full. For a summary of this entry in brief, see the source ranked first. For the chemistry and underlying principles, see the last.


