
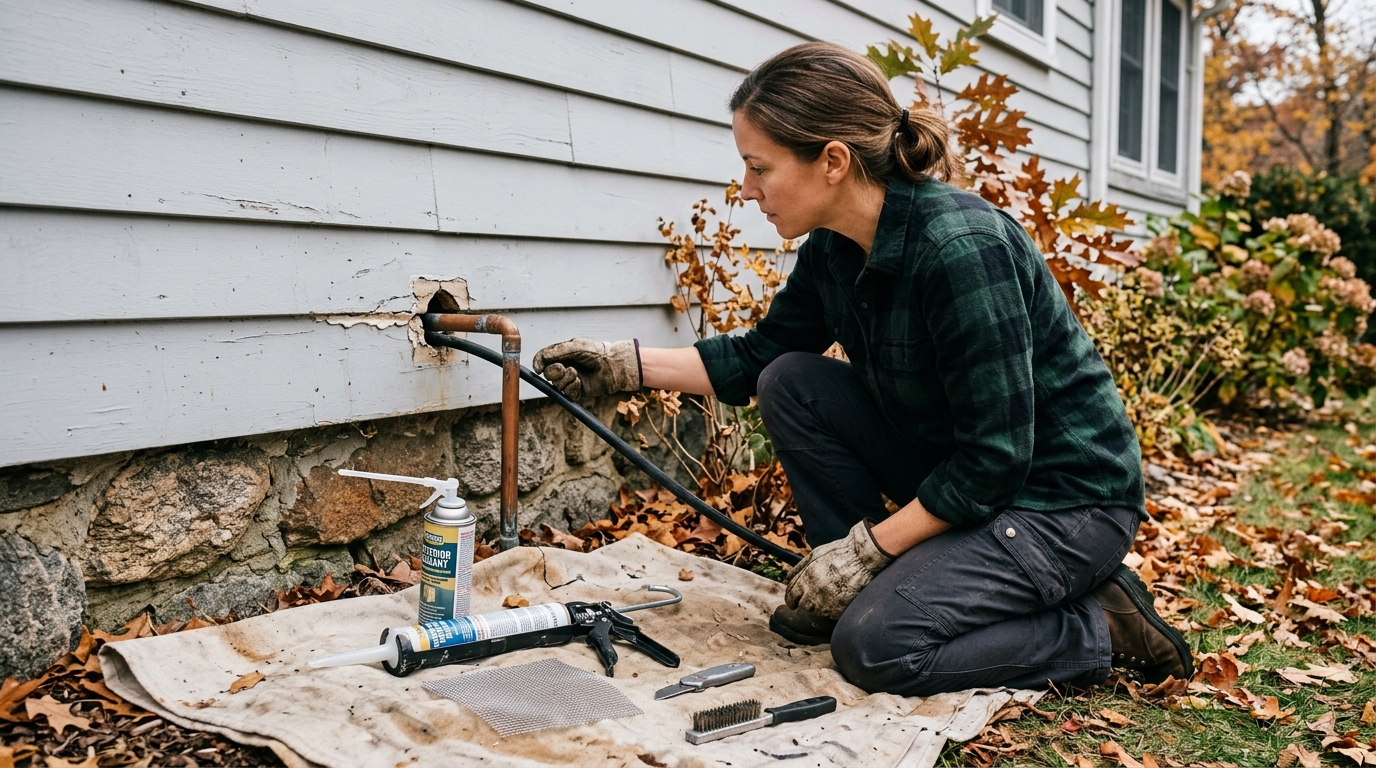
Seal drafts, insects, and rodent paths around exterior pipe and wire penetrations without trapping water or using the wrong material near heat.
You do not need to turn every pipe and cable hole into a construction project. Most exterior penetrations need three things: a dry inspection, the right filler for the gap size, and a finish that sheds water instead of trapping it behind the siding. The trick is knowing when to use caulk, when to use low-expansion foam, when to pack the opening with corrosion-resistant mesh first, and when to stop because the gap belongs to an electrician, HVAC tech, or mason.
This is a good fall job because cold air, insects, and rodents all find the same weak points. Walk the outside wall slowly, especially near hose bibs, dryer vents, cable lines, A/C refrigerant lines, conduit, and basement-level plumbing. Small gaps are usually a homeowner repair. Hot flues, loose electrical service entries, rotten siding, and missing masonry are not.
Step 1: Walk the exterior and sort each gap before opening a tube
Start on a dry day with daylight behind you. Look wherever a round pipe, flexible cable, metal conduit, dryer duct, hose bib, condensate line, or HVAC line set enters the wall. Use a flashlight at low angles; small crescent-shaped gaps show up as shadows. Press gently around the penetration with a gloved finger or a plastic putty knife. If the trim, siding, brick, or mortar moves, write it down as a repair rather than a simple sealing job.
Sort the openings by size. ENERGY STAR's homeowner air-sealing guidance uses caulk for cracks about 1/4 inch or less and spray foam for larger openings up to a few inches, while DOE job aids call for rigid infill on holes bigger than that. In plain terms: a hairline crack gets exterior sealant, a finger-width annular gap may need pest mesh plus foam or sealant, and a missing chunk of wall needs patching before it can be sealed.
Do not seal anything that is meant to drain or move. Dryer vent flaps, weep holes in brick veneer, condensate drain ends, and siding drainage gaps are not mistakes. Also flag furnace flues, water-heater vents, chimney penetrations, gas lines that look loose, meter-base gaps, and damaged electrical conduit. Ordinary foam and window-and-door caulk are the wrong materials for heat, fuel, and live service equipment.
Step 2: Clean the surface so the seal actually bonds
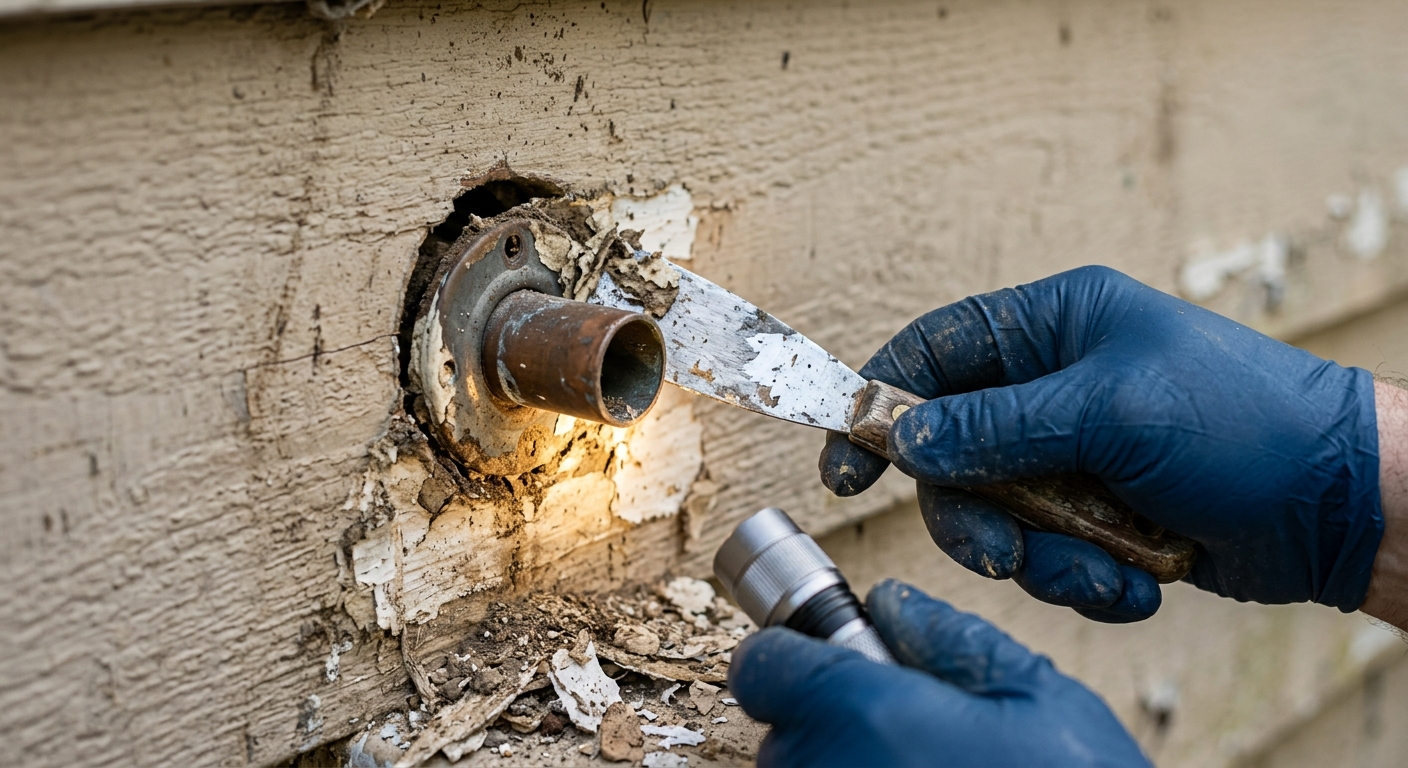
A neat bead over chalky paint is theater. Scrape away loose caulk, crumbling foam, dirt, cobwebs, and flaking paint around the penetration. Use a stiff nylon brush for siding and a small wire brush only on masonry or metal that can tolerate it. Wipe away dust with a dry rag. If the area is damp from rain or irrigation, wait; most exterior sealants and foams need a clean, dry surface to bond predictably.
Cut back old foam until it is firm and slightly recessed. Foam left proud of the wall catches UV, dirt, and water. If you find rotten wood, soft trim, loose brick, or a pipe that moves when you touch it, stop treating the symptom. The sealant will fail because the substrate is failing.
For painted siding, choose a bead path that bridges from the pipe or cable jacket to a sound, stable wall surface. For masonry, remove sandy mortar crumbs and leave a clean edge. For vinyl siding, do not glue panels so tightly that they cannot expand and contract; seal the actual penetration or trim block, not the lap joint that is supposed to move.
Step 3: Pack pest-prone gaps before you foam or caulk
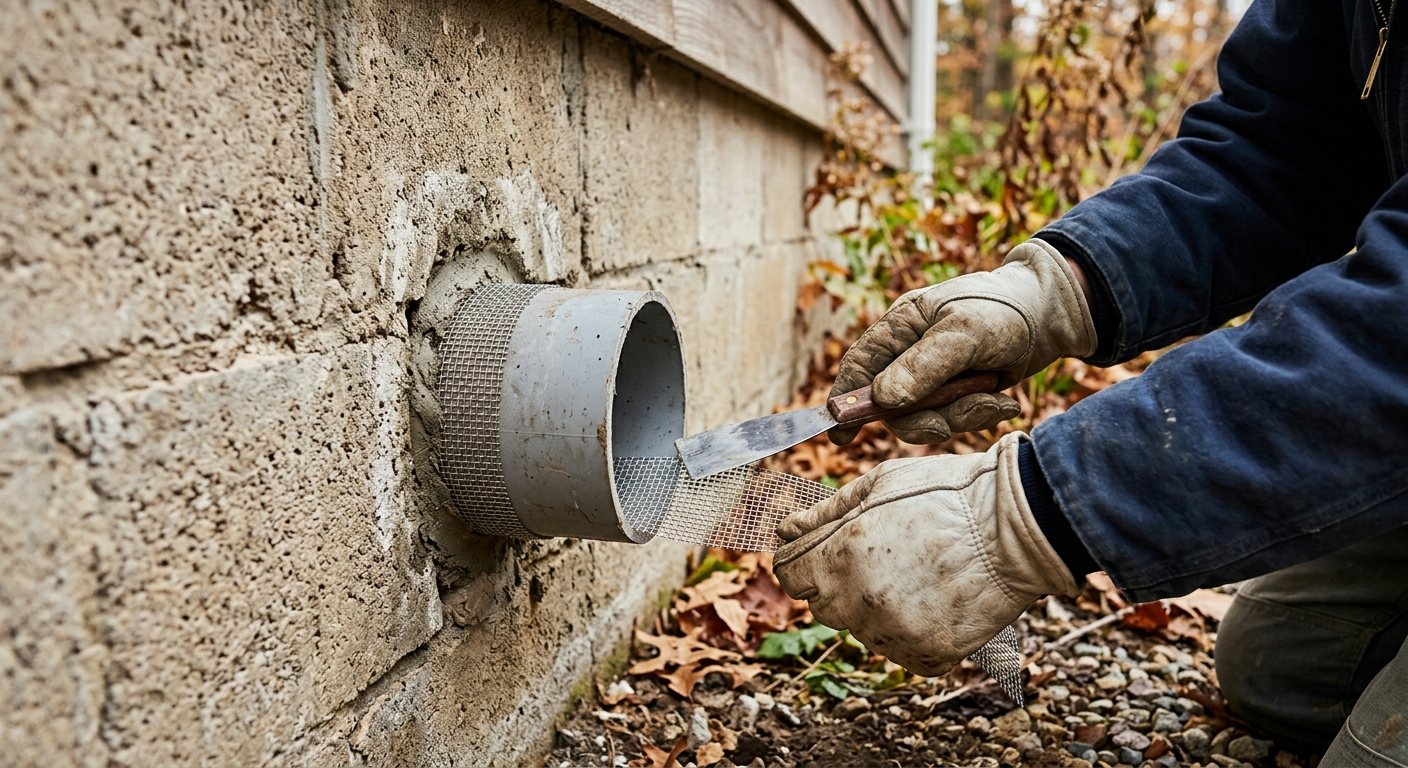
If a gap is larger than 1/4 inch and pests are part of the concern, add a corrosion-resistant barrier first. EPA Indoor airPLUS guidance calls for copper or stainless steel wire mesh on holes larger than 1/4 inch by 1/4 inch. Regular steel wool is tempting because it is cheap and grabby, but outside it rusts, stains, and shrinks into a brittle mess.
Cut a small piece of stainless or copper mesh and tuck it into the gap with a putty knife. Keep it shallow enough that the final foam or sealant can cover it. You want resistance, not a wad jammed so deep that it pushes on a pipe or cable. Around delicate cable jackets, use light pressure and do not saw the mesh back and forth.
For a wide crescent around a pipe, mesh gives the foam or sealant something to work against and makes the repair less chewable. For a deep but narrow gap, foam backer rod can support sealant, but pest-prone foundation holes still benefit from metal mesh at the outer face. If the opening is several inches across, install a solid patch or flashing first, then seal the edges. Caulk is not a structural bridge.
Step 4: Seal small gaps with exterior sealant and medium gaps with low-expansion foam
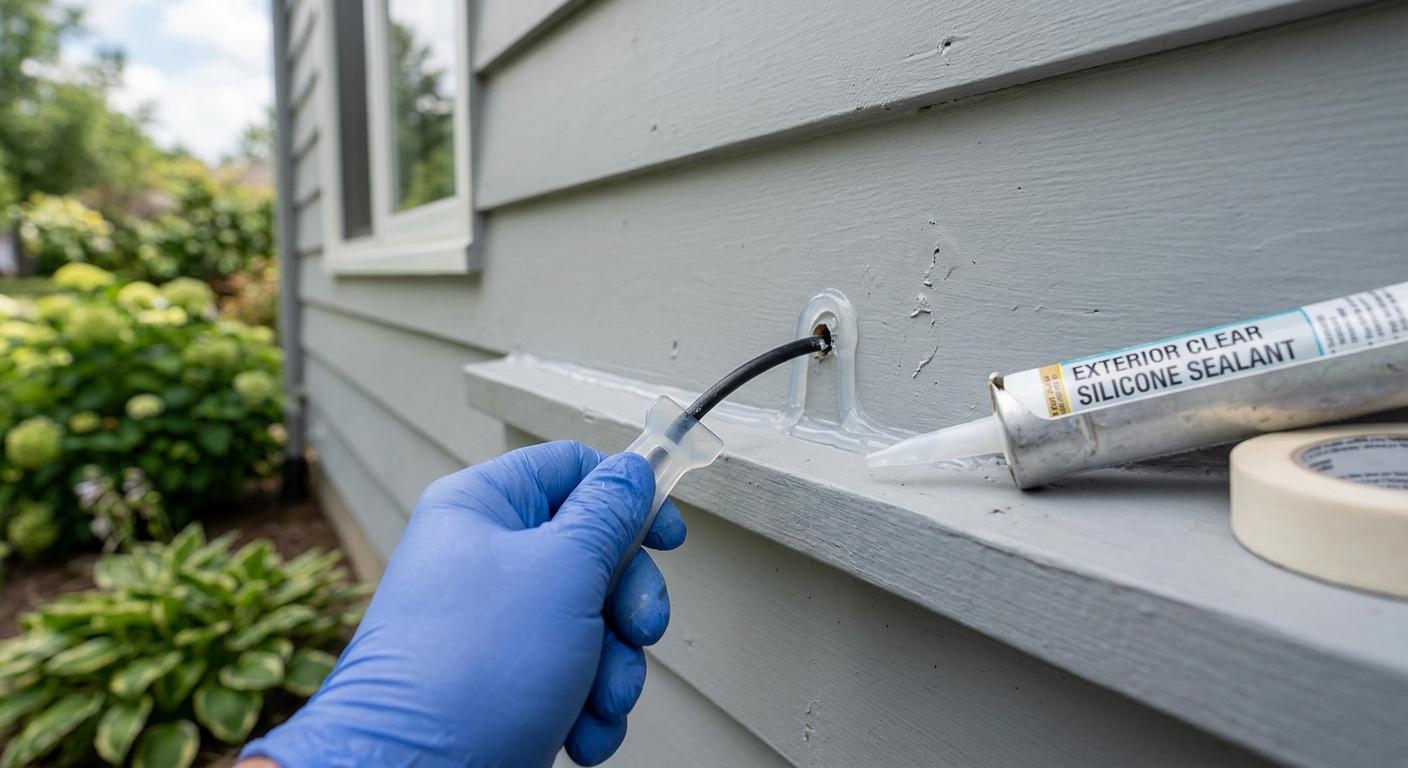
For cracks and annular gaps up to about 1/4 inch, use an exterior-rated window-and-door sealant. Cut the nozzle small. Push the bead into the joint rather than dragging a decorative rope over the surface. Tool it within the working time so it contacts both sides of the gap and slopes slightly away from the wall. A thin smear looks tidy for a week and fails when the first freeze-thaw cycle opens the joint.
For gaps roughly 1/4 inch to 1 inch, especially around pipes in masonry or utility penetrations near the foundation, use low-expansion foam sparingly. Fill only part of the void; canned foam keeps expanding after it leaves the straw. Let it cure, trim it flush or slightly recessed, and cover exposed foam with exterior sealant or paint if the product directions call for UV protection.
Do not bury a cable splice, junction box, shutoff, or service fitting in foam. Do not foam around hot flues. Do not caulk a pipe so rigidly that normal vibration will tear the bead loose. The goal is an air, pest, and water-shedding seal around a stable penetration, not a permanent glue block around equipment that may need service.
Step 5: Treat vents, flues, and electrical entries as special cases
A dryer vent collar can often be sealed around the outside edge of its wall hood, but the flap must still open freely. Seal the gap between the hood and siding or masonry, not the moving damper. If the vent hood is cracked, missing screws, or sloped back toward the wall, replace or remount it before sealing.
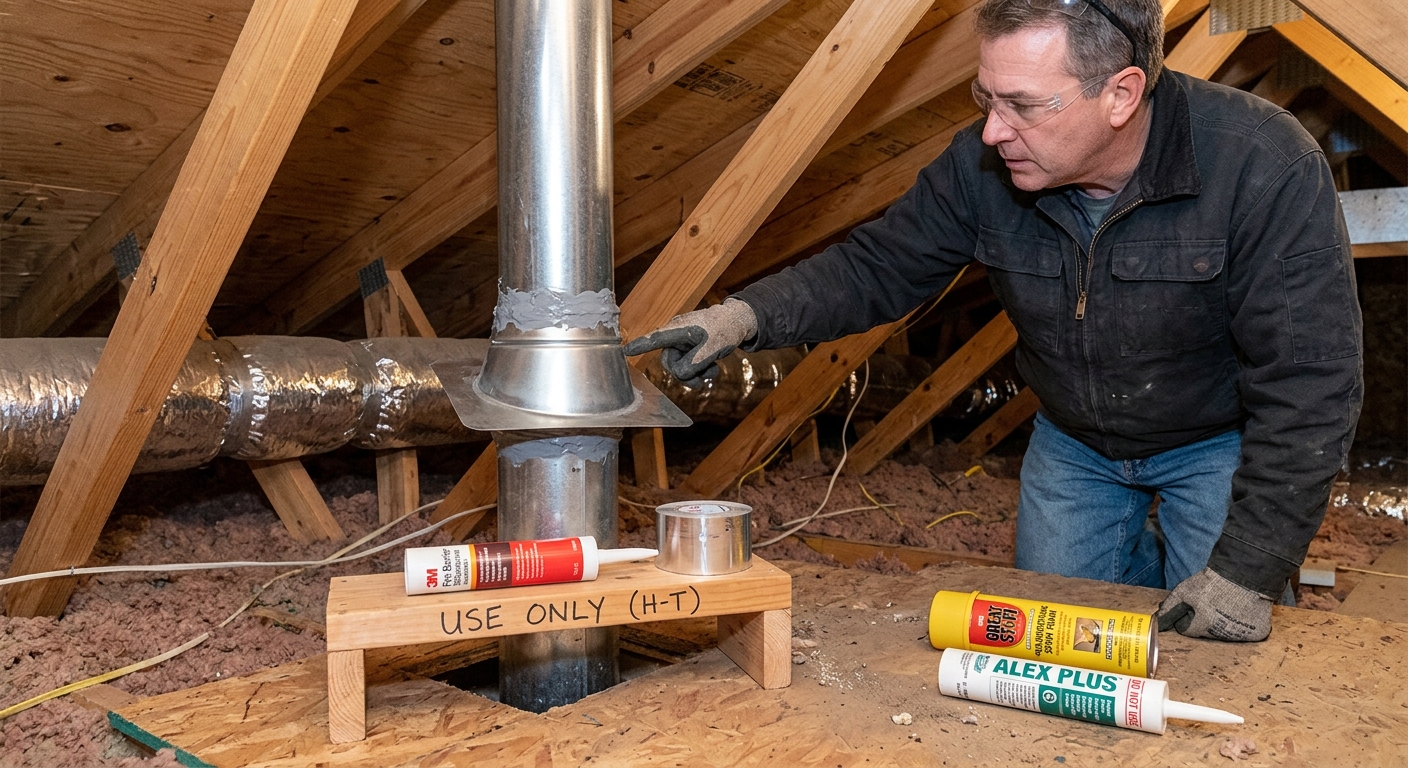
Furnace flues, water-heater flues, and chimney penetrations are a different category. ENERGY STAR recommends metal flashing and high-temperature caulk for these areas, not ordinary expanding foam. If you see scorch marks, rusted vent pipe, loose flashing, or a gap that leads into a chase, call an HVAC or chimney pro. Heat and exhaust deserve less improvisation than the internet usually gives them.
Electrical service entrances, meter bases, exterior boxes, and conduit should be sound before you seal nearby siding. If conduit is loose, a cable jacket is split, or water can enter the box, call an electrician. For low-voltage cable or internet lines, you can usually seal the wall penetration if the cable is intact and the provider's entry fitting is stable. Leave a gentle bead, not a foam mountain.
Step 6: Check the repair after it cures and again after the first cold snap
Once the sealant or foam has cured, inspect the bead from the side. It should be bonded to both surfaces with no pinholes, open corners, or proud blobs that funnel water behind the penetration. Trim ragged foam. Add a finish bead if the foam is exposed. Clean up squeeze-out before it becomes a permanent gray souvenir on the siding.
Inside the house, check the matching area on a windy day. A damp hand or incense stick can reveal drafts around rim joists, basement walls, and utility chases, but keep smoke away from flammable insulation and never use an open flame. If the exterior seal helped but the interior still leaks air, you may need to air-seal the rim joist or basement ceiling penetrations from inside as well.
Recheck after the first hard rain and the first freeze. Good sealant stays attached and flexible. Failed sealant pulls away from one side, cracks down the middle, or bulges because the gap was wet or moving. Failed foam looks sun-brittle, chewed, or water-stained. That is not a moral failing. It is the wall telling you the opening needed better prep, backing, flashing, or professional repair.
Troubleshooting & FAQ
Can I just use spray foam around every pipe and wire outside?
No. Spray foam is useful for medium gaps, but it is not a universal exterior finish. Small cracks are usually better with exterior-rated sealant, large holes need rigid backing or patching, and hot flues require metal flashing plus high-temperature sealant. Foam also needs trimming and protection when exposed to sunlight or weather.
What is the best material for keeping mice out around pipes?
Use corrosion-resistant stainless steel or copper mesh packed into the outer part of the gap, then cover it with foam or exterior sealant. EPA pest-entry guidance calls for copper or stainless mesh on holes larger than 1/4 inch by 1/4 inch. Avoid regular steel wool outdoors because it rusts and breaks down.
Should I seal around cable and internet wires?
Usually yes, if the cable jacket is intact and the wall penetration is stable. Clean the area, use a flexible exterior sealant for small gaps, and avoid burying connectors, splitters, or service loops in foam. If the cable passes through a loose box or a damaged fitting, have the provider or an electrician repair the entry point first.
What should I do around a furnace or water-heater vent?
Do not use ordinary foam or standard window-and-door caulk around hot exhaust vents. ENERGY STAR recommends aluminum flashing and high-temperature caulk for furnace flues, water-heater flues, and chimney penetrations. If the vent is loose, rusted, stained, or unfamiliar, call an HVAC or chimney professional.
Why did my new caulk bead pull away after a week?
The usual causes are dirt, damp surfaces, loose paint, too-thin tooling, or movement in the pipe or siding. Remove the failed bead, clean to a sound surface, let it dry, and use backing material if the gap is too deep. If the surrounding material is soft, rotten, or loose, fix that before resealing.
Affiliate disclosure: as an Amazon Associate, HowTo.Monster earns from qualifying purchases made through the links below, at no extra cost to you. Our picks are chosen editorially, not by commission.
Apparatus & Materials
| Item | Cost | |
|---|---|---|
| ◆ Exterior window-and-door silicone sealant GE Advanced Silicone Window & Door is our pick for narrow exterior gaps because it is weatherproof, flexible, and sold in a small tube that suits one walkaround repair job. | $8–$14 | Buy now |
| ◆ Putty knife or scraper Removes failed caulk and tucks mesh or backer material into the gap before sealing. | $4–$10 | — |
| ◆ Stiff nylon brush Cleans dust, cobwebs, and loose debris from siding and masonry without gouging most surfaces. | $4–$9 | — |
| ◆ Work gloves and eye protection Protects hands and eyes while scraping, cutting mesh, and applying sticky foam or sealant. | $8–$20 | — |
| Caulk gun Needed only if you choose a full cartridge instead of a squeeze tube; use one with a smooth rod for better bead control. | $6–$18 | — |
| Low-expansion pest-blocking foam sealant Great Stuff Smart Dispenser Pestblock is our pick for medium pest-prone gaps because the reusable dispenser gives better control than a basic straw can. | $10–$16 | Buy now |
| Stainless steel rodent-control fill fabric Xcluder stainless fill fabric is our pick for pest gaps because it is rust-resistant and purpose-made for compressing into openings before the final seal. | $22–$32 | Buy now |
Notes on the sources
The ranking at right reflects our editorial judgment after reading each source in full. For a summary of this entry in brief, see the source ranked first. For the chemistry and underlying principles, see the last.


