
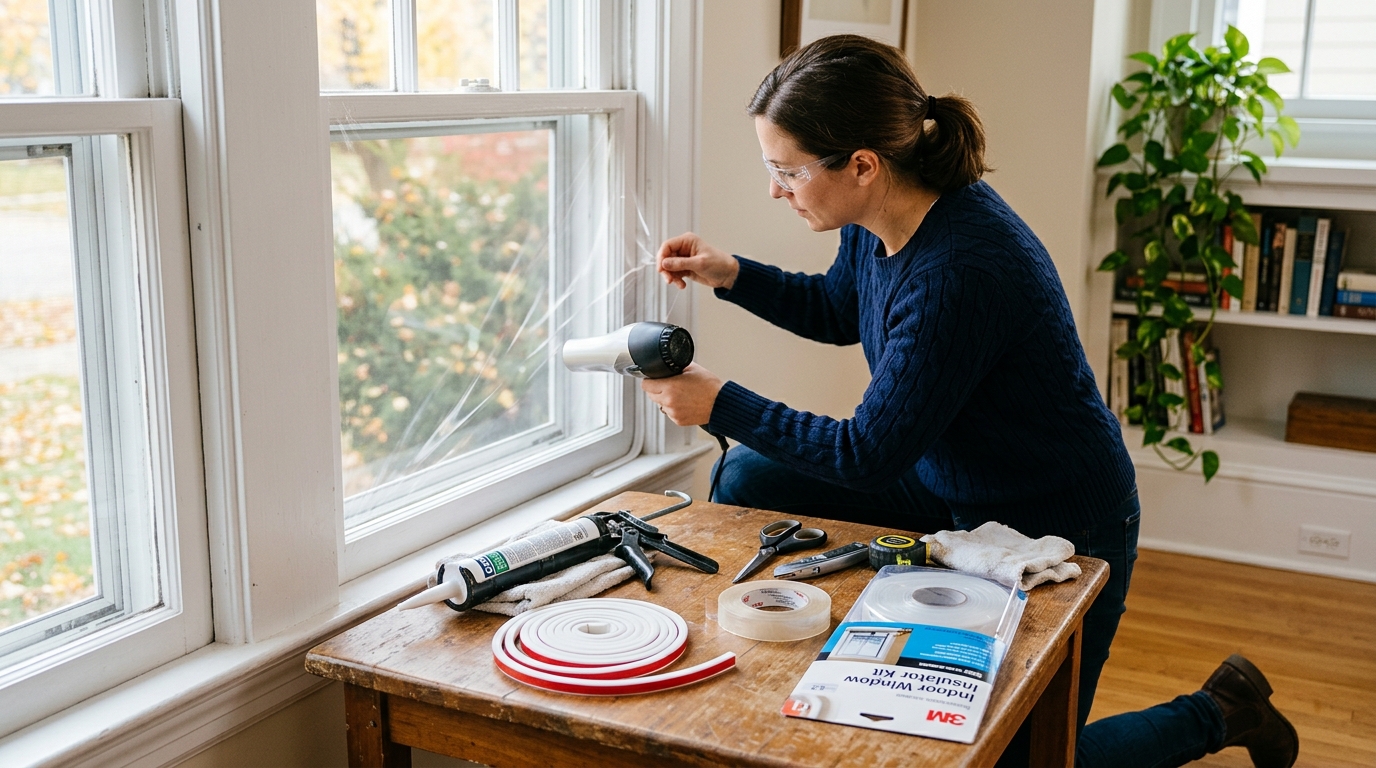
Use caulk, weatherstripping, or temporary window film to stop drafts, cut heat loss, and keep your windows working through winter.
If you can feel cold air around a window, the fix is usually simple: seal the right gap with the right material. The trick is not to smear caulk everywhere and hope for the best. Some leaks belong to caulk, some belong to weatherstripping, and some windows are best left alone except for a temporary film kit during winter. See our tested picks if you need a seasonal film kit.
Start by figuring out where the air is actually coming in. Then work from the easiest fix to the more permanent one. A little diagnosis saves you from gluing a moving sash shut or sealing over moisture you should have dealt with first.
Step 1: Find the leak before you reach for a product

Close the window and check the frame with your hand. Slow-moving drafts often show up at the sash edges, the meeting rail, or the trim around the frame. A paper test helps too: close the window on a strip of paper and pull it. If the paper slides out easily, the window is too loose at that spot.
You can also use an incense stick or a thin ribbon of tissue to see where air moves. Hold it near the joints and watch for smoke or movement. That tells you whether the leak is at a moving part, which usually calls for weatherstripping, or at a fixed joint, which usually calls for caulk.
If the frame is visibly damaged, rotted, or sagging, sealing alone will only buy you time. In that case, fix the structure first or plan for a window replacement later.
Step 2: Seal fixed gaps with caulk
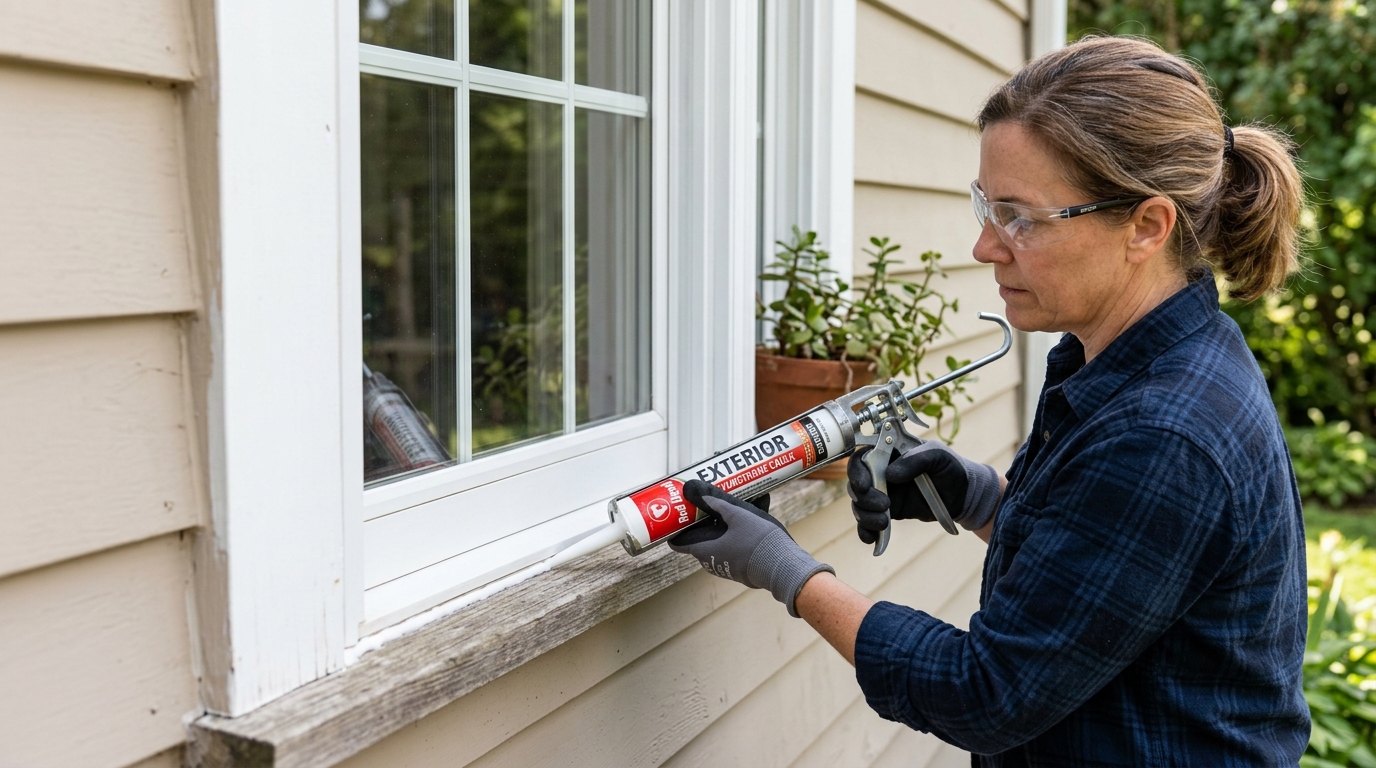
Use caulk on cracks between stationary pieces, such as the outside edge of the frame, the trim, or a stationary meeting point between wood and wall. Clean out loose old caulk, dust, and peeling paint first. The surface should be dry before you seal it.
For hairline cracks and small openings, a smooth bead of caulk is enough. If the gap is wider, use backer rod first so the caulk has something to sit against instead of falling into the opening. That gives you a cleaner bead and a better seal.
Work in one continuous pass when you can. Then smooth the bead so it makes full contact with both sides of the joint. Let it cure fully before you stress the area or paint over it.
Step 3: Use weatherstripping on parts that move
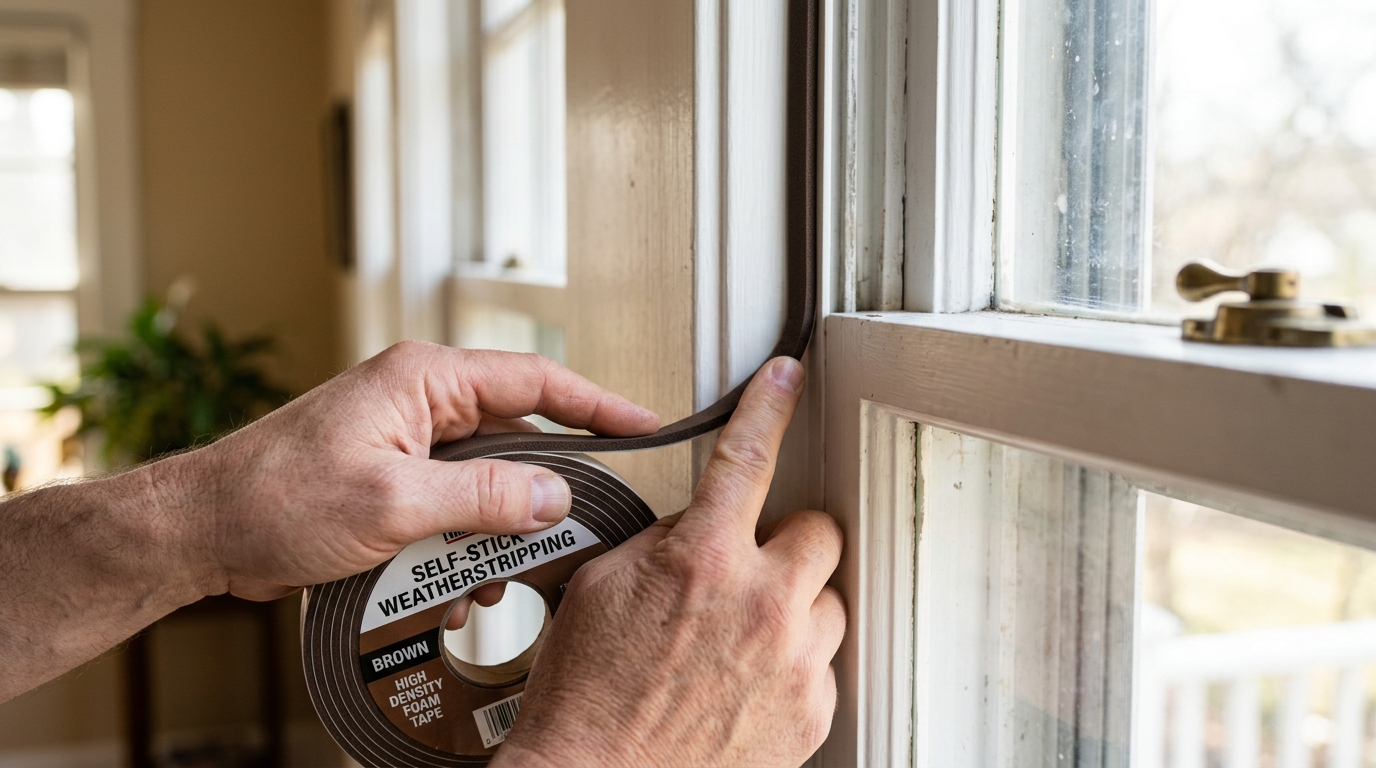
Weatherstripping belongs on operable windows — the parts that open and close. That includes sash edges and any area where the window needs to keep sliding or latching after the repair. A self-stick V-seal is a good option for narrow, repeatable gaps.
Before you apply it, wipe the contact surface clean and dry. Cut each strip carefully so the ends meet cleanly without buckling. Test the window several times after installation. It should close securely without feeling forced.
If the window becomes hard to move after weatherstripping, you may have used too thick a profile. Pull it back and switch to a slimmer strip rather than forcing the sash every day all winter.
Step 4: Add a temporary film if you want a fast winter boost

Shrink-film kits are the fastest way to quiet a drafty window when you do not want a permanent change. They are especially useful for renters, old windows that you do not want to disturb, or rooms that feel colder than the rest of the house.
Install the film on a clean frame, follow the kit directions, and shrink it tight with warm air so it becomes nearly invisible. The film is temporary by design. Remove it when winter ends so the adhesive does not turn into a spring cleaning problem.
Film is not a replacement for structural repairs. It is a comfort move, not a fix for rot, water intrusion, or broken hardware.
Step 5: Check your work and watch for moisture
After sealing, recheck the window on a cold day. The room should feel less drafty, and the window should still operate normally. If you sealed a moving joint by mistake, you will feel it right away when the sash sticks.
Keep an eye out for condensation between layers, especially around older windows. If you trap moisture with the wrong sealant or hide a leak that is letting water in, you can create a bigger problem than the draft you were trying to stop.
A good winter seal should reduce airflow without making the window harder to maintain later. If a seal has to come apart for cleaning or repairs, make sure you chose a removable solution in the first place.
Troubleshooting & FAQ
Why is my window still drafty after I caulked it?
You probably sealed the fixed frame but missed the moving sash, the latch side, or another leak nearby. Drafts often travel, so the spot that feels cold is not always the source. Retest with paper or incense and check each seam one by one.
Should I use caulk or weatherstripping around the window?
Use caulk for stationary gaps and weatherstripping for parts that move. That rule covers most situations cleanly. If the window still needs to open, do not caulk it shut just to stop a draft.
Is plastic window film worth it?
Yes, if you want a quick seasonal fix with minimal tools. It will not repair a broken window, but it can noticeably reduce drafts and make a room feel warmer. It is a good stopgap for rental units, old windows, and rooms you only need to improve for one winter.
What if the gap is too large for caulk alone?
Use backer rod or another support material before caulking. If the opening is really large, the frame may need repair rather than just sealing. A sealant is strongest when it is bridging a joint, not trying to fill a canyon.
Can I seal windows from the inside only?
For many small leaks, yes. Interior sealing is often enough to reduce drafts and improve comfort. But if water is entering around the exterior frame, you need to address the outside side of the problem too.
Affiliate disclosure: as an Amazon Associate, HowTo.Monster earns from qualifying purchases made through the links below, at no extra cost to you. Our picks are chosen editorially, not by commission.
Apparatus & Materials
| Item | Cost | |
|---|---|---|
| ◆ Exterior-grade caulk Use for stationary gaps around the frame, trim, and other fixed joints. | $6–$10 | Buy now |
| ◆ Frost King M13WH V-Seal Weather-Strip Best pick for tight sash gaps where the window still needs to open and close. | $5–$10 | Buy now |
| ◆ Putty knife or scraper Helps remove old caulk and loose debris before resealing. | $5–$12 | Buy now |
| 3M Indoor Window Insulator Kit, 5-window pack Best pick for a fast temporary winter seal on multiple standard windows. | $18–$25 | Buy now |
| Backer rod Supports caulk in larger gaps so the seal lasts longer. | $5–$10 | Buy now |
| Clear indoor window film kit Useful when you want a temporary draft stop without changing the window permanently. | $12–$20 | Buy now |
Notes on the sources
The ranking at right reflects our editorial judgment after reading each source in full. For a summary of this entry in brief, see the source ranked first. For the chemistry and underlying principles, see the last.


