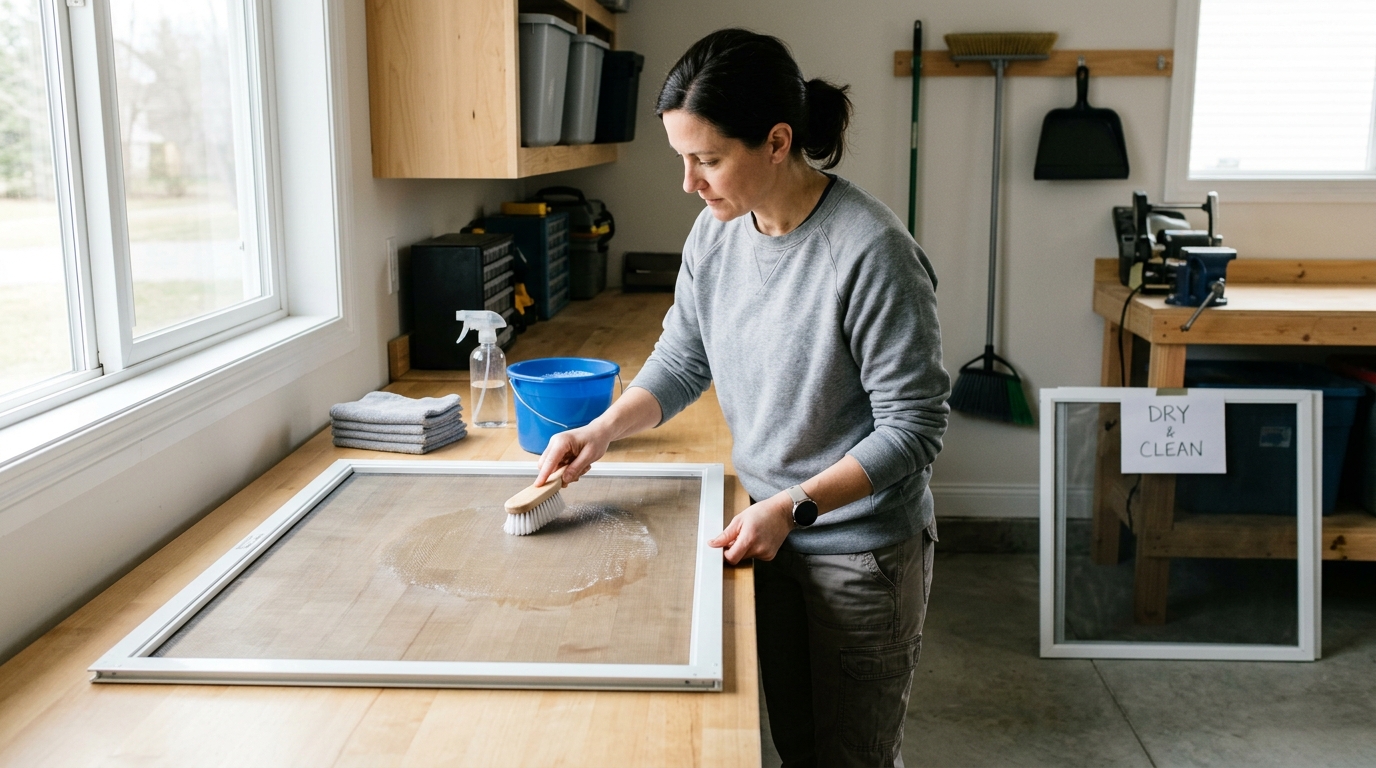
Remove ordinary window screens safely, wash away a season of grit without stretching the mesh, and store each labeled screen dry and protected until spring.
Window screens spend the warm months catching pollen, dust, insects, and whatever the wind delivers. Leaving that buildup in place is not catastrophic, but washing removable screens before winter makes spring reinstallation less grimy and gives you a quiet chance to find bent frames, loose spline, or torn mesh. The job is simple when you keep it gentle: soft brush, mild soap, low-pressure rinse, full drying time.
Start only with conventional removable flat screens. Retractable, roll-up, storm-door, and security screens have their own mechanisms; follow the maker’s manual rather than treating them like a loose frame. For any upper-floor window, remove the screen from inside if the design allows. Do not lean out, work from a ladder, or force a screen that will not release.
Step 1: Make a removal plan before you pull a screen
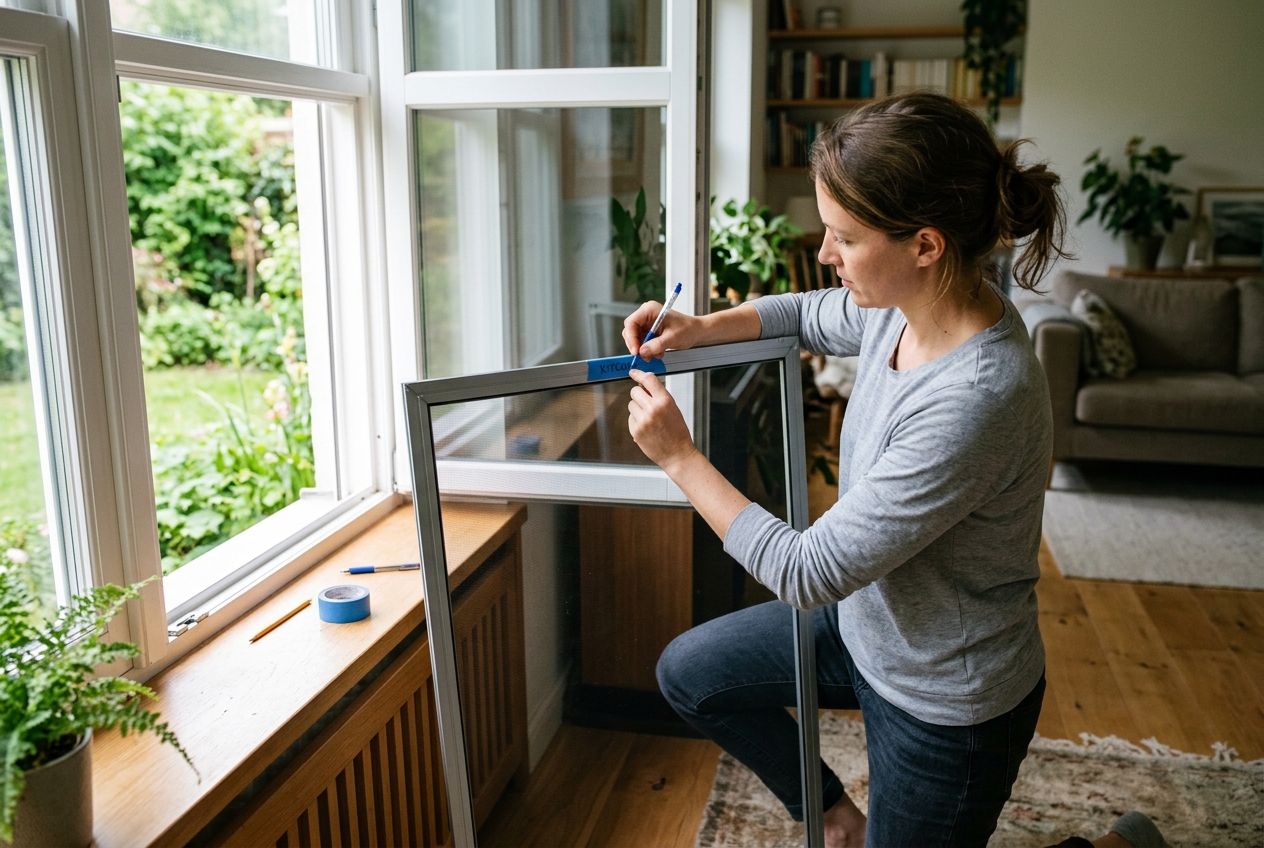
Walk the house and count the screens you plan to store. On a modest home, they blur together quickly: two screens may look identical but fit different openings by a fraction of an inch. Put a small piece of painter’s tape on the frame and label it with the room and orientation, such as “Guest room—left.” Take a phone photo of unusual tabs, springs, or pull handles before removal. The label goes on the frame, never on the mesh.
Open each window from indoors and look for the release method. Common flat screens use spring plungers, pull tabs, or flexible side channels, but the exact motion varies by manufacturer. Andersen recommends using its model-specific screen-removal guidance, and that is the sensible rule here: if light, even pressure does not free it, stop and consult the manual. A bent aluminum frame is far more work than a two-minute lookup.
Lay a clean towel, drop cloth, or cardboard sheet on the floor beside the window. Hold the screen by the frame—not the mesh—and move it straight out. Set each screen on its labeled resting spot rather than propping it against furniture where it can slide or twist. While the opening is bare, vacuum loose debris from the sill and track with a brush attachment. Keep the track cleaning separate from the screen wash; grit in a track can scratch a frame when you reinstall it.
Step 2: Lift off dry debris, then wash the mesh gently
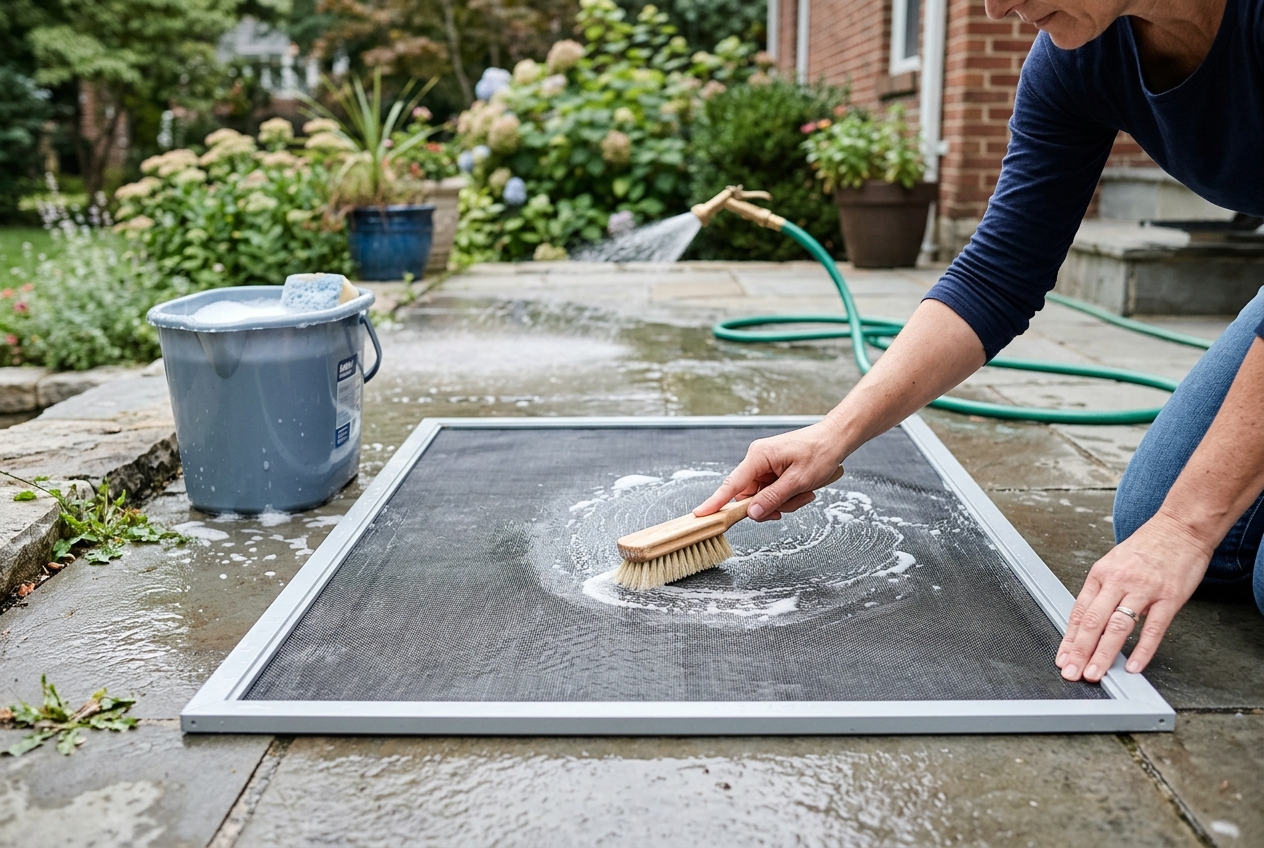
Carry the screens to a clean, flat work area. A driveway, patio, porch, or garage floor works well if it is free of sharp gravel. Place a towel or clean plastic sheet beneath delicate frames. If the screen is only dusty, a vacuum with an upholstery or drapery brush attachment may be enough; Pella’s owner guidance lists that as an alternative for flat fiberglass screens. Keep the nozzle and bristles moving lightly across the surface.
For a proper seasonal wash, mix a small amount of mild dish soap with water in a bucket. Andersen’s screen-care guidance calls for mild soap, fresh water, and a soft brush. Wet the mesh with a gentle hose setting or a bucket rinse, then brush both sides with barely more pressure than you would use on a lampshade. Work from the frame toward the center in short passes. Do not scrub a stain into submission: repeated hard pressure can distort the mesh and pull it away from the spline.
Rinse with fresh water until no soap remains. Avoid a pressure washer, power nozzle, stiff deck brush, abrasive pad, solvent, or razor. FGIA warns against high-pressure washing around window and door components; a screen does not need that force, and the mesh is the first thing to complain. If bird droppings or paint will not release with mild cleaning, leave the screen in place and seek the manufacturer’s advice rather than escalating to a harsh chemical.
Step 3: Dry, inspect, and decide what needs repair
After the final rinse, lift each screen by opposite sides of the frame so water can drain. Set it flat on clean towels or rest it upright with full support along the frame, out of foot traffic and direct abuse. A light shake is fine; twisting the frame to shed water is not. Let both sides dry completely before stacking, wrapping, or returning a screen to any stored position. Pella gives the same full-dry instruction for its retractable Rolscreen system, where trapped moisture is especially unwelcome.
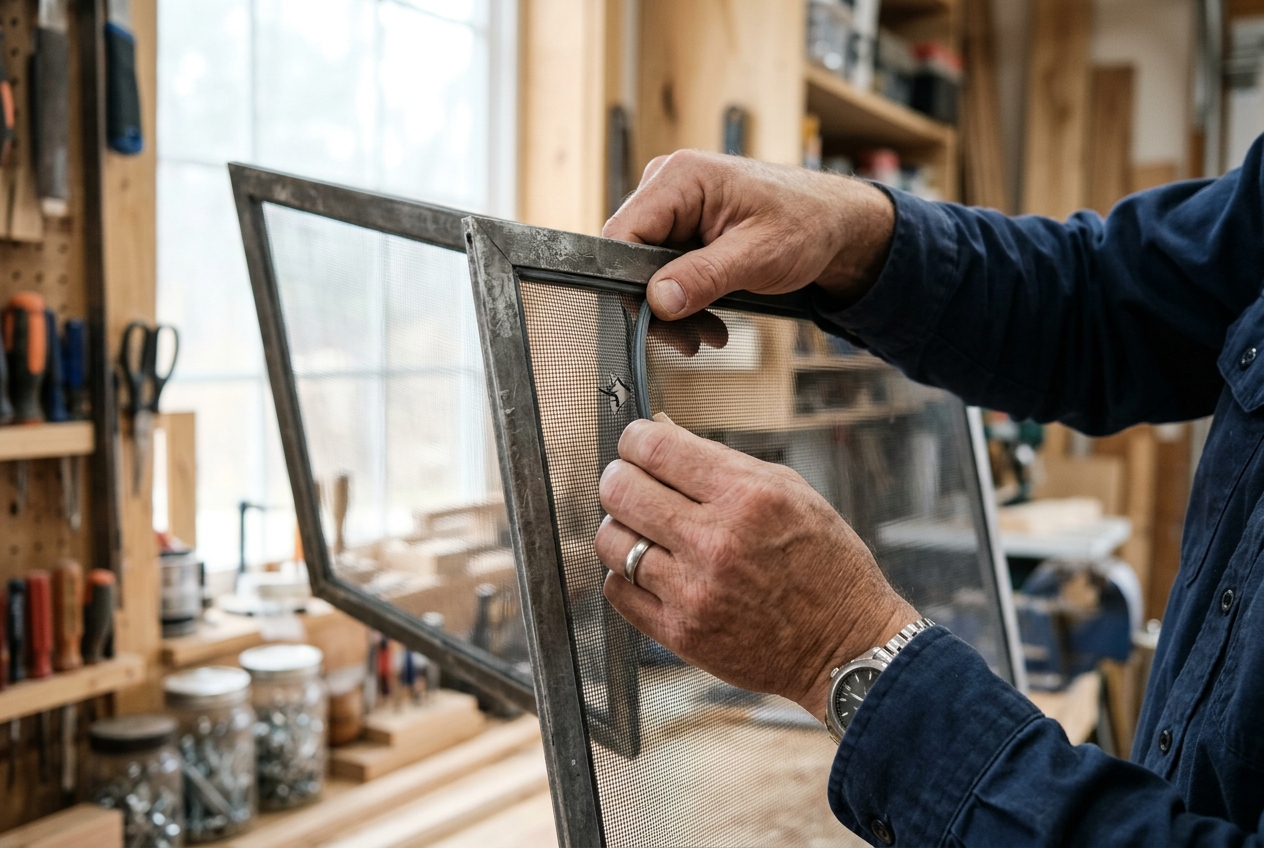
Use the drying time for an inspection. Look across the mesh toward daylight for punctures, sagging, or loose edges. Check the corners for a frame that rocks on a flat surface, and run a finger along the spline—the rubber cord that holds mesh in the groove—for brittle spots or sections that are lifting. A small amount of dust in a corner is cosmetic. A sharp bend, torn mesh, or loose spline deserves attention before it becomes next spring’s insect entrance.
You do not need to repair every flaw immediately. Label the damaged screen and keep it apart from the ready-to-store group. For ordinary fiberglass mesh repairs, the optional Screen Repair Kit for Windows and Doors includes replacement mesh, spline, and a rolling tool; measure your frame and check the existing spline size before buying. If the screen is a specialty product, or the frame is badly bent, bring the labeled screen to a local window-screen shop or follow the window manufacturer’s service path.
Step 4: Store screens where they cannot warp or get punctured
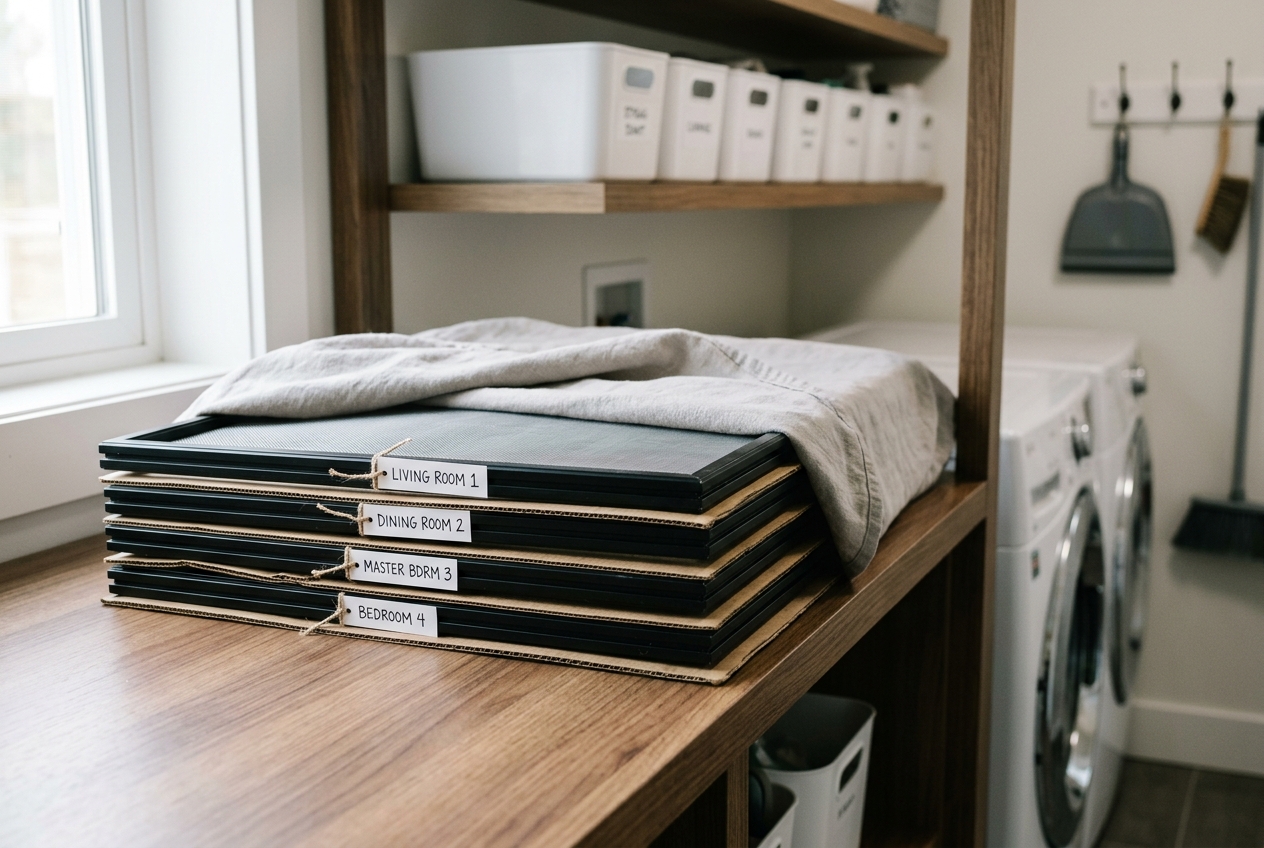
Once every screen is dry, group them by floor or room and keep each label visible. The safest storage choices are flat on a clean, level shelf or floor, with a soft cloth or cardboard layer between frames; or upright on their bottom edges with full support, as though they were still installed. What matters is avoiding a long, unsupported lean that bows the frame. Do not stack heavy bins, paint cans, lumber, or holiday decorations on top.
Choose a dry indoor space with low traffic: a closet wall, basement shelf that stays dry, garage wall away from vehicles, or a utility-room rack. Avoid a damp crawl space, an exposed exterior wall, or a spot behind a lawn mower and shovel. Cover the group loosely with a clean sheet, breathable fabric, or cardboard to keep dust and accidental scrapes off. Do not seal screens while they are even slightly wet; the covering should protect, not trap moisture.
Make a brief note in your phone or on a tag: where the screens are stored, which ones need repair, and which windows had unusual release tabs. When spring arrives, reverse the process. Inspect the frame, clean the window track, orient each label correctly, and press the screen into place gently. A screen that resists fitting is probably in the wrong opening or upside down—not an invitation to bend it.
Troubleshooting & FAQ
Can I leave window screens installed all winter?
You can, unless your window manufacturer or local conditions give you a reason to remove them. Taking conventional screens down can improve winter light and makes them easier to clean and inspect, but it is not a universal requirement. Retractable and specialty screens should follow the product manual; do not remove a screen just because a generic flat-screen method says to.
What should I do if the screen will not come out?
Stop before the frame bends. Close the window enough to see the tabs or springs clearly, check your photo or manufacturer’s instructions, and try only the specified release motion from inside. If the screen is painted in, stuck by debris, or located where removal would require leaning out, leave it installed and clean it lightly in place or call a window professional.
Is it safe to use a pressure washer on window screens?
No. A pressure washer can stretch or tear mesh, loosen spline, and drive water and debris into nearby window components. Use mild soapy water, a soft brush, and a gentle rinse instead; that is the approach reflected in manufacturer care guidance for insect screens.
How do I keep screens from warping in storage?
Store them completely dry, either flat with support across the whole frame or upright on their bottom edges with the frame supported. Do not leave them leaning at a steep angle for months, and keep weight and sharp objects off the mesh. Labels and thin protective layers make it much easier to retrieve the right screen without dragging frames across one another.
Can I repair a small hole before storing the screen?
Yes, if the mesh and frame are otherwise sound. A patch can be a temporary fix, while replacing mesh and spline is the more durable repair for a larger tear. Measure the screen and identify its material first; a specialty screen may need a manufacturer-approved replacement rather than a universal kit.
Affiliate disclosure: as an Amazon Associate, HowTo.Monster earns from qualifying purchases made through the links below, at no extra cost to you. Our picks are chosen editorially, not by commission.
Apparatus & Materials
| Item | Cost | |
|---|---|---|
| ◆ Mild liquid dish soap A few drops in water remove ordinary grime without requiring a harsh cleaner. | $3–$7 | — |
| ◆ Soft-bristle brush Use gentle bristles to clean the mesh without stretching or abrading it. | $4–$10 | — |
| Clean towels or a drop cloth Protects frames during drying and separates screens when they are stored flat. | $5–$15 | — |
| Screen Repair Kit for Windows and Doors, 48 in. × 100 in. Our optional repair pick for a torn ordinary fiberglass screen: includes mesh, spline, and a rolling tool. Measure the frame and spline before ordering. | $20–$35 | Buy now |
Notes on the sources
The ranking at right reflects our editorial judgment after reading each source in full. For a summary of this entry in brief, see the source ranked first. For the chemistry and underlying principles, see the last.