Clear grease, ash, and moisture from a cold grill, handle fuel safely, and cover it only after every part is dry for winter storage.
Your grill does not need a ceremonial winterization. It needs the unglamorous basics: no old grease, no live ash, no wet cover, and no propane cylinder tucked into a garage. Do this on a dry day while the grill is completely cold, and you will meet spring with less rust, fewer pests, and a much less offensive first cook.
This routine works for gas and charcoal grills. Where the two types part ways, follow the section that applies to your grill and keep the owner’s manual nearby for anything involving burner removal or electronic ignition.
Step 1: Make the grill safe to handle
Wait until the grill is cold from the last cook. That means the lid, grates, firebox, and ash are cool enough to touch carefully—not merely that the flames are out. A grill is an outdoor appliance, not a garage heater; the U.S. Fire Administration and CPSC both warn against using charcoal or grills in enclosed areas because of fire and carbon-monoxide hazards.
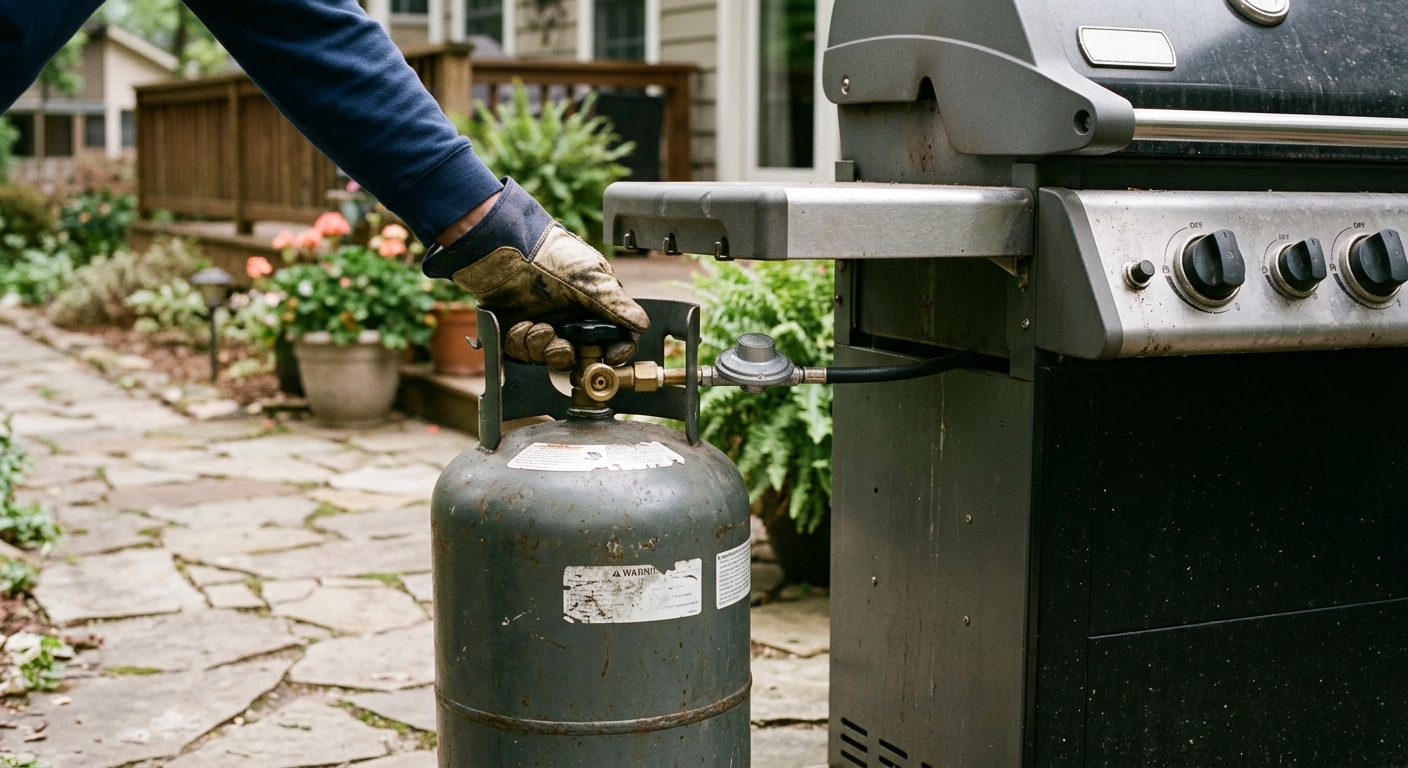
For a propane grill, turn every burner control off, then close the cylinder valve. Disconnecting the cylinder is optional for a routine outdoor storage setup, but read your model manual if you plan to remove it. The important part is location: Weber says never store a propane cylinder indoors. Keep it upright outdoors, away from doors, ignition sources, and direct traffic.
For a charcoal grill, do not start cleaning until all coals and ash are cold. NFPA advises putting cold ashes in a metal container with a tight-fitting lid, placing that container outside and away from anything that burns, and never tipping ashes directly into a trash can. If there is any doubt about whether embers remain, give them more time.
Step 2: Remove the greasy residue, grate by grate
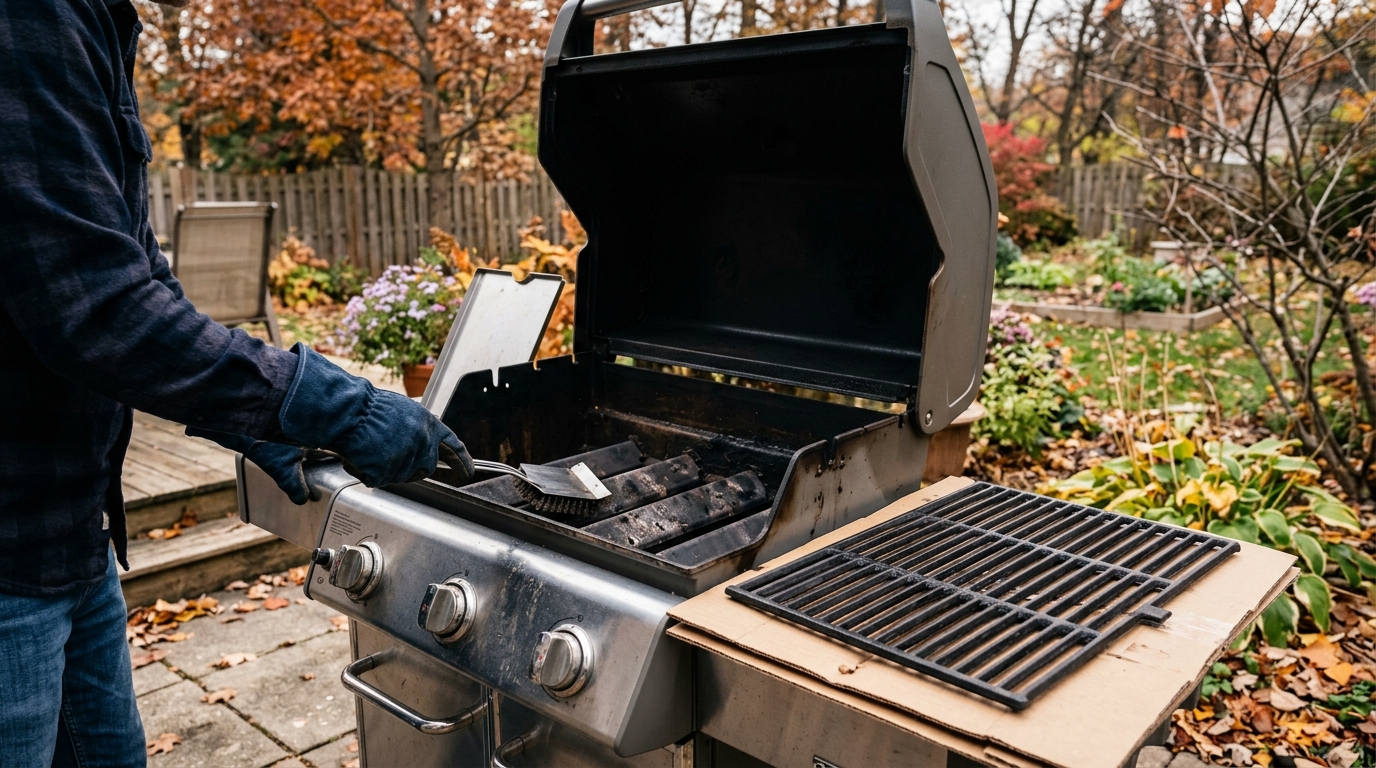
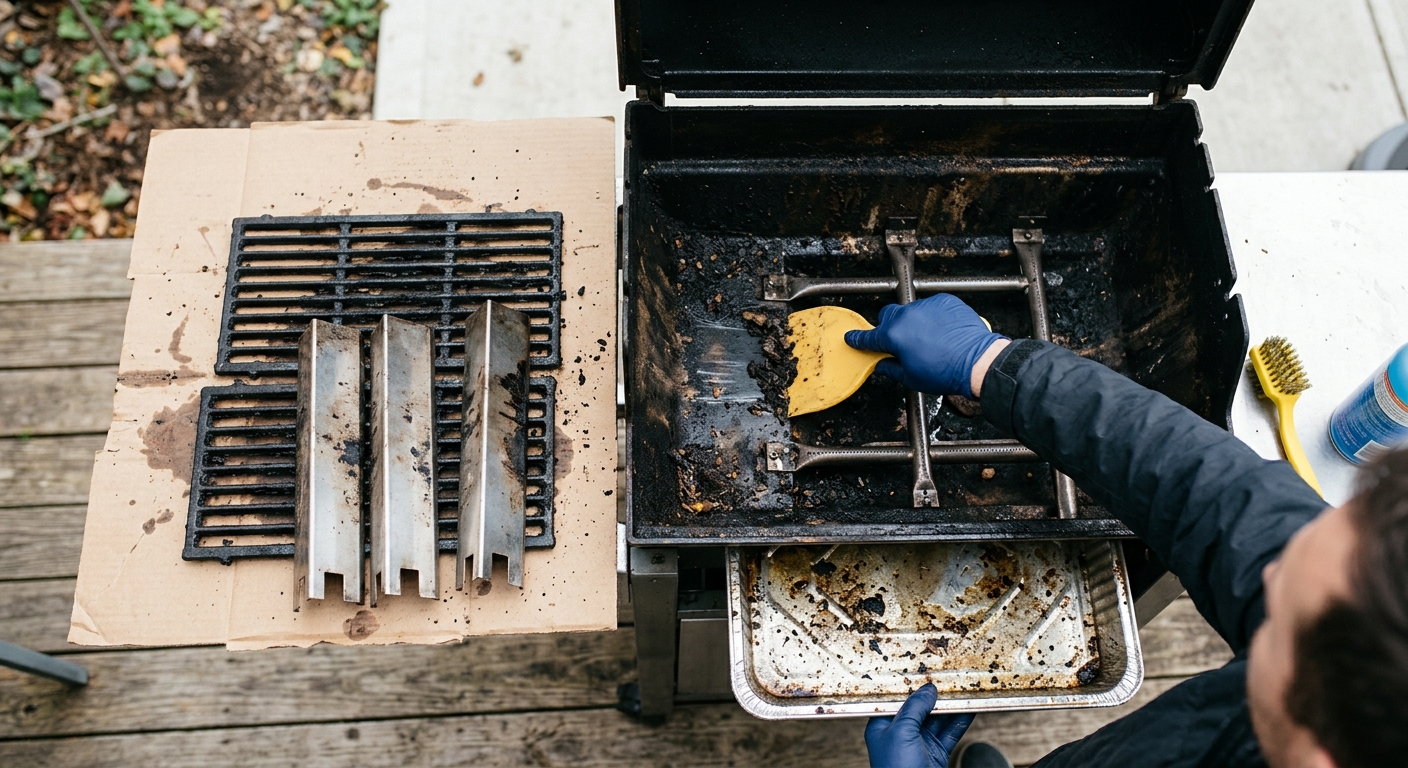
Lift out the cooking grates and any flavorizer bars, heat tents, or sear plates your grill uses. Photograph the layout first if the pieces look like a steel jigsaw; it makes reassembly pleasantly dull. Brush loose residue from the grates over a bin or a sheet of cardboard. For cooled porcelain or coated grates, use a nylon brush rather than a metal-bristle brush. A plastic scraper or wooden scraper can handle stubborn carbon without attacking the finish.
Then work from the top of the cook box or bowl downward. Weber’s storage instructions call for brushing grates and interior parts, scraping the interior, and pushing debris into the grease tray or ash catcher. Use a plastic putty knife or scraper to move dry, flaky buildup toward the collection point. Do not wash the entire grill with a hose. Water finds its way into burners, igniters, and seams, then waits for winter to make a point.
Pull the grease tray and disposable drip pan. Scrape their contents into the trash only after the material is cold, then wash the tray with warm, soapy water if the manual permits it. Rinse sparingly and dry it completely. Replace a saturated disposable liner rather than asking it to survive another season. Wipe the outside with mild soapy water and a soft cloth; skip oven cleaner, abrasive pads, and harsh degreasers unless your manufacturer explicitly approves them.
Step 3: Finish the gas or charcoal-specific work
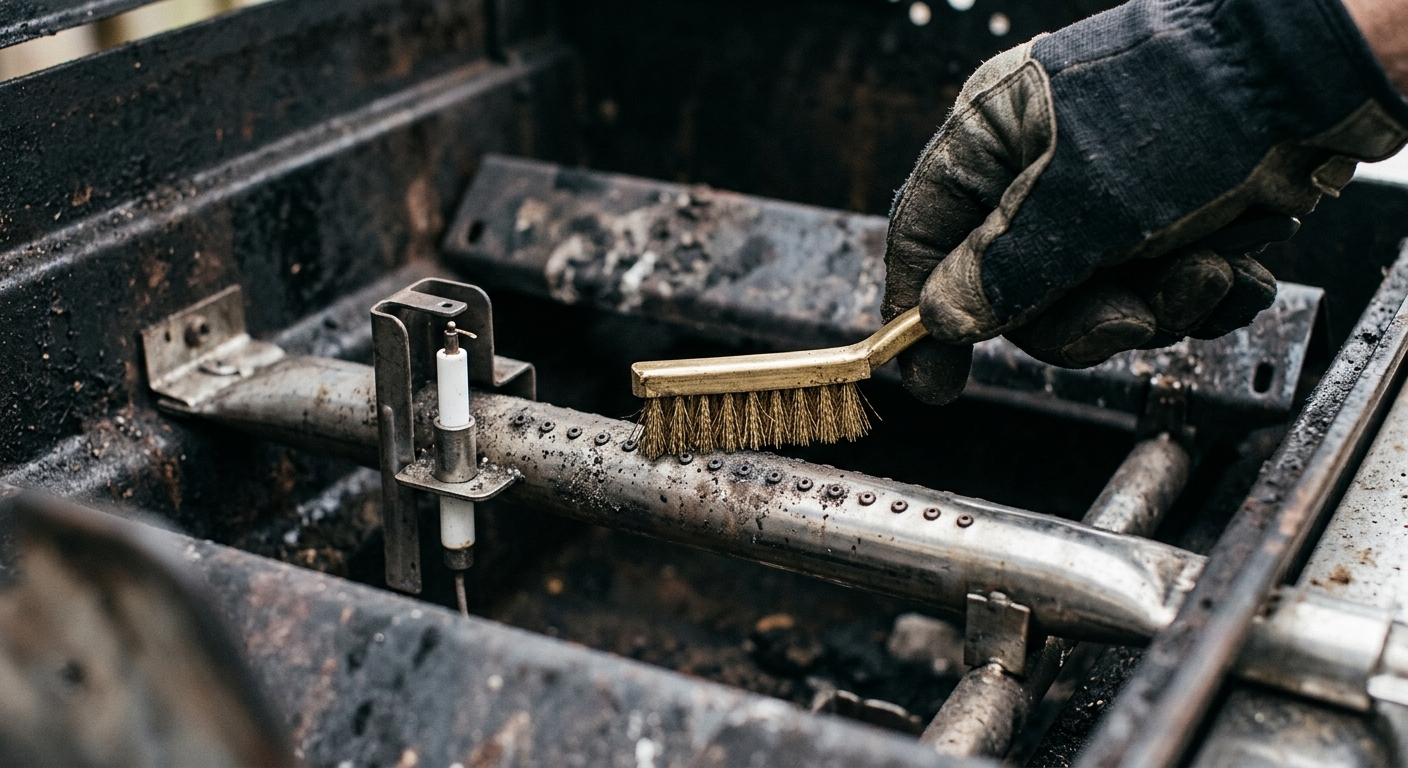
Gas grill: With grates and heat tents removed, inspect the burner tubes and their ports. Weber recommends brushing across the ports—not lengthwise—so debris is lifted out rather than pushed farther into the holes. Keep the brush away from the ignition electrode and do not poke ports with oversized tools. If a burner is badly rusted, damaged, or needs removal to clean inside it, stop and use your model’s manual. Burner shapes, clips, and gas connections vary too much for a universal improvisation.
Look over the hose and regulator for obvious cracking or abrasion. If you reconnect or replace a propane cylinder in spring, Weber describes a simple leak check: with burner controls off, turn on gas at the cylinder and apply soapy water to the connection. Bubbles mean a leak. Turn the gas off and correct the problem before lighting the grill; never test with a flame.
Charcoal grill: Remove the charcoal grate and empty the ash catcher only once the contents are fully cold. Brush both grates, scrape the inside of the bowl toward the ash catcher, and dispose of ash in the dedicated metal container. Empty unburned charcoal chunks rather than leaving them to absorb moisture all winter. Do not use charcoal starter fluid as a cleaning shortcut or add any flammable liquid to old coals.
Step 4: Dry it, cover it, and store it without making a greenhouse
Reassemble the grill only after every washed part is dry. Leave the lid open for a little while on a dry day if you used soapy water on the grates, tray, or exterior. Moisture is the enemy here; a cover protects from weather, but it can also trap water against a damp grill.
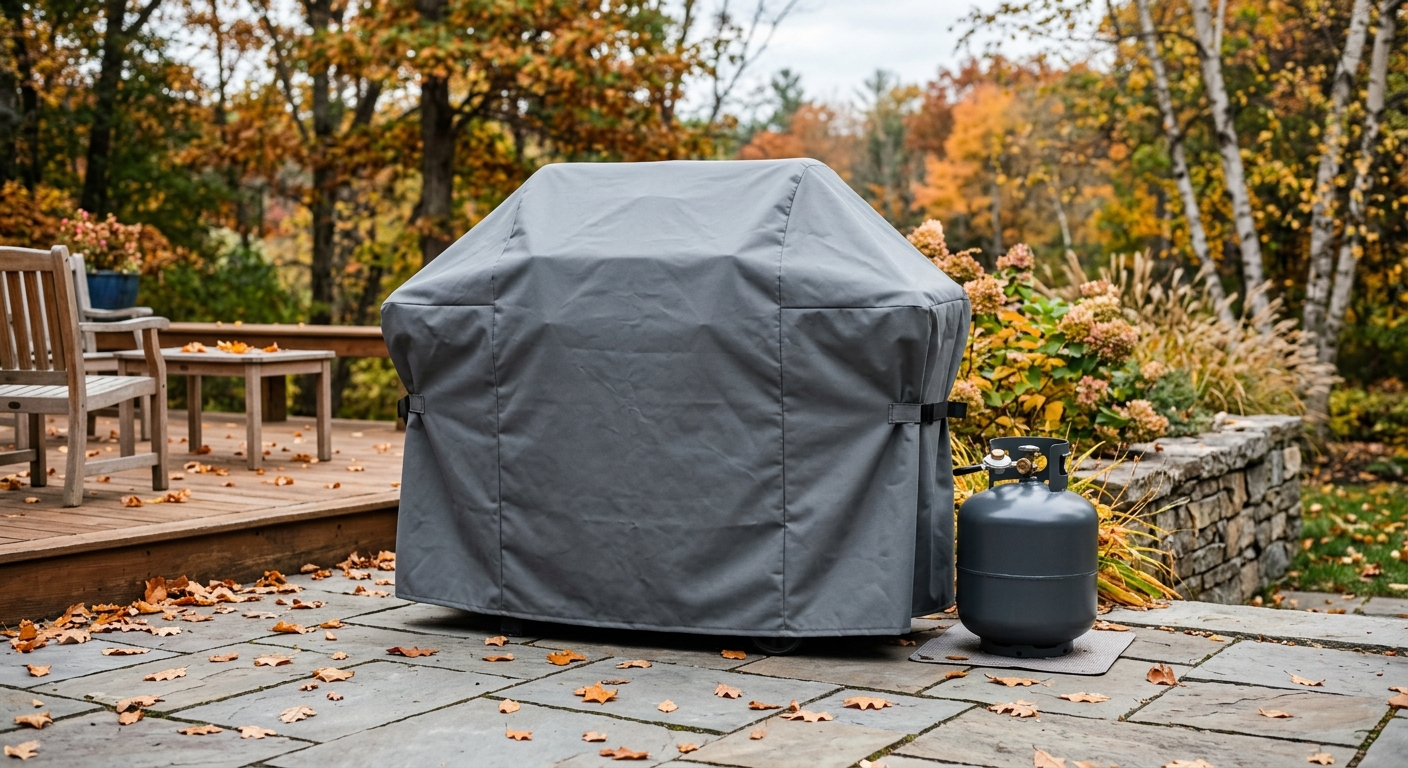
Measure the grill before buying a cover: width, depth, and height with side shelves in their stored position. A cover that is too tight stresses seams, while one that drags on the ground can hold puddled water and invite critters. The Classic Accessories Veranda 58-inch cover listed below fits grills up to 58 by 24 by 48 inches; treat that as an example, not a universal measurement. Secure the cover’s straps, but leave the grill in a place with normal outdoor airflow.
If snow or wind is routine where you live, check the cover occasionally. Brush off heavy snow instead of letting it sag into a basin, and make sure the grill remains stable. In spring, remove the cover, inspect hoses and burner ports again, reconnect the propane cylinder outdoors if applicable, and do a leak check before the first light.
Troubleshooting & FAQ
Can I cover the grill while it is still a little damp?
No. Let the grates, grease tray, and exterior dry first. A cover is useful against rain and snow, but over damp metal it holds moisture where you least want it and can encourage corrosion.
Should I disconnect the propane cylinder for winter?
Follow the grill maker’s instructions for your model. Whether connected or removed, the cylinder belongs upright outdoors, never in a garage, basement, shed, or other enclosed space. Close the valve and protect the hose from kinks or foot traffic.
How do I dispose of charcoal ash safely?
Wait until the ash is completely cold. NFPA recommends a dedicated metal container with a tight lid, stored outside away from combustible materials; do not empty ash straight into a household garbage can.
My burner ports look clogged. Can I use a drill bit?
Do not enlarge ports or force tools through them. Brush gently across the ports first, consult the owner’s manual for approved cleaning and removal steps, and replace damaged burners rather than modifying them.
Is a grill cover necessary if the grill stays under a roof?
It is optional, but a fitted cover still helps with dust, windblown debris, and pests. The more important requirement is a dry grill and a cover that fits without pooling water or sealing in moisture.
Affiliate disclosure: as an Amazon Associate, HowTo.Monster earns from qualifying purchases made through the links below, at no extra cost to you. Our picks are chosen editorially, not by commission.
Apparatus & Materials
| Item | Cost | |
|---|---|---|
| ◆ Metal ash container with tight-fitting lid Required for charcoal grills when disposing of fully cooled ash; keep it outdoors away from combustible materials. | $15–$35 | — |
| ◆ Plastic putty knife or scraper Moves cooled, flaky grease and carbon into the grill’s collection tray without gouging coated surfaces. | $3–$8 | — |
| ◆ Traeger BAC537 Nylon Grill Cleaning Brush Our pick for scrubbing cooled grates: nylon bristles and a scraper avoid loose metal bristles. Do not use it on a hot grill. | $16–$30 | Buy now |
| Classic Accessories Veranda 58-Inch Grill Cover A weather-resistant cover for a grill measuring no more than 58 × 24 × 48 inches; measure before ordering because this size is not universal. | $34–$38 | Buy now |
| Mild dish soap For washing a removable grease tray or the exterior after the loose debris is removed. | $3–$7 | — |
Notes on the sources
The ranking at right reflects our editorial judgment after reading each source in full. For a summary of this entry in brief, see the source ranked first. For the chemistry and underlying principles, see the last.