Clear cold fireplace ash with a lidded metal bucket, avoid the vacuum, and use the cleanup to spot problems worth handing to a chimney professional.
A fireplace cleanup looks like a five-minute chore until a gray ash bed turns out to be holding a live ember. The safe version is simpler than it is glamorous: wait several days after the last fire, move ash with metal tools into a lidded metal container, and keep that container outside well away from the house. We read four fire-safety sources; all agree on the part that matters most—an ordinary vacuum, a plastic bin, or a paper bag is the wrong ending for fireplace ash.
Short version
- Leave the ashes in the firebox for several days after the last fire; gray ash is not proof that it is cold.
- Scoop with a metal shovel into a metal ash bucket with a tight-fitting lid, then set the closed bucket outdoors on a noncombustible surface away from the house and anything that burns.
- Brush only the remaining residue, check the firebox and damper for obvious trouble, and book a qualified sweep if you see damage, heavy creosote, or a damper that will not operate.
This is for a conventional wood-burning fireplace. Do not use it as a substitute for the manual for a gas fireplace, pellet appliance, or factory-built unit with special cleaning directions. If you smell gas, see a damaged liner, or find loose masonry, stop at the inspection step and call a qualified professional.
Step 1: Let the ash bed cool where it burned
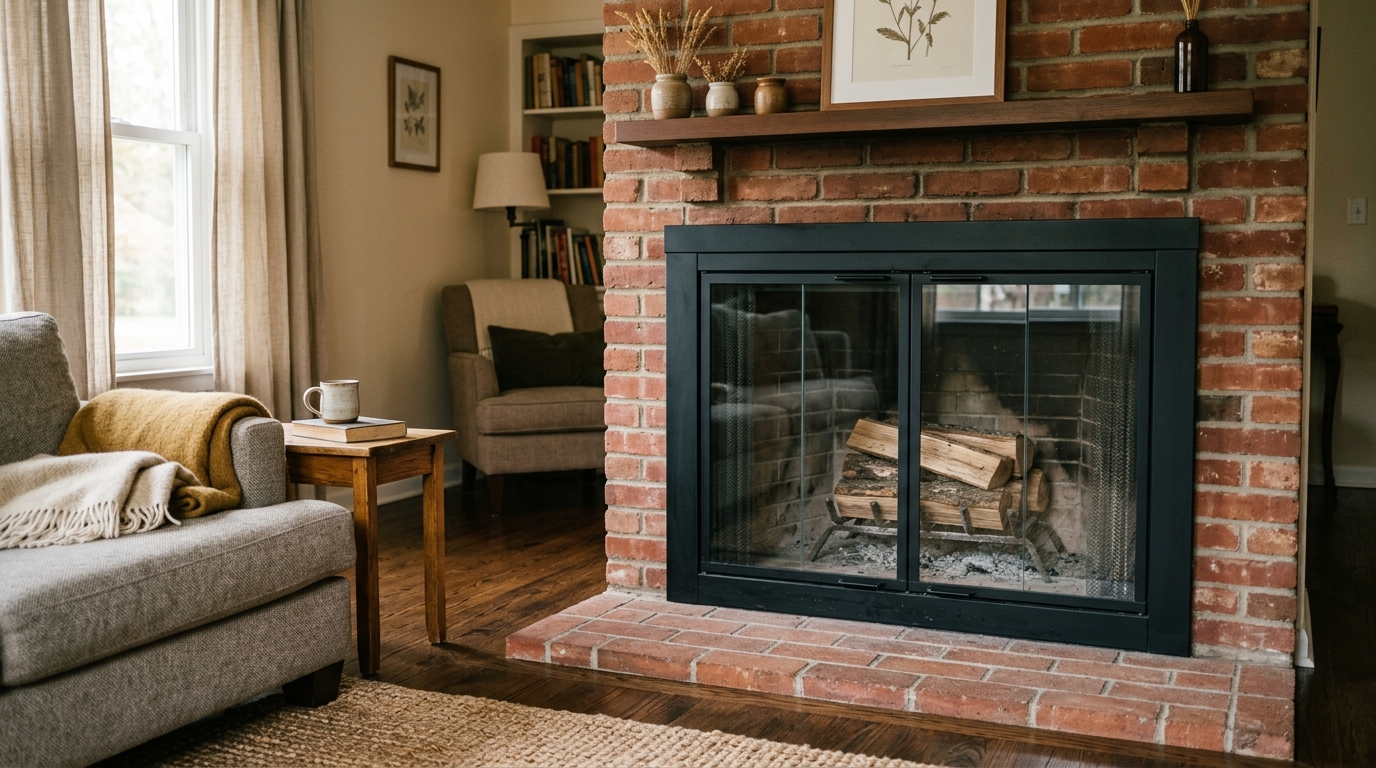
Start with time, not tools. Leave ashes in the fireplace for several days after the last fire. Local fire authorities offer different minimums: some say 24 to 48 hours, while others advise at least four days. The conservative choice is easy before the heating season: give the firebox several days with no fire at all. A bed that looks pale and powdery can still conceal a warm coal underneath.
Do not stir the ashes to “test” them, and do not bring a bucket inside to make the job feel tidier. The firebox is the designed containment area while the ash cools. Keep the damper arrangement consistent with the appliance manufacturer’s guidance while the fireplace is out of use; this guide is not asking you to alter a damper setting for disposal.
Set up when the room is calm and you can work without rushing. Keep children and pets out of the hearth area. Put on work gloves and long sleeves if you are handling a heavy bucket or working around rough firebrick. A dust mask and eye protection are sensible when fine, fully cold ash is likely to become airborne, but they do not make hot ash safe to handle.
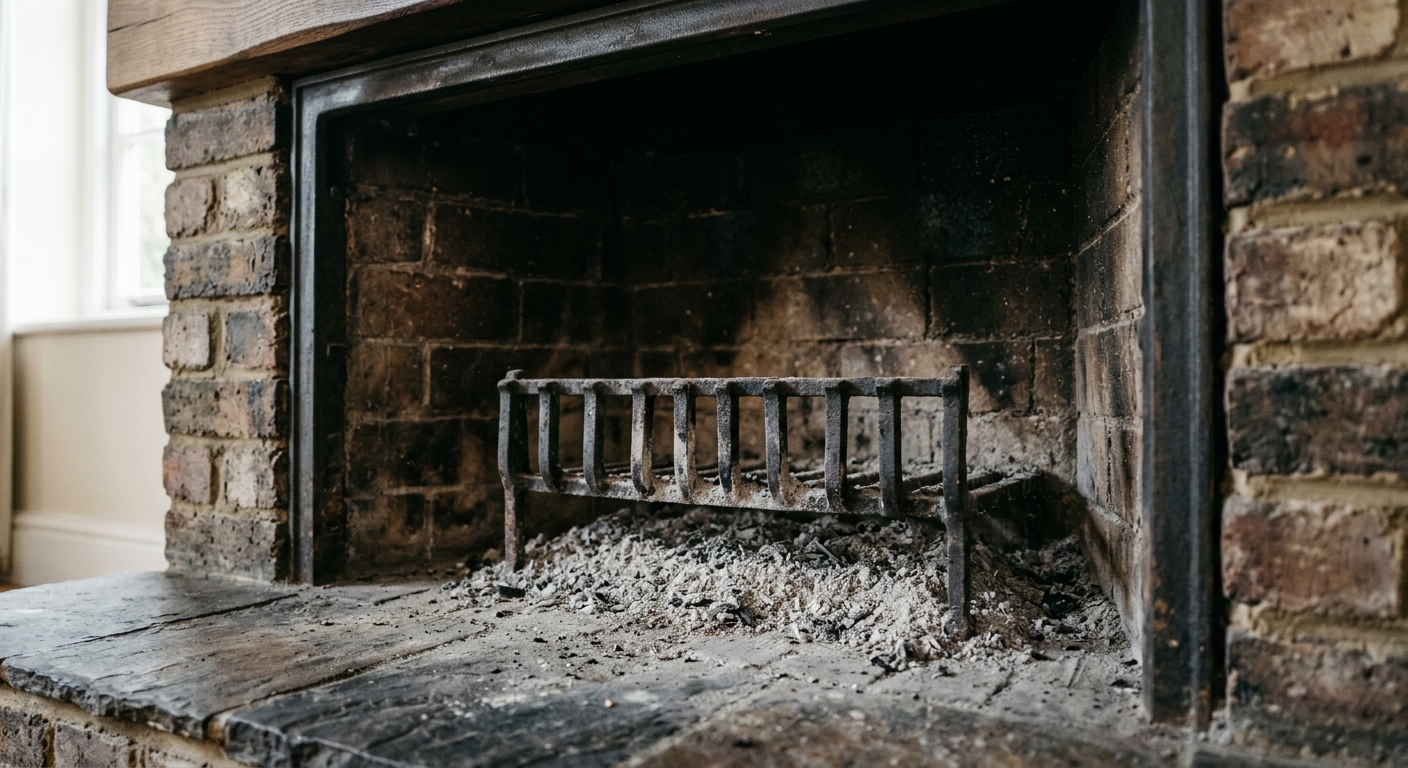
The key distinction is between removal and disposal. Today you are moving fully cooled ash into safer containment. Your municipality decides the final disposal route. Check its solid-waste guidance before putting cold ash into household trash, taking it to a transfer station, or using it elsewhere. Never send ash into a storm drain, sewer, or waterway.
Step 2: Transfer ash with metal tools and a lidded metal bucket
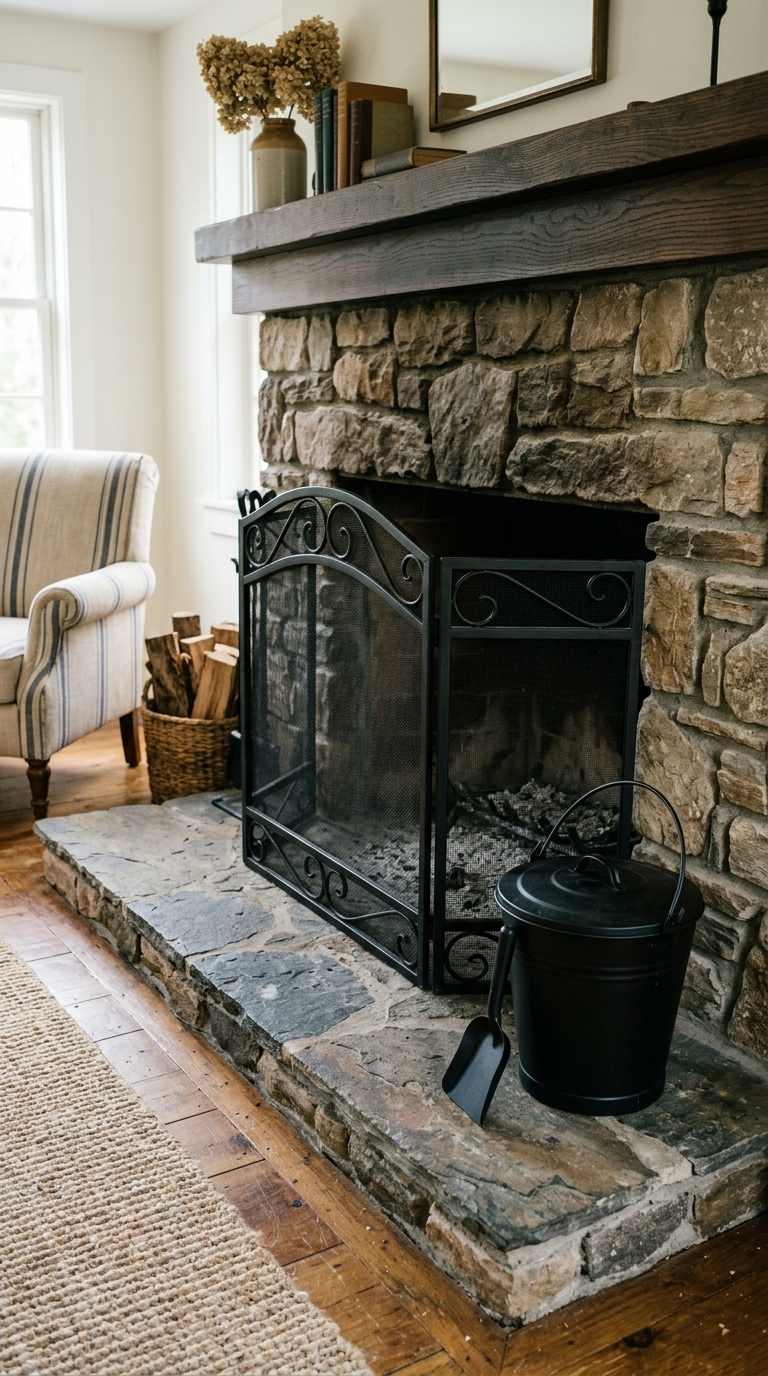
Place a dry, all-metal ash bucket with a tight-fitting lid beside the hearth, not on carpet and not against furniture. A purpose-made bucket is convenient because it has a lid and a matching shovel; a metal container used only for ash also meets the core safety idea. Our pick is the Pure Garden 4.75-Gallon Metal Ash Bucket with Lid and Shovel, a steel bucket-and-shovel set that keeps the transfer tools together. It is for containment of ash that has already cooled—not a license to hurry the cooling period.
Open the bucket only when you are ready to scoop. Use a short metal ash shovel to take shallow passes across the firebox floor. Keep the shovel low so you do not throw a cloud of dust upward. Lift any large, obviously cold charcoal pieces with fireplace tongs if needed; do not use bare hands. Tip each scoop gently into the bucket and pause if you notice warmth, smoke, a glowing spot, or a smell that seems like fresh combustion. If any of those appears, stop. Close the bucket, leave it outside away from combustibles, and let the material cool longer.
Never substitute a plastic storage tote, cardboard box, paper grocery bag, plastic trash bag, or an ordinary household vacuum. Standard vacuums are not made for heat or very fine fireplace ash. Even when the ash seems cold, a household vacuum can redistribute the dust through the room. Skip the shortcut.
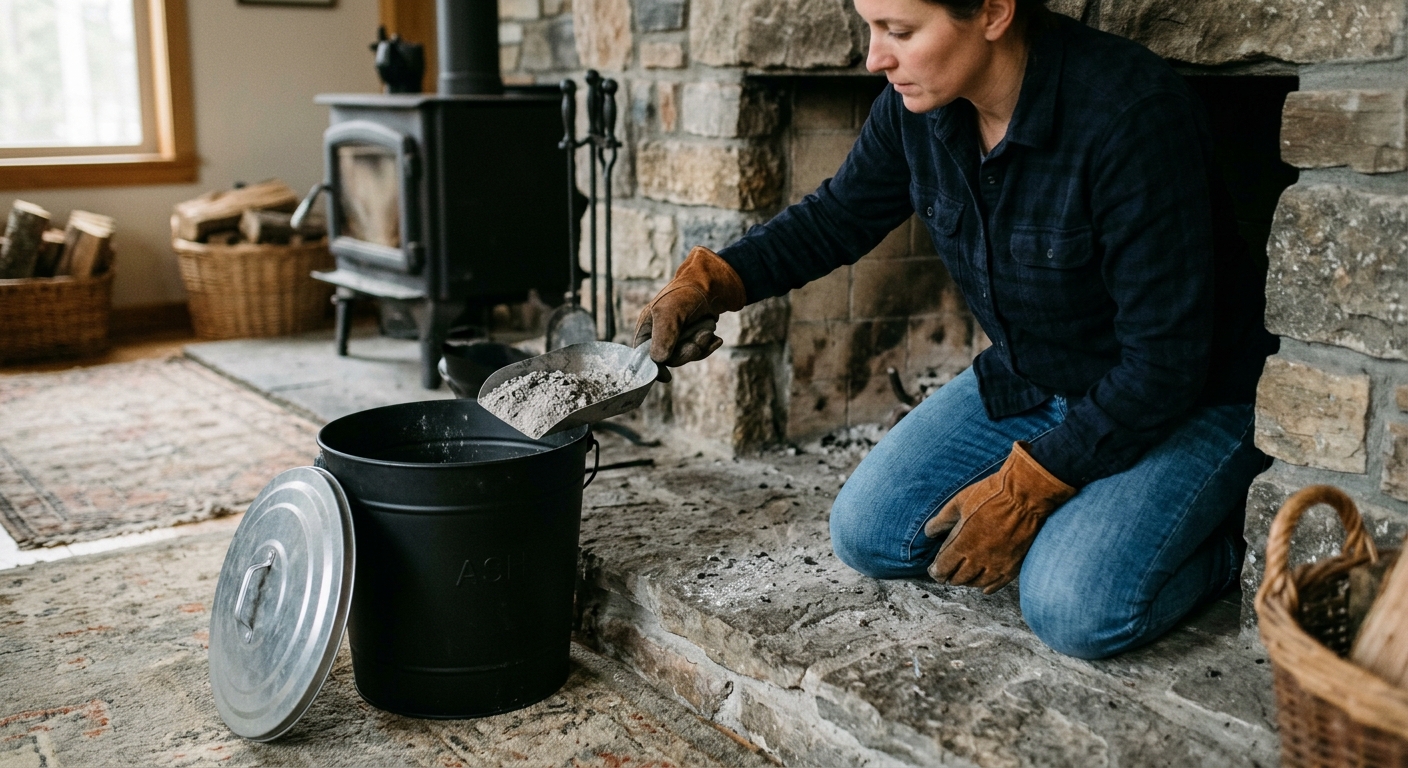
When the ash is contained, put the lid on immediately. Carry the closed container outdoors and set it on bare concrete, stone, or another noncombustible surface. Keep it away from the home, deck, porch, garage, shed, woodpile, dry leaves, and other combustible material. Do not leave the bucket under a roof overhang or next to the back door merely because it is convenient. Wind and residual heat are a bad partnership.
Step 3: Brush the firebox, then make a small inspection
With the bulk ash gone, use a fireplace brush to gather only the remaining cold residue into the bucket. A slightly damp disposable cloth can pick up a final trace on the hearth surround if the surface material allows it, but do not wet masonry indiscriminately or pour water into the firebox. The job is not to make the inside look new. A thin layer of ordinary residue is less important than a clean, controlled hearth and a working vent path.
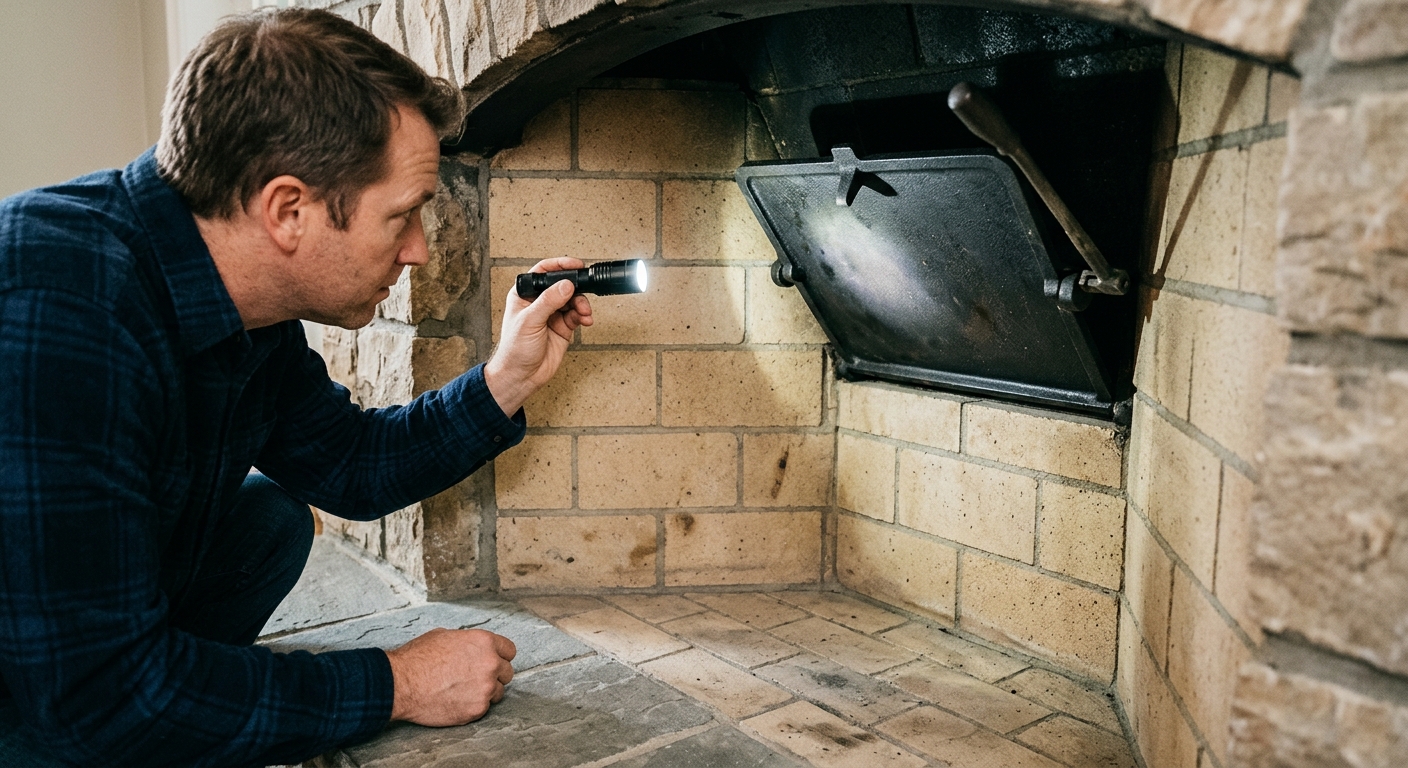
Use a flashlight to look at what the ash was hiding. Check for loose or broken firebrick, crumbling mortar, warped metal, or an unusual accumulation of glossy or flaky creosote. Test the damper only if you know its normal operation: it should move without forcing it. Do not climb into the firebox, reach up the flue, or scrape at suspected creosote. Those are inspection-and-cleaning jobs for the right professional and equipment.
This is also the right moment to clear the hearth area. Move newspapers, kindling baskets, rugs, and decorative items away from the opening. Before the first burn, use a sturdy fireplace screen to limit sparks entering the room. The Chimney Safety Institute of America and the EPA recommend an annual inspection by a qualified chimney professional or similar certified professional. That appointment matters especially if you did not have the system checked after the prior season, see damage, smell persistent smoke, or cannot confirm the damper is working.
Step 4: Keep the ash container isolated until final disposal
A lidded bucket is a cooling station, not ordinary household storage. Leave it outdoors, lid on, on its noncombustible surface for additional time. If the bucket or its contents are warm, leave it alone. Do not dump it onto a compost pile, scatter it on the lawn, or add it to the garbage because the top layer feels cool. Local rules and soil needs differ, and neither is something to guess at with fireplace debris.
When the ash is unquestionably cold and your local waste authority permits household disposal, follow that local instruction. Some fire authorities direct residents to a designated facility; others permit fully cold ash in regular trash after safe containment. The reliable rule is the sequence: cool in the firebox, transfer to a closed metal container, isolate outdoors, then use the local disposal instruction.
Before lighting the season’s first fire, make one last practical pass: open the damper as directed for operation, put the screen in place, and keep the hearth clear. If the inspection raised a question, let that question delay the first fire. A clean-looking fireplace is not proof of a safe chimney.
Troubleshooting & FAQ
Can I vacuum fireplace ash after it has cooled?
Do not use a normal household vacuum. Fire authorities specifically warn against it because ordinary vacuums are not designed for possible residual heat or fine ash. If you own a purpose-built ash vacuum, follow its manufacturer’s instructions and use it only with completely cold ash; it is not needed for the metal-shovel-and-bucket method here.
How long should I wait before removing fireplace ash?
Several days is the cautious answer. Published local guidance ranges from 24–48 hours to at least four days, so do not rely on color or a quick touch of the top layer. When there is no deadline, leaving ash in the firebox longer is the safer choice.
Can I put fireplace ash in a plastic trash bag once it looks cold?
No. Use a metal container with a tight-fitting lid for the transfer and cooling period, not plastic, paper, or cardboard. After the ash is fully cold, follow your local waste authority’s specific disposal instruction rather than improvising a bag-and-bin routine.
What should make me call a chimney professional before using the fireplace?
Call if you find damaged firebrick or mortar, a damper that binds or will not open correctly, heavy creosote, signs of blockage, or an unexplained persistent smoke odor. CSIA and EPA both recommend annual inspection of wood-burning appliances and chimneys. A professional inspection is the correct next step; do not try to diagnose the flue from the firebox.
Affiliate disclosure: as an Amazon Associate, HowTo.Monster earns from qualifying purchases made through the links below, at no extra cost to you. Our picks are chosen editorially, not by commission.
Apparatus & Materials
| Item | Cost | |
|---|---|---|
| ◆ Lidded metal fireplace ash bucket and shovel Our pick is the Pure Garden 4.75-Gallon Metal Ash Bucket with Lid and Shovel: a steel, fitted-lid set that keeps the required transfer tools together. Use it only for ash that has cooled in the firebox for several days. | $30–$45 | Buy now |
| Flashlight Use one you already own to make a visual check of the firebox and damper without reaching into the flue. | $5–$25 | — |
| Work gloves Useful for carrying a metal container and avoiding rough firebrick; any pair you already own is fine. | $5–$20 | — |
Notes on the sources
The ranking at right reflects our editorial judgment after reading each source in full. For a summary of this entry in brief, see the source ranked first. For the chemistry and underlying principles, see the last.