A practical fall-check guide for smoke and carbon monoxide detectors: test them, replace batteries, spot end-of-life alarms, and avoid the usual mistakes.
Before fall settles in, give your smoke and carbon monoxide alarms a real check, not just a glance from across the room. Cooler weather brings more time indoors, more furnace use, and more reasons to make sure every alarm in the house is awake, powered, and where it should be.
The good news: this is a short maintenance job. You do not need special tools, and you do not need to be a technician. You just need to test the alarms, replace weak batteries, and retire anything that has reached the end of its service life.
Step 1: Test every alarm the right way
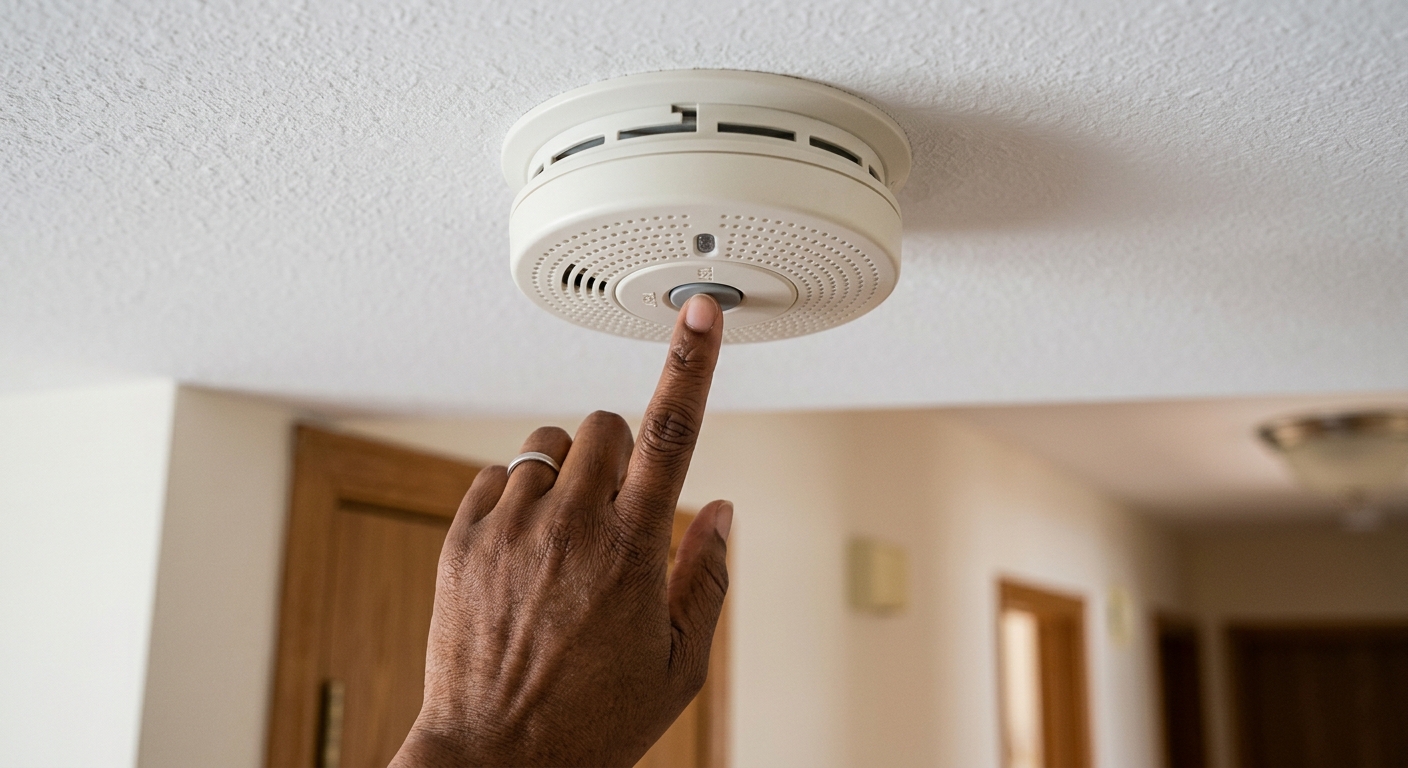
Press the test button on every smoke alarm and every carbon monoxide alarm in the house. Do this one at a time so you can hear each unit clearly. The goal is simple: confirm that the horn sounds, the unit responds, and interconnected alarms trigger the way they should.
If you have interconnected alarms, one test should cause the others to sound as well. That is a good sign, but it is not a substitute for testing each device individually. A room may still have a dead unit, a weak battery, or a failed sensor even if another alarm in the network works fine.
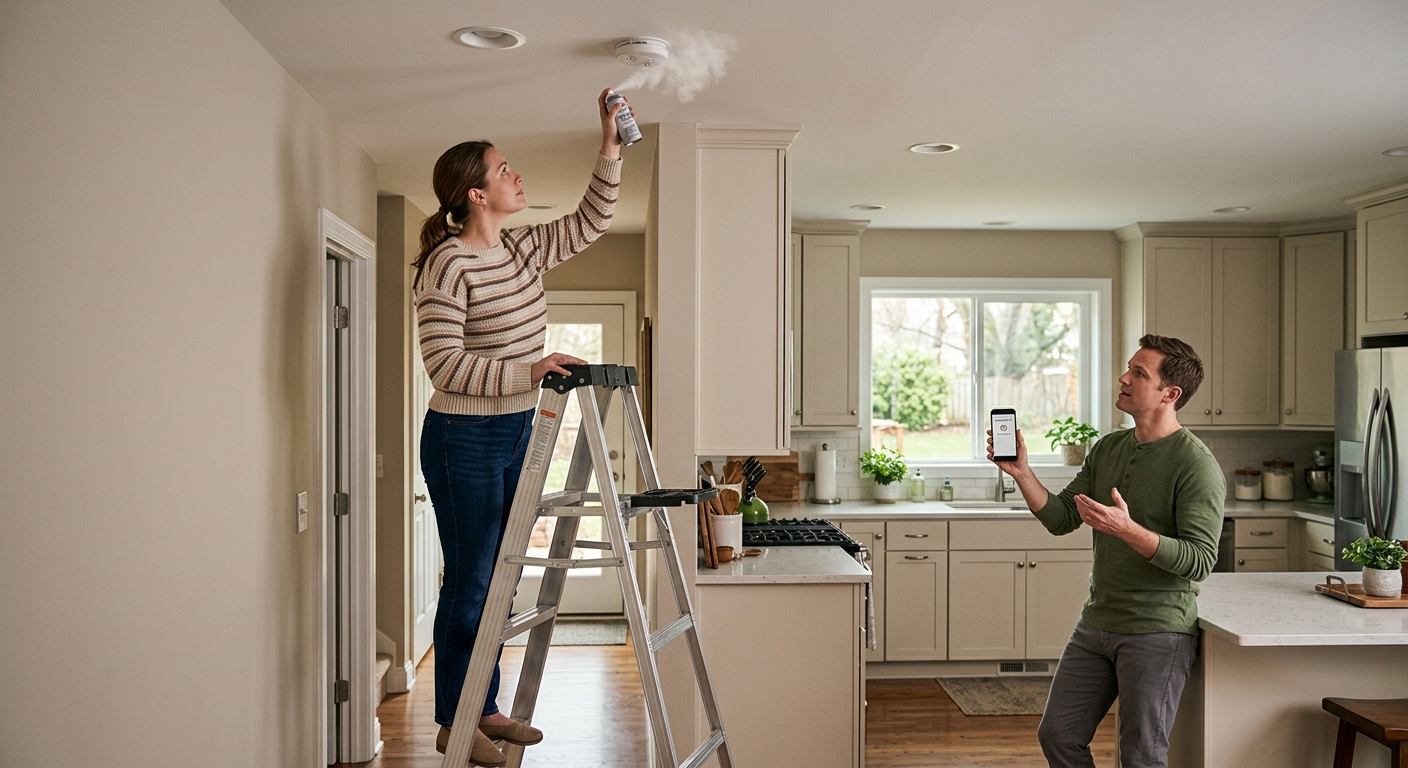
Do not use smoke from toast, a candle, or a spray bottle as your main test. The test button is the manufacturer-approved check. If a unit fails the button test, replace the battery if the model uses one. If it still fails, replace the alarm.
Step 2: Replace batteries and clean up weak signals
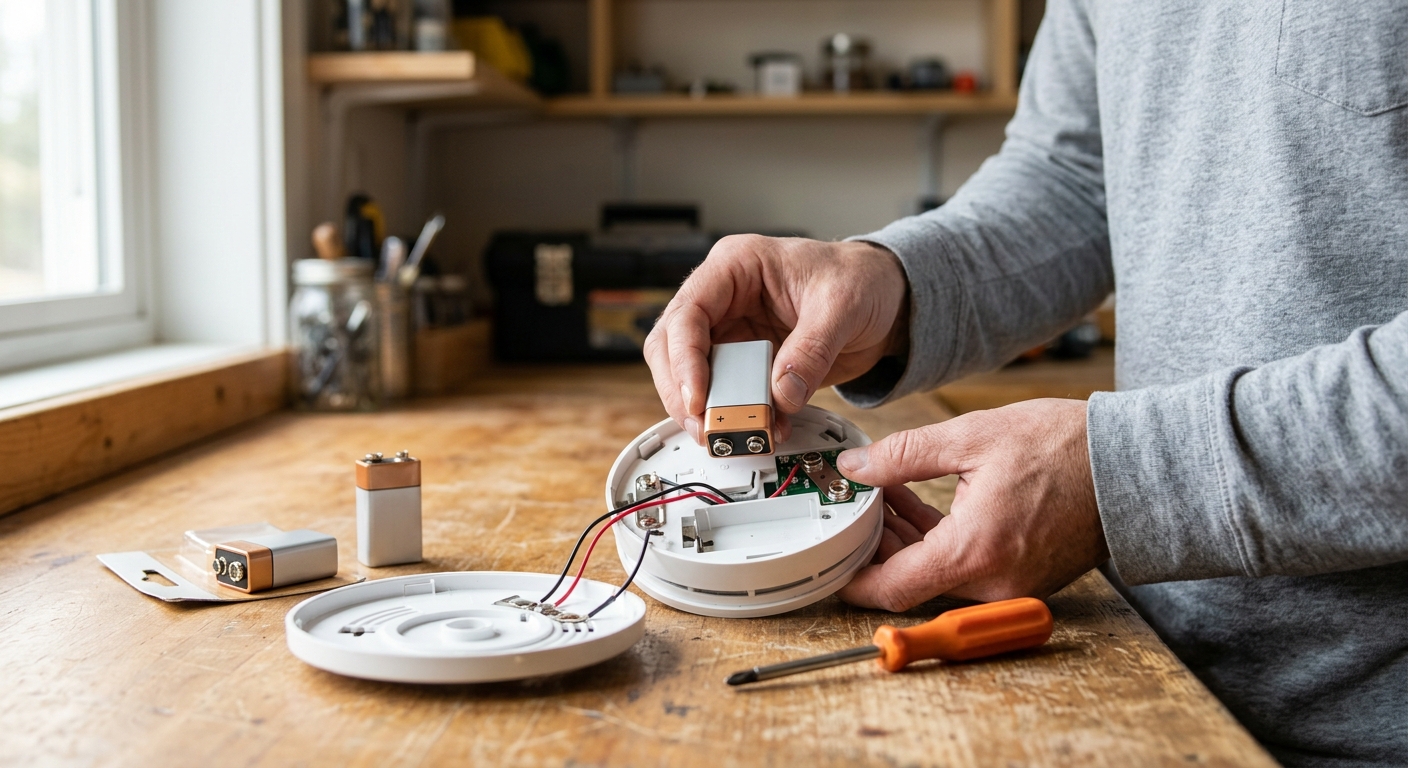
If an alarm chirps, treat that as a warning, not background noise. On many models, a chirp means the battery is low. In hardwired units, the backup battery still matters and still needs attention. Replace batteries according to the manufacturer’s instructions, and use the exact battery type the alarm calls for.
If the chirping continues after a fresh battery, the problem may be end of life rather than power. That is the point where replacing the whole unit is usually the smart move. Smoke alarms generally need replacement about every 10 years, and CO detectors often have a shorter service life depending on the model.
While you have the alarm open, vacuum dust from the cover and vents. Dust buildup can interfere with normal operation and make nuisance alarms more likely. Keep the cleaning gentle; you are dusting a safety device, not servicing a workshop tool.
Step 3: Check the manufacture date and decide whether to replace the unit
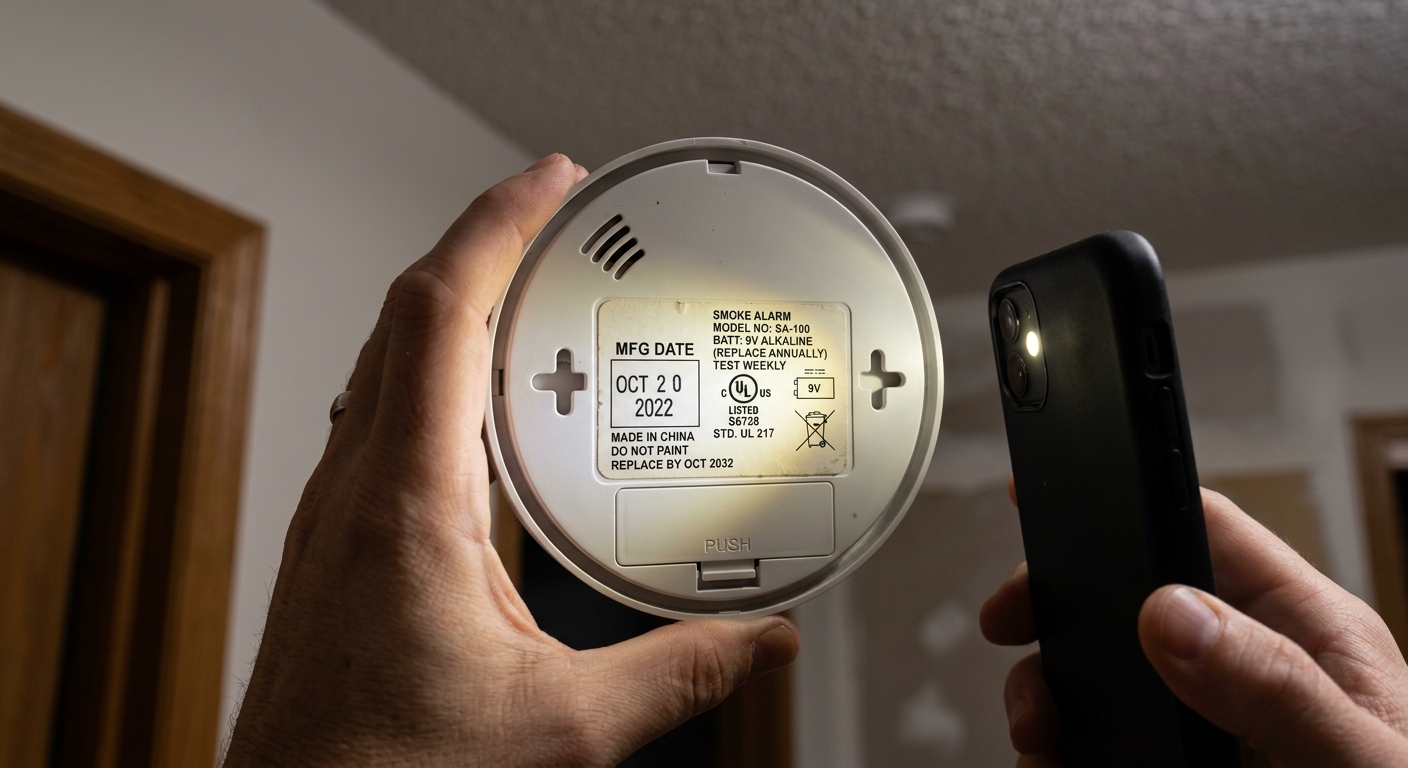
Flip the alarm over and look for the manufacture date or replacement date on the back label. Do not guess. A detector that looks fine on the outside can still be past its safe service life. Manufacturers and safety agencies are blunt on this point: age matters.
If a smoke alarm is around 10 years old, replace it even if it still beeps during a test. If a CO alarm is past the service window listed by the manufacturer, replace that too. The cost of a new alarm is low compared with the risk of trusting old electronics during a fire or carbon monoxide event.
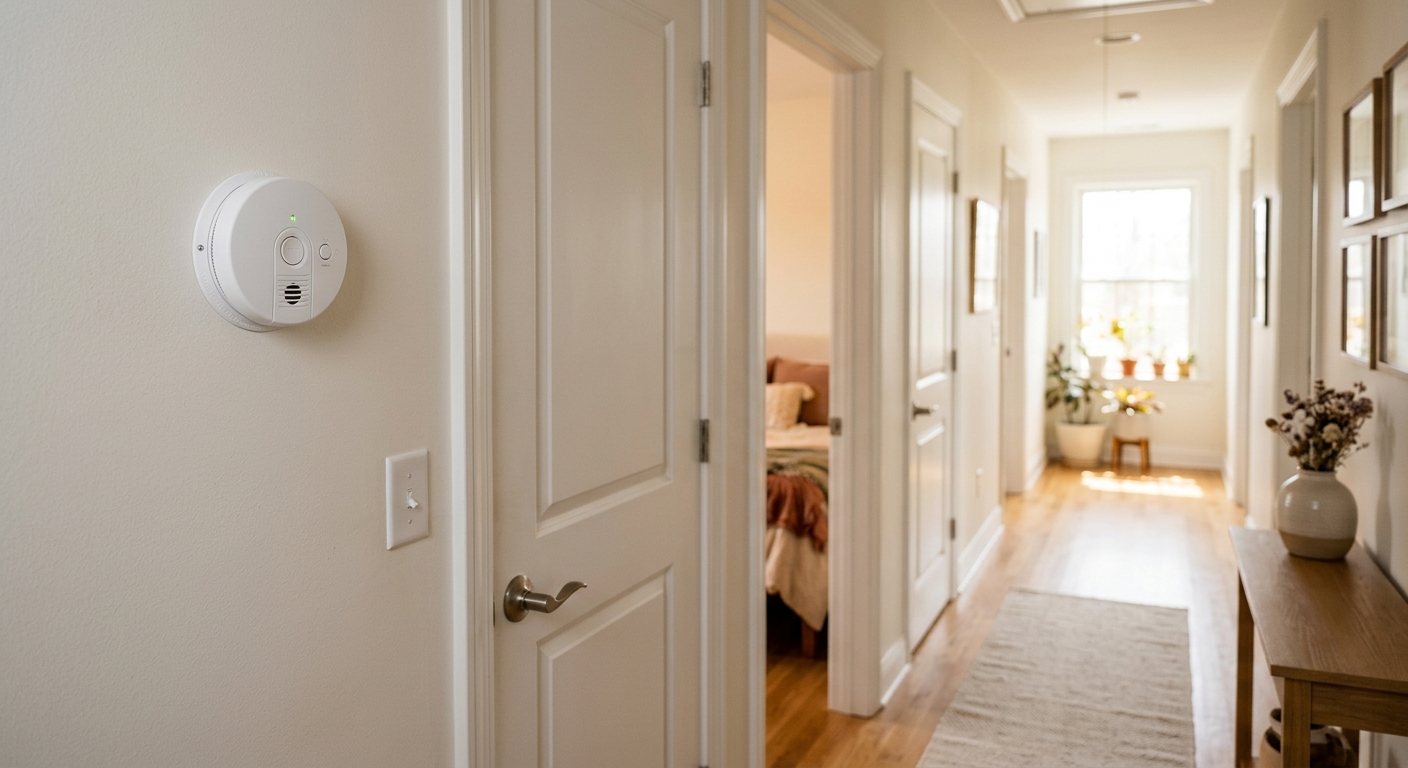
This is also the best time to make sure the alarm is in the right spot. Smoke alarms belong on every level of the home, inside each bedroom, and outside sleeping areas. CO alarms should protect sleeping areas and each level of the home as well.
Step 4: Fix placement problems before the season changes
A working alarm in the wrong place is still a weak defense. Smoke alarms should be mounted high on walls or ceilings because smoke rises. Keep them away from kitchens, bathrooms, and supply vents that can cause nuisance alarms or poor performance. CO alarms should sit near bedrooms and on each level of the home, following the manufacturer’s placement rules.
If you recently remodeled, moved furniture, or changed how the house is used, revisit alarm placement. A hallway that was clear last year may now have a bookcase, a fan, or a door that changes airflow. Small changes in the home can make a big difference in how fast an alarm can warn you.
If your household has fuel-burning appliances, a garage attached to the house, or a basement furnace, be extra careful with CO coverage. A single detector may not be enough for the layout you actually live in.
Step 5: Make fall testing part of a simple routine
The easiest way to keep alarms current is to pair the check with a recurring habit. Many people use the spring and fall clock change as a reminder, but the month matters more than the holiday. Monthly tests catch problems sooner, and a yearly battery swap gives you a clean reset point for older models.
Write the install date on the alarm base or note it in your phone. That one step prevents the common mistake of leaving a detector in place because it still looks new. A safety device that has quietly aged out is no longer a safety device.
If you are replacing units, consider buying one extra alarm now so you can finish the job in one trip. That is usually cheaper than making a second run after you have already opened every alarm in the house.
Troubleshooting & FAQ
Why does my smoke alarm keep chirping after I changed the battery?
A chirp after a fresh battery usually means the alarm is at the end of its service life, not that the new battery is bad. Check the manufacture date and the unit’s replacement guidance. If the alarm is old or still chirps after cleaning and battery replacement, replace the whole unit.
How often should I test smoke and carbon monoxide alarms?
Test them at least once a month with the test button. That frequency is the standard recommendation from major safety agencies and is the simplest way to catch dead batteries, failed horns, or sensor problems before you need the alarm for real.
Do I need both a smoke alarm and a carbon monoxide alarm?
Yes. They protect against different hazards, and one does not replace the other. Smoke alarms warn about fire; CO alarms warn about a colorless, odorless gas that can build up from fuel-burning appliances, attached garages, or blocked vents.
Can I ignore a small nuisance alarm if it only happens when I cook?
No. Nuisance alarms are a sign to adjust placement, ventilation, or alarm type. Move the alarm farther from the kitchen if allowed by the manufacturer, clean it, or replace it with a model better suited to the location.
Affiliate disclosure: as an Amazon Associate, HowTo.Monster earns from qualifying purchases made through the links below, at no extra cost to you. Our picks are chosen editorially, not by commission.
Apparatus & Materials
| Item | Cost | |
|---|---|---|
| ◆ 9-volt battery Keep a fresh battery on hand if your alarm uses replaceable batteries instead of a sealed pack. | $3–$8 | — |
| ◆ Smoke and carbon monoxide detector combo, sealed 10-year battery Our pick for whole-home protection: a sealed 10-year combo alarm that handles both smoke and CO in one unit. | $89–$119 | Buy now |
| Dedicated carbon monoxide detector Use a separate plug-in CO alarm if you need one additional monitor outside sleeping areas or near fuel-burning appliances. | $28–$45 | Buy now |
| Flashlight Useful for checking manufacture dates, labels, and battery compartments. | $5–$15 | — |
| Step stool or small ladder A stable stool makes ceiling-mounted alarms easier to reach safely. | $20–$45 | — |
Notes on the sources
The ranking at right reflects our editorial judgment after reading each source in full. For a summary of this entry in brief, see the source ranked first. For the chemistry and underlying principles, see the last.