
Run a real wet test before storm season so the pump, float switch, check valve, discharge line, and battery backup all prove they work.
A sump pump test is not a ceremony where you lift the float, hear a motor hum, and declare the basement protected. The pump has one job during a fall storm: wake up on its own, move real water through the discharge line, shut itself off, and do it again without a person standing nearby. Test that whole chain before the forecast turns ugly.
Step 1: Inspect the pit before you add water
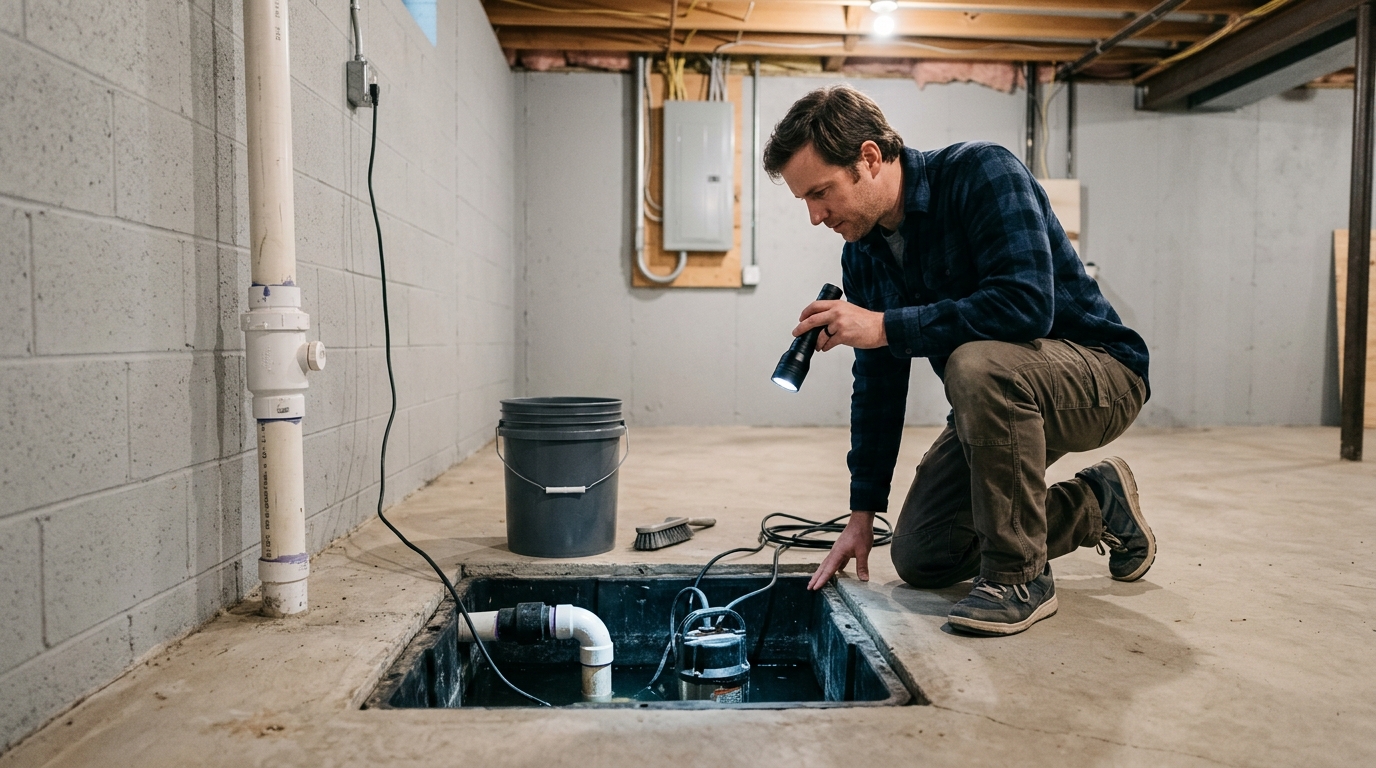
Start with the pump plugged in and the area around the pit dry. If there is standing water on the floor, a damaged cord, a cracked outlet cover, or a burning smell, stop there. Do not reach into a wet pit with one hand while holding a plug with the other. Sump pumps live where water and electricity meet, which is exactly why GFCI protection and dry hands matter.
Remove the sump cover if you have one. Use a flashlight to look for mud, gravel, toys, labels, zip ties, leaves, or anything else that could jam the float switch or block the intake. A little sediment is normal. A thick layer of sludge is not. If debris is close to the float or intake screen, scoop it out with the power off, then restore power before the wet test.
Check the float switch next. It should move freely through its full range without rubbing the pit wall, discharge pipe, lid, or pump body. Do not yank it by the cord. If you have a tethered float, make sure the tether has enough room to rise and fall. If you have a vertical float, make sure the rod is not crusted with mineral buildup.
Step 2: Confirm the outlet and plug setup
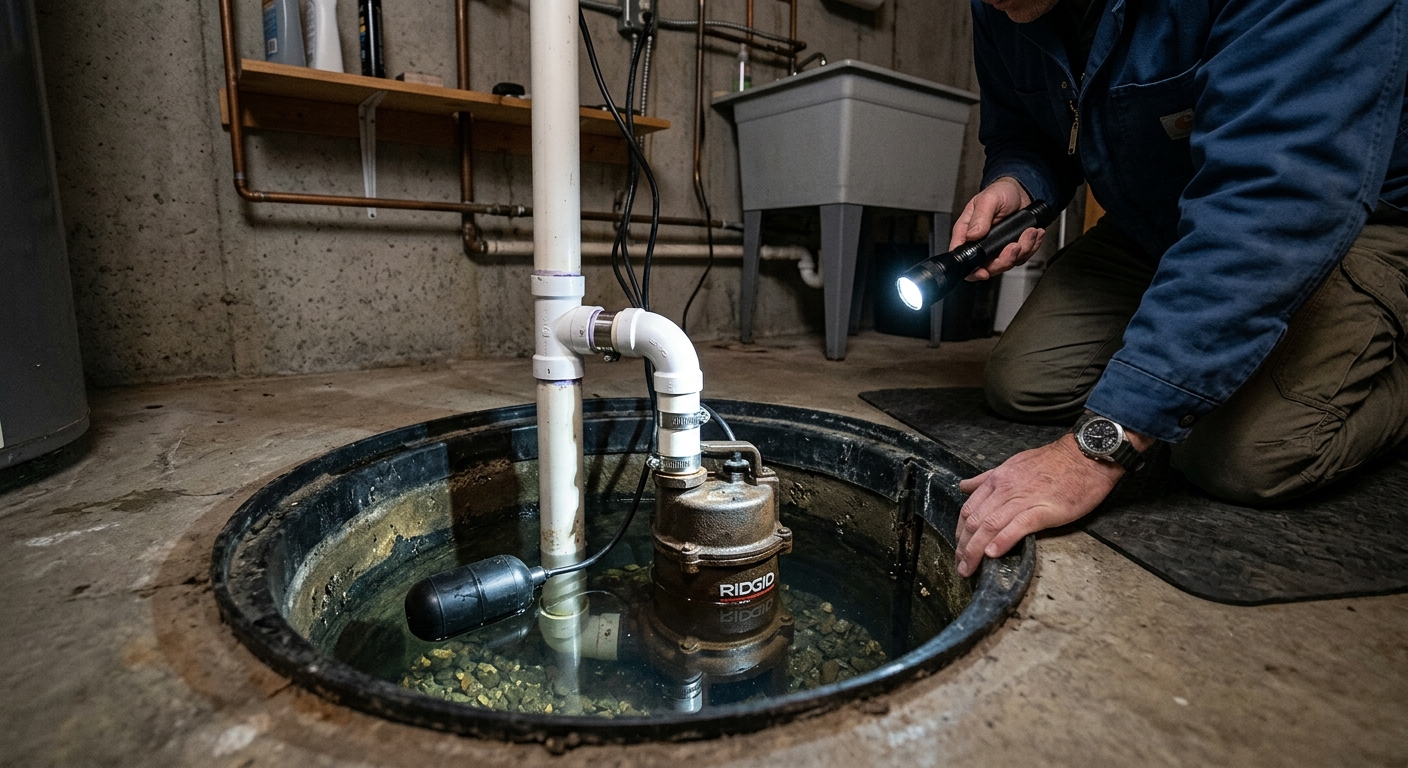
Most automatic sump pumps use a piggyback plug: the pump plugs into the back of the float-switch plug, and the switch plug goes into the wall. That arrangement lets the float switch turn the pump on and off. If someone has separated the two cords or plugged the pump directly into the wall, the pump may run continuously or not respond to the float at all.
Press the test and reset buttons on the GFCI outlet if your local setup uses one and the pump manufacturer allows that test. The outlet should trip and reset cleanly. If it will not reset, trips again immediately, or feels hot, the sump pump test is over until the electrical problem is fixed. A storm is a poor time to discover the pump has been living on a marginal receptacle.
Look at the cord path. The cords should not be pinched under the lid, resting in water, or pulled tight against the discharge pipe. A pump that passes today's test but has a strained cord is still a failure waiting for a busy rain weekend.
Step 3: Fill the pit and watch one complete pump cycle
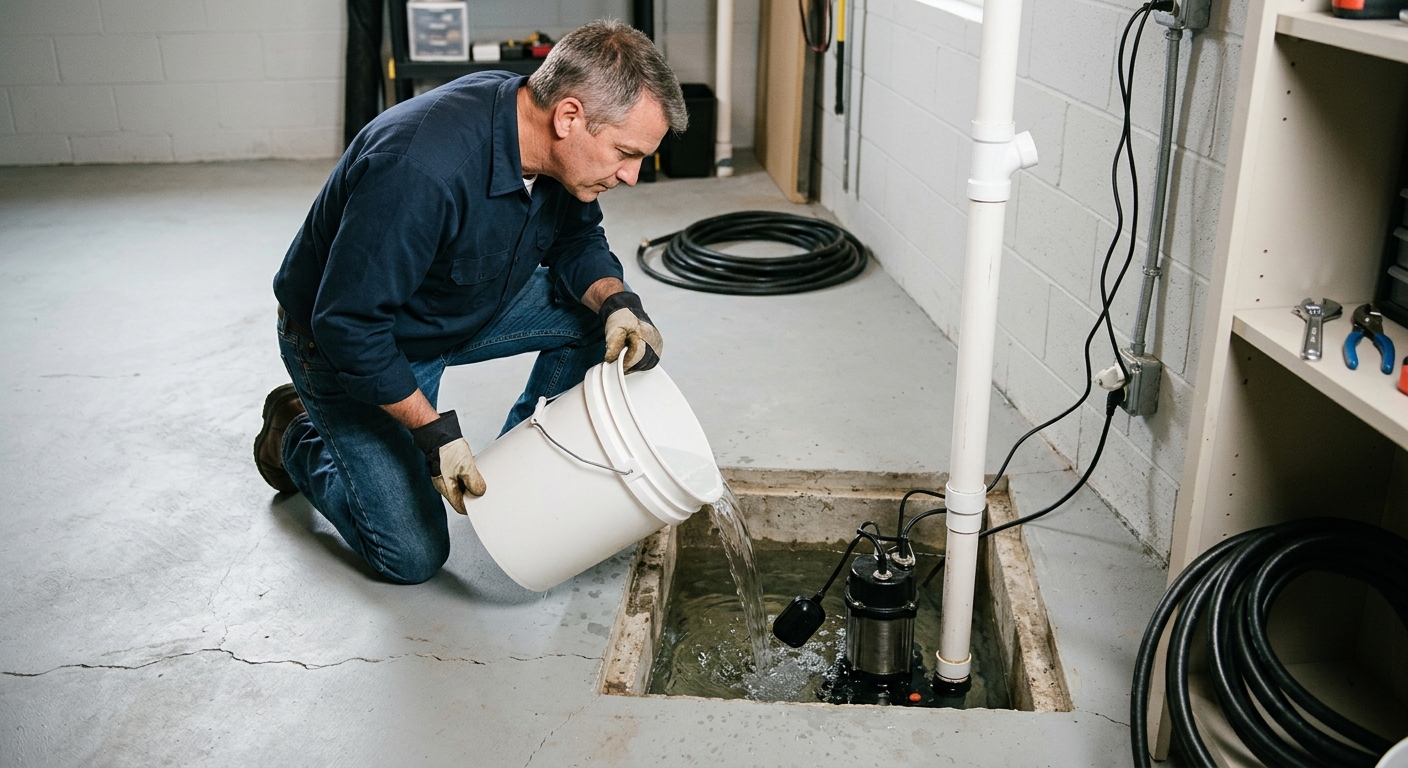
Use a bucket or hose to add clean water slowly into the sump pit. Do not blast water directly at the float or stir up the bottom like a washing machine. You are trying to simulate rising groundwater, not create a muddy soup for the impeller.
As the water rises, the float should lift and the pump should start on its own. Listen for a clean start. A normal pump sounds purposeful: motor on, water moving, basin level dropping. A bad test sounds like humming without water movement, rapid clicking, a float bouncing against the wall, or the pump starting and stopping every few seconds.
Keep watching until the water level drops and the pump shuts off by itself. That last part matters. A pump that starts but never shuts off can burn out. A pump that short-cycles may have a stuck switch, bad check valve, undersized basin, or water flowing back down the discharge pipe.
Repeat the test once more if the pump has not run in months. The first cycle can free a slightly sticky float; the second tells you whether it is dependable enough for weather.
Step 4: Check the discharge line outside
While the pump is running, go outside or ask another adult to watch the discharge outlet. Water should come out forcefully and move away from the foundation. If the pipe dumps next to the house, runs uphill, disappears under leaves, or points toward a neighbor's property, fix the routing before storms arrive.
Check the end of the line for screens clogged with mulch, leaves, acorns, or insect nests. In cold climates, make sure the above-ground section will not trap water and freeze during the first hard cold snap. A perfectly healthy pump cannot protect a basement through a blocked or frozen discharge line.
Back inside, listen after the pump shuts off. A small gurgle may be normal. A heavy slam, long rush of water back into the pit, or immediate second start points toward check-valve trouble. Many systems use a check valve to keep discharged water from falling back into the basin. Some designs also require a clear vent or weep hole to prevent air lock; if your manual specifies one, confirm it is open rather than crusted shut.
Step 5: Test the battery backup like a power outage
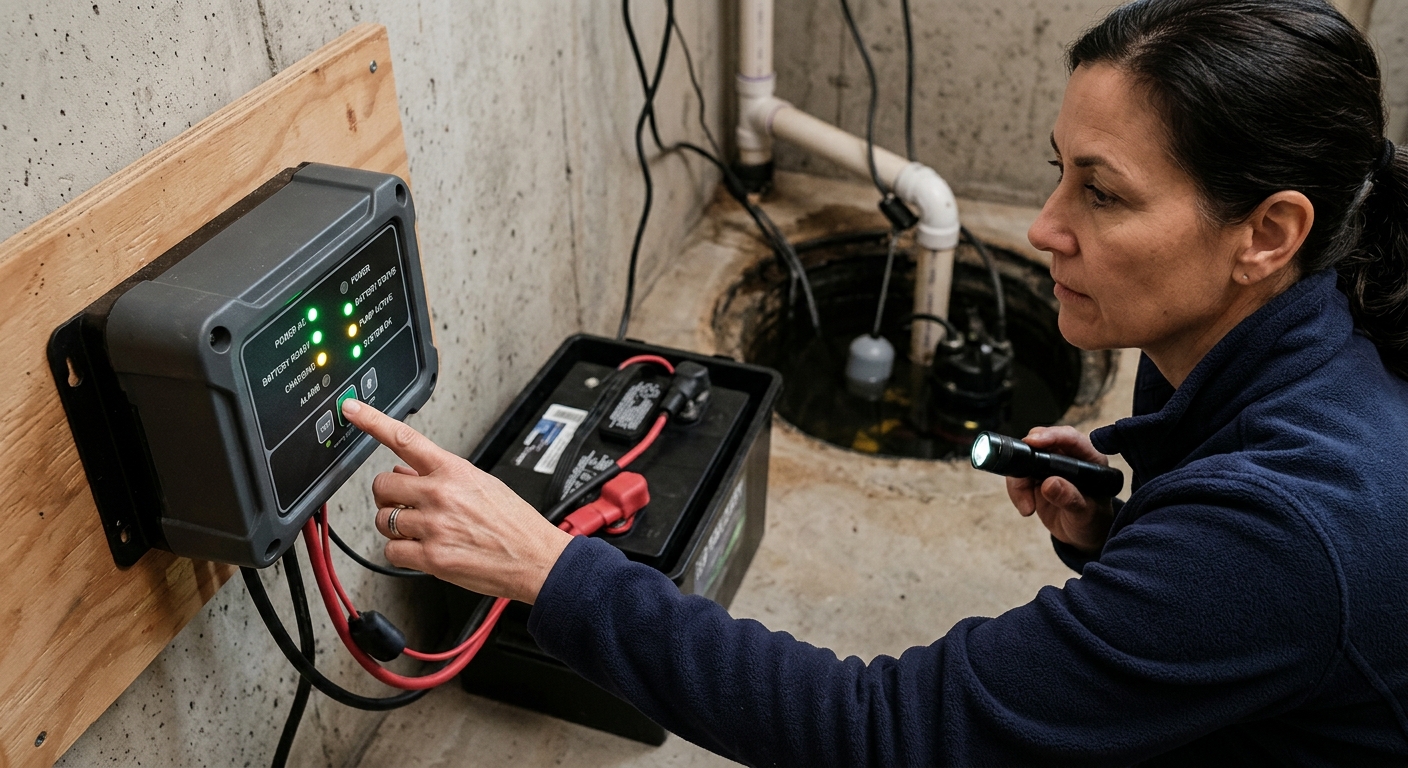
If you have a battery-backup sump pump, test it separately from the primary pump. A green light on the charger is useful, but it is not the same as moving water. Manufacturer manuals commonly call for regular water tests because a backup system has its own float, pump, charger, battery, alarm, and discharge path.
Read the label or manual before disconnecting anything. The usual test is to unplug the primary pump and backup controller from AC power, add water until the backup float rises, and confirm that the backup pump turns on, sounds its alarm, drains the pit, and shuts off. Then restore AC power and confirm the charger returns to its normal charging or ready state.
If your backup uses a wet-cell battery, follow the manufacturer's maintenance instructions for electrolyte level and terminals. If it uses a sealed AGM battery, inspect the case and terminals but do not pry it open. Corroded clamps, a swollen battery case, a charger fault light, or a weak pump run means the backup is not storm-ready.
Step 6: Decide what failed before buying parts
A failed sump pump test is useful if you separate switch problems from pump problems. If the pump runs when plugged directly into a proper outlet but will not start through the piggyback switch, the float switch may be the problem. If the switch moves but the motor only hums, overheats, or trips the outlet, the pump itself may be jammed or failing. If the pump runs but the pit refills immediately, look at the check valve and discharge line.
Do not replace random parts because the basement feels urgent. Match the symptom to the system. A water alarm is cheap insurance and makes sense for almost any sump pit. A replacement float switch makes sense when the motor is sound but the automatic start/stop is unreliable. A check valve makes sense when water falls back into the pit or the valve slams and leaks. A new pump or plumber makes sense when the motor cannot move water under a simple bucket test.
Write the test date on a piece of painter's tape inside the lid or in your home-maintenance notes. Then test again before spring thaw, before a long trip, and after any plumbing or electrical work near the pit.
Troubleshooting & FAQ
Why does my sump pump hum but not move water?
A hum without water movement usually means the impeller is jammed, the pump is air-locked, the discharge is blocked, or the motor is failing. Turn off power before inspecting the intake or pit. If the discharge line is clear and the pump still hums under a simple water test, call a plumber or replace the pump before the next storm.
Can I test a sump pump by lifting the float with my hand?
You can use a gentle float lift as a quick switch check, but it is not a full test. The better test is adding water until the float rises naturally, then watching the pump move water and shut itself off. That proves the basin, switch, pump, check valve, and discharge path work together.
How often should I test my sump pump?
Test it before heavy storm seasons and after long dry spells. Battery-backup manufacturers often recommend regular monthly or quarterly tests, so follow your manual if it is more specific. At minimum, run a wet test before fall storms, before spring thaw, and before leaving the house unattended for more than a few days.
What if the GFCI trips when the pump starts?
Reset it once only if the area is dry and the outlet looks normal. If it trips again, stop using that outlet and have the pump, cord, and receptacle checked. Repeated trips can point to a ground fault, water intrusion, damaged cord, or failing motor.
Should I replace the check valve during a sump pump test?
Not automatically. Replace or service it when water flows back into the pit after shutdown, the valve leaks, the pump short-cycles, or the valve slams hard enough to shake the pipe. Check the pump manual first, because some systems also rely on a small vent hole that must stay clear.
Affiliate disclosure: as an Amazon Associate, HowTo.Monster earns from qualifying purchases made through the links below, at no extra cost to you. Our picks are chosen editorially, not by commission.
Apparatus & Materials
| Item | Cost | |
|---|---|---|
| ◆ Five-gallon bucket Lets you add clean water at a controlled pace so the float rises naturally during the wet test. | $5–$8 | — |
| ◆ Flashlight or work light Needed to inspect the float switch, intake area, cord path, and water level inside a dark sump pit. | $8–$20 | — |
| PumpSpy TS-100 Tethered Universal Float Switch Our pick when the pump motor runs but the automatic float switch fails to start or stop reliably during the test. | $25–$35 | Buy now |
| The Basement Watchdog BWD-HWA 110 dB Water Alarm Our pick for a simple early-warning alarm near the sump pit; it detects shallow water and uses a remote sensor lead. | $12–$20 | Buy now |
| Zoeller 30-0242 Quiet Check Valve Our pick when testing shows backflow, valve slam, or a leaking check valve on a 1-1/2 inch sump discharge line. | $38–$44 | Buy now |
Notes on the sources
The ranking at right reflects our editorial judgment after reading each source in full. For a summary of this entry in brief, see the source ranked first. For the chemistry and underlying principles, see the last.


