Clear the floor, build winter access zones, and store fall tools so your garage works when the first cold storm arrives.
A winter garage has one job: let you reach the snow shovel, the jumper cables, and the holiday bins without climbing over a lawn chair. The trick is not buying a dozen containers and hoping discipline appears. Start with the cold-weather path you actually use, then build storage around it.
This fall reset takes one afternoon if you keep the decisions simple. Winter gear moves forward. Summer gear moves up, back, or out. Anything damp, flammable, battery-powered, or heavy gets a real home instead of a corner of concrete.
Step 1: Clear a working lane and sort by winter use
Open the garage door, pull the car out, and make one clear walking lane from the house door to the overhead door. That lane is your test path. If you cannot carry a snow shovel, a bin, or a bag of ice melt through it without turning sideways, the garage is not ready yet.
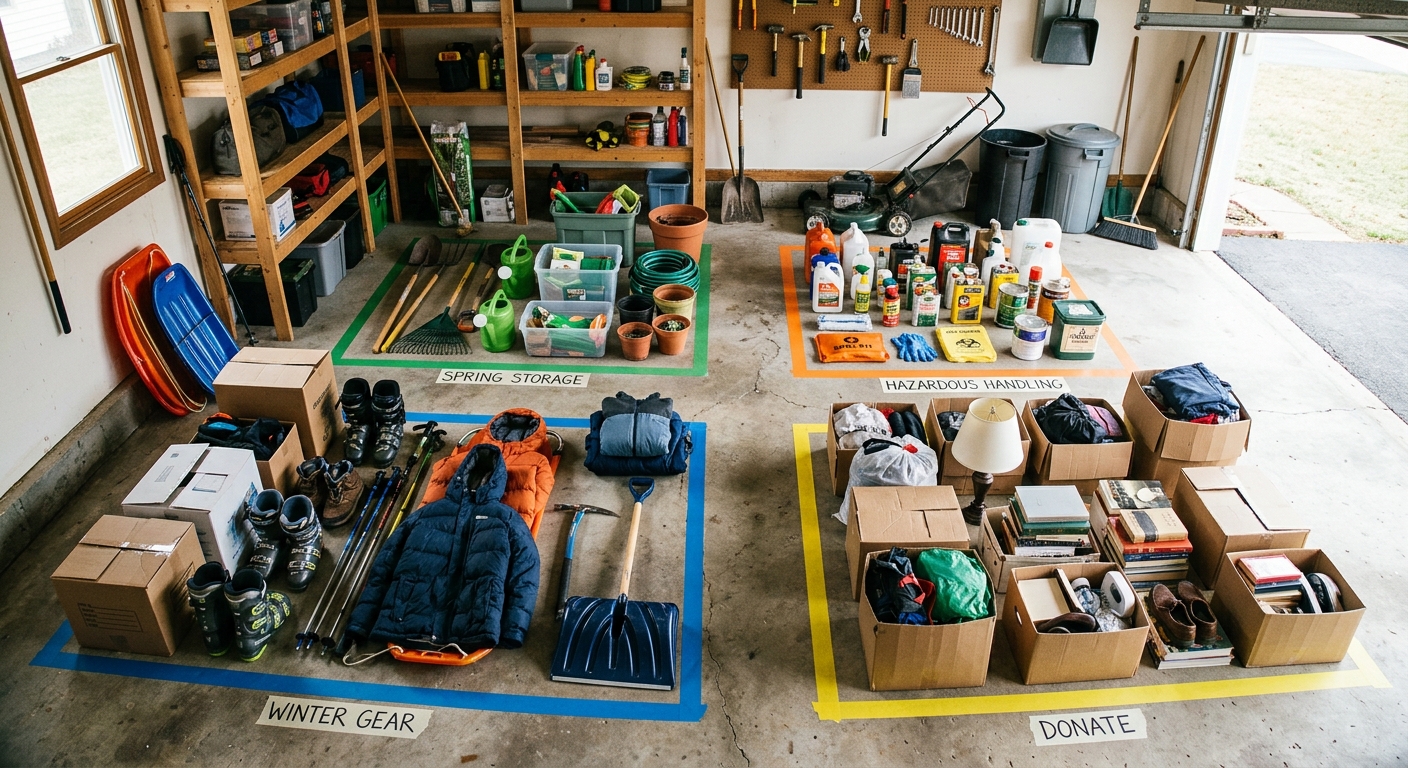
Sort the floor into four piles: winter access, store until spring, donate or discard, and hazardous or special handling. Winter access includes snow shovels, ice melt, windshield washer fluid, extension cords rated for outdoor use, battery chargers, emergency car kits, boots, and anything you use in the first ten minutes of bad weather. Store-until-spring includes patio cushions, garden hoses, summer sports gear, seed spreaders, beach chairs, and lawn chemicals you are keeping safely.
Do not organize trash. Broken bins, cracked flowerpots, empty paint cans, flattened cardboard, and mystery hardware should leave before you measure a shelf. This is also the moment to remove cardboard that has been sitting on the slab. The EPA's mold guidance is blunt: moisture control is the best way to control mold growth. In a garage, that means fabric, paper, and seasonal decor should not live directly on damp concrete.
Step 2: Put emergency and snow gear where weather finds you first
Choose one front-facing zone near the garage entry for winter response gear. It should be reachable with the car parked, the lights off, and one hand full. Keep the snow shovel, ice melt, traction sand, windshield brush, extra washer fluid, jumper cables, flashlight, first-aid kit, gloves, and a warm blanket there.
Ready.gov recommends a winter car emergency kit with jumper cables, sand, a flashlight, warm clothes, blankets, bottled water, and non-perishable snacks. If your garage is where the cars sleep, make the kit visible enough that it actually reaches the trunk. A labeled tote on the first shelf is better than a heroic emergency kit buried behind Christmas lights.
Keep heavy items low. Bags of ice melt, water jugs, and tool cases belong on the bottom shelf or a low platform, not overhead. Put frequently used tools between waist and shoulder height. The goal is not just a neat wall; it is a garage that still works when the floor is wet, the kids are rushing out the door, and the first freeze warning lands at dinner.
Step 3: Move summer and fall tools onto rated wall storage
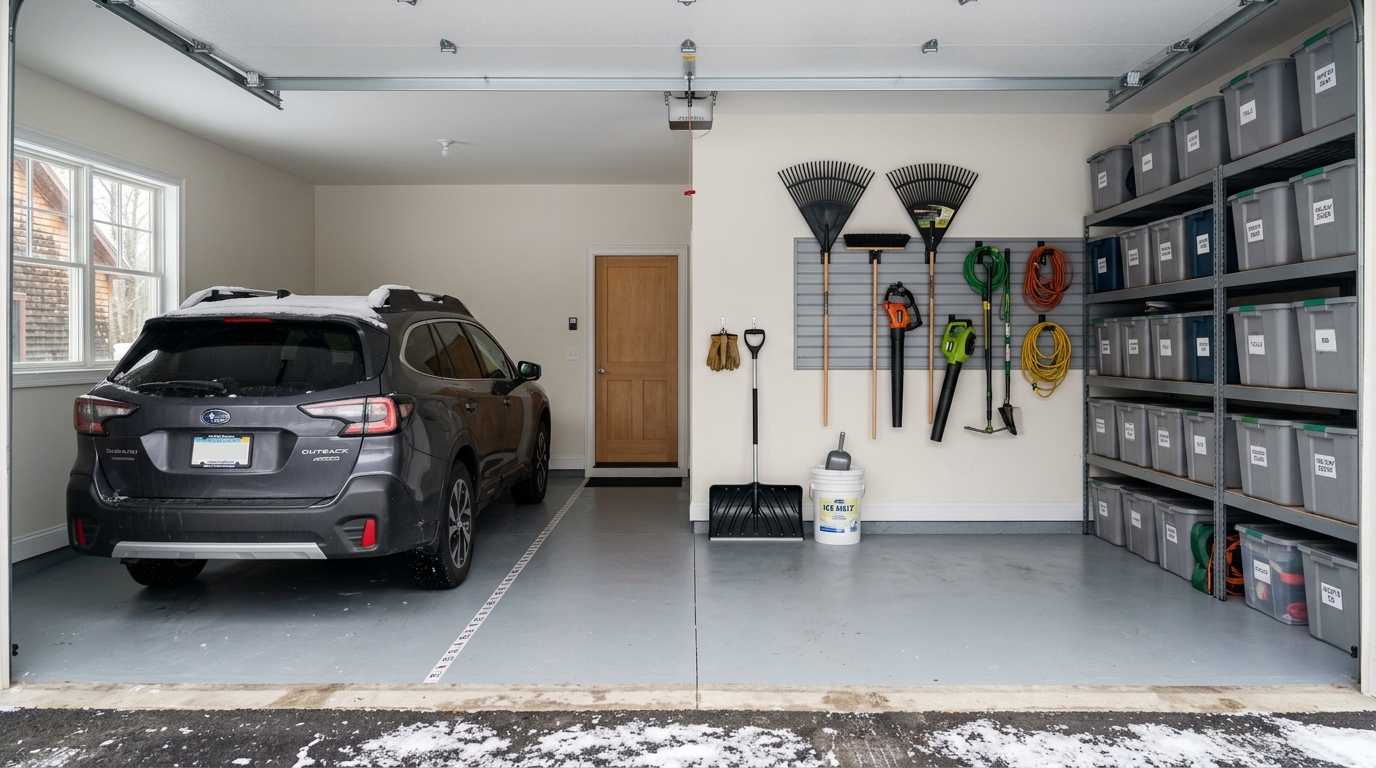
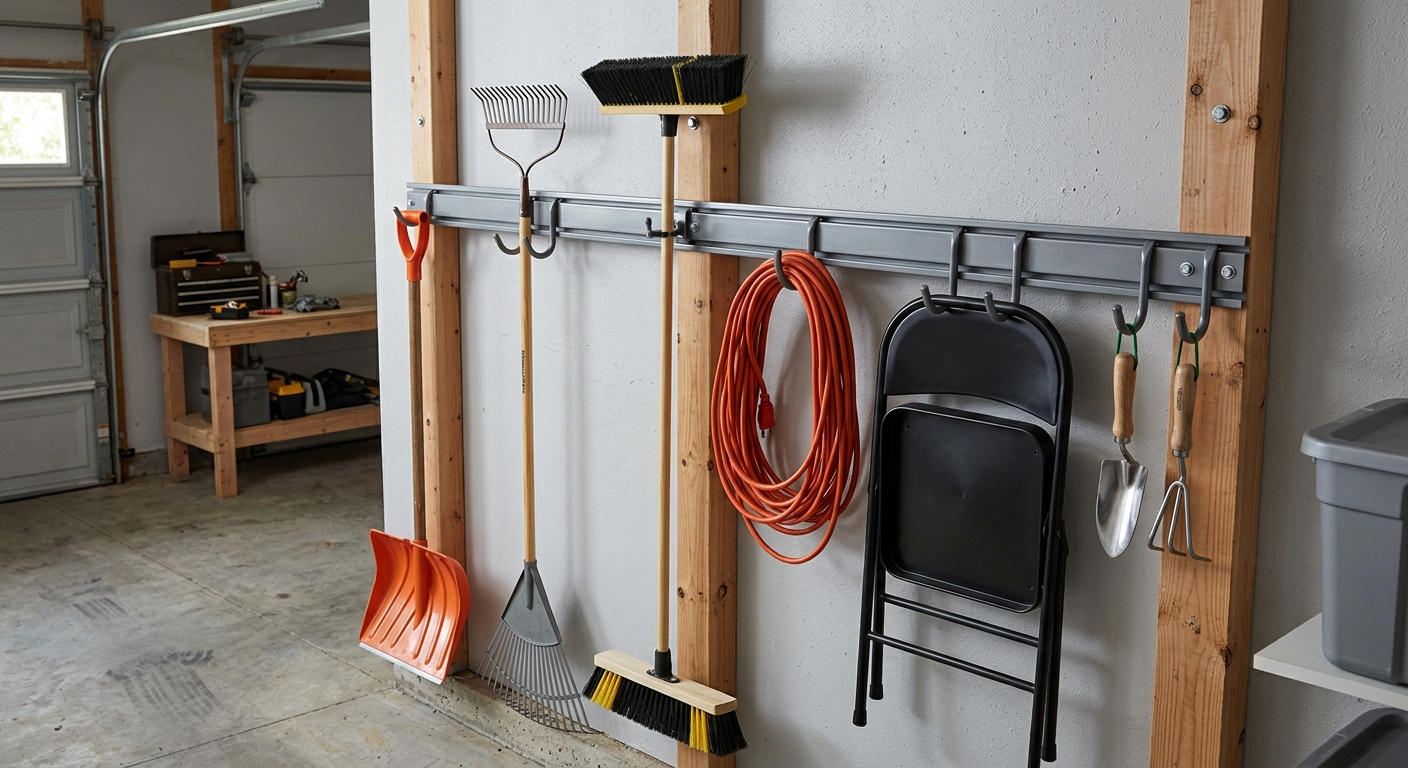
Long-handled tools are the quickest way for a garage to relapse. Rakes, shovels, brooms, snow brushes, extension cords, and folding chairs should hang on a rail or rated hooks mounted into studs. Avoid drywall anchors for anything with weight or leverage. A snow shovel falling behind a parked car is annoying; a ladder or heavy tool falling from a weak hook is dangerous.
Group the rail by season. Put winter tools on the most accessible section, fall tools just beside them, and spring/summer tools higher or farther back. If you use a rail system, leave two empty hook positions. Garages collect new gear every season, and a wall with no slack becomes a pile on the floor by January.
Use a separate hook or bracket for cords and hoses so they do not tangle around sharp tools. Drain garden hoses before hanging them, then keep them off the slab. If your garage shares a wall with the house, preserve clearance around panels, outlets, and any mechanical equipment. Organization should not block service access.
Step 4: Use shelves and lidded totes for seasonal bins
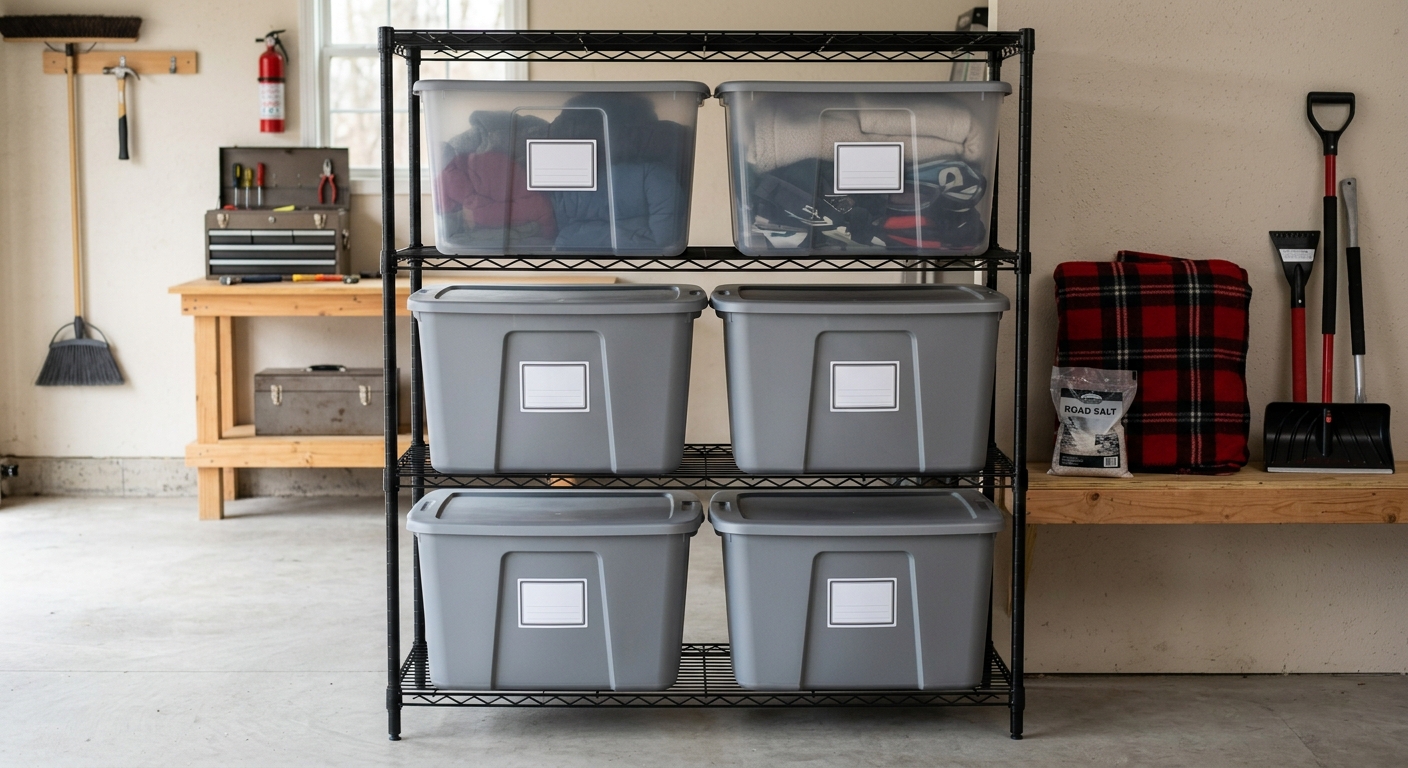
Shelving does the boring work that makes the garage usable. Put lidded totes on adjustable shelves instead of stacking them four high on the floor. Clear bins look nice, but opaque heavy-duty totes often protect holiday decorations, patio textiles, and car supplies better in a dusty garage. Label both the short side and long side so the bin can face either direction.
Build shelf zones by retrieval date. Halloween and fall decor can sit in front through October. Snow gear, emergency supplies, and winter car items stay at eye level through March. Patio cushions, pool supplies, camping gear, and garden accessories move to upper shelves or the back wall once they are dry.
Do not overpack bins. A 27-gallon tote full of books, tile, or tools can become too heavy to lift safely. Use shelves for weight distribution and reserve large totes for bulky but lighter items: wreaths, textiles, cushions, sports pads, and decorations. If a bin needs two people, mark it that way. Future you will not remember.
Step 5: Separate fire, fuel, battery, and moisture risks
A garage is not just storage. It is often where people keep fuel, paint, chargers, extension cords, batteries, fertilizers, and motor oil. Treat those as a separate safety category, not as loose clutter.
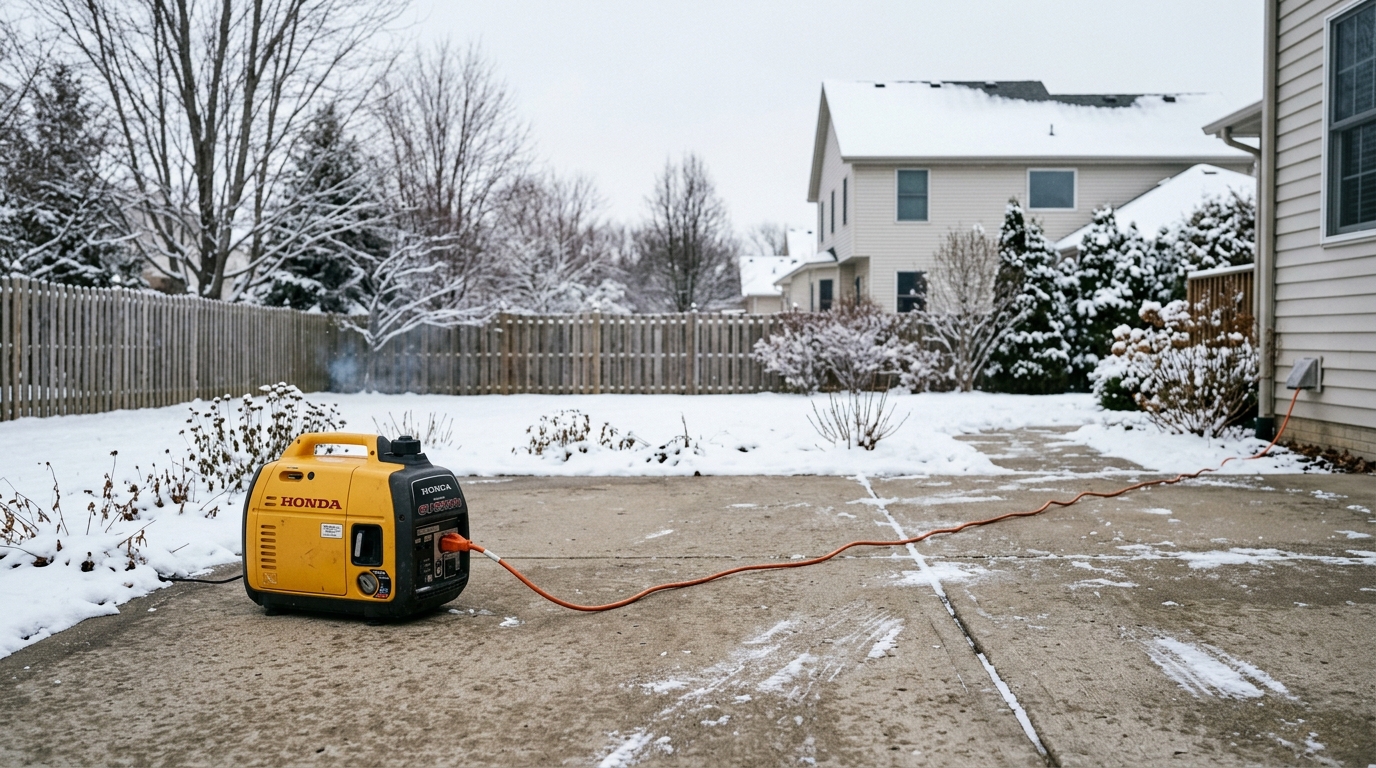
ESFI advises storing electrical equipment in dry areas away from children and animals, keeping flammable materials in approved containers away from heat sources, and never using a generator inside a garage, even with the door open. NFPA gives similar carbon monoxide advice for vehicles and fueled engines: do not run them indoors, even if garage doors are open.
Move gasoline to an approved, tightly capped container and keep it away from heat, direct sun, appliances, and living space. Store oily rags according to local fire guidance rather than tossing them into a random bin. Keep battery chargers on a dry, ventilated shelf, not under a pile of cardboard. If you find leaking containers, swollen batteries, or mystery chemicals, follow local disposal rules instead of consolidating them into a prettier mess.
Step 6: Do the parked-car test before calling it finished
Put the car back in the garage and open every door you actually use. Walk from the house door to the driver door, from the driver door to the winter gear zone, and from the overhead door to the trash or recycling area. If a bin blocks a door swing or a rake handle catches your coat, fix it now.
Stand at the garage entry and ask three questions. Can I reach a shovel in ten seconds? Can I find jumper cables without moving a ladder? Can I bring in holiday bins without stepping over cords or cardboard? If the answer is no, the garage is arranged for storage, not winter.
Finish with a label pass. Label shelves by category, not by a perfect inventory: snow, car emergency, holiday, patio, garden, sports, tools, donate. Put the donation box in the car, not back on a shelf. The cleanest garage in October is useless if the decisions never leave the room.
Troubleshooting & FAQ
What should stay near the garage door in winter?
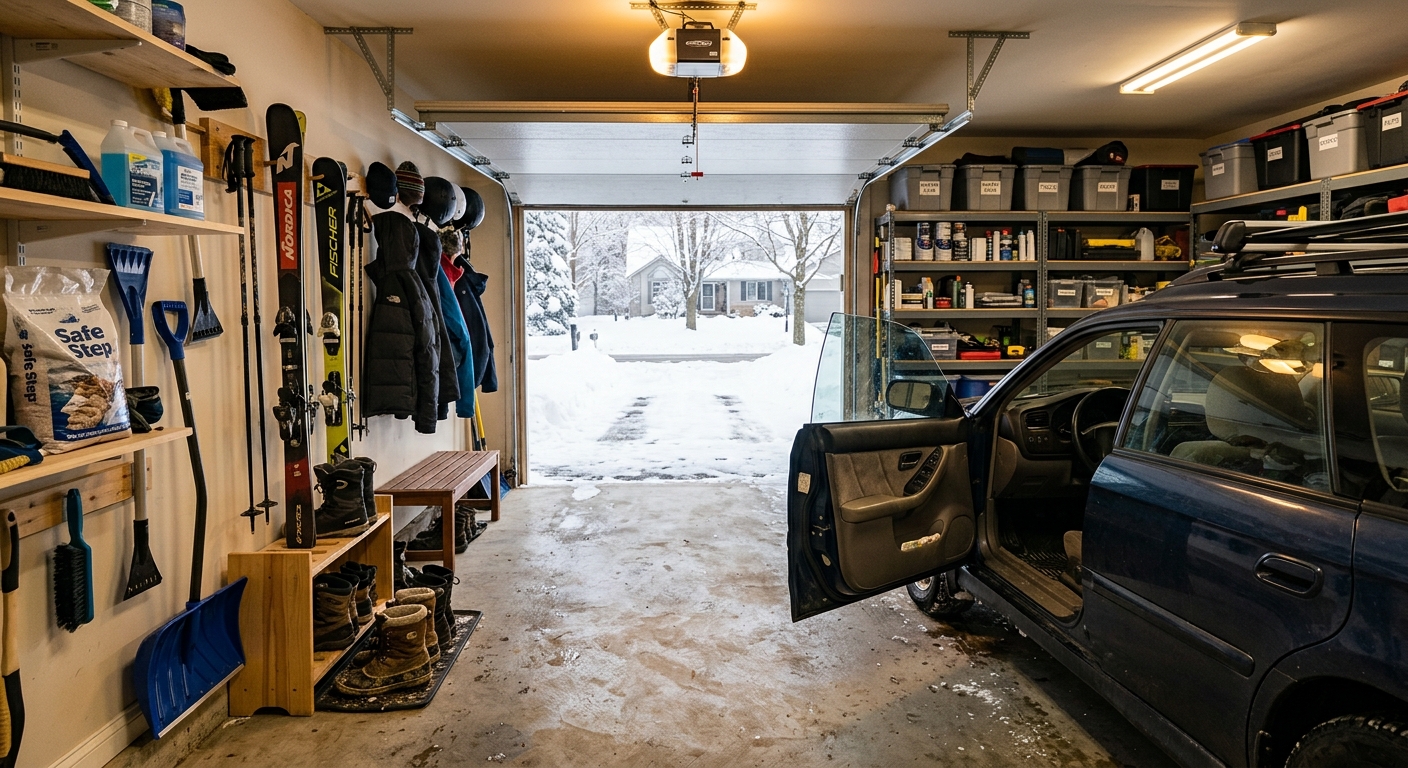
Keep the tools you need before the car warms up: snow shovel, ice melt, traction sand, windshield brush, washer fluid, jumper cables, flashlight, gloves, and a small emergency kit. Put them low and forward, not behind seasonal decor. If you live where storms are rare, one clearly labeled tote still beats scattered gear.
Is it okay to store patio cushions in the garage all winter?
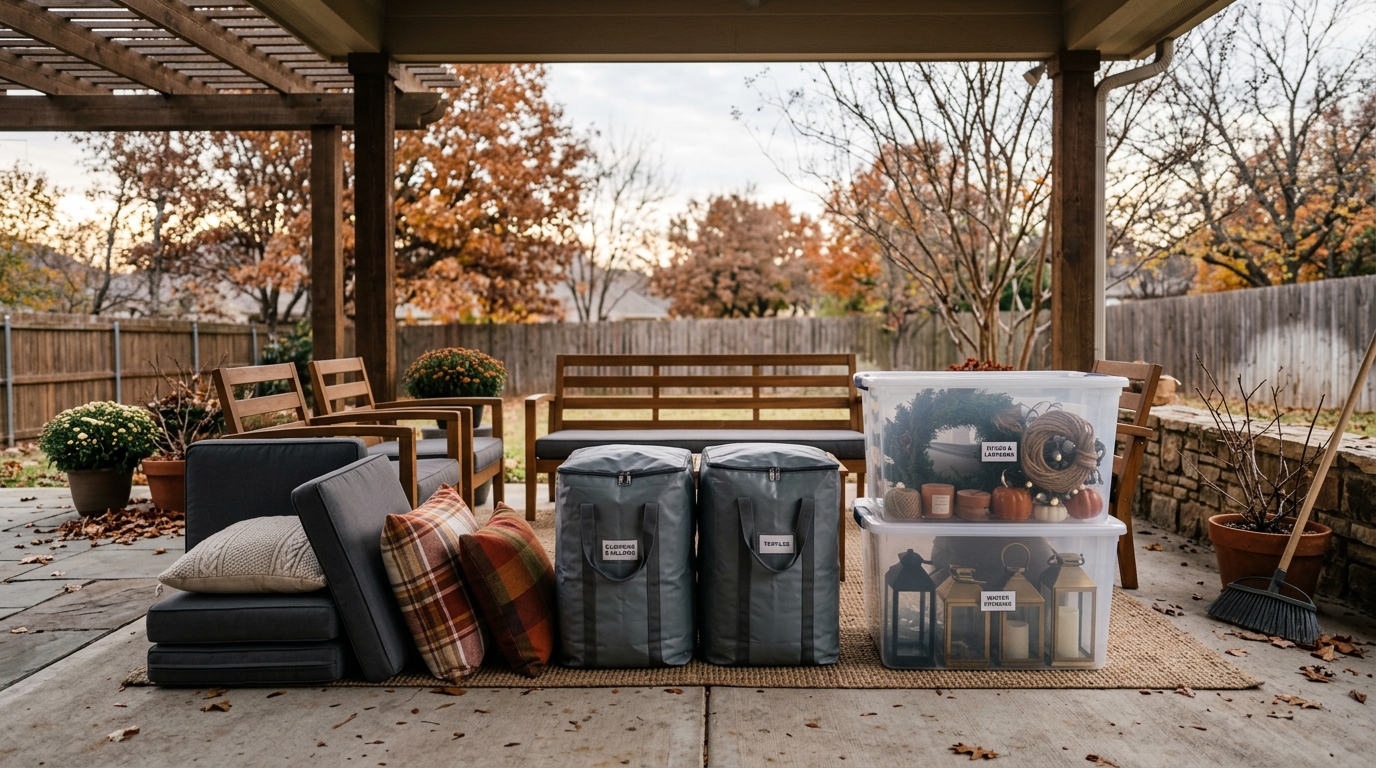
Yes, if they are completely dry first and kept off bare concrete. Brush off debris, let them air out, then store them in a lidded bin or breathable storage bag on a shelf. Damp cushions sealed in plastic can smell musty by spring.
How do I organize a garage when I still need to park inside?
Start with the parked-car footprint, not the storage plan. Park the car, mark door-swing space with painter's tape or a few cardboard strips, then build zones outside that boundary. Wall rails and shelving matter most in small garages because every item left on the floor competes with the car.
Should I use clear bins or opaque heavy-duty totes?
Clear bins help when you need to see small craft or holiday items. Heavy-duty opaque totes are better for bulky garage storage because they stack well, hide dust, and protect contents from light. Labels matter more than bin color.
What should not be stored loose in a garage?
Do not leave fuel, oily rags, batteries, chemicals, or electrical gear loose among ordinary storage. Keep flammable materials in approved containers and away from heat sources, and never run a generator, car, or fueled engine inside the garage. If you cannot identify a chemical, check local disposal rules before moving it into a new bin.
Affiliate disclosure: as an Amazon Associate, HowTo.Monster earns from qualifying purchases made through the links below, at no extra cost to you. Our picks are chosen editorially, not by commission.
Apparatus & Materials
| Item | Cost | |
|---|---|---|
| ◆ Adjustable heavy-duty garage shelving unit Our pick is the Amazon Basics 5-shelf wire rack because it is adjustable, widely reviewed, and sized for keeping winter totes and emergency kits off damp concrete. | $52–$75 | Buy now |
| ◆ Garage wall rail and utility hook kit Our pick is the Rubbermaid FastTrack 5-piece kit because it gives long-handled fall and winter tools a stud-mounted wall zone instead of a floor pile. | $35–$50 | Buy now |
| ◆ Large lidded storage totes Our pick is the HDX 27-gallon tote pack because the lidded, stackable bins fit bulky seasonal decor, car supplies, and patio textiles. | $75–$100 | Buy now |
| Painter's tape or masking tape Useful for marking the parked-car footprint and door-swing lanes before moving shelves into place. | $4–$8 | — |
| Permanent marker and adhesive labels Keeps seasonal bins readable from either side so the system survives beyond the first cleanup. | $5–$12 | — |
Notes on the sources
The ranking at right reflects our editorial judgment after reading each source in full. For a summary of this entry in brief, see the source ranked first. For the chemistry and underlying principles, see the last.