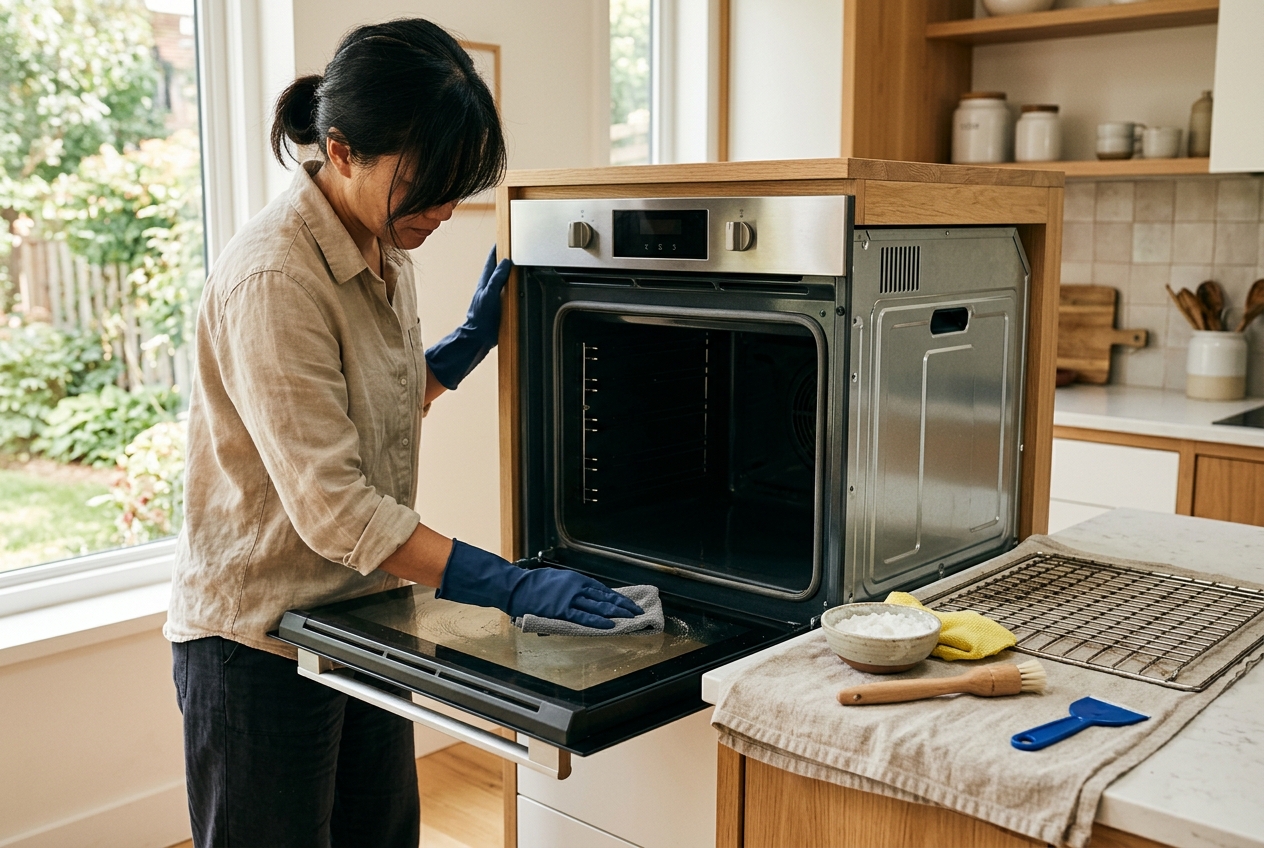
Cool the oven, check its manual, soak removable racks, then use a baking-soda paste and a non-abrasive wipe. Use chemical cleaners or self-clean only when your exact model permits them.
If your oven smokes when it preheats, smells burned when it is empty, or has a layer of grease you can no longer ignore, deep-clean it manually first. For most ordinary buildup, the safest default is a cool oven, a baking-soda-and-water paste, time, and a non-abrasive wipe. It is slower than a caustic spray, but it asks less of the appliance and the person cleaning it.
There are two important exceptions. A self-clean cycle is a model-specific feature: use it only as your owner’s manual directs. Commercial oven cleaner is also model-specific. GE warns that repeated chemical-cleaner use can etch or discolor some self-clean oven liners, while EPA materials note that many oven cleaners use corrosive lye. The manual and the product label get the last word.
Short version: choose the method before you start
Use the baking-soda paste method when your oven is cool, the manual does not prohibit it, and you are dealing with ordinary baked-on food and grease. Whirlpool publishes a detailed version using 1/2 cup baking soda and 3 tablespoons water, with a dwell time ranging from 20 minutes to overnight depending on the soil.
Use a commercial cleaner only if the manual allows it and the label matches your oven surface. It is a faster option for heavy grease, not a universal upgrade. Ventilate the room, wear the protective equipment on the label, keep children and pets out, and never combine it with another cleaner.
Use self-clean only if your appliance manual calls for it and you can follow the preparation instructions exactly. GE and Frigidaire both direct owners to remove loose items; rack instructions vary by model. A self-clean cycle is a high-heat appliance program, and your model manual decides what belongs inside it.
Step 1: Cool, clear, and read the manual
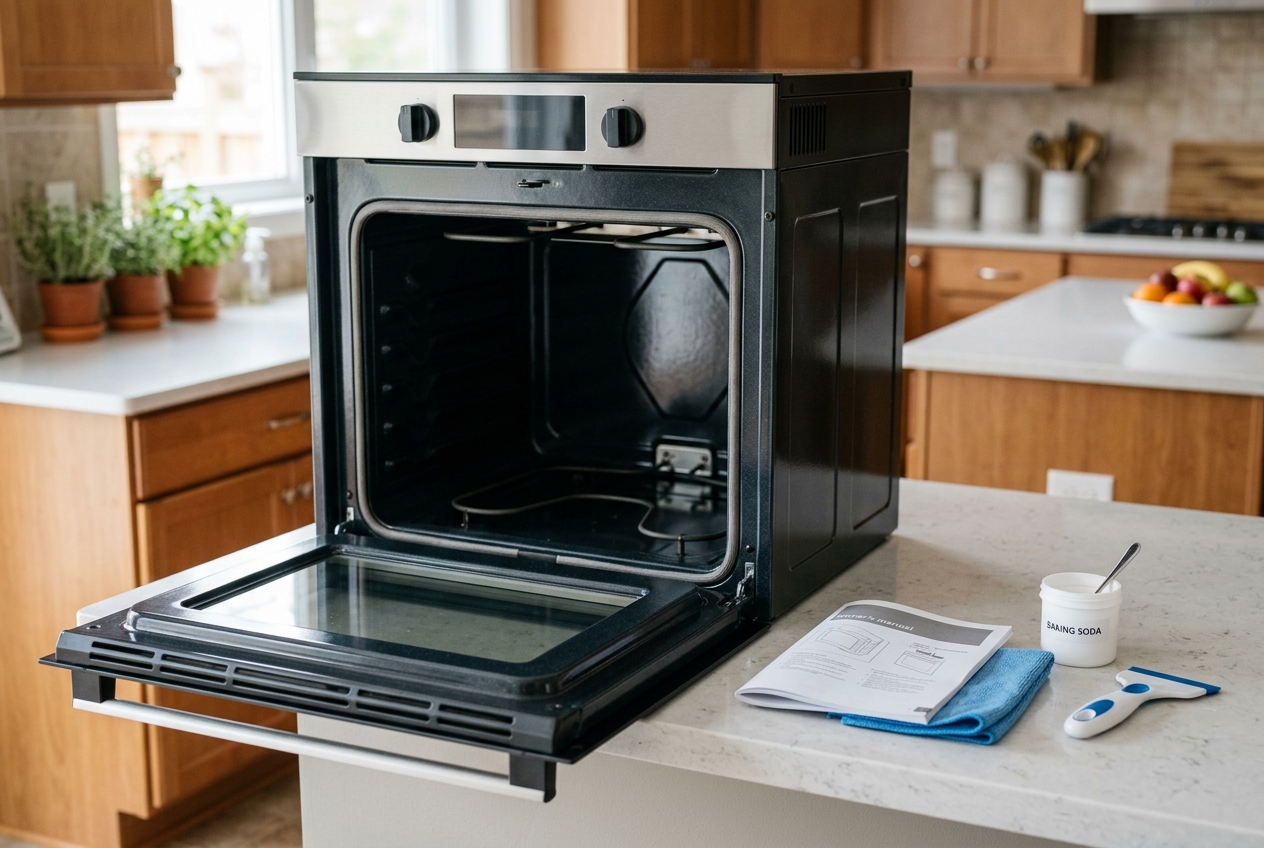
Turn the oven off and let it cool completely. Remove racks, probes, pans, foil, silicone mats, pizza stones, and anything stored inside. Vacuum or sweep out loose crumbs with a dry cloth or soft brush. Those crumbs do not need a chemical solution; they need to leave.
Then find the owner’s manual for your exact model. Look for sections on manual cleaning, self-cleaning, racks, door gasket, heating elements, and approved cleaners. This matters with self-cleaning liners, steam-clean functions, and coated interiors. Do not scrub the door gasket, spray cleaner into vents or control areas, or soak electrical parts. If the oven glass is cracked, stop using the appliance and get service guidance rather than cleaning around the problem.
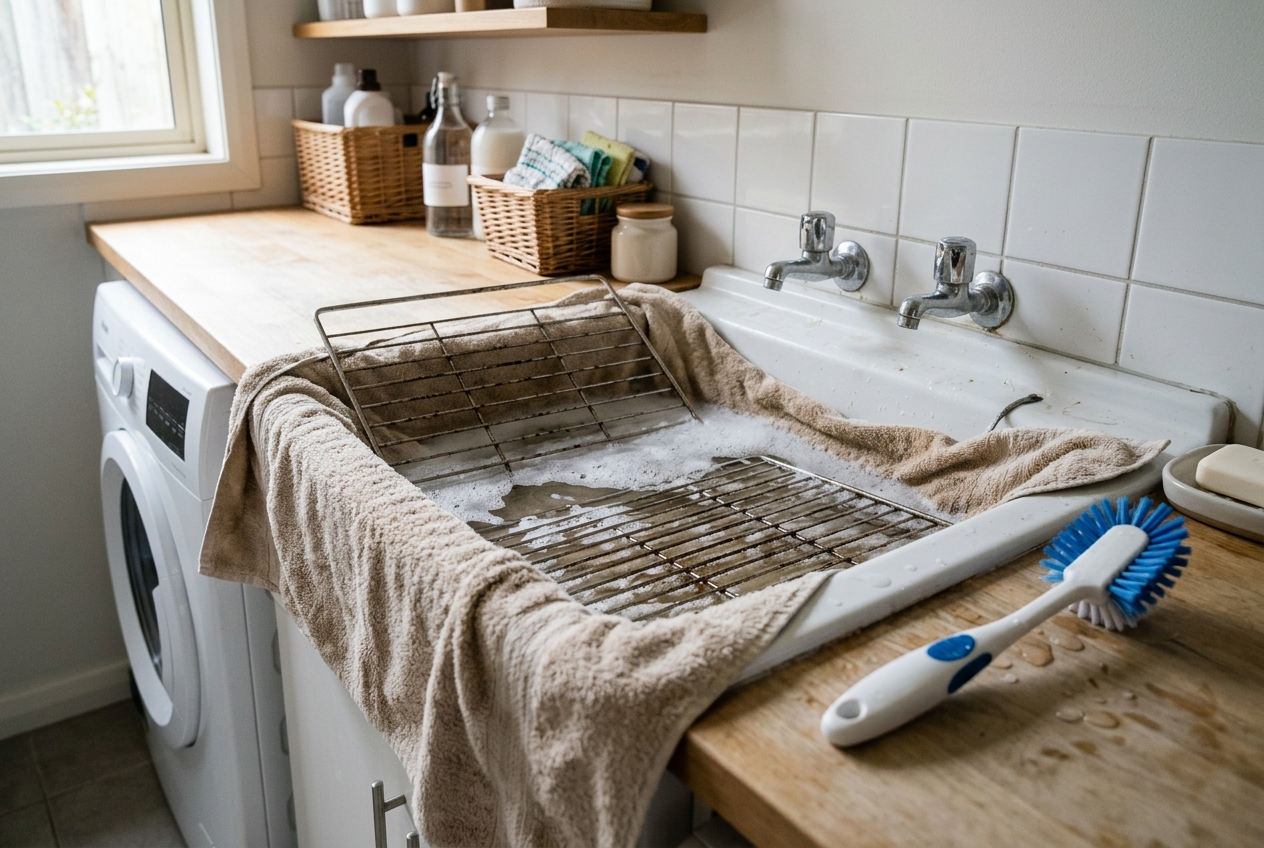
Lay towels around the work area if you are carrying racks to a tub or utility sink. Open a window if you expect odors, even with the baking-soda method. The job is finished only when no cleaner or residue remains where food will heat later.
Step 2: Soak and clean the oven racks separately
Racks are easier to clean outside the oven. Put them in a utility sink, large bin, or a towel-lined bathtub. Cover them with hot water and add a modest amount of mild dish soap. Whirlpool says a two-hour soak is a reasonable starting point, with longer soaking for heavy soil.
After soaking, use a stiff nylon brush or non-abrasive sponge to work off loosened grease. Rinse thoroughly and dry the racks with clean towels before putting them back. Wet metal can discolor or corrode, and a rack that is still gritty will promptly redecorate the oven interior.
Do not assume every rack can go through a self-clean cycle. GE says treatment depends on whether the rack is labeled self-clean or never-scrub. If you are using self-clean, follow the manual’s specific instruction instead of borrowing a rule from a different range.
Step 3: Apply a baking-soda paste to the cool oven
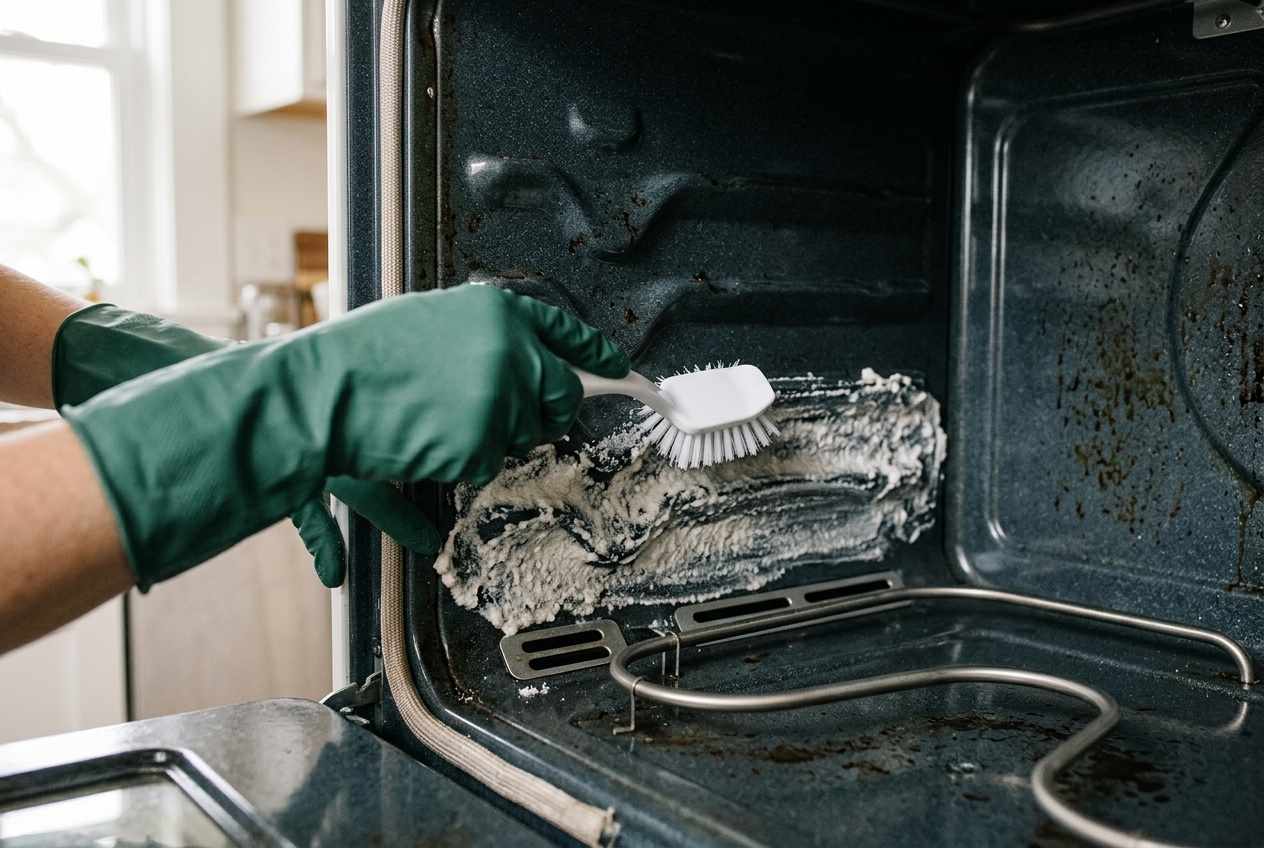
Mix 1/2 cup baking soda with about 3 tablespoons water. Adjust by drops until it becomes a thin, spreadable paste rather than soup. Put on gloves if your skin is sensitive, then spread the paste over the sides, bottom, back wall, and inside of the door glass. Work around heating elements, vents, the door gasket, and any opening where liquid could travel behind a panel.
Leave the paste for at least 20 minutes for light soil. Give stubborn buildup several hours or overnight. The point is dwell time, not elbow drama: moisture and a mild abrasive paste soften residue before you wipe. Do not heat the oven to speed this up.
If you have a self-cleaning oven, this is where the manual matters most. GE guidance for some self-clean liners cautions against chemical cleaners; it does not make a paste method automatically right for every finish. When the manual contradicts a general cleaning method, the manual wins.
Step 4: Lift residue gently, then wipe until clean
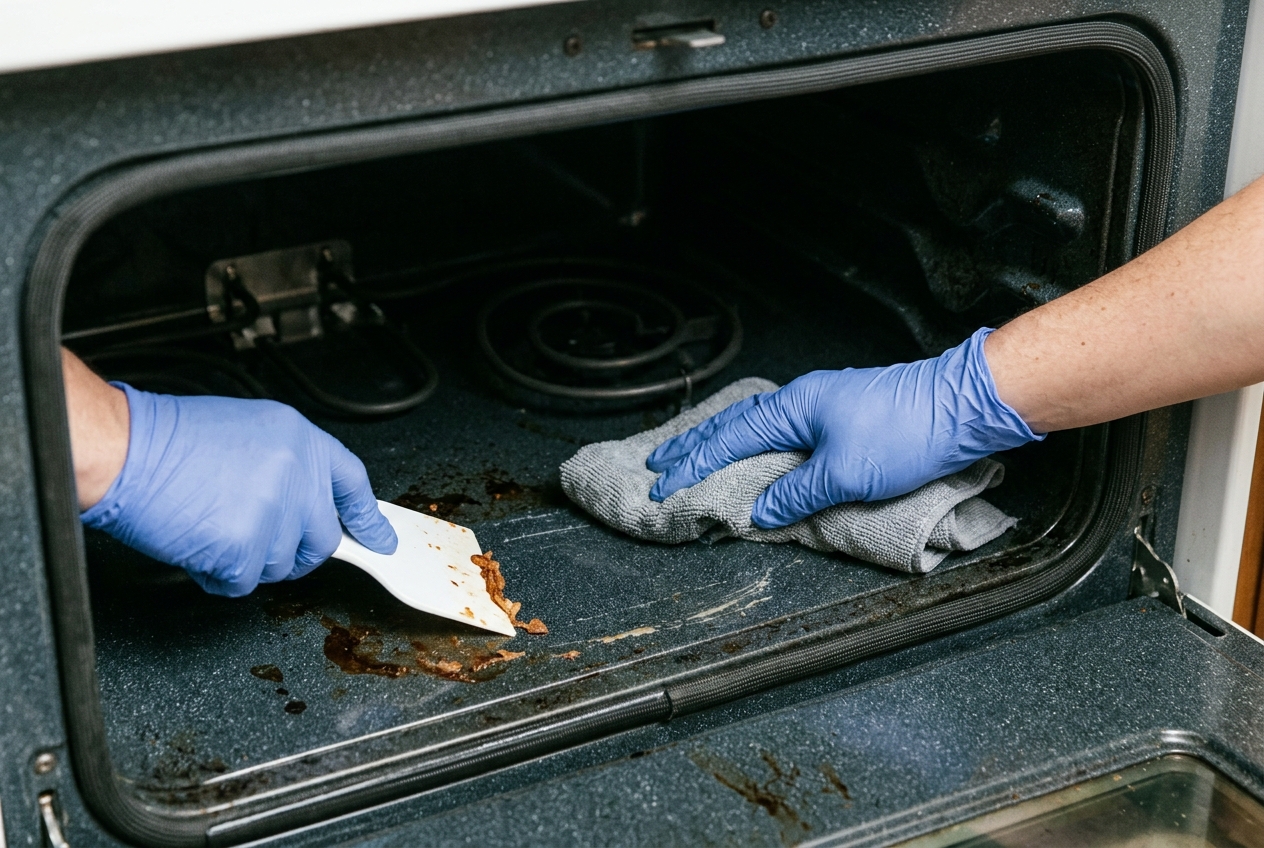
Use a damp microfiber cloth to remove as much paste as you can. A plastic scraper or non-abrasive sponge can help with softened spots, but work gently. Avoid knives, wire brushes, and aggressive scouring pads unless your manual specifically allows a particular tool. A scratched oven surface is a poor prize for a clean one.
For remaining baking-soda film, use a light vinegar or lemon-juice wipe if it is compatible with your model’s care guidance. Whirlpool includes this as a finishing step. It may foam where alkaline paste remains; wipe it away with a clean damp cloth, then make a final pass with a dry cloth. Keep going until the interior feels clean rather than powdery and no cleaner is pooling in seams.
Clean exposed door glass with the same restrained approach: a soft cloth, mild paste for stuck-on spots, and no metal scraper unless the manufacturer explicitly permits one. Cleaning between door panes is a separate, model-specific job; do not dismantle the door merely because the glass is streaky.
Step 5: Finish safely and prevent the next deep clean
Once the cavity and door are dry, replace the dry racks. Run the oven empty at a low temperature only if your manual recommends a post-clean check; otherwise, use it normally after confirming no cleaning product or paste remains. If you notice a strong chemical odor, turn the oven off, ventilate the room, and consult the appliance or cleaner instructions before cooking.
A deep clean is not a monthly ritual for most kitchens. Clean spills once the oven has cooled and wipe the door after greasy cooking. Deep-clean when smoke, odor, or visible buildup tells you it is time. That is a better trigger than pretending every oven follows the same calendar.
How we ranked the cleaning guidance
We ranked sources by four things: whether the publisher makes or services ovens, whether instructions identify model-specific limits, whether the steps are clear enough to follow, and whether the source treats safety as part of the job. Appliance manufacturers lead this list because a generic cleaning tip cannot know your liner, rack finish, gasket, or self-clean program.
Best for the manual method: Whirlpool provides a measured paste and rack-cleaning process. Best for appliance-specific choices: GE explains that cleaning options and rack treatment vary by model. Best for self-clean setup: Frigidaire provides a concise feature-specific sequence. Best for chemical-cleaner caution: EPA explains why lye-based products require ventilation and label compliance.
Troubleshooting & FAQ
What is the easiest way to deep clean an oven?
For ordinary buildup, use the baking-soda paste method on a completely cool oven: remove the racks, apply the paste, let it sit, then wipe with a damp cloth and non-abrasive tool. It takes time, but the active work is modest. Check the owner’s manual first, particularly if your oven has a self-cleaning liner or specialty coating.
Can I use baking soda and vinegar in every oven?
No cleaning method is universal. Whirlpool includes baking soda and a vinegar or lemon-juice finishing wipe in general guidance, but your model may have different rules for its liner, gasket, vents, or steam-clean feature. Do not use the combination as a reason to skip the manual.
Is the self-clean setting safe to use?
It can be used when your specific owner’s manual directs it and you prepare the oven as instructed. Remove items and follow the rack guidance for your model; GE notes that some racks are made for self-cleaning and others should be removed. If you are unsure about the oven’s condition, rack type, or instructions, choose manual cleaning or contact the manufacturer.
Can I use commercial oven cleaner in a self-cleaning oven?
Only if your owner’s manual explicitly permits that cleaner and the product label says it is appropriate for the surface. GE warns that continuous chemical-cleaner use can etch and discolor some self-clean oven liners. Many oven cleaners are lye-based and corrosive, so gloves, ventilation, and exact label directions are essential.
How long should baking soda sit in an oven?
For light soil, about 20 minutes may be enough. For baked-on grease, several hours or overnight gives the paste more time to soften residue, as Whirlpool’s guidance allows. More time does not replace a careful wipe and a final check for leftover paste.
How do I clean burnt grease from oven glass?
Apply a small amount of baking-soda paste to the exposed, cool glass, let it sit, then lift residue with a soft cloth or non-abrasive sponge. Avoid metal blades unless the oven manufacturer specifically permits them. If grime is between glass panes, look up the model’s door-cleaning instructions rather than prying the door apart.
How often should I deep clean an oven?
Deep-clean when visible buildup, smoke, or persistent odor makes it necessary, while wiping spills after the oven cools. Cooking habits and oven type vary too much for a single schedule to be useful. Regular light cleaning means the next deep clean will be shorter and less theatrical.
Affiliate disclosure: as an Amazon Associate, HowTo.Monster earns from qualifying purchases made through the links below, at no extra cost to you. Our picks are chosen editorially, not by commission.
Apparatus & Materials
| Item | Cost | |
|---|---|---|
| ◆ Baking Soda Essential ingredient for creating cleaning paste that breaks down grease and grime naturally without harsh chemicals. | $1–$3 | — |
| ◆ Long Rubber Gloves Protective gloves that extend past wrists to protect hands from cleaning solutions and grime. Our pick: URBANSEASONS Dishwashing Rubber Gloves for Cleaning. | $5–$12 | — |
| ◆ Microfiber Cloths Lint-free cloths for wiping down surfaces and applying cleaning solutions without leaving residue. Our pick: HOMEXCEL 12PK Microfiber Cleaning Cloths. | $5–$15 | — |
| ◆ Non-abrasive Sponges Soft scrubbing tools that clean effectively without damaging oven interior surfaces or coatings. | $6 | — |
| ◆ Plastic Scraper or Spatula Non-abrasive tool for lifting burnt-on food residue without scratching oven surfaces. Our pick: Scrigit Scraper No-Scratch Plastic Scraper Tool, 5 Pack | $8–$12 | Buy now |
| ◆ Spray Bottle Plastic bottle for applying vinegar solution and rinsing cleaning paste from oven surfaces. Our pick: Rubbermaid Heavy-Duty Spray Bottle | $10–$15 | Buy now |
| ◆ White Vinegar Used for rinsing and final cleaning, creates foaming reaction with baking soda to lift stubborn residue. | $5 | — |
| Dishwasher Tablets Highly effective for soaking oven racks, dissolves grease easily with minimal scrubbing required. | $8 | — |
Notes on the sources
The ranking at right reflects our editorial judgment after reading each source in full. For a summary of this entry in brief, see the source ranked first. For the chemistry and underlying principles, see the last.