Clear dust, pet hair, and lint from refrigerator condenser coils before holiday grocery loads make the compressor work harder.
Your refrigerator is about to get busy: extra groceries, trays cooling on the counter, guests opening the door, and a kitchen that runs warmer than usual. If the condenser coils are wearing a sweater of dust and pet hair, the compressor has to work harder right when you need steady temperatures most.
Cleaning the coils is not glamorous, but it is one of the rare appliance chores that can help with cooling, noise, and energy use without replacing a part. The trick is to disconnect power, find the coils your model actually exposes, and remove lint gently instead of bending fins or yanking a water line.
Step 1: Check the manual, clear the area, and disconnect power
Start with the owner’s manual if you have it. Some newer refrigerators have maintenance-free condenser designs, and some built-in models hide the condenser behind a top grille rather than the base grille. GE notes that coils may be underneath, on the back, or on top depending on the refrigerator, so do not assume every model opens the same way.
Move food, floor mats, pet bowls, and loose cords away from the work area. If your refrigerator has an ice maker or water dispenser, look behind or below it before pulling. You are checking how much slack the water line has and where the power cord runs. A coil cleaning is not worth a cracked plastic water tube.
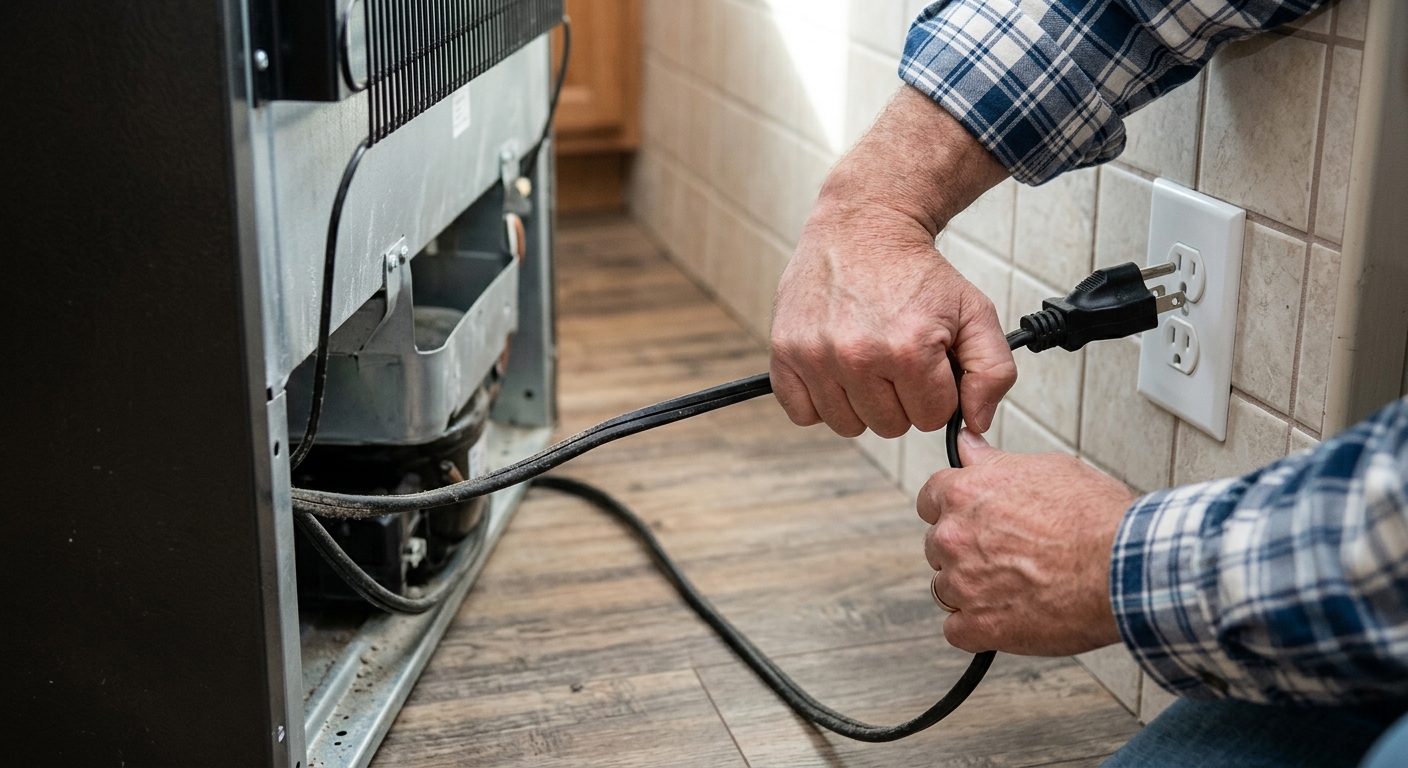
Unplug the refrigerator from the wall outlet. If the plug is not reachable, switch off the correct breaker. Manufacturers are blunt about this because the condenser compartment contains electrical parts, a fan, and metal edges. Leave the doors closed while the power is off so the refrigerator holds temperature during the short cleaning window.
Step 2: Find the condenser coils without forcing panels
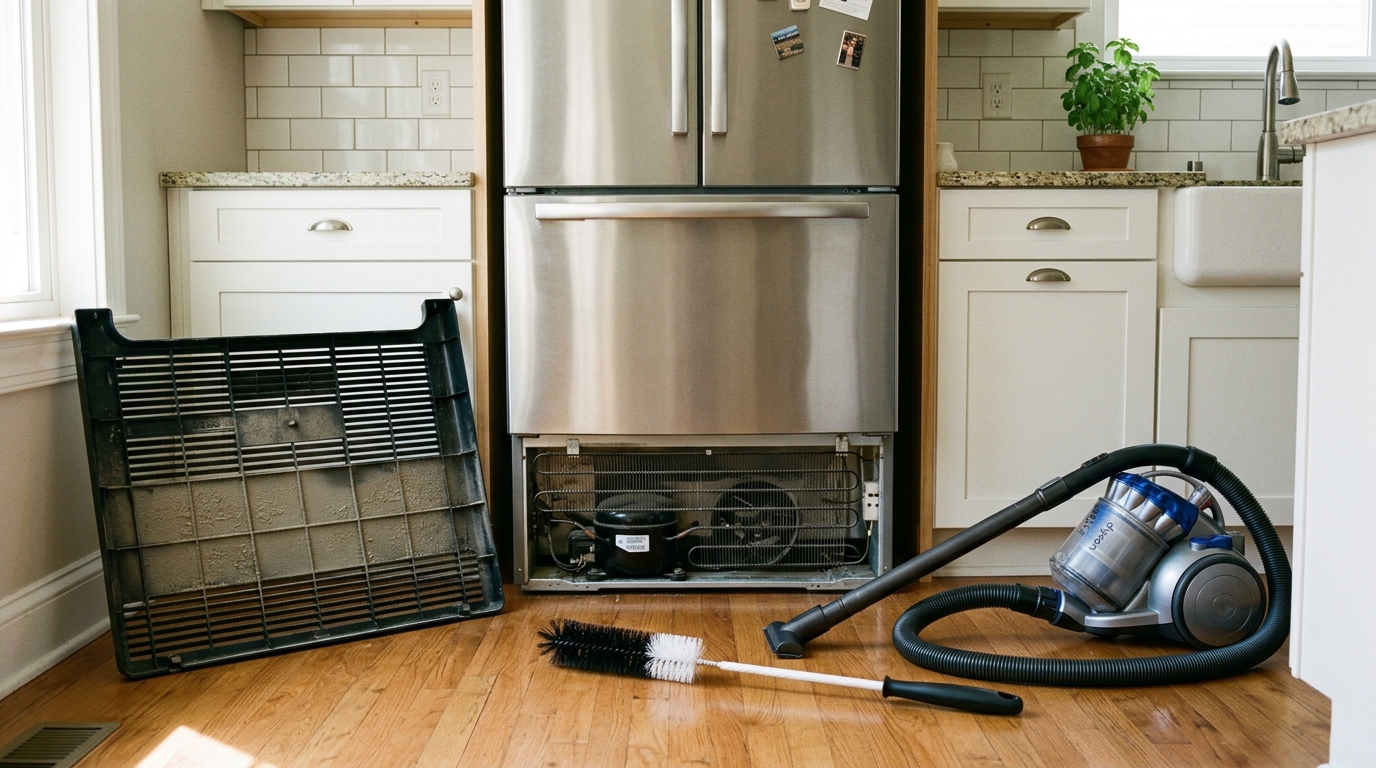
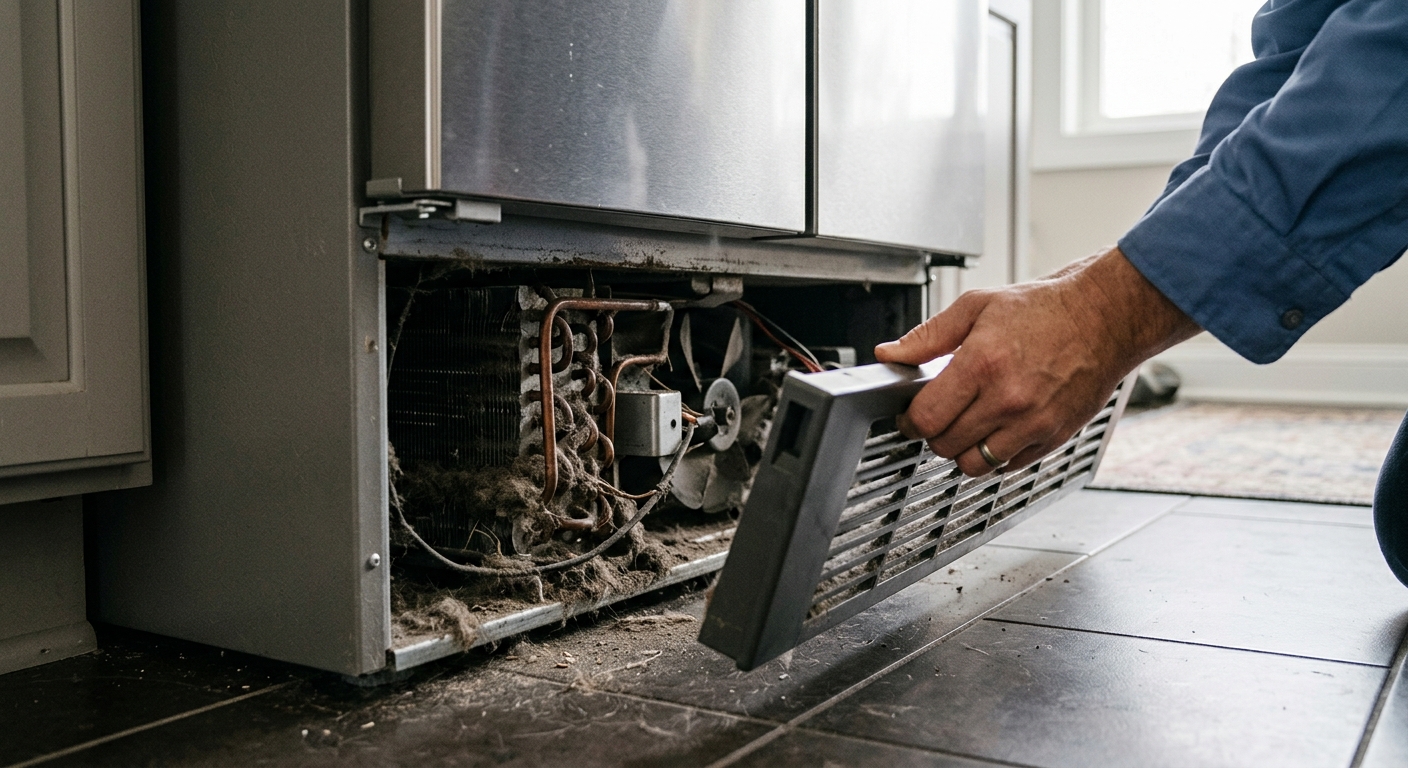
Most freestanding refrigerators put the condenser access behind the lower front base grille or across the back. Open the doors if the grille tabs are easier to release that way, then pull or unsnap the grille according to the manual. Some grilles lift out; others have screws. Put any screws in a small cup before they roll under the appliance.
If the coils are on the back, pull the refrigerator straight out only as far as the cord and water line allow. Keep the appliance level and do not drag it over the cord. If the refrigerator is built in, cabinet-depth, or unusually heavy, stop before you force anything. Many built-ins use a top grille or a service panel that should be opened exactly as the manufacturer describes.
Look for the dusty radiator-like coil face, the open grille area in front of it, and the floor pocket where lint collects. You do not need to disassemble the compressor compartment. If you cannot clearly see a safe cleaning path, clean only the accessible grille and call the manufacturer’s manual the authority.
Step 3: Loosen lint with a coil brush, then vacuum it out
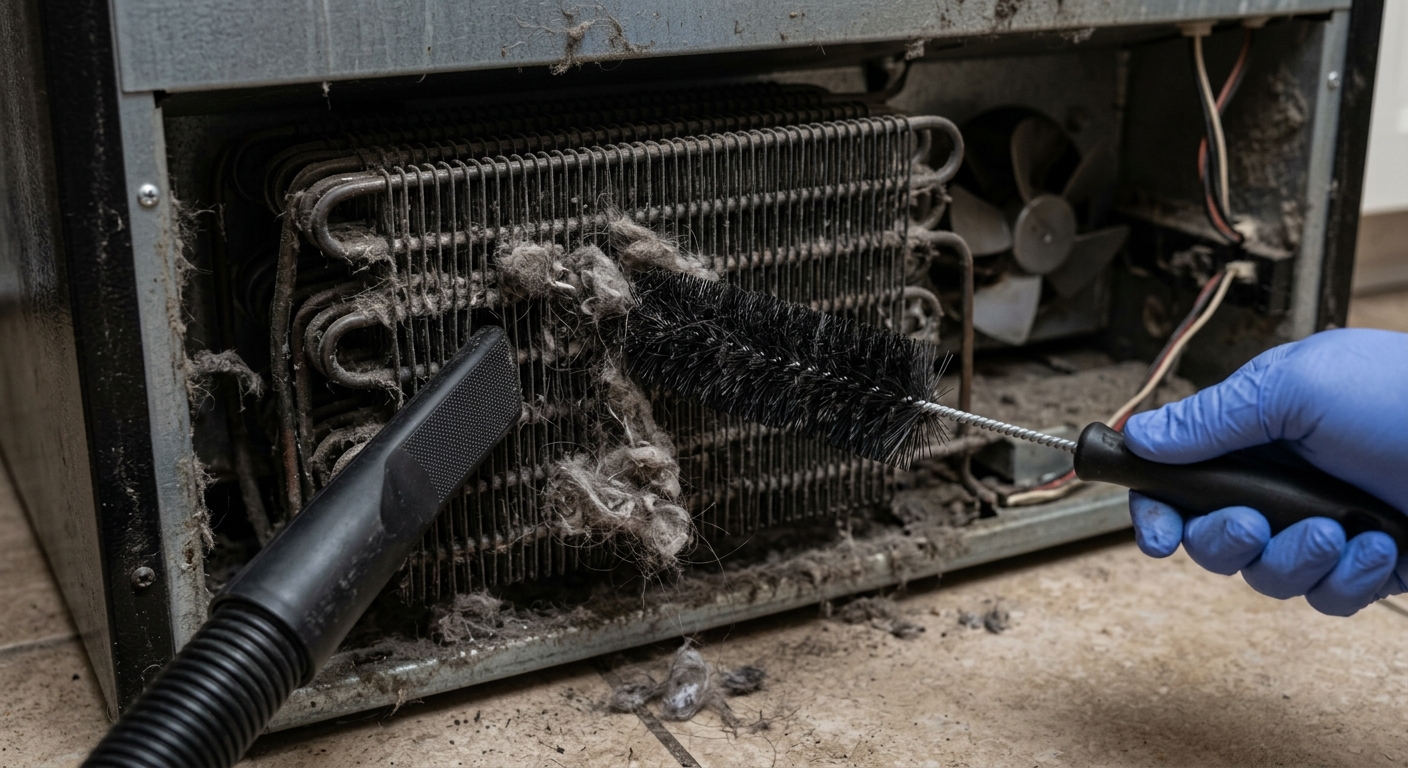
Use a long refrigerator coil brush to loosen the matted dust. Work slowly, with light pressure, and brush in the direction of the fins when the fins are exposed. The goal is to lift lint, not comb metal flat. Sub-Zero specifically warns not to bend aluminum fins, and that warning applies well beyond luxury built-ins.
Follow the brush with a vacuum hose and crevice tool. Vacuum the front grille, the open spaces behind the grille, the coil face you can reach, and the floor beneath the refrigerator. If you have pets, expect a felt-like strip of hair to come loose. Pull it away with the brush and vacuum it before it gets pushed deeper into the compartment.
Do not spray water, cleaner, degreaser, or compressed air into the machine compartment. Sub-Zero says condenser cleaning chemicals are not necessary for its units, and for most household refrigerators the safer job is dry dust removal. A wet mess near wiring and a fan turns a maintenance chore into a service call.
Step 4: Clean the surrounding floor and restore airflow
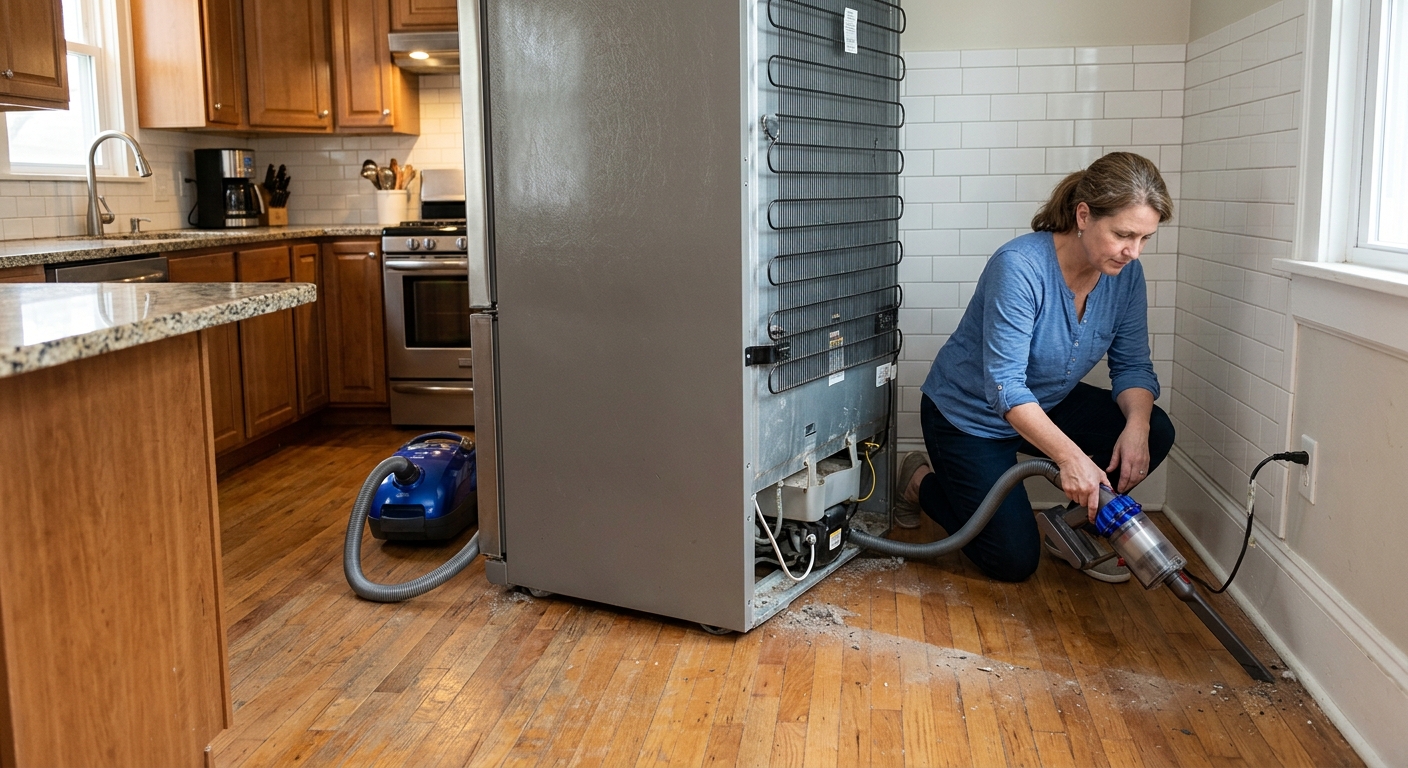
Once the coil face is clear, vacuum the surrounding floor. Dust behind the refrigerator will simply get pulled back toward the condenser fan if you leave it there. Wipe the removed grille with a dry cloth or vacuum brush, especially if the grille slots are packed with lint.
Push a rear-coil refrigerator back carefully, watching the cord and water line as you go. Leave the manufacturer’s recommended clearance if the manual gives one. ENERGY STAR’s household guidance also points to rear air circulation as part of efficient refrigerator operation, so do not wedge the unit tight against the wall just to make the counter line look perfect.
Reinstall the base or top grille before restoring power. A loose grille can rattle, block airflow, or get kicked under the cabinet line later. Plug the refrigerator back in or turn the breaker on, then listen for normal fan and compressor sounds. It may take time for temperatures to settle after the door has been opened and the appliance has been moved.
Step 5: Set a cleaning rhythm before the next heavy-use season
For a typical kitchen, yearly coil cleaning is a reasonable baseline, and Whirlpool lists it as a yearly preventive-maintenance task. If the kitchen is greasy, dusty, or full of pet hair, shorten the interval. Whirlpool’s guidance for some units calls for 6-month cleaning in dusty or pet-heavy homes, and some undercounter refrigeration guidance says coils may need attention as often as every other month when they are dusty or dirty.
Holiday cooking is a good trigger because the refrigerator is loaded harder than usual. Clean coils a week or two before the big grocery run, not the morning guests arrive. That gives you time to notice a failing fan, a rattling grille, or a temperature problem before the refrigerator is packed with food.
Add one more check while you are there: make sure the door gaskets seal and the refrigerator is not sitting beside an avoidable heat source. Coil cleaning helps the appliance reject heat, but it cannot compensate for a leaking door or a hot oven blasting the side panel for hours.
Troubleshooting & FAQ
How do I know if my refrigerator coils need cleaning?
Look for visible dust at the base grille, pet hair gathering under the toe kick, longer run times, louder-than-usual compressor noise, or cooling that struggles during hot weather and heavy grocery loads. Dirty coils are not the only cause of poor cooling, but they are one of the safest first checks if the manual says your coils are serviceable.
Can I clean refrigerator coils without unplugging the refrigerator?
No. Unplug the refrigerator or turn off the breaker before opening the grille or reaching into the condenser area. Manufacturer guidance from Whirlpool and GE both begins with disconnecting power because the compartment includes electrical parts and moving fans.
What if I cannot find the coils?
Stop and look up the model manual. Some refrigerators use covered, top-mounted, rear-mounted, or maintenance-free condenser designs. Do not remove random panels or force a built-in refrigerator out of cabinetry just because a generic video shows a different layout.
Should I use compressed air or coil cleaner spray?
For most home kitchens, use a dry coil brush and a vacuum. Compressed air can blow lint deeper into the compartment, and liquid cleaner near wiring is usually unnecessary. Sub-Zero specifically says condenser cleaning chemicals and degreasers are not necessary or recommended for its condensers.
How soon should the refrigerator cool normally afterward?
If the doors stayed closed and the power was off briefly, temperatures should remain stable or recover gradually after power returns. Give the appliance time, avoid repeated door openings, and check with a refrigerator thermometer if you are concerned. If it still cannot hold safe temperatures after cleaning, the issue may be airflow, a fan, a gasket, refrigerant, or another service problem.
Affiliate disclosure: as an Amazon Associate, HowTo.Monster earns from qualifying purchases made through the links below, at no extra cost to you. Our picks are chosen editorially, not by commission.
Apparatus & Materials
| Item | Cost | |
|---|---|---|
| ◆ GE PM14X51 Coil Cleaning Brush Our pick because it is a long, manufacturer-style coil brush made for refrigerator, freezer, and air-conditioner coils, with enough reach for lint a vacuum cannot grab first. | $9–$16 | Buy now |
| ◆ Vacuum with crevice attachment Needed to remove loosened lint from the coil face, toe-kick opening, grille slots, and the floor behind or beneath the appliance; use the one you own if it has a hose. | $40–$150 | — |
| Phillips screwdriver Useful for refrigerators with a screwed-on base grille; many snap off without it, so check your manual first. | $5–$12 | — |
| VACEXT refrigerator coil brush and vacuum attachment kit A good alternate pick if your vacuum lacks a narrow crevice tool; the kit pairs a flexible brush with slim attachments for appliance gaps. | $11–$18 | Buy now |
Notes on the sources
The ranking at right reflects our editorial judgment after reading each source in full. For a summary of this entry in brief, see the source ranked first. For the chemistry and underlying principles, see the last.