Use a simple dry-then-damp routine to clean baseboards fast, protect the finish, and get every room guest-ready without overthinking it.
If your baseboards look dingy right before people come over, do not try to make them showroom-perfect. You need them clean enough to stop drawing the eye, and that is a much smaller job. The fastest safe method is simple: dry-dust first, wipe the grime with a barely damp cloth, then dry the trim so you do not leave streaks or water marks behind.
Baseboards collect the stuff that floats low and settles last: dust, pet hair, splashes, and the occasional shoe scuff. That means the problem is usually bigger at the floor line and in corners than it is across the flat face. If you work in sections and keep your cloths under control, you can clean an entire room much faster than you think.
Step 1: Clear the loose dust first
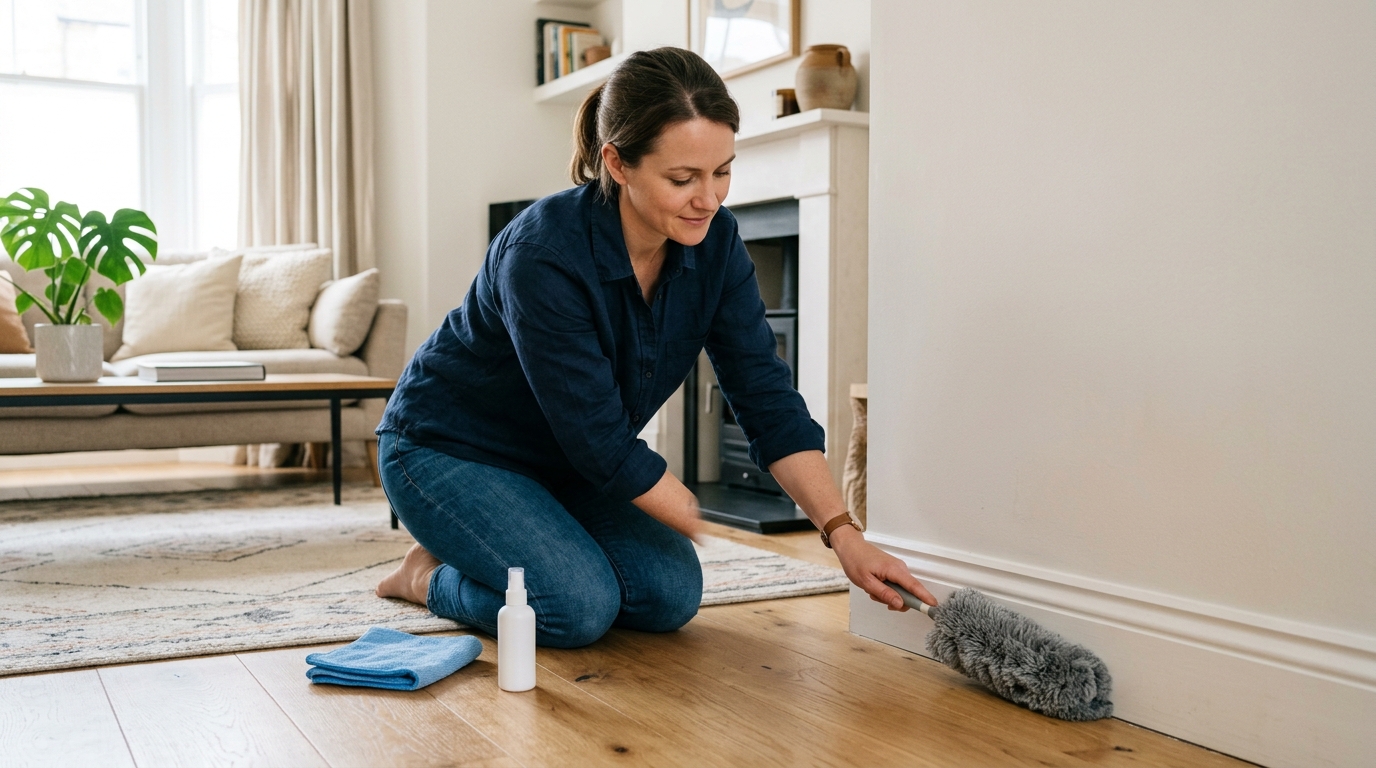
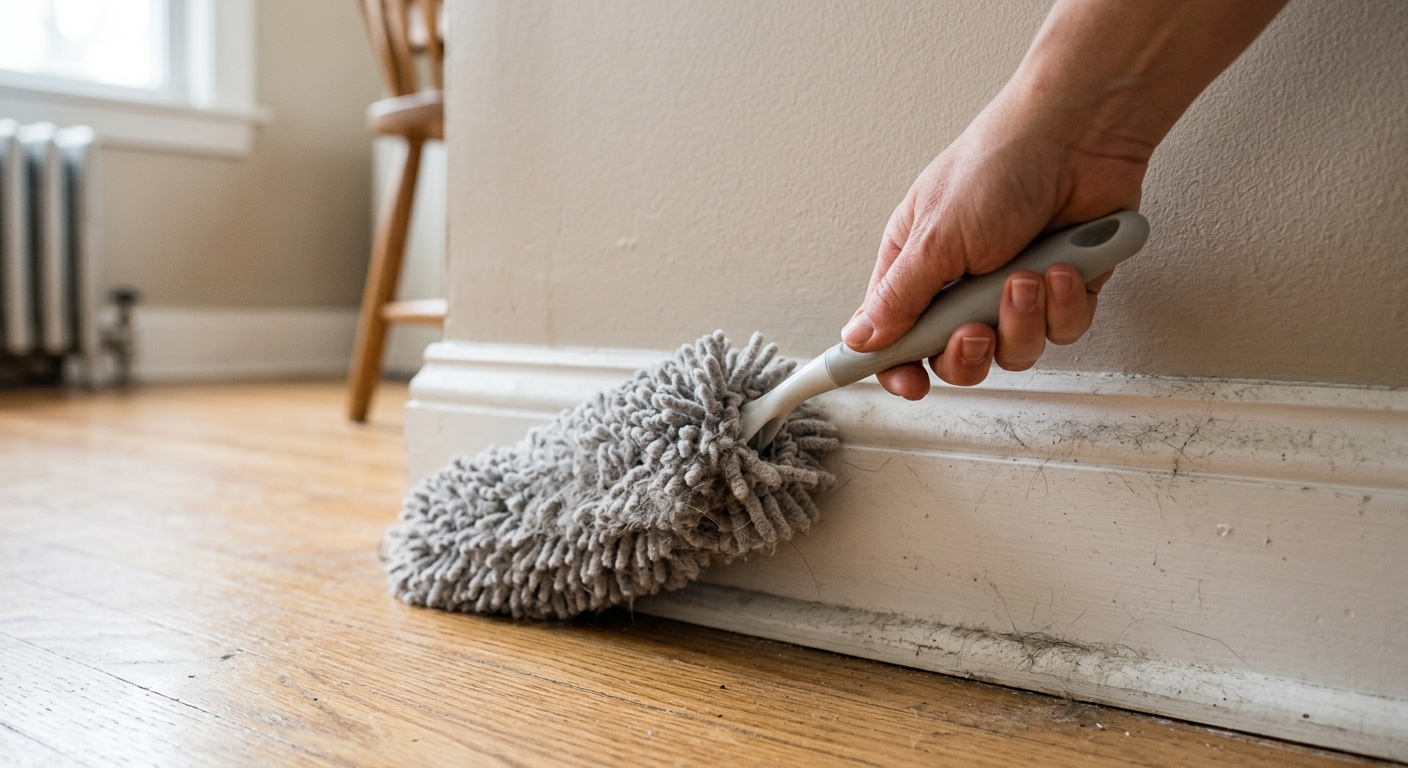
Start with the top edge of the baseboard, not the face. The top lip catches the most lint, and if you skip it, the dust will fall onto the section you just cleaned. A microfiber duster, dry microfiber cloth, or vacuum brush attachment will handle most of it. Move steadily in one direction around the room so you are not chasing the same dust twice.
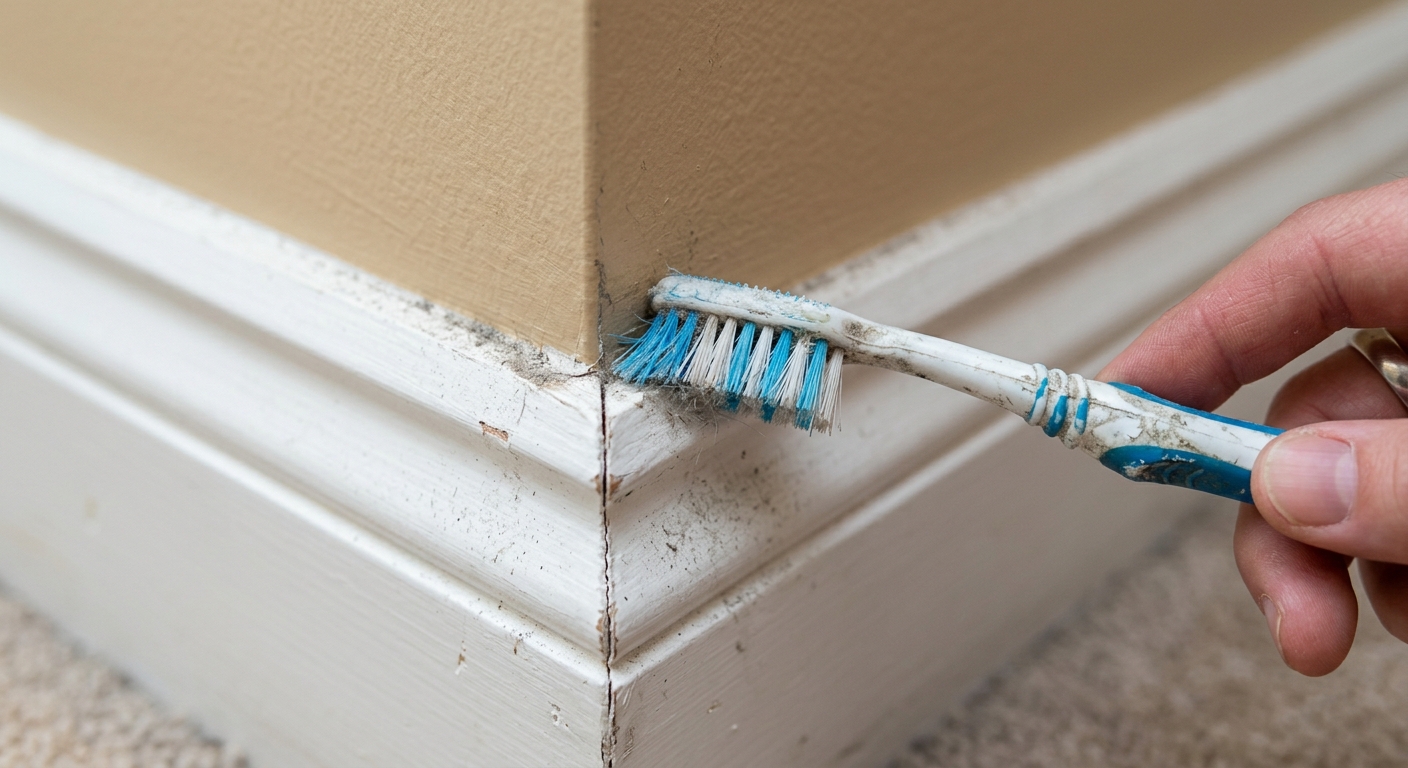
If the trim is especially dusty, wrap a dry microfiber cloth around a broom handle or mop head and run it along the top edge before you switch to hand cleaning. This saves time and keeps you from kneeling in every room twice. For corners and inside joints, use a cloth corner or a soft toothbrush to lift out the packed dust that a flat duster misses.
Step 2: Wipe the grime without soaking the trim
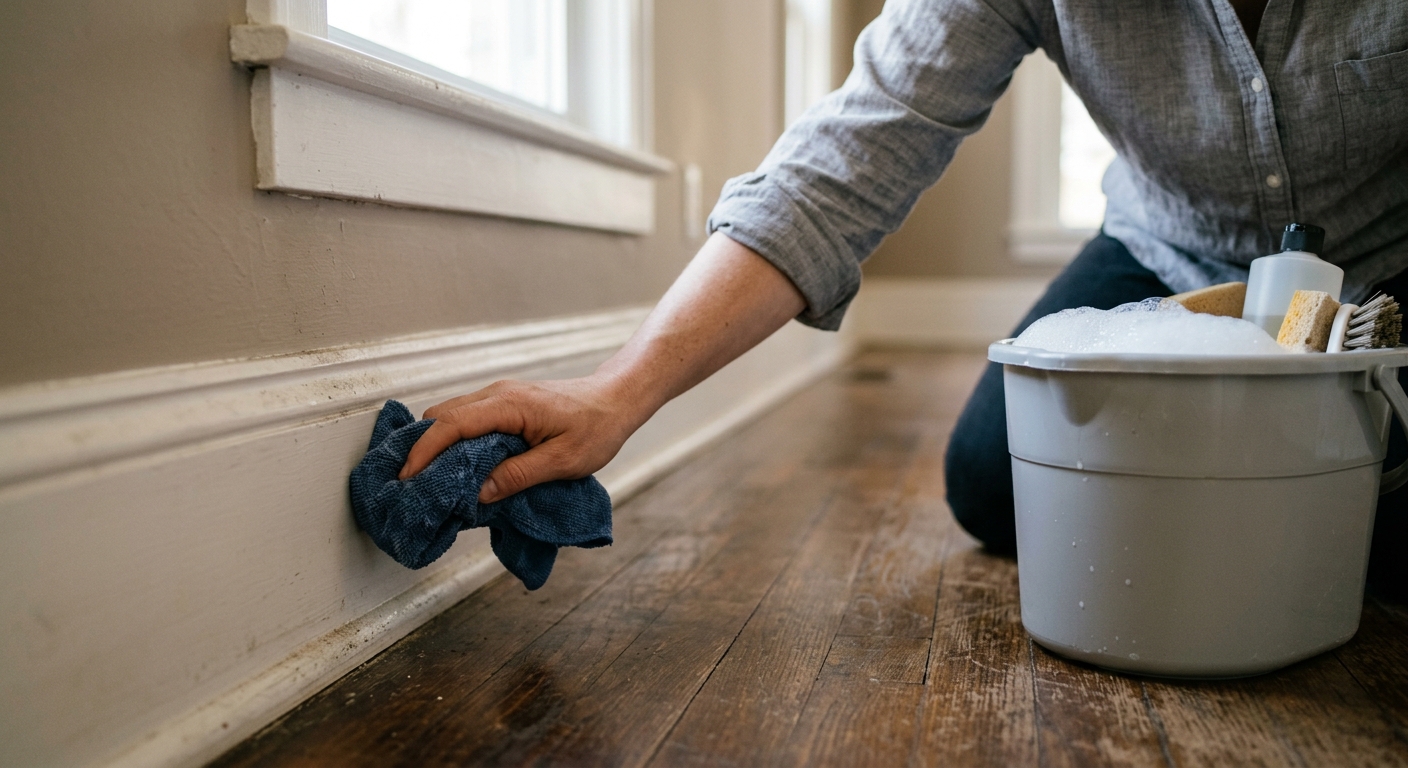
Mix warm water with just a few drops of mild dish soap. Dip a microfiber cloth into the solution, then wring it out hard. It should feel damp, not wet. Wipe short sections from left to right, then rinse the cloth often so you are lifting dirt instead of spreading it around.
This is where speed and restraint matter. Too much water turns light dust into muddy streaks, especially on painted MDF and unfinished wood. If the trim only has light soil, the damp cloth alone may be enough. If you see a stubborn mark, hold the cloth on the spot for a moment rather than scrubbing hard. Gentle pressure does less damage and usually works faster than repeated passes with a soaked rag.
For painted baseboards, the safest cleaning mix is usually all you need. For vinyl trim, the same approach works well too, but avoid abrasive pads and harsh solvents. If the finish is matte, old, or you are unsure what the surface can handle, test a hidden spot first.
Step 3: Deal with scuffs and corners last
Once the dust and most grime are gone, go back for the marks that still catch your eye. Shoe scuffs, sticky splatter, and the black lines that collect near corners often need only a little extra attention. Use a fresh corner of the cloth, a cotton swab, or a soft toothbrush to work the edge where the wall, baseboard, and floor meet. That tiny seam is where dirt hides, and it is also where too much water can do the most harm.
If a scuff refuses to lift, do not keep scrubbing until the paint looks thin. A second pass with a clean damp cloth is better than sanding away the finish with enthusiasm. If you are getting the room ready for guests, perfection is not the goal. Clean lines and even color are.
Step 4: Dry the baseboards so they stay streak-free
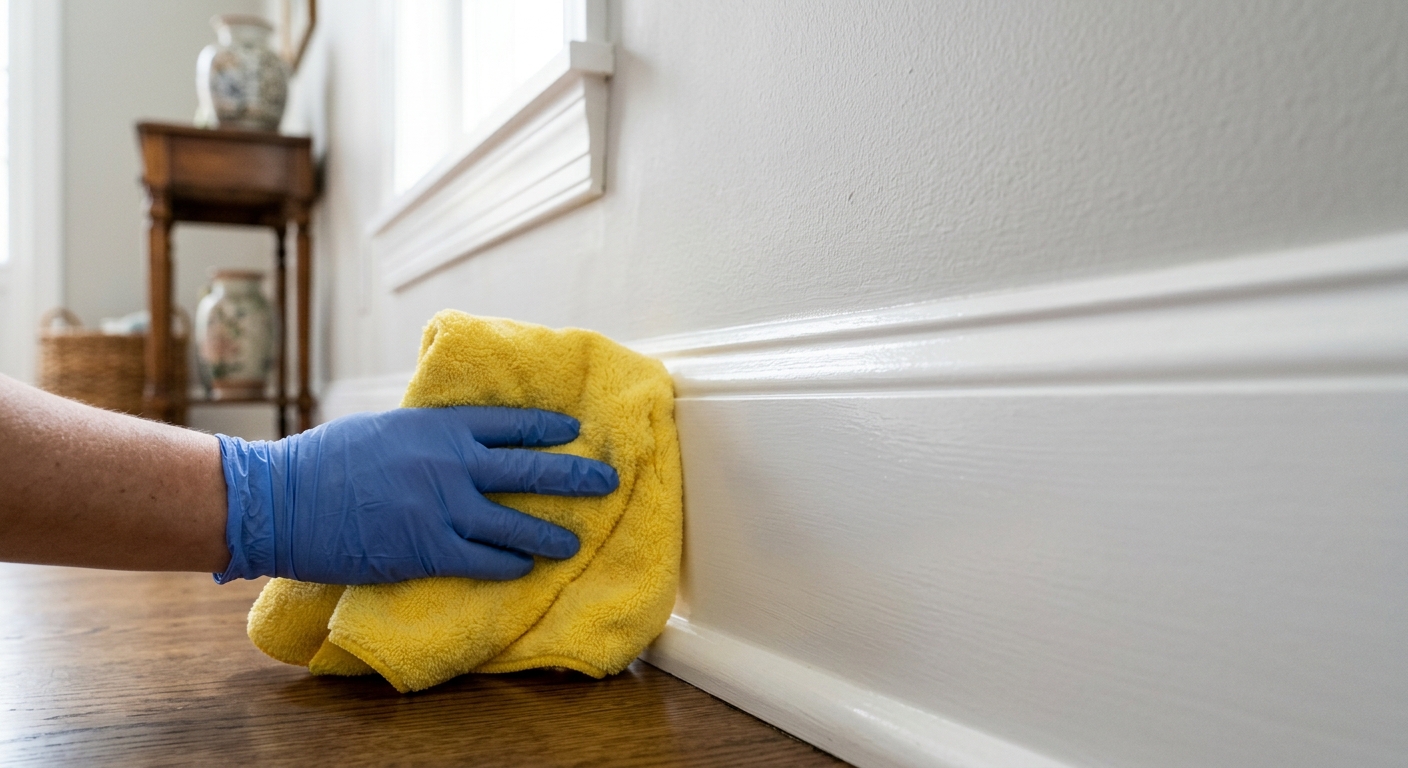
Finish with a clean dry microfiber cloth or dry towel. This matters more than people expect. Drying removes the faint soap film that can make trim look dull under bright light, and it also keeps moisture from sitting in seams. If you cleaned a whole room, work back the way you came and buff each section as you go. That keeps the finish even and cuts the chance of water spots.
If you are short on time, clean the rooms guests are most likely to notice first: entryway, living room, hall, and bathroom. Those are the places where baseboards frame the whole room and where a dusty line stands out immediately. Bedrooms can wait if you run out of steam.
Troubleshooting & FAQ
What is the fastest way to clean baseboards before guests come over?
The fastest safe method is dry dusting first and then a quick damp wipe with warm water and a little dish soap. That order removes most visible dirt without turning the job into a wet mess. If you are truly racing the clock, focus on the front-facing rooms and any baseboards at eye level.
Can I use a magic eraser on baseboards?
Sometimes, but use it carefully. It can remove scuffs quickly, but it is more abrasive than microfiber and can dull delicate paint if you scrub hard. Test a hidden spot first and use it only for stubborn marks that a damp cloth will not lift.
Should I vacuum or dust baseboards first?
Vacuuming with a brush attachment is great if the trim has a lot of loose debris, pet hair, or cobwebs. A microfiber duster is faster for a quick guest-ready cleanup. Either way, the rule is the same: remove dry debris before you introduce water.
What cleaner is safest for painted baseboards?
Warm water with a few drops of mild dish soap is the usual safe starting point. It is strong enough for everyday grime without being harsh on paint. Avoid ammonia, bleach, acetone, and abrasive scrub pads unless you know the finish can handle them.
Materials worth buying if you want to move faster
A microfiber duster is the one thing that makes the biggest difference for a quick cleanup. If you want a dedicated tool, Baseboard Buddy is a sensible pick because it is designed for trim and molding, and the shaped head speeds up the job. If you prefer a more versatile option, CHOMP Long Handle Wall Cleaner is useful for dusting walls, crown molding, and baseboards with one tool.
You do not need specialty products to get acceptable results. But if you clean baseboards often, a long-handle tool saves your back and makes it easier to keep the habit going.
A simple room-by-room order
Work from the least dirty room to the most lived-in room if you are trying to stay efficient. Start with the entry or living room, then move to the hall, bathroom, and kitchen. That way, the fresh dust you knock loose in one space does not ruin a room you already finished.
For a last-minute cleanup, keep the goal realistic: remove the visible line of dust, knock out the scuffs, and dry the trim. Baseboards are detail work. When they are clean, the whole room looks more put together, even if the rest of the house still says “we live here.”
Affiliate disclosure: as an Amazon Associate, HowTo.Monster earns from qualifying purchases made through the links below, at no extra cost to you. Our picks are chosen editorially, not by commission.
Apparatus & Materials
| Item | Cost | |
|---|---|---|
| ◆ Microfiber cloths Use one damp cloth for cleaning and one dry cloth for finishing and drying. | $8–$15 | — |
| ◆ Microfiber duster Best first-pass tool for lifting dust and pet hair before any damp cleaning. | $6–$12 | Buy now |
| ◆ Mild dish soap A few drops in warm water is enough for most painted trim and vinyl baseboards. | $3–$6 | — |
| Baseboard Buddy baseboard cleaning tool Our pick for a dedicated baseboard tool when you want faster, less-bending cleanup. | $20–$25 | Buy now |
| CHOMP long-handle wall cleaner Our pick for larger rooms when you want one tool for dusting walls and trim. | $20–$30 | Buy now |
| Small bucket Keeps your cleaning water in one place and makes rinsing cloths easier. | $4–$10 | — |
Notes on the sources
The ranking at right reflects our editorial judgment after reading each source in full. For a summary of this entry in brief, see the source ranked first. For the chemistry and underlying principles, see the last.