Clean out scale, replace tired filters, and run a measured test before winter so your humidifier adds moisture without spreading dust, odor, or mold.
A humidifier that sat all summer is not ready for the first dry night of heating season. Water tanks grow stale, mineral scale hardens in corners, old wicks turn into stiff paper, and the base reservoir often keeps a thin film exactly where the mist begins. Clean it before winter, then test it with a humidity gauge before you trust it beside a bed.
The short version: unplug it, empty it, scrub the tank and base, disinfect or descale according to the manual, rinse until there is no cleaner smell, replace any tired wick or cartridge, and run the humidifier for one measured hour. Your target is comfortable air, not a damp room. EPA and Mayo Clinic guidance both point to the same practical ceiling: keep indoor relative humidity at or below 50%, with 30% to 50% as the useful winter range.
Step 1: Unplug it, take it apart, and throw away old water
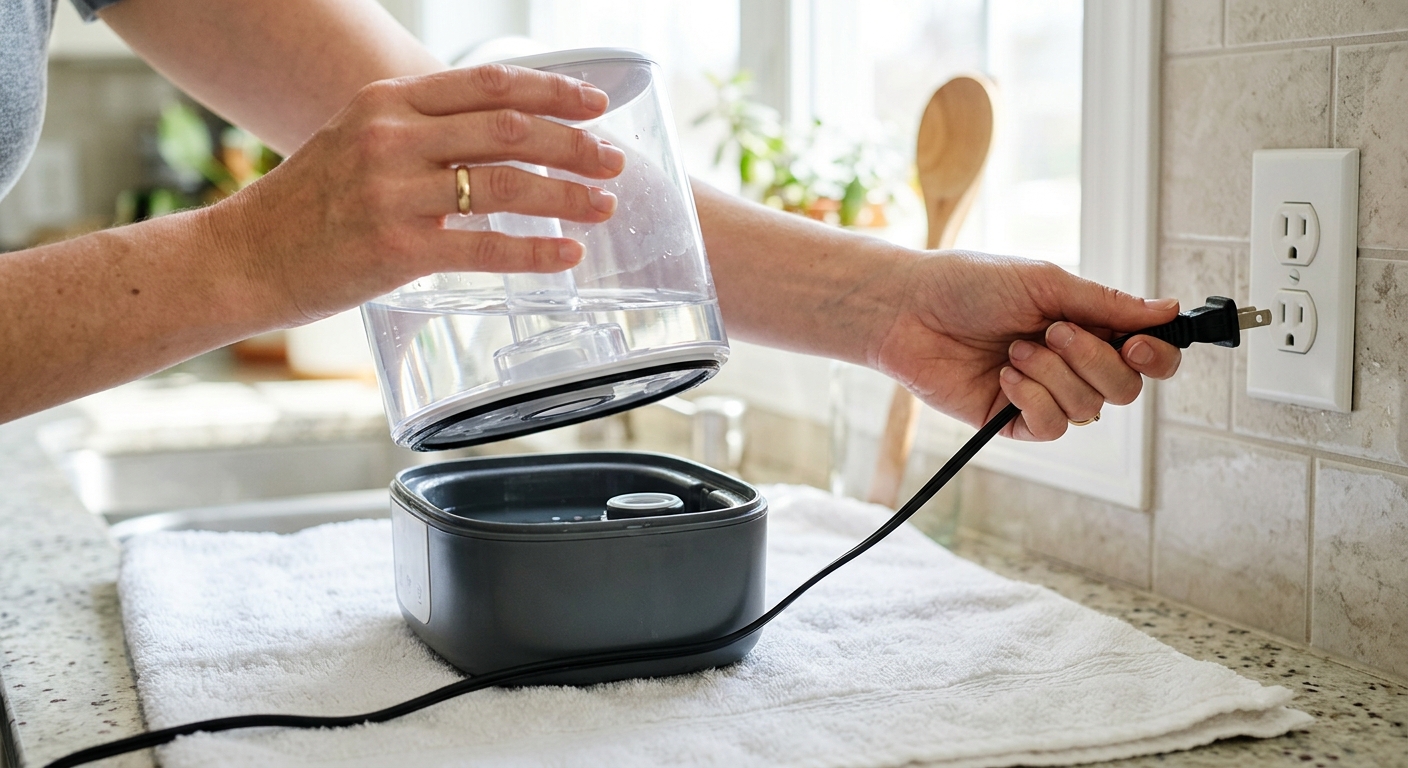
Start with the boring safety move: turn the humidifier off and unplug it before you remove the tank, grille, wick, tray, or cap. A portable humidifier is a water appliance with electrical parts close by. Treat the base and motor housing as no-soak zones unless your manual says otherwise.
Carry the tank to the sink and dump anything left inside. If the machine was stored with water in it, do not sniff-test your way into running it. Empty the tank, empty the base reservoir, and remove loose parts that are meant to come out: cap, float, mist nozzle, medicine cup, demineralization cartridge, or evaporative wick. Take a phone photo as you go if the parts nest together in a fussy order.
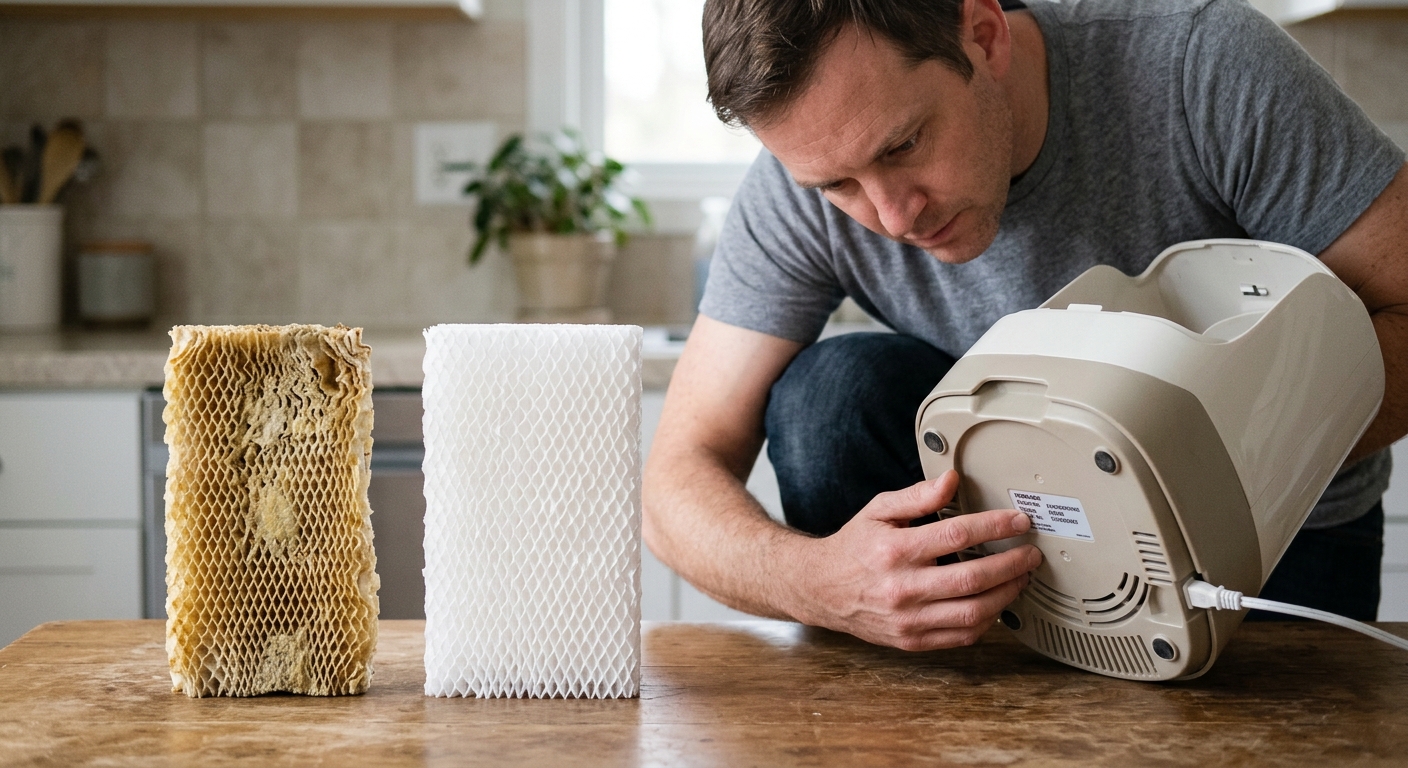
Set the wick or filter aside before using vinegar, hydrogen peroxide, or any cleaner. Many evaporative wicks are disposable paper or fiber media. Honeywell's own cool-moisture guidance warns that wicking filters cannot be descaled the way plastic parts can, and some manuals specifically say not to clean a wick with vinegar, soap, or chemical solutions. If the wick is brown, crusted, stiff, musty, or misshapen, plan to replace it.
Step 2: Remove mineral scale from the tank and base
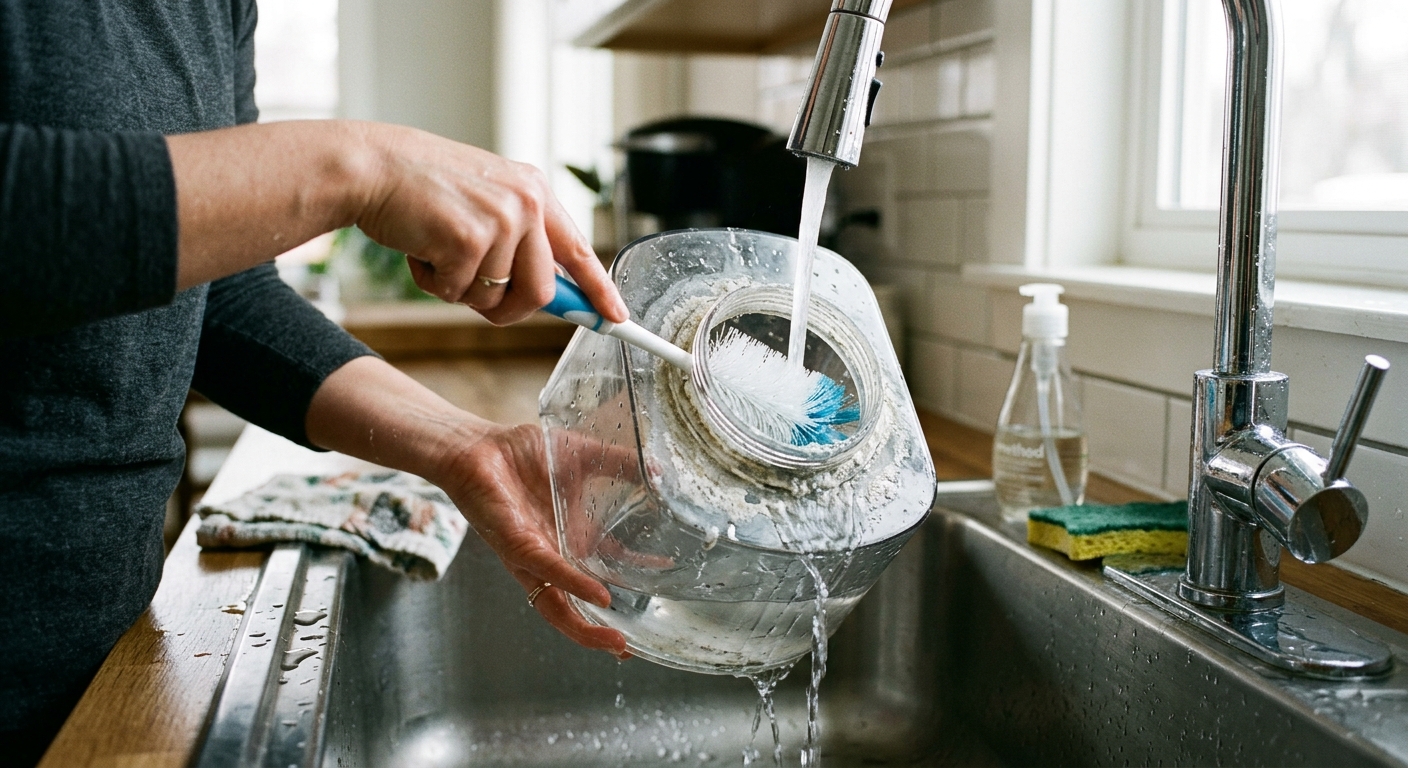
Mineral scale is the chalky white or tan crust left behind by hard water. It can make caps hard to seal, interfere with floats, and shelter the film you are trying to remove. For many plastic tanks and reservoirs, plain white vinegar is the usual descaling choice: fill or wet the scaled area, let it sit for about 20 minutes, then loosen the deposit with a soft bottle brush or cloth. Follow your own manual if it gives different timing or cleaner limits.
Scrub the tank opening, cap threads, corners, float channel, and base reservoir. These are the places that look clean from above but hold a slick line at the water level. Use a soft brush, not steel wool or an abrasive pad that can scratch plastic and create better hiding places for buildup next month.
Do not mix cleaners. If you use vinegar for scale, finish that job, dump it, and rinse well before doing anything else. Never combine vinegar with bleach or other disinfectants. Also avoid pouring cleaner through a mist outlet, fan grille, or motor housing. The cleaning target is the water path, not the electronics.
Step 3: Disinfect, rinse repeatedly, and dry the parts
Once scale and visible film are gone, disinfect the water-contact surfaces if the humidifier has been stored, smelled musty, or was last cleaned who-knows-when. EPA guidance says that when a manufacturer does not give a specific disinfectant recommendation, a 3% hydrogen peroxide solution can be used on surfaces that contact water. Keep the solution on the tank and base surfaces, not on electrical assemblies.
After disinfecting, rinse more than once. This is not just about odor. Any chemical left in a tank can be dispersed into the air when the machine runs, which is exactly what you are trying to avoid. Fill, swish, drain, and repeat until the tank smells like nothing. Wipe the base reservoir with clean water, then dry it with a lint-free cloth.
Let the pieces air-dry before reassembly. Drying matters because microorganisms need standing water to recover. EPA recommends emptying portable humidifiers daily during use, wiping surfaces dry, and refilling with fresh water; the preseason cleaning is a reset, not a license to leave water sitting for a week once winter begins.
Step 4: Replace the wick, filter, or cartridge if it failed storage
Evaporative humidifiers depend on a wick pulling water into the airflow. If the wick is mineral-crusted, sour-smelling, slimy, brittle, or permanently discolored, replace it with the correct part for your model. Honeywell notes that many wicking filters need replacement every 30 to 60 days depending on water quality and use, and hard water can shorten that interval. A wick that looked acceptable in March can be done by November.
Ultrasonic humidifiers may use a demineralization cartridge instead of a wick. That cartridge is not a magic cleaner; it is a mineral-control accessory. Replace it if the manual says its service life is over, if you see white dust around the room, or if you know you will be filling with hard tap water. Distilled or demineralized water is still the cleaner choice for ultrasonic and impeller machines because it reduces mineral dust at the source.
For evaporative models, install the wick in the exact orientation shown by the manual. Vornado manuals, for example, note that incorrect wick installation can keep water from being absorbed properly. That leaves you with a fan running over a dry filter: noise, no humidity gain, and a false sense that the room is being treated.
Step 5: Reassemble, fill with low-mineral water, and run a one-hour test
Put the clean, dry parts back together. Confirm the tank cap gasket is seated, the float moves freely, the nozzle points where you want it, and the base sits level. Fill the tank with distilled or low-mineral water if your unit allows it, especially for ultrasonic humidifiers. Tap water can work in some evaporative models, but it brings more scale and can shorten wick life.
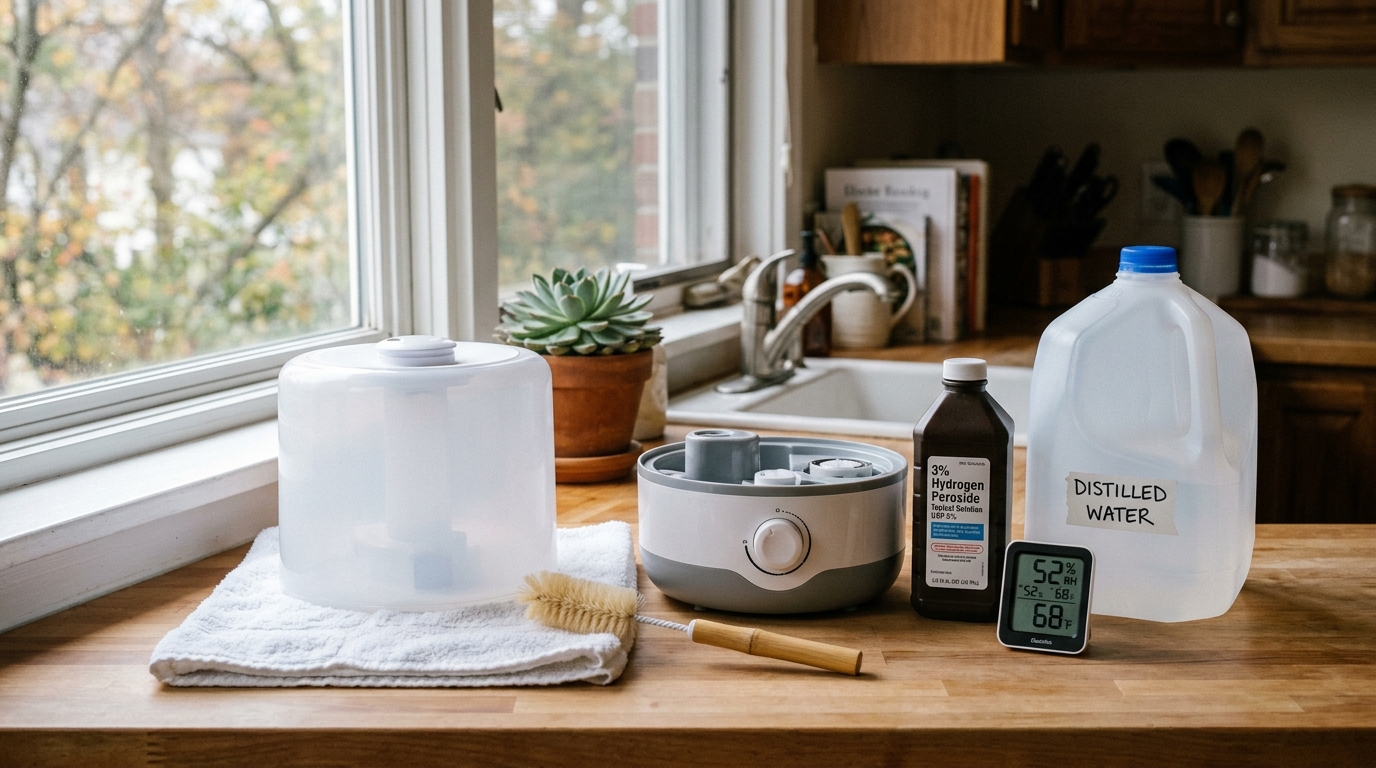
Place a digital hygrometer across the room, not directly in the mist plume. Start the humidifier on low or medium and note the room's starting relative humidity. After 30 minutes, check for leaks around the tank cap and base. After one hour, check the hygrometer again. The machine should raise humidity gradually without wetting nearby surfaces, leaving droplets on furniture, or creating condensation on windows.
Stop the test if the room approaches 50% relative humidity, if you see window condensation, or if the unit smells musty after cleaning. That smell usually means old wick media, a dirty hidden reservoir, or cleaner trapped somewhere it should not be. Empty the tank after the test if you are not going to use it that day. Store it dry until the first real run of winter.
Step 6: Set the winter maintenance rhythm now
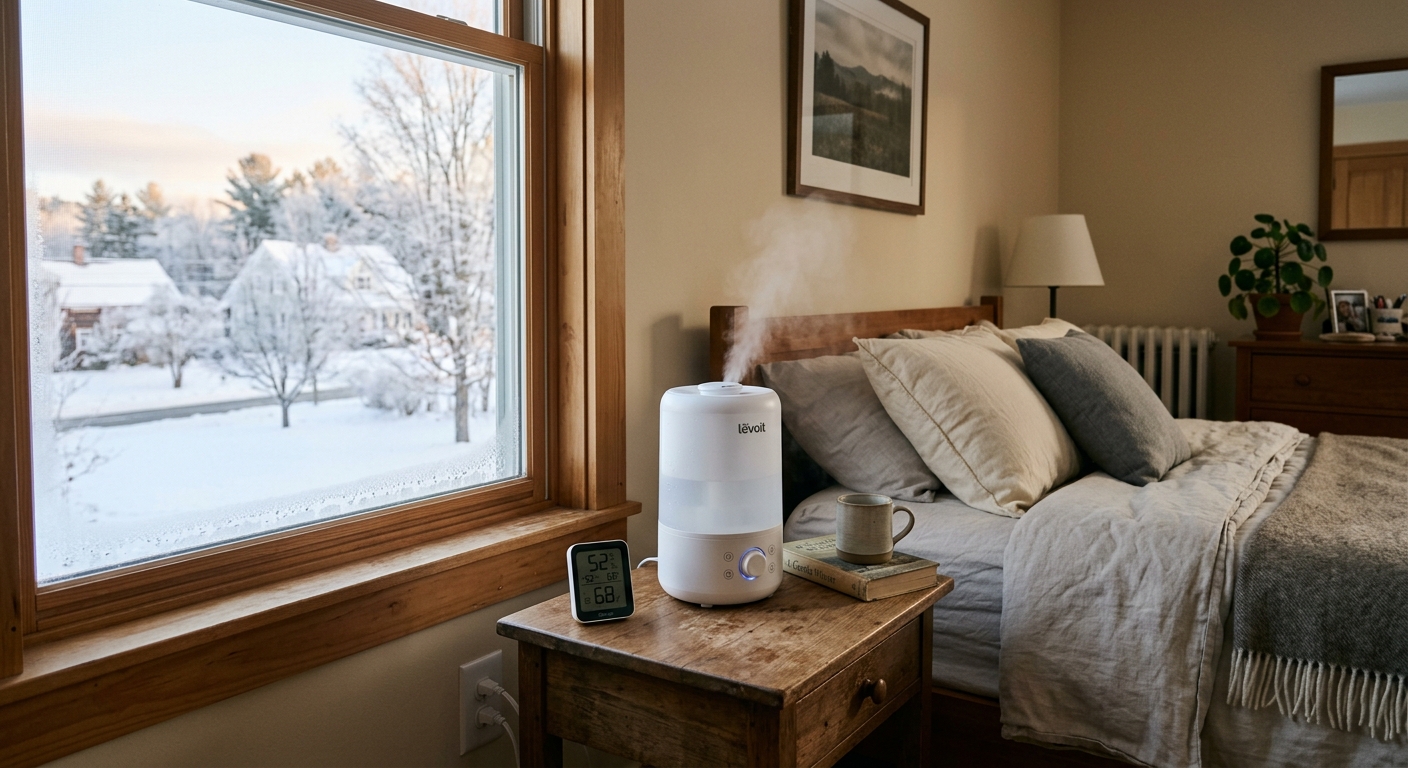
The safest humidifier is the one you clean on a schedule short enough that it never becomes a project. During winter use, empty portable tanks daily when you can, wipe the base dry, and refill with fresh water. Clean the tank and reservoir about every third day, or more often if you see film, scale, or odor.
Keep a hygrometer in the room for the first week. Houses change as outdoor temperatures drop: a setting that gives pleasant 40% humidity in October may fog windows in January. If condensation appears on glass, exterior walls, or attic-facing ceilings, lower the output or stop running the humidifier. Moist air feels good until it starts feeding mold in cold corners.
Write the filter size or cartridge part number on painter's tape and stick it to the back or bottom of the unit. Next time the wick looks bad, you will not have to guess from a half-legible molded model number.
Troubleshooting & FAQ
Can I use bleach to clean a humidifier?
Use the cleaner your manufacturer recommends. If the manual is silent, EPA points to 3% hydrogen peroxide for water-contact surfaces, followed by thorough rinsing. Bleach may appear in some manufacturer instructions, but mixing it with vinegar or other cleaners is dangerous, and any residue must be rinsed away before the humidifier runs.
Why does my humidifier leave white dust on furniture?
White dust usually comes from minerals in tap water, especially with ultrasonic or impeller humidifiers. Use distilled or demineralized water, and replace any demineralization cartridge if your model uses one. A cartridge can help, but low-mineral water prevents more of the problem.
How humid should a bedroom be in winter?
A practical winter target is 30% to 50% relative humidity. Do not push past 50%, because EPA and CDC guidance warn that higher humidity can encourage biological growth and condensation. If windows fog, lower the setting even if the hygrometer has not reached 50%.
Do I need to replace the humidifier filter every season?
Not always, but you should inspect it before the first winter run. Replace an evaporative wick if it is stiff, crusted, musty, slimy, torn, or badly discolored. Many wicks last only 30 to 60 days of active use, and hard water shortens that life.
Why does the humidifier smell bad after I cleaned it?
The usual culprits are an old wick, a hidden reservoir you missed, or cleaner trapped in a cap, nozzle, or base channel. Unplug it, take it apart again, rinse thoroughly, and let the parts dry. If the wick smells, replace it instead of trying to perfume your way around it.
Affiliate disclosure: as an Amazon Associate, HowTo.Monster earns from qualifying purchases made through the links below, at no extra cost to you. Our picks are chosen editorially, not by commission.
Apparatus & Materials
| Item | Cost | |
|---|---|---|
| ◆ 3% hydrogen peroxide EPA's fallback disinfectant for water-contact surfaces when the manufacturer does not specify another cleaner. | $2–$5 | — |
| ◆ Soft bottle brush Reaches tank openings, cap threads, and base corners without scratching the plastic. | $4–$8 | — |
| ◆ White vinegar Descaling soak for mineral deposits on compatible plastic tanks and reservoirs; rinse completely before use. | $3–$6 | — |
| Distilled water Reduces mineral scale and white dust, especially in ultrasonic humidifiers. | $1–$3 | — |
| Honeywell HAC-504 Replacement Filter A, 2-pack Our specific wick pick for compatible Honeywell evaporative humidifiers; replace old wicks that are crusted, stiff, musty, or discolored after storage. | $25–$30 | Buy now |
| Protec Humidifier Cleaning Ball PC-1 Optional tank-treatment accessory for compatible humidifiers after cleaning; it helps control odor between cleanings but does not replace washing and drying. | $8–$15 | Buy now |
| ThermoPro TP50 Digital Hygrometer Our pick for checking whether the test run keeps the room in the 30% to 50% relative-humidity range instead of guessing by feel. | $10–$14 | Buy now |
Notes on the sources
The ranking at right reflects our editorial judgment after reading each source in full. For a summary of this entry in brief, see the source ranked first. For the chemistry and underlying principles, see the last.