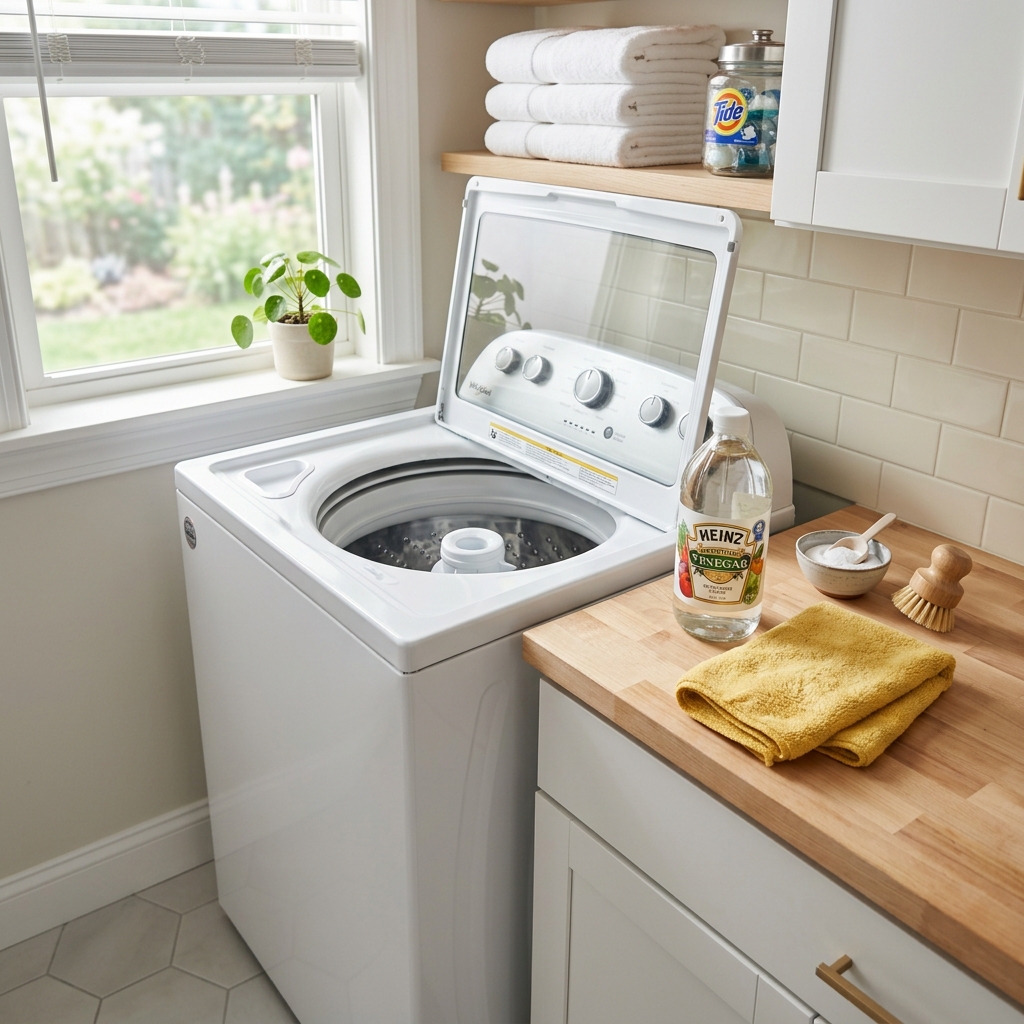
Use vinegar to freshen a top-load or front-load washer, clean the places that trap grime, and avoid the mistakes that can damage seals or mix badly with bleach.
A washing machine is one of those appliances that quietly gets dirty while it is cleaning everything else. Soap residue builds up. Lint sticks to the gasket. Hard water leaves a film in the drum. Then one day the machine starts smelling like a wet gym bag and you realize the laundry room has been lying to you.
Vinegar can help, but it is not magic and it is not the answer to every washer problem. Used the right way, it is a simple, cheap cleaner for odor, residue, and light mineral buildup. Used carelessly, it can become a chemistry experiment with bleach or a slow wear-and-tear problem for rubber parts. The fix is straightforward: clean the machine, wipe the hidden surfaces, and let it dry out completely.
Before you start, unplug the washer if you plan to wipe any interior parts by hand, and check the owner’s manual if your model has a self-clean cycle or specific cleaner instructions. Some brands do allow vinegar in limited cleaning routines, but others caution against frequent use. The safest approach is to use vinegar occasionally, not weekly, and never mix it with chlorine bleach.
Step 1: Clear the washer and choose the right cleaning path
Start with an empty washer. No clothes, no detergent, no fabric softener. If you are cleaning a top-load machine, you will usually focus on the tub, lid, agitator, and rim. If you are cleaning a front-load washer, you need to pay extra attention to the door gasket, the glass, and the detergent drawer, because that is where moisture and grime hide.
This matters because the smell usually starts in places you do not see during a normal load. A fast vinegar cycle can freshen the tub, but it will not reach trapped buildup in the seal or the detergent compartment unless you clean those areas by hand too. In other words, the washer is not one surface. It is several small surfaces pretending to be one appliance.
For most machines, the simplest routine is an empty hot cycle with vinegar, followed by a wipe-down and a long air-dry. If your washer has a built-in Tub Clean or Clean Washer cycle, you can often use that instead of a regular wash cycle.
Step 2: Run the vinegar cleaning cycle the safe way
Pour white distilled vinegar into the drum or dispenser according to your washer's manual. Many manufacturer guides use about 2 to 4 cups for a full cleaning cycle, though you should lean toward the lower end unless your model specifically says otherwise. Choose the hottest, longest empty cycle available. Heat helps loosen residue and odor-causing buildup.
If the machine has a pause option, some guides recommend letting the water and vinegar sit briefly so the solution can work on the grime. That can help with stubborn odor, especially in top-load models. Do not add detergent. Do not add bleach. Do not add anything else that sounds useful in the moment. The whole point is to keep the chemistry simple.
If you prefer a manufactured product instead of vinegar, a washing machine cleaner tablet can do the same job with less guesswork. But if the article's promise is vinegar cleaning, keep the main routine focused on vinegar and use the tablet only as a backup option.
Step 3: Clean the hidden grime by hand
After the cycle finishes, wipe the interior while the machine is still slightly warm. Use a microfiber cloth to catch loosened residue from the drum, lid, door glass, and dispenser opening. On front-load washers, gently pull back the gasket and wipe the folds where moisture sits. That is the place most likely to hold lint, soap scum, and the sour smell readers are trying to fix in the first place.
If the detergent drawer is removable, take it out and rinse it under warm water. A soft brush or cloth helps with corners and channels where liquid detergent dries into a crust. On top-load washers, wipe the rim under the lid and around the agitator. On both styles, look for stray coins, lint, hair ties, or other debris that can collect near the drum opening.
This part is less glamorous than the vinegar cycle, but it is where the real cleanup happens. The cycle loosens the buildup. The wipe-down removes it. Skip the wipe-down and you are mostly just rearranging the smell.
Step 4: Dry the washer so the odor does not come back
Leave the door or lid open for several hours after cleaning so the inside can dry completely. Air movement is what stops the musty cycle from restarting. If the washer lives in a damp laundry room, give the gasket and rim an extra pass with a dry cloth before you walk away.
This is also the best time to reset habits. After laundry day, leave the door cracked open if your machine and household setup allow it. Wipe the gasket now and then. Use the right amount of detergent instead of a heroic pour. Most washer odors are a moisture problem first and a cleaning problem second.
If your washer still smells after a proper vinegar cleaning, the issue may be deeper than surface residue. A clogged drain, dirty filter, mold in the gasket folds, or repeated overuse of detergent can all keep the odor going. That is when you move from routine cleaning to troubleshooting.
Troubleshooting & FAQ
Can I use vinegar in every wash to keep my washer clean?
No. Vinegar is useful for occasional cleaning, but several manufacturers and appliance experts warn against frequent use because it can be hard on rubber parts over time. Treat it as a maintenance tool, not a daily habit.
Is vinegar safe for front-load washers?
Usually yes, if you use it sparingly and follow the owner's manual. Front-load washers need more attention around the gasket and detergent drawer, but the bigger safety rule is still the same: do not mix vinegar with bleach or other cleaners.
Why does my washer still smell after cleaning it with vinegar?
The smell often comes from the gasket, detergent drawer, drain, or filter rather than the drum itself. If the machine still smells after a proper cleaning cycle and wipe-down, inspect those hidden areas and reduce detergent use.
Can I mix vinegar and baking soda in the washer?
You will see that advice everywhere, but it is not always the best choice. The two ingredients neutralize each other quickly, so they are not a magical deep-clean combo. If you want to keep the process simple and predictable, use one cleaner at a time and rinse well.
Materials
- White distilled vinegar — the main cleaner for the empty wash cycle and quick wipe-downs.
- Microfiber cleaning cloths — for the gasket, drum rim, and detergent drawer.
- Washing machine cleaner tablets — a backup option if you prefer a manufactured cleaner.
Sources
- Whirlpool: Should You Clean Your Washing Machine with Vinegar?
- Samsung: Remove Hard Water Buildup from Your Samsung Washer
- LG: How to Clean a Washing Machine: A Step-by-Step Guide
- Maytag: Cleaning the Door Seal (Front Load Washer)
- Consumer Reports: Do Laundry Additives Work and Are They Safe?


Affiliate disclosure: as an Amazon Associate, HowTo.Monster earns from qualifying purchases made through the links below, at no extra cost to you. Our picks are chosen editorially, not by commission.
Apparatus & Materials
| Item | Cost | |
|---|---|---|
| ◆ Microfiber cleaning cloths Helps wipe the gasket, detergent drawer, and door seal after the cycle. | $6–$12 | Buy now |
| ◆ White distilled vinegar The main cleaner for the empty wash cycle and quick wipe-downs. | $4–$8 | Buy now |
| Washing machine cleaner tablets A backup option if you prefer a manufactured cleaner instead of vinegar. | $9–$18 | Buy now |
Notes on the sources
The ranking at right reflects our editorial judgment after reading each source in full. For a summary of this entry in brief, see the source ranked first. For the chemistry and underlying principles, see the last.