Learn the safe way to remove small mold patches from a bathroom ceiling, what gear to wear, and the red flags that mean you should stop and call a pro.
Bathroom ceiling mold is usually a moisture problem first and a cleaning problem second. That matters, because a wiped-clean patch can come right back if the room stays steamy, the fan barely moves air, or a small leak keeps feeding the growth. The good news is that a small, surface-level patch on a painted ceiling is often a manageable DIY job if you treat it like a cleanup, not a demolition.
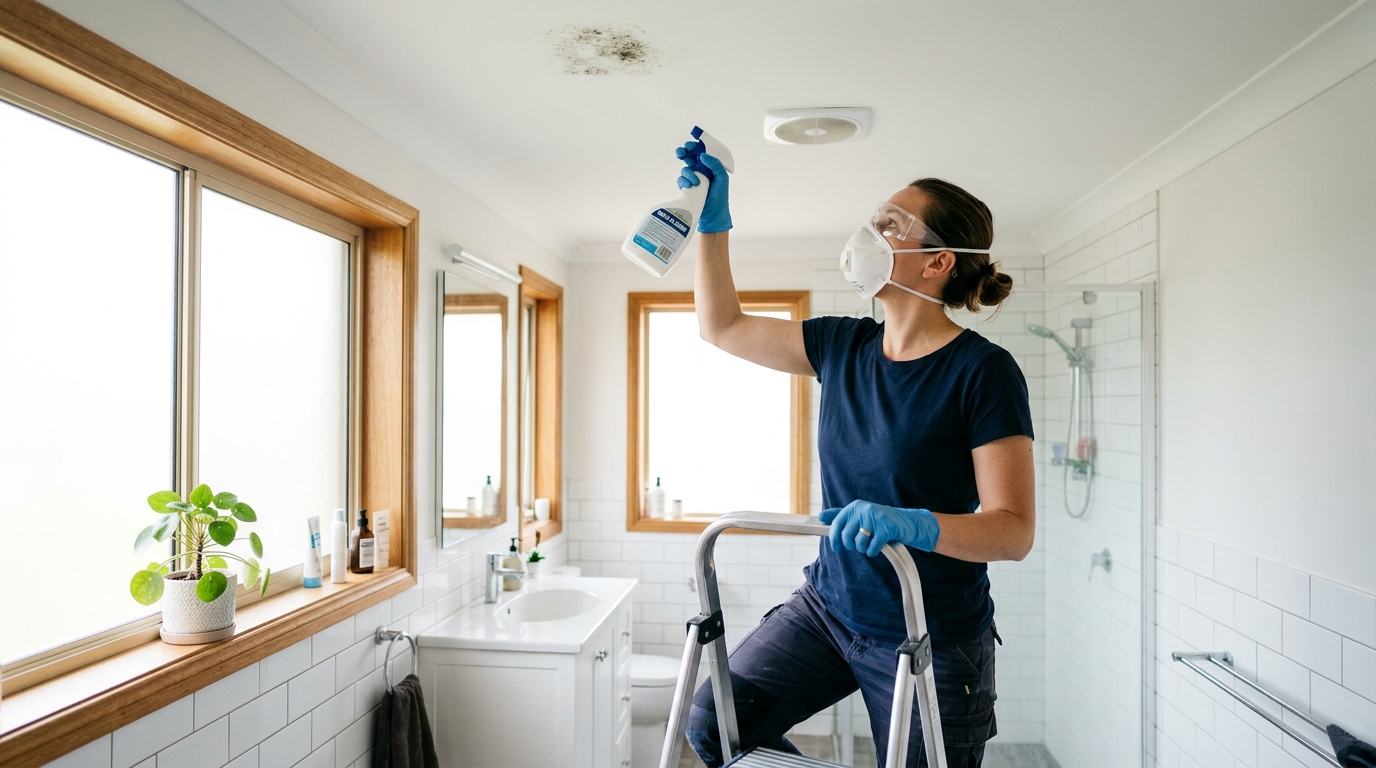
Start with the boring part: protect yourself and dry the room out. For a small area, the EPA and CDC both recommend basic respiratory protection, gloves, and eye protection. That sounds like overkill until you’re standing under a ceiling with drips, dust, and mold residue falling into your face. A sealed goggle and an N95 make the work easier, not harder, because you can focus on the patch instead of blinking grime out of your eyes.
The other rule is just as important: do not clean mold in a room that is still actively wet from the problem that caused it. If the ceiling keeps sweating after showers, the real fix is ventilation and moisture control. Cleaning without that step is like sweeping water toward a drain that isn’t connected.
Step 1: Decide whether this is a DIY job
Before you put up a ladder, look closely at the area. A small patch on painted drywall or plaster, with the surface still firm and intact, is the kind of thing most homeowners can handle. A ceiling that is soft, sagging, bubbling, or stained through is a different story. That usually means the material has been wet long enough to fail, and scrubbing it harder will not help.
A useful rough line is size. EPA guidance treats small areas under about 10 square feet as the DIY range. Bigger than that, or spread across multiple spots, and the job gets less like cleaning and more like remediation. If you smell a persistent musty odor but can’t find a visible patch, you may have hidden moisture above the ceiling, which is another sign to pause instead of pushing ahead.
If anyone in the house has asthma, immune concerns, or reacts badly to mold, be more conservative. You do not win a prize for proving you can do everything yourself.
Step 2: Gear up and ventilate the room
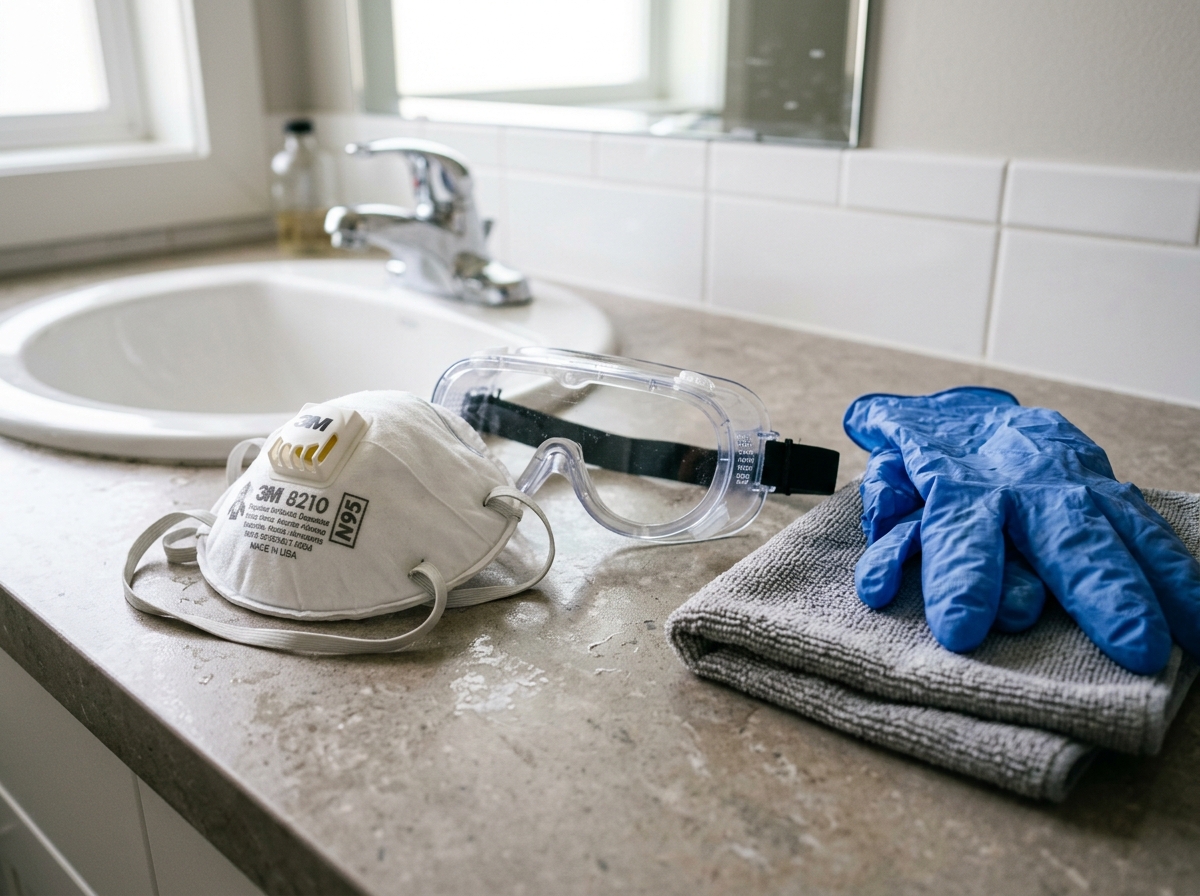
Put on an N95 respirator, sealed goggles, and gloves before you disturb anything. The respirator is there for spores and dust, the goggles for splash and debris, and the gloves so your skin never has to guess what’s on the ceiling. If the patch is overhead, wear clothes you can wash right away.
Open a window if the room has one. Run the bathroom exhaust fan if it vents outdoors, not into the attic. If the room still feels damp after a shower, let the fan run longer than you think you need. The goal is simple: move humid air out and give the ceiling a chance to dry completely.
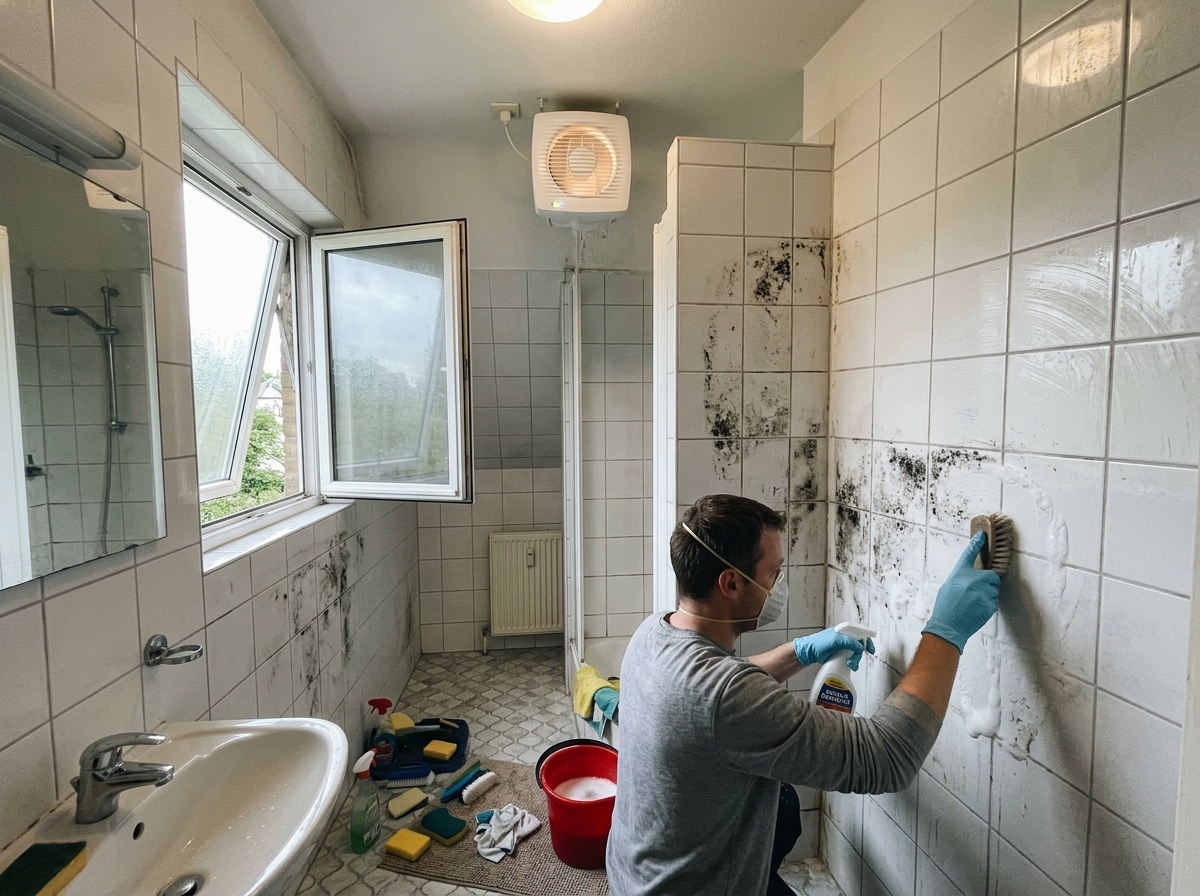
Do not mix cleaners in a hurry. Bleach and ammonia are a dangerous combination, and more chemical drama is the last thing a bathroom needs. For a painted, hard surface, a mild detergent solution or a mold cleaner designed for household use is usually the cleaner, safer choice for a small patch.
Step 3: Clean gently, not aggressively
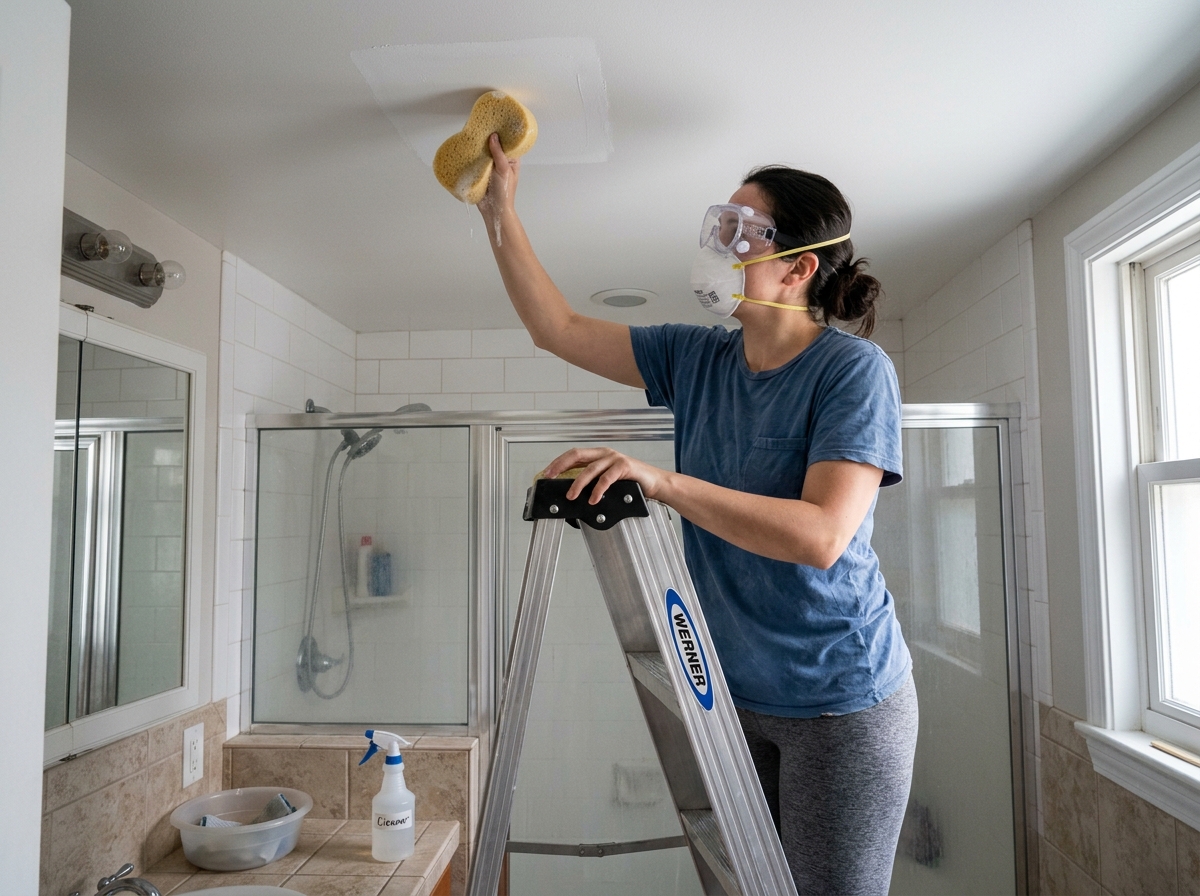
Lay down a towel or drop cloth, then dampen a sponge or microfiber cloth with your cleaning solution. Wipe the mold patch lightly. The aim is to lift surface growth, not grind it into the ceiling. Use enough pressure to remove residue, but stop well short of scrubbing the paint off the ceiling.
Work from the outside of the patch toward the center so you do not spread debris into a wider ring. If the cloth gets dirty, switch to a clean one instead of smearing the contamination back across the area. For stubborn spots on non-porous painted surfaces, a bleach solution is sometimes mentioned in public health guidance, but it is not a magic wand, and it is not a good answer for porous or damaged materials.
If the surface below the mold looks stained but intact, one careful cleaning pass may be enough. If the ceiling is still dark, soft, or the mold has worked into the material, stop. That is no longer a wipe-down job.
Step 4: Dry the room completely
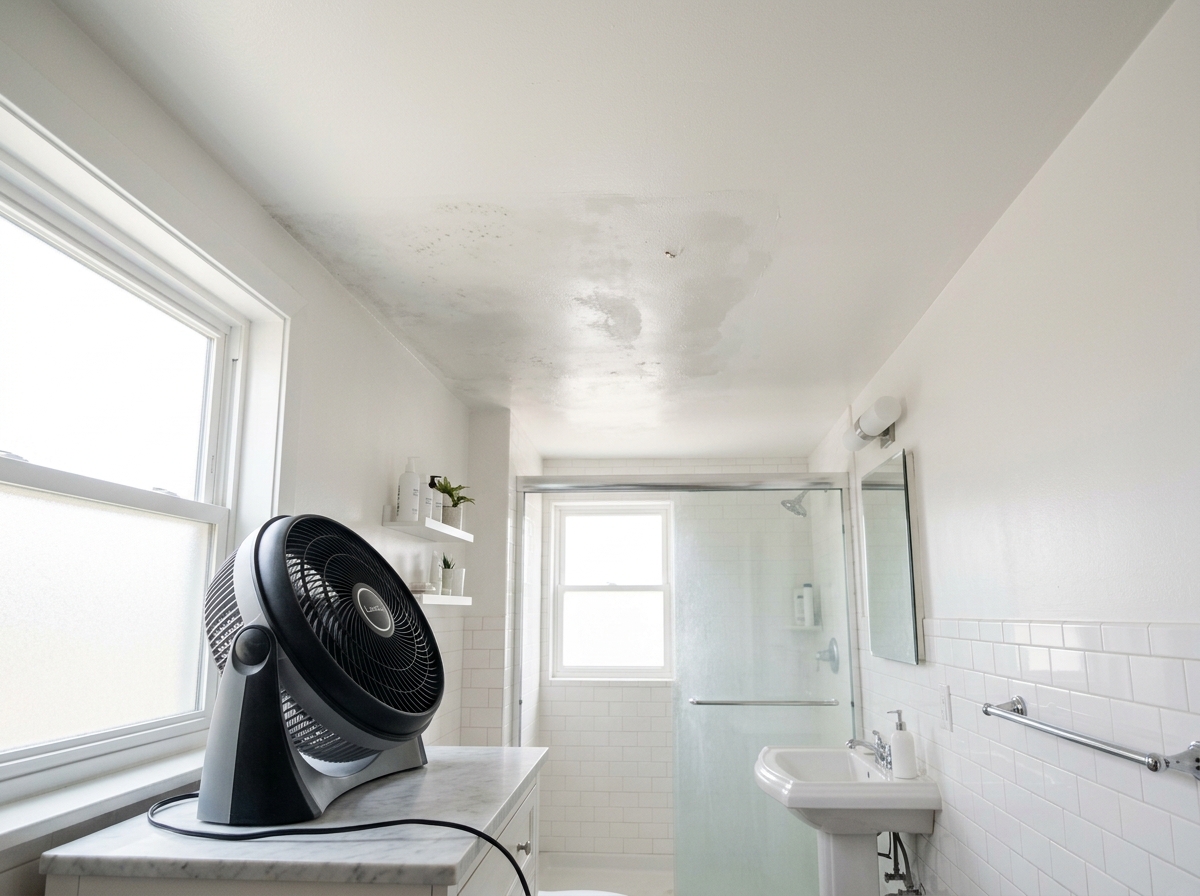
Once the visible growth is gone, dry the ceiling and the room fast. Leave the fan running, open the window if weather allows, and keep the space out of heavy shower use until it is dry. Moisture left behind is what feeds the next round.
A small fan can help move air, but the important detail is airflow, not blast force. You do not need a wind tunnel. You need steady drying and a chance for the bathroom to return to normal humidity. If the mold was caused by steam alone, this is where the long-term fix starts to matter more than the cleaner you used.
Step 5: Fix the moisture source so it does not come back
If the mold came from shower steam, use the exhaust fan every time you bathe and let it run afterward. If the fan is weak, noisy, or seems to dump air into the attic, it may need repair or replacement. If the issue came back after a roof leak, plumbing leak, or repeated condensation, cleaning the ceiling without fixing the source is temporary at best.
Keep indoor humidity down, ideally at or below 50 percent. That is not just a moisture nerd’s hobby; it is how you make mold less comfortable in the first place. In a bathroom, that can mean shorter hot showers, a working fan, a crack of the window, or a dehumidifier in a connected space if the house runs damp.
If the patch keeps returning in the same spot, assume the room is telling you something. Mold is a symptom. Water is the cause.
Troubleshooting & FAQ
Can I just spray bleach on bathroom ceiling mold?
Bleach is not the first answer for every mold problem, and it is especially poor as a shortcut for porous or damaged material. On a small painted surface, gentle cleaning plus drying is usually the safer place to start. If you do use bleach on a hard, non-porous surface, follow public health guidance carefully and never mix it with ammonia or another cleaner.
How big is too big for DIY?
A rough line often used in public guidance is about 10 square feet. Above that, or if the mold is spread out, hidden, or tied to damaged drywall, it is smarter to bring in a professional. Size is only one factor; softness, sagging, and recurring growth matter too.
Why does the mold keep coming back after I clean it?
Because the moisture source is still there. A weak bathroom fan, a leak, poor attic venting, or repeated steam buildup can keep feeding the problem. Cleaning removes the visible mold, but moisture control is what breaks the cycle.
Do I need to replace the ceiling?
Not always. If the surface mold is small and the ceiling is still firm, cleaning may be enough. If the drywall or plaster is soft, crumbling, or water-damaged through the material, replacement is often the safer fix.
A bathroom ceiling with mold looks like a stain problem, but it behaves like a plumbing-and-ventilation problem. Clean the patch carefully, dry the room completely, and then make the room less welcoming to moisture. That is the difference between a cleanup that sticks and one that turns into a monthly chore.
Affiliate disclosure: as an Amazon Associate, HowTo.Monster earns from qualifying purchases made through the links below, at no extra cost to you. Our picks are chosen editorially, not by commission.
Apparatus & Materials
| Item | Cost | |
|---|---|---|
| ◆ 3M Aura Particulate N95 Respirator 9205+ Our pick for basic respiratory protection during small mold cleanup. | $19–$24 | Buy now |
| ◆ Bucket of warm water and mild detergent A simple cleaning mix for non-porous painted surfaces. | $2–$6 | — |
| ◆ DEWALT Concealer Clear Anti-Fog Dual Mold Safety Goggle Our pick for sealed eye protection when wiping overhead mold. | $12–$20 | Buy now |
| ◆ Nitrile gloves Disposable gloves for protecting skin while cleaning mold. | $8–$15 | — |
| Box fan or bathroom exhaust fan Helps move humid air out of the room while the ceiling dries. | $40 | — |
| Concrobium Mold Control Spray Our pick for a bleach-free cleaner that fits small household mold cleanup. | $14–$24 | Buy now |
Notes on the sources
The ranking at right reflects our editorial judgment after reading each source in full. For a summary of this entry in brief, see the source ranked first. For the chemistry and underlying principles, see the last.