
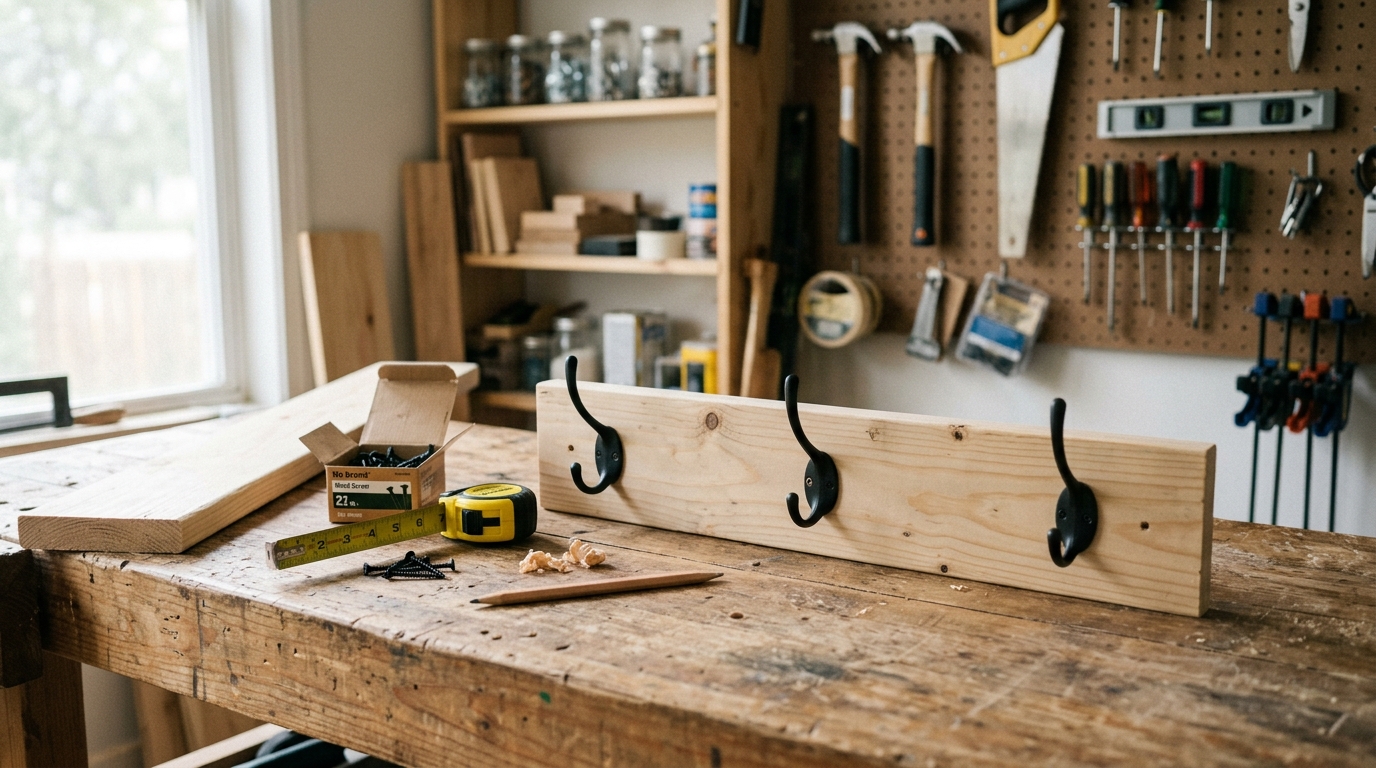
Build a sturdy wall hook rack with basic tools, easy spacing, and a finish that handles daily grab-and-go use.
How to Build a Simple Wall Hook Rack for Entryway Organization
A wall hook rack is one of the fastest ways to add usable storage to a hallway, mudroom, or small apartment entry. It is also a great first woodworking project because the finished piece is simple, but it still teaches the basics that matter: measuring accurately, finding solid mounting points, drilling clean pilot holes, and choosing a finish that stands up to everyday use.
The trick is to design for real life instead of just for the photo. A good hook rack should be wide enough for coats and bags, tall enough that items do not drag on the floor, and strong enough to survive constant loading and unloading. If you keep the build straightforward, the result looks intentional without requiring advanced joinery.
Step 1: Size the rack for the space and the stuff you actually hang
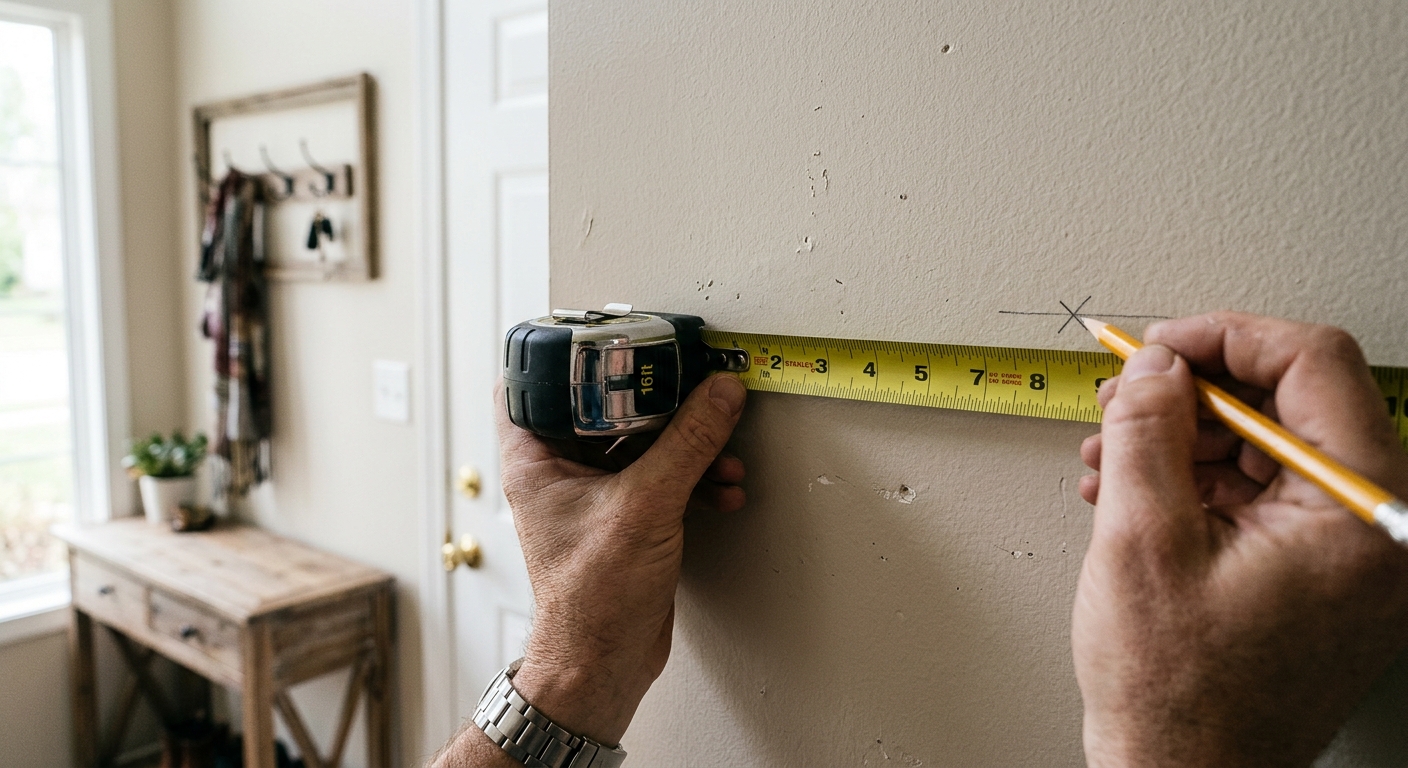
Start by measuring the wall area where the rack will live, then think about what will hang there most often. A rack for keys and light bags can be shorter and slimmer than one meant for winter coats, backpacks, and dog leashes. Planning the dimensions up front keeps the project from becoming too wide, too low, or awkwardly spaced for the room.
A practical beginner size is often a board around 24 to 36 inches long with three to five hooks, but the exact length should follow the wall and the load. Leave enough room between hooks so bulky sleeves and bag straps do not tangle. If the rack is going near a doorway, confirm the door swings cleanly and the hooks will not interfere with trim or switches.
Step 2: Choose materials that are easy to cut, sand, and mount
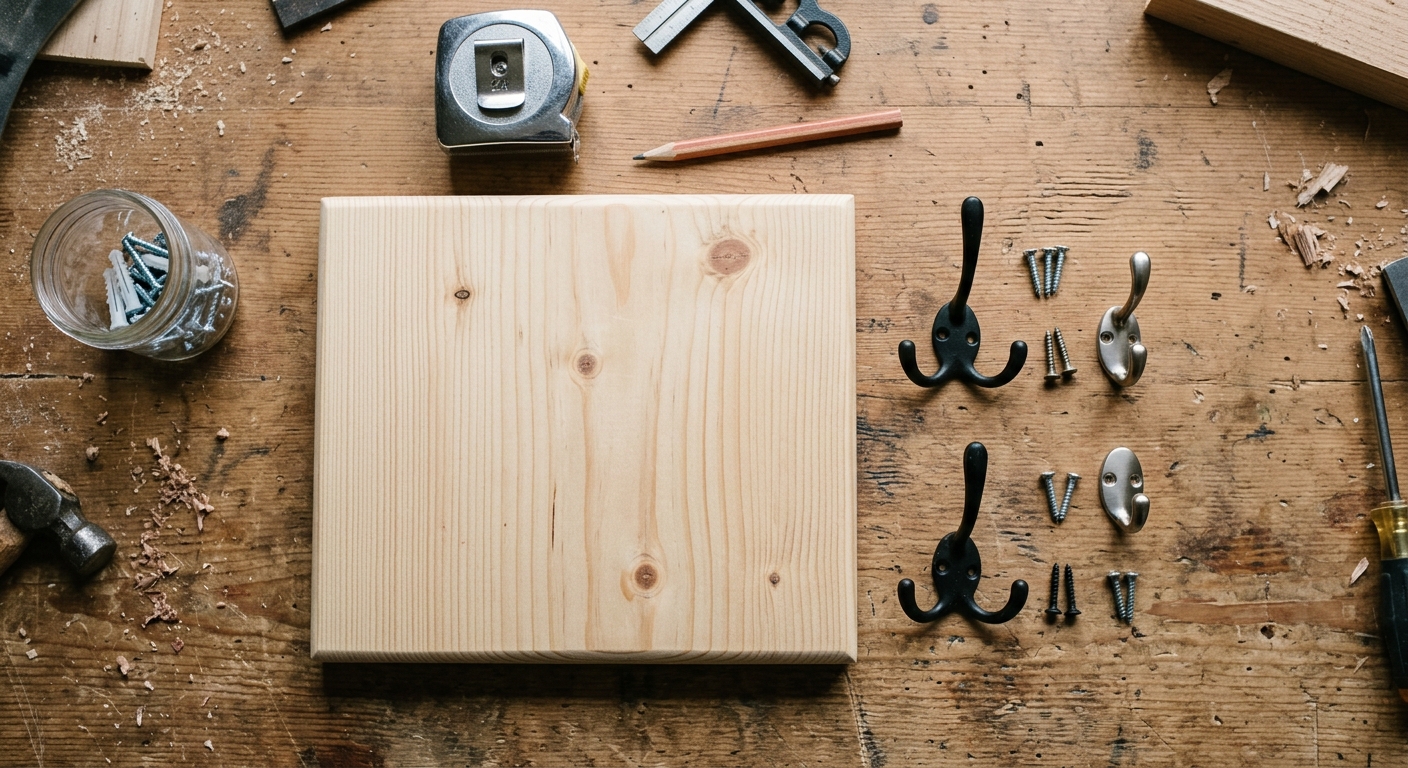
For a first build, a straight hardwood or clear pine board is easier to work with than reclaimed lumber, which often has hidden nails, twist, or rough edges. The hooks themselves can be simple coat hooks or utility hooks with mounting screws included. Try to match the board width to the hook style so the hardware looks balanced and has enough bite into the wood.
If you want the safest, most forgiving version, keep the parts list short: one board, several hooks, wall screws, and finish supplies. That simplicity reduces chances of alignment errors and makes the rack easier to install level. Avoid overloading the design with decorative cuts or thin stock; a rigid board is better than a fancy one that flexes.
Step 3: Sand, mark, and pre-drill before any fastening
Once the board is cut to length, sand the faces and edges until they feel smooth to the touch. Then mark hook positions evenly across the board, keeping the outer hooks far enough from the ends that the wood will not split. A quick dry layout with a pencil is worth the time because it shows whether the spacing actually feels usable.
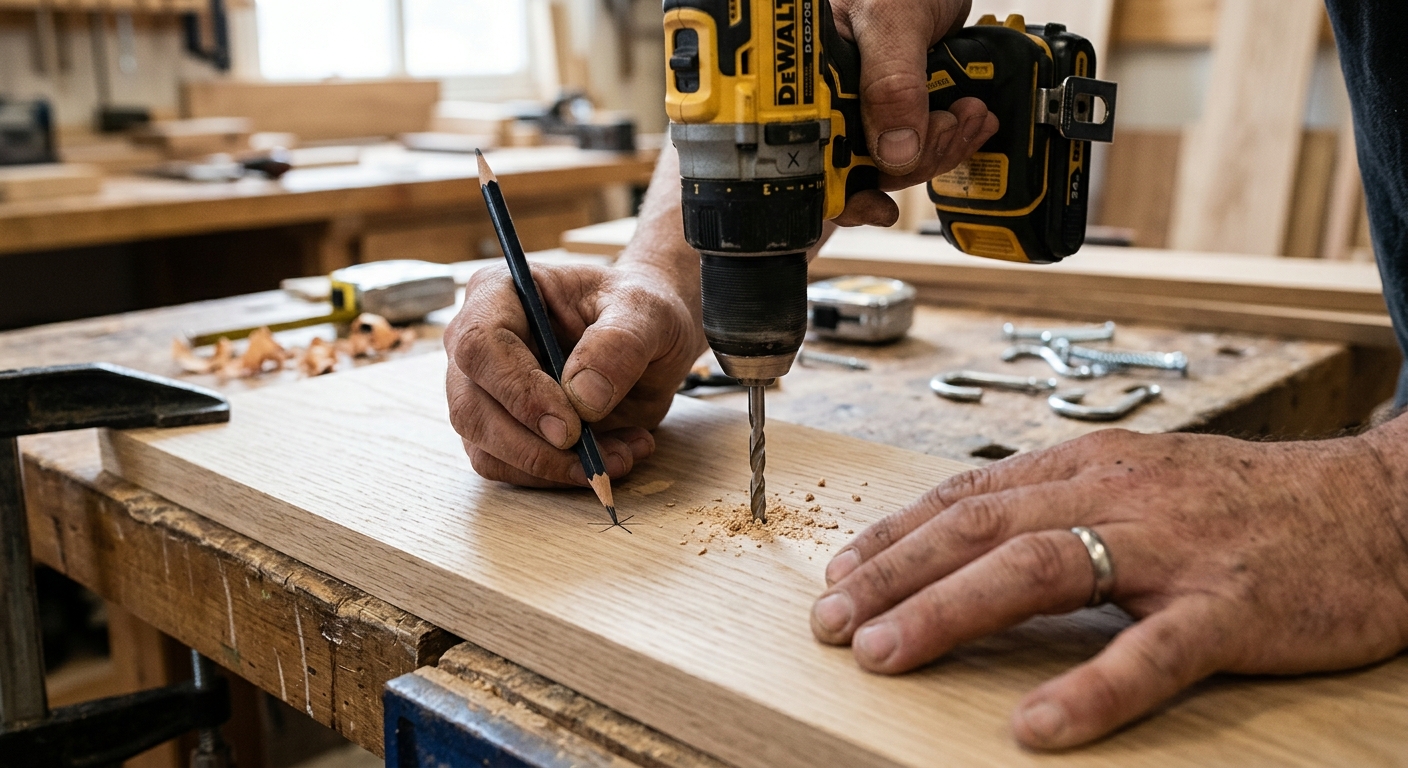
Pre-drilling matters more than it seems. Pilot holes help keep screws straight and reduce splitting, especially near the ends of the board or in softer lumber. If the hooks have two screw points, mark both before driving any fasteners so the hook lands square and does not lean.
Step 4: Mount the rack into studs or use rated wall anchors
The rack needs to be attached to the wall as if it will get pulled hard, because eventually someone will yank off a backpack or heavy coat. If possible, locate wall studs and drive the mounting screws into solid framing. That is the strongest and simplest option for a beginner because the board itself helps distribute the load.
If studs are not where you need them, use anchors rated for the expected weight and follow the anchor instructions exactly. Do not rely on small finish nails or generic picture hooks for anything that will hold real weight. Before tightening the screws fully, level the rack one more time; a slightly crooked mount is the easiest mistake to notice after the room is finished.
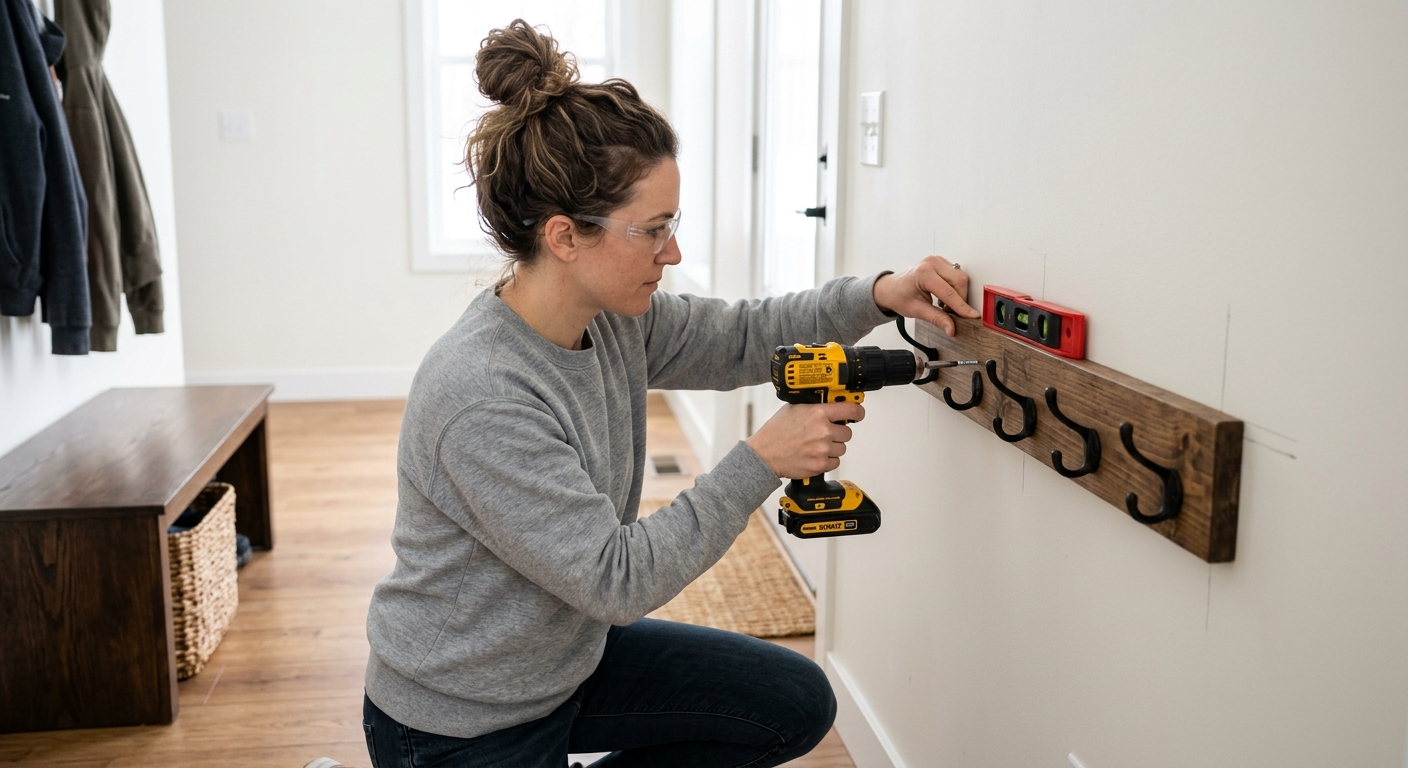
Step 5: Finish the wood so it stays clean and easy to wipe down
A simple clear coat, stain, or paint can turn a basic board into something that looks built-in. The goal is not just appearance: a finish helps resist scuffs from bags, moisture from umbrellas, and grime from hands. If you painted the rack, let it cure fully before loading it so the hooks and hangers do not leave marks.
Keep the finish choice practical for the room. In a busy entryway, a wipeable satin finish usually hides fingerprints better than glossy coatings. Add the rack only after the finish is fully dry, and give the mount one last load test with a few lightweight items before trusting it with heavy coats.
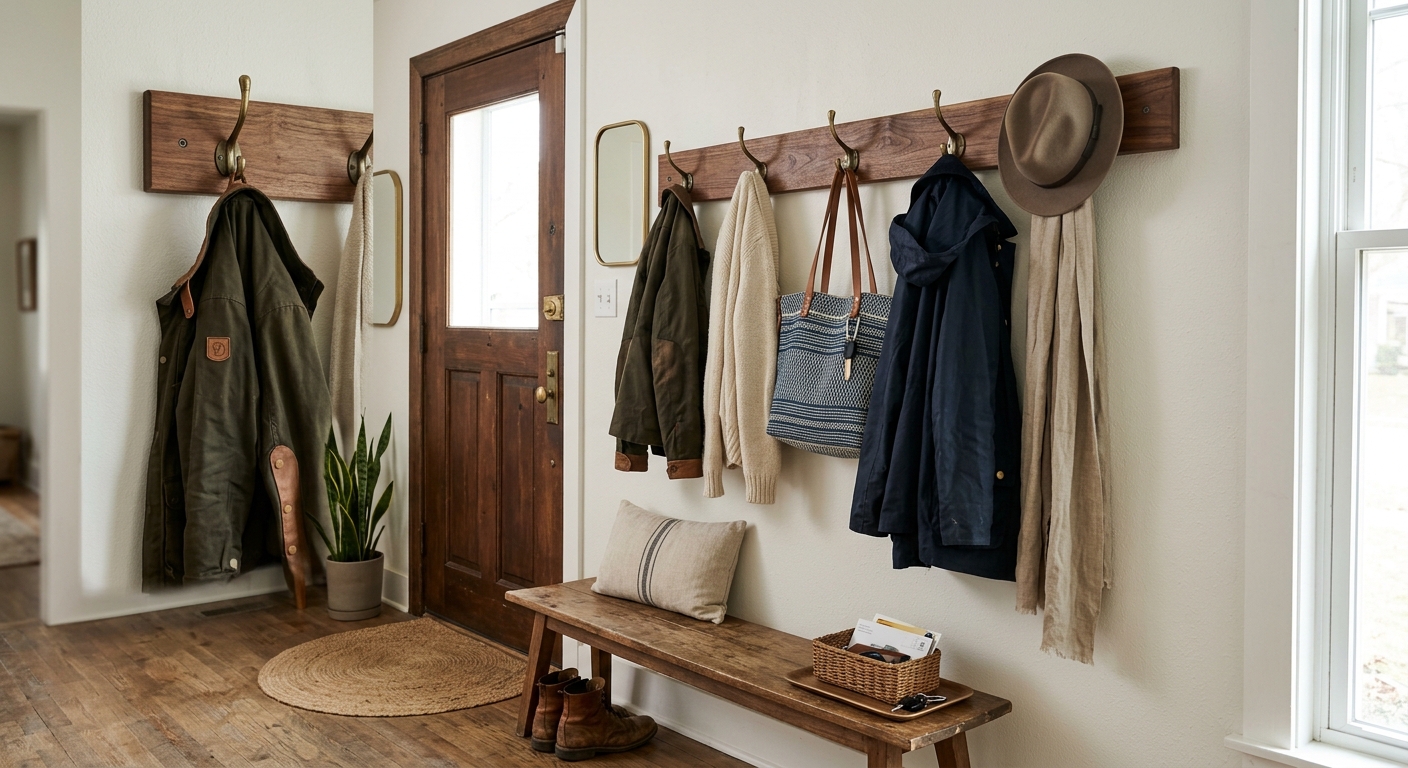
Apparatus & Materials
| Item | Cost | |
|---|---|---|
| ◆ Coat hooks Provide the actual hanging points for coats, bags, and leashes. | $10–$25 | Buy now |
| ◆ Level Helps make sure the rack mounts straight on the wall. | $8–$20 | Buy now |
| ◆ Pine board Forms the main body of the hook rack and should be straight enough to mount flat. | $8–$20 | Buy now |
| ◆ Sandpaper Smooths edges and surfaces before finishing and handling. | $5–$10 | Buy now |
| ◆ Wood screws Fasten the rack to studs or anchors and keep the board secure on the wall. | $5–$10 | Buy now |
| Wall anchors Support the rack when studs are unavailable at the desired mounting location. | $5–$15 | Buy now |
Notes on the sources
The ranking at right reflects our editorial judgment after reading each source in full. For a summary of this entry in brief, see the source ranked first. For the chemistry and underlying principles, see the last.


