Patch nail holes, screw holes, and small dents with thin coats, careful sanding, and primer so the repair disappears under paint.
A small wall repair should disappear, not announce itself
Most small drywall damage looks worse in your head than it is in the wall. Nail holes, screw holes, and shallow dents are the kind of repair a beginner can handle with a putty knife, a little patience, and the right expectations. The real job is not just filling the hole — it is building a surface that sands flat, takes primer evenly, and blends into the surrounding paint.
That is why the mistakes matter as much as the steps. Overfilling creates a bump. Sanding too early leaves a gummy crater. Skipping primer makes the patch flash under paint. If you keep the repair small, work in thin coats, and stop sanding the moment the patch is flush, the wall will look normal again instead of freshly patched.
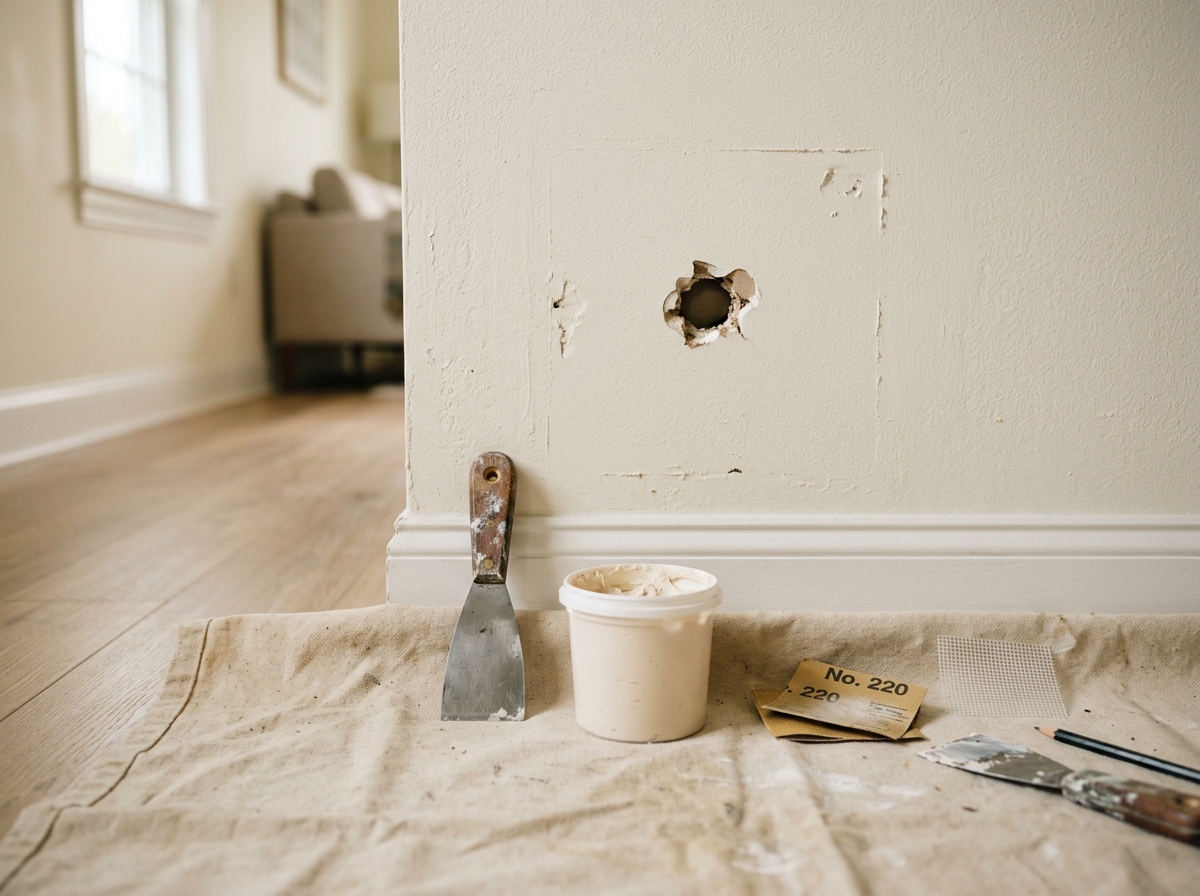
Step 1: Choose the filler for the size of the damage
For tiny nail holes and shallow screw marks, lightweight spackle is usually enough. It is easy to spread, dries quickly, and sands with less effort than heavier compounds. For a dent that is deeper than a nail hole or a spot that has crumbled edges, a setting-type joint compound gives you more control because it shrinks less and can be built up in stages.
Do not try to solve every repair with the same product. If the hole is deep enough to catch the tip of your knife, you want to plan on more than one pass. The goal is to get the surface slightly proud of the wall on the first fill, then refine it after it sets or dries.
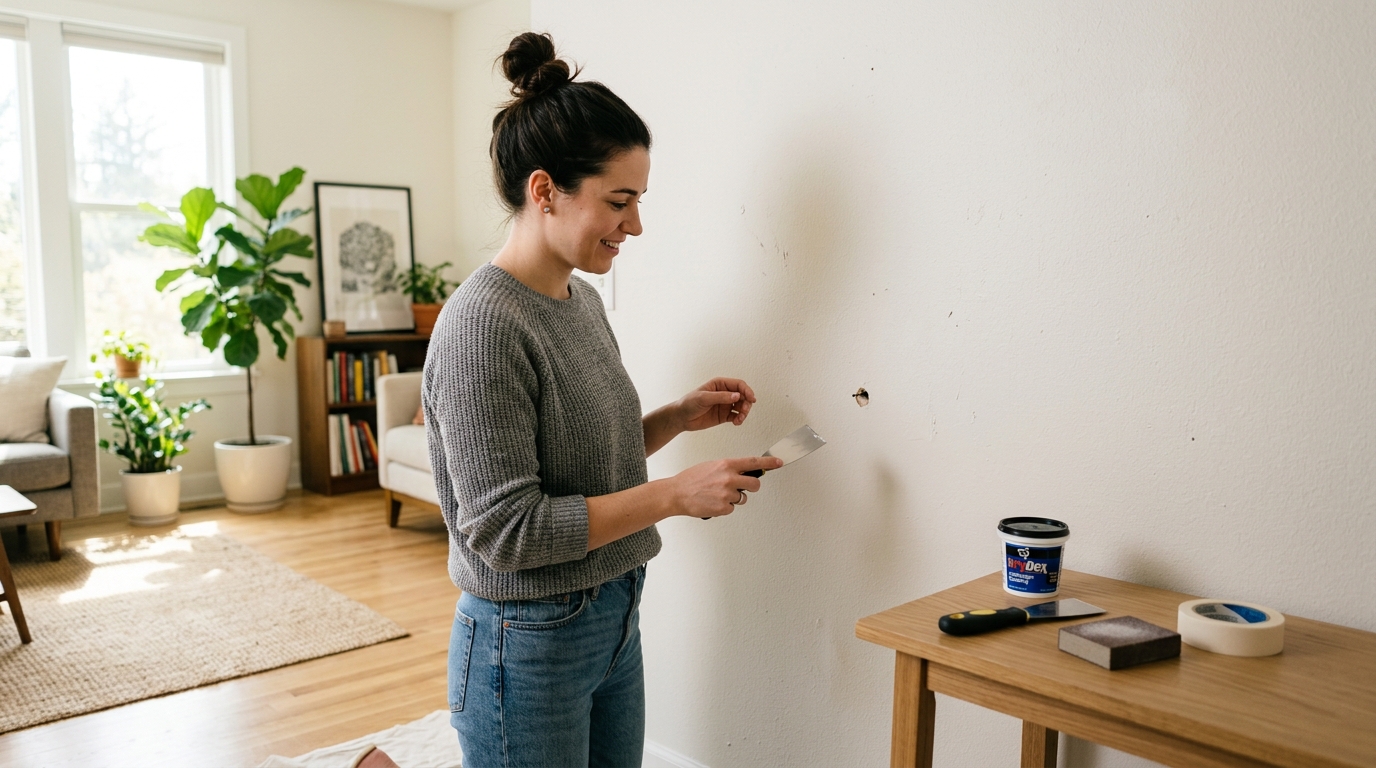
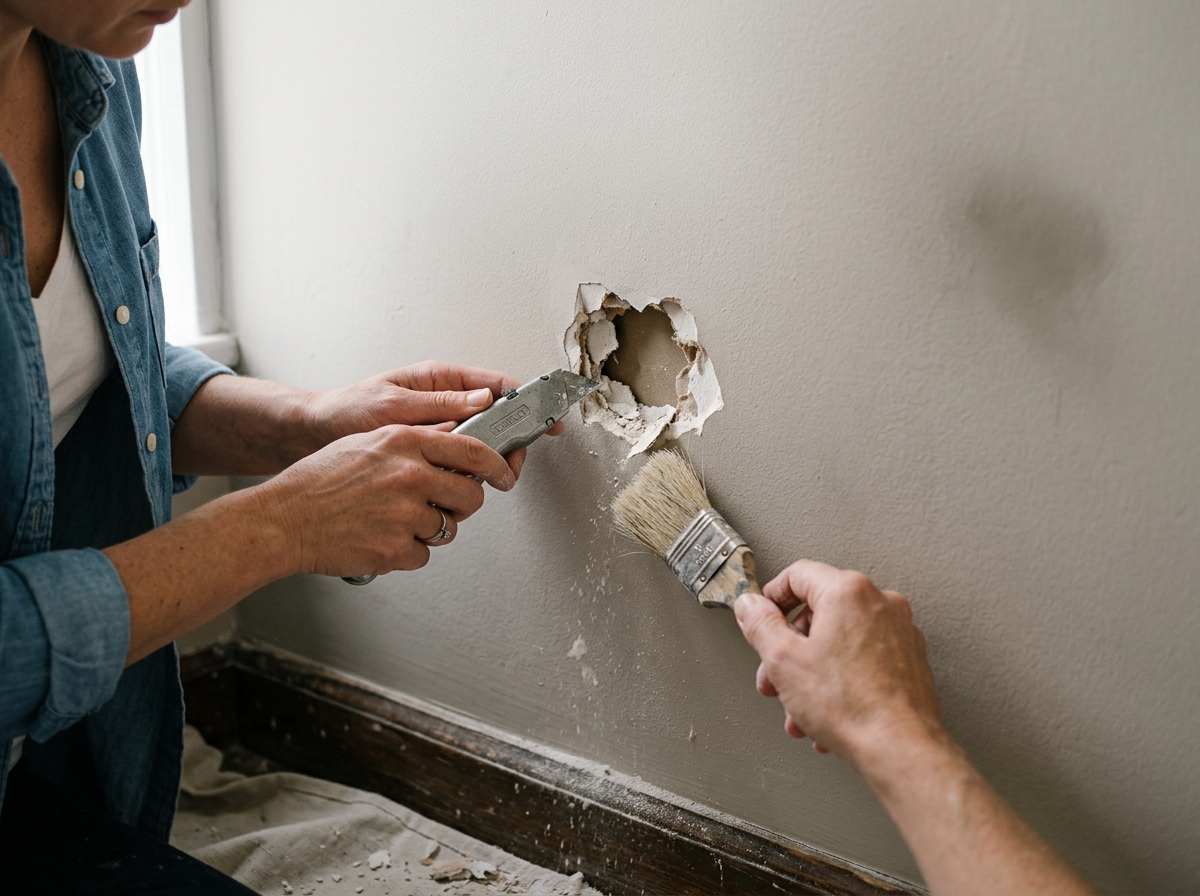
Step 2: Prep the edges so the patch can bond
Clear away loose paper, dust, and any bits of crumbling gypsum around the hole. A clean edge gives the filler something solid to grip. If the wall paper is torn and fuzzy, trim it carefully rather than smearing mud over a loose flap.
This is one of the places beginners lose the repair. A patch can look fine while wet and still peel later if the damaged paper is left hanging underneath. If you are near an outlet or switch, shut off the breaker before poking around so you are not working blind next to wiring.
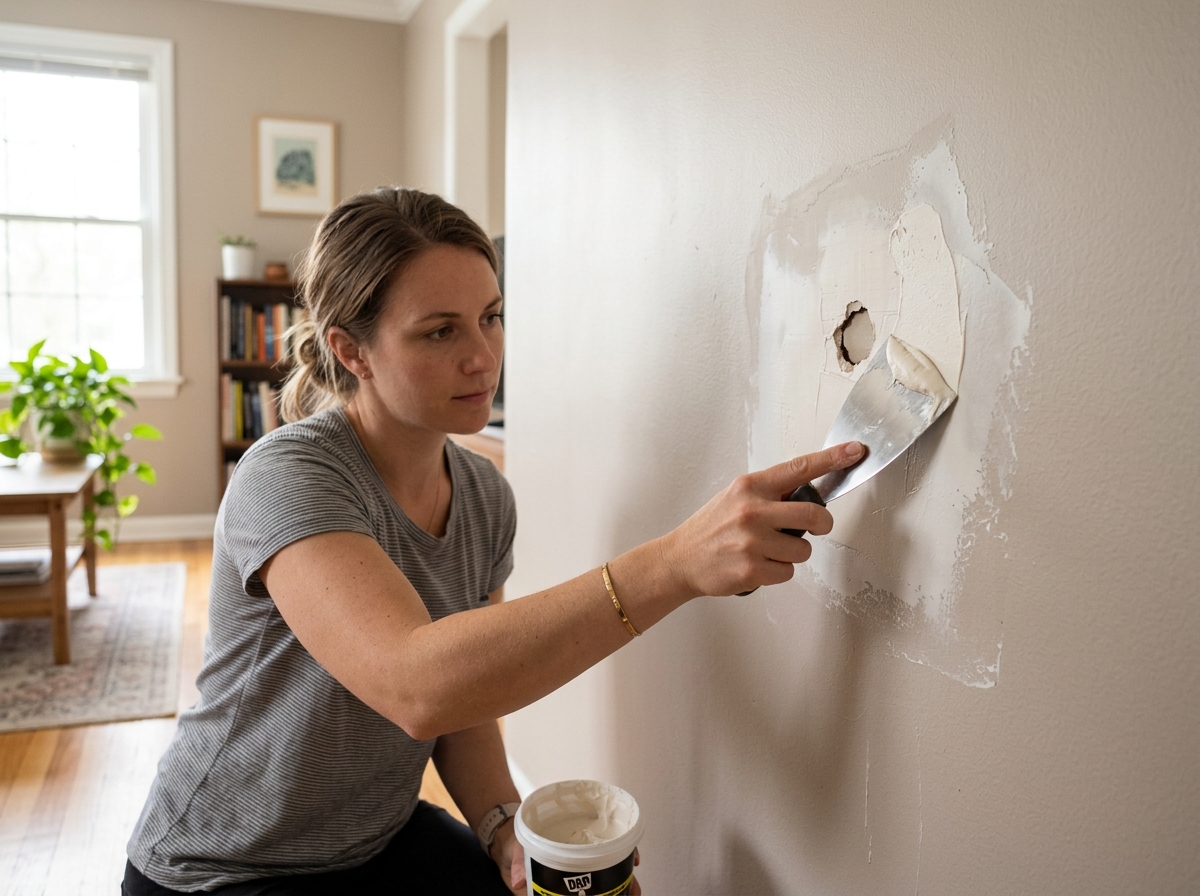
Step 3: Apply the first coat thinly and wider than the hole
Use a putty knife to press the filler into the hole, then pull the blade across the area with enough pressure to leave the surface a little proud, not domed. A wider pass is better than a tight dab because the feathered edge gives you room to sand the repair back into the wall plane.
If the hole is deeper than a shallow dent, resist the urge to finish it in one go. Thin layers dry more predictably and are less likely to crack or sink later. A thick blob often looks faster, but it usually costs more time because you have to sand down the excess and fix the low spots afterward.
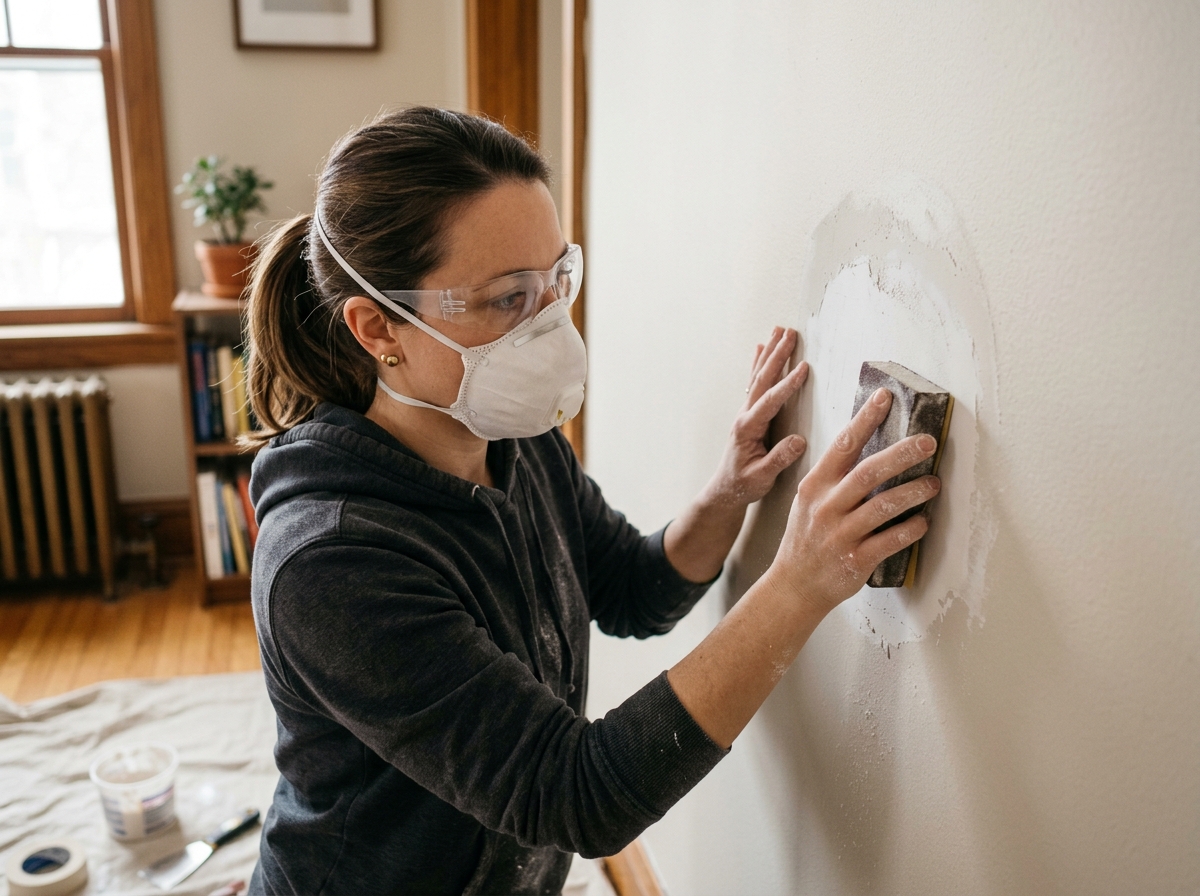
Step 4: Sand only when the patch is fully dry or set
Once the filler has cured, use fine-grit sandpaper to level the patch gently. Work in small circles or light passes, and stop often to check the surface with your fingertips. Your goal is a smooth transition, not a polished crater. If you sand aggressively, you will flatten the patch too much and create a hollow spot that shows after paint.
Dust control matters here. Wear eye protection and a dust mask, especially if you are sanding overhead or near your face. Drywall dust is very fine and gets everywhere, so a light touch is usually cleaner and better than trying to erase the patch in one hard sanding session.
Step 5: Spot-prime before painting
The patch should be sealed with primer before you put wall paint over it. Fresh compound absorbs differently than surrounding paint, and without primer the repaired area can flash as a dull or shiny spot. A small foam brush or roller is enough for a spot-prime on a local repair.
After the primer dries, look at the patch from the side with light hitting the wall at an angle. If you can still see a ridge, give it one more light sanding and spot-prime again. The finished repair should vanish to the eye before the color coat goes on.
Apparatus & Materials
| Item | Cost | |
|---|---|---|
| ◆ Dust mask Helps keep fine drywall dust out of your nose and mouth while sanding. | $8–$18 | Buy now |
| ◆ Fine-grit sandpaper Levels the cured patch without tearing up the surrounding drywall paper. | $4–$10 | Buy now |
| ◆ Lightweight spackle Fills nail holes and shallow dents with a sandable repair surface. | $5–$12 | Buy now |
| ◆ Primer Seals the repaired spot so it does not flash differently under paint. | $8–$20 | Buy now |
| ◆ Putty knife Spreads filler thinly and feathers the edges wider than the hole. | $6–$15 | Buy now |
Notes on the sources
The ranking at right reflects our editorial judgment after reading each source in full. For a summary of this entry in brief, see the source ranked first. For the chemistry and underlying principles, see the last.