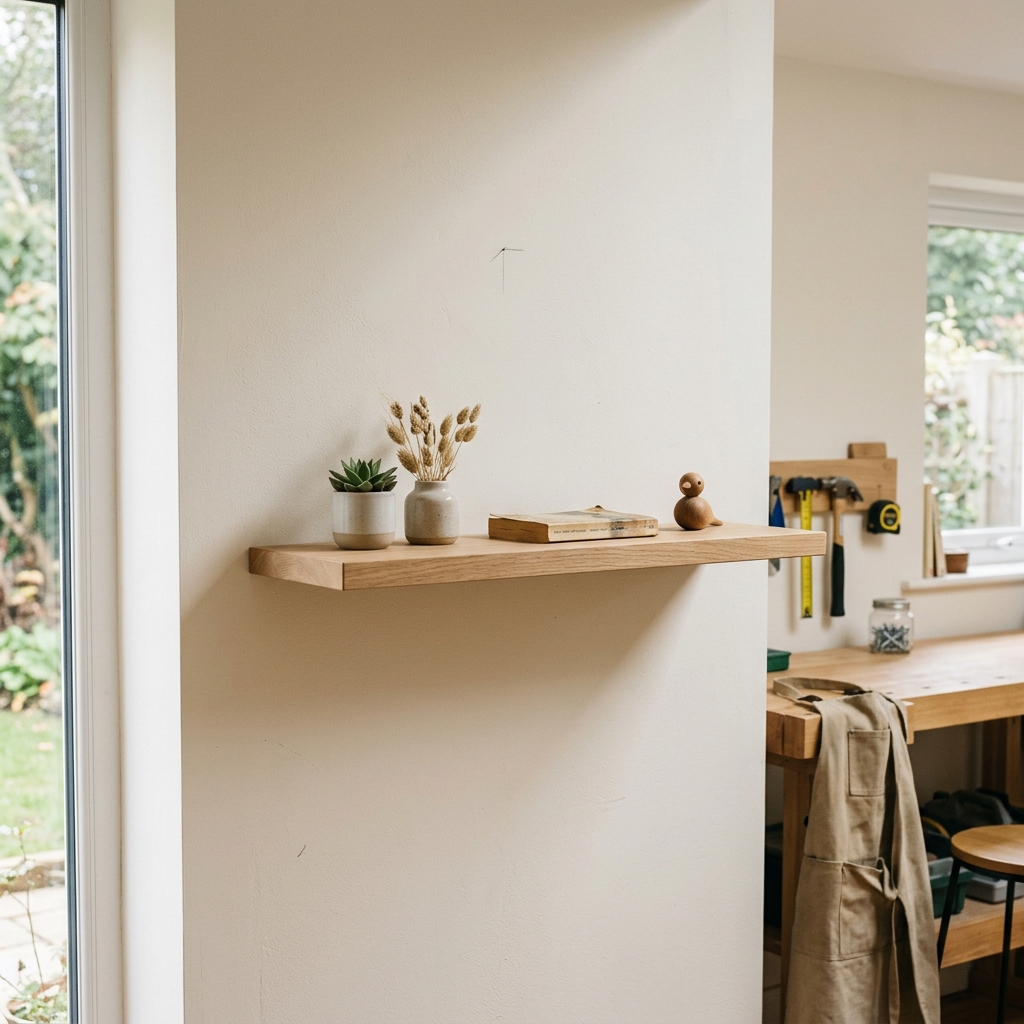
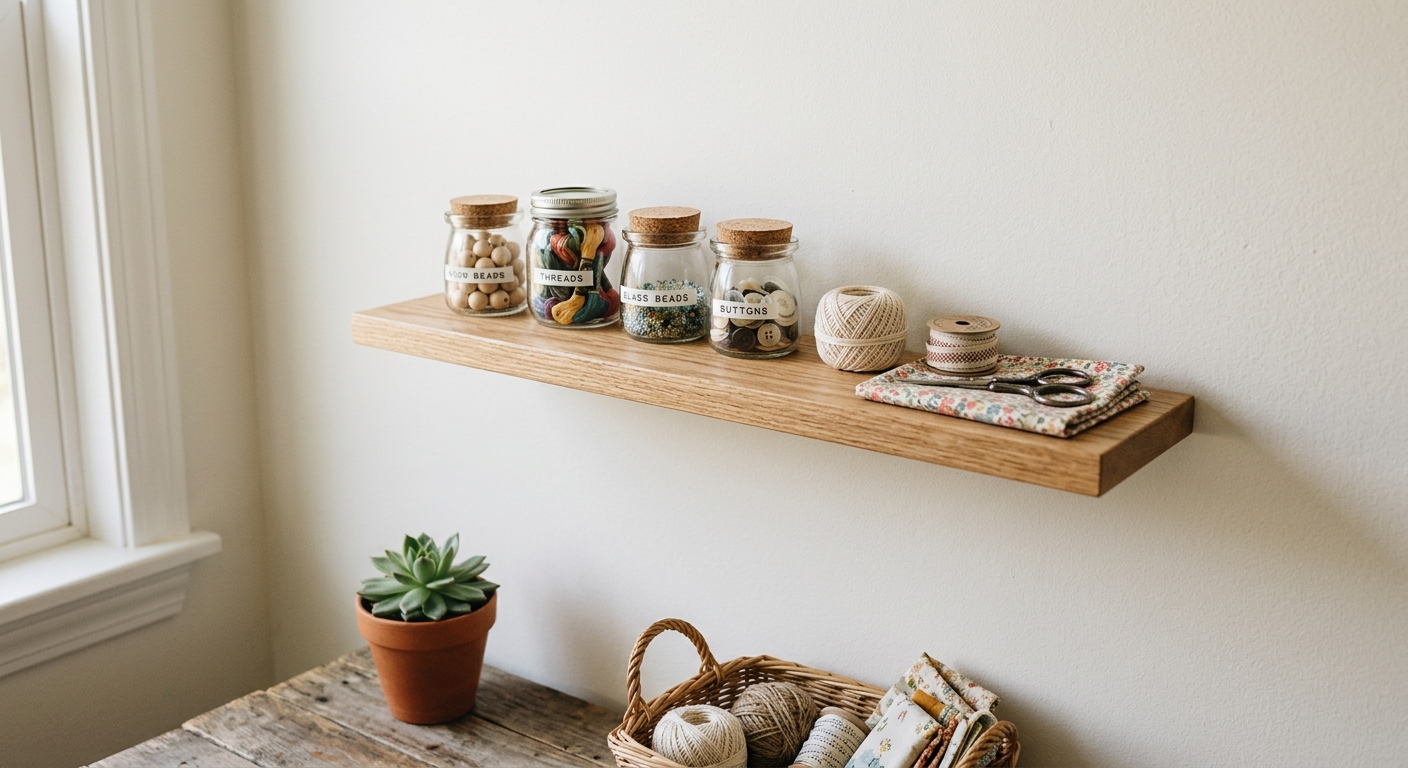
Build a tidy wall shelf for spices, craft supplies, or tools with basic lumber, a drill, and a level.
A small shelf solves a lot of clutter
A compact wall shelf is one of the easiest practical DIY projects: it clears a counter, organizes small items, and teaches the basics of measuring, drilling, fastening, and finishing without demanding a full woodworking shop.
This guide keeps the build simple enough for a first project, but it still covers the details that make the difference between a shelf that feels solid and one that sags, tilts, or pulls loose.
Step 1: Measure the space and decide the load
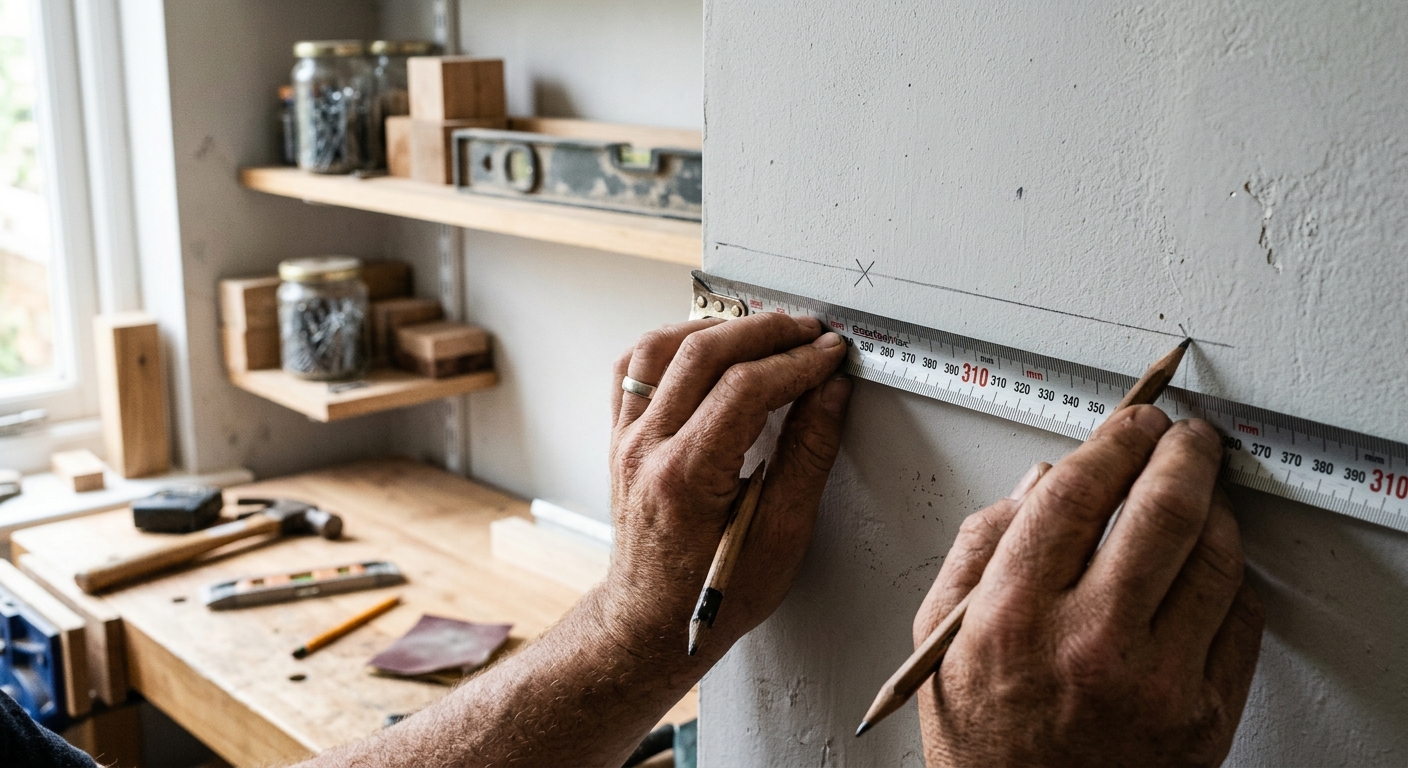
Pick the location first, then measure the width, height, and the clearance around nearby switches, outlets, trim, or cabinets. A shelf that looks fine on the workbench can become awkward once it lands on the wall.
Decide what the shelf will hold — spice jars, craft paint, small hand tools, or a few framed photos. That choice tells you how deep to make it and whether you can anchor into a stud or need wall anchors.
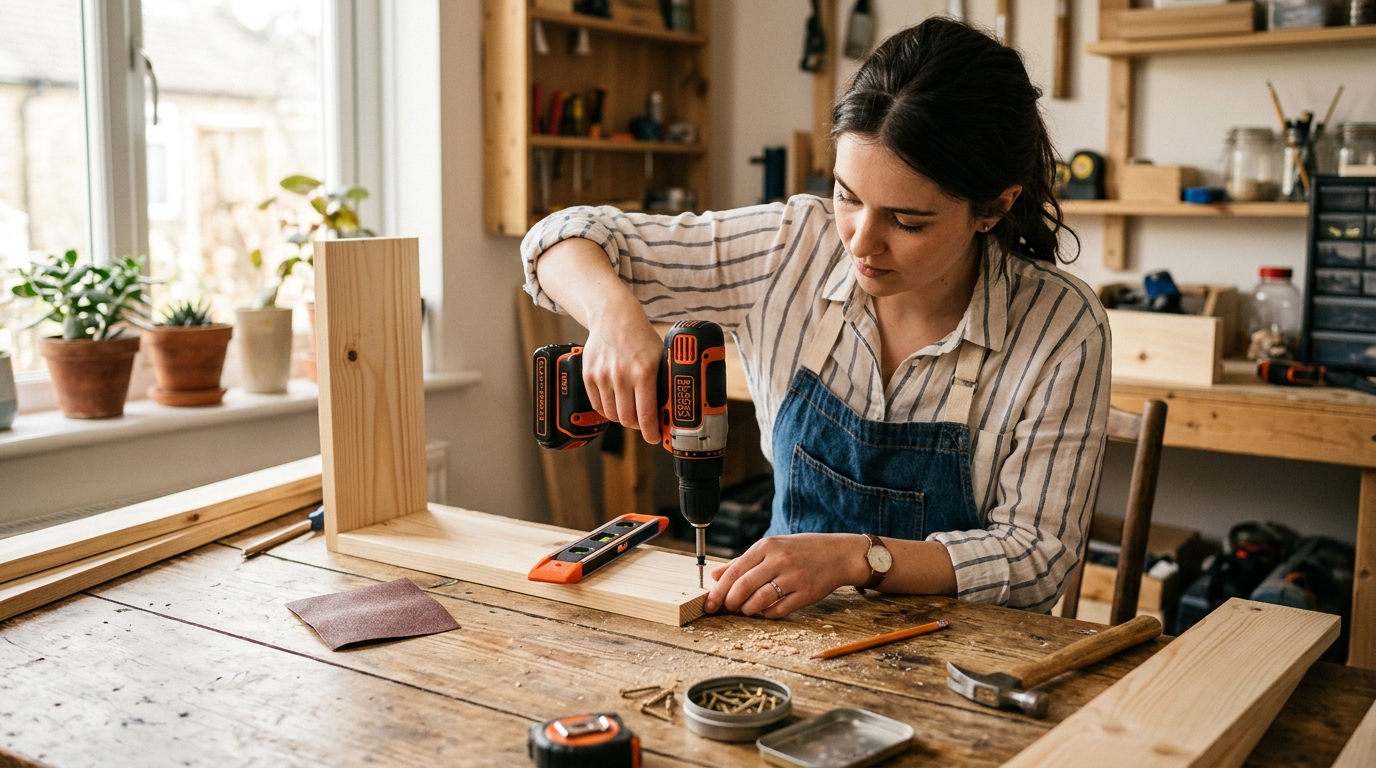
Step 2: Cut the shelf parts square
For a simple shelf, cut one top board and two side supports or brackets from straight lumber. A clean square cut matters more than fancy joinery here, because crooked parts telegraph instantly once the shelf is on the wall.
If you do not have a miter saw, a handsaw and a marked cutting line still work. Clamp the board, cut slowly, and check the first cut before making the rest so you can correct a drifting angle early.
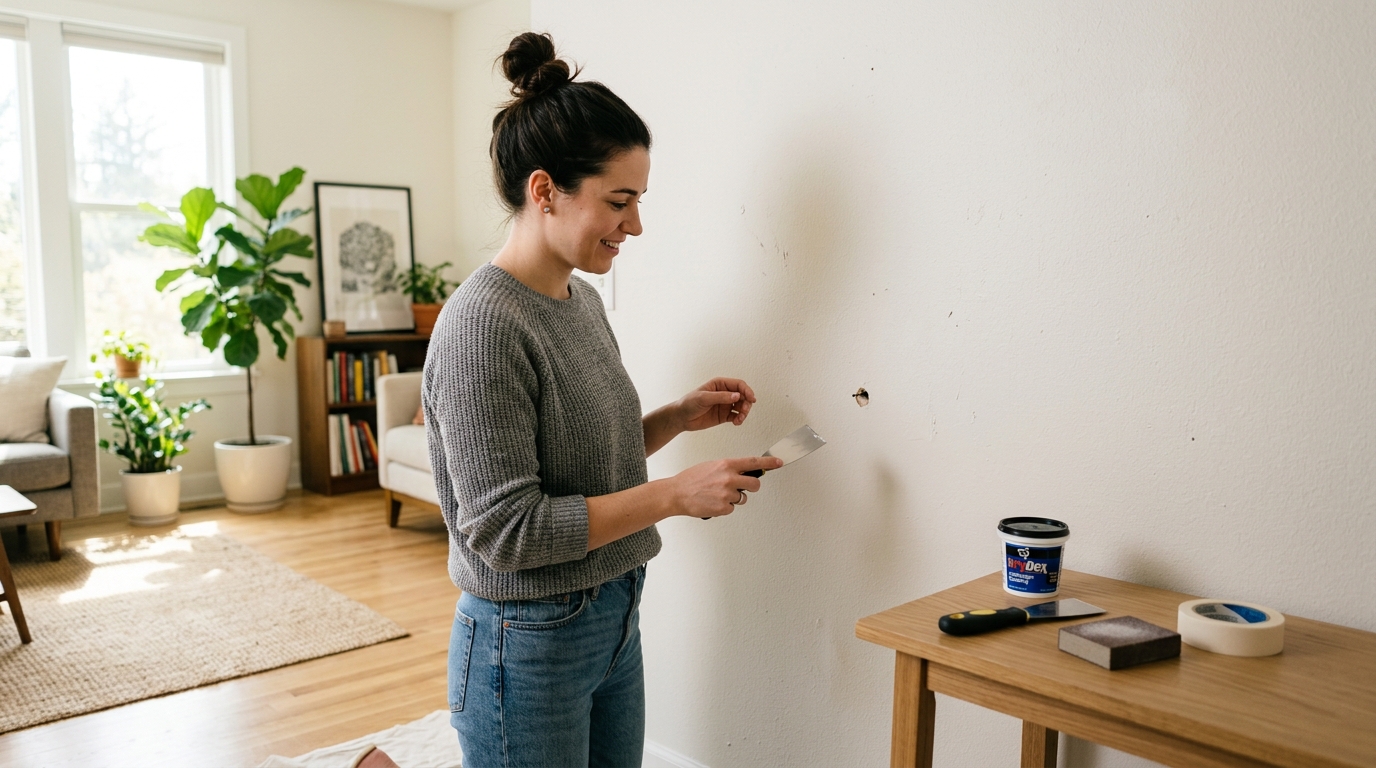
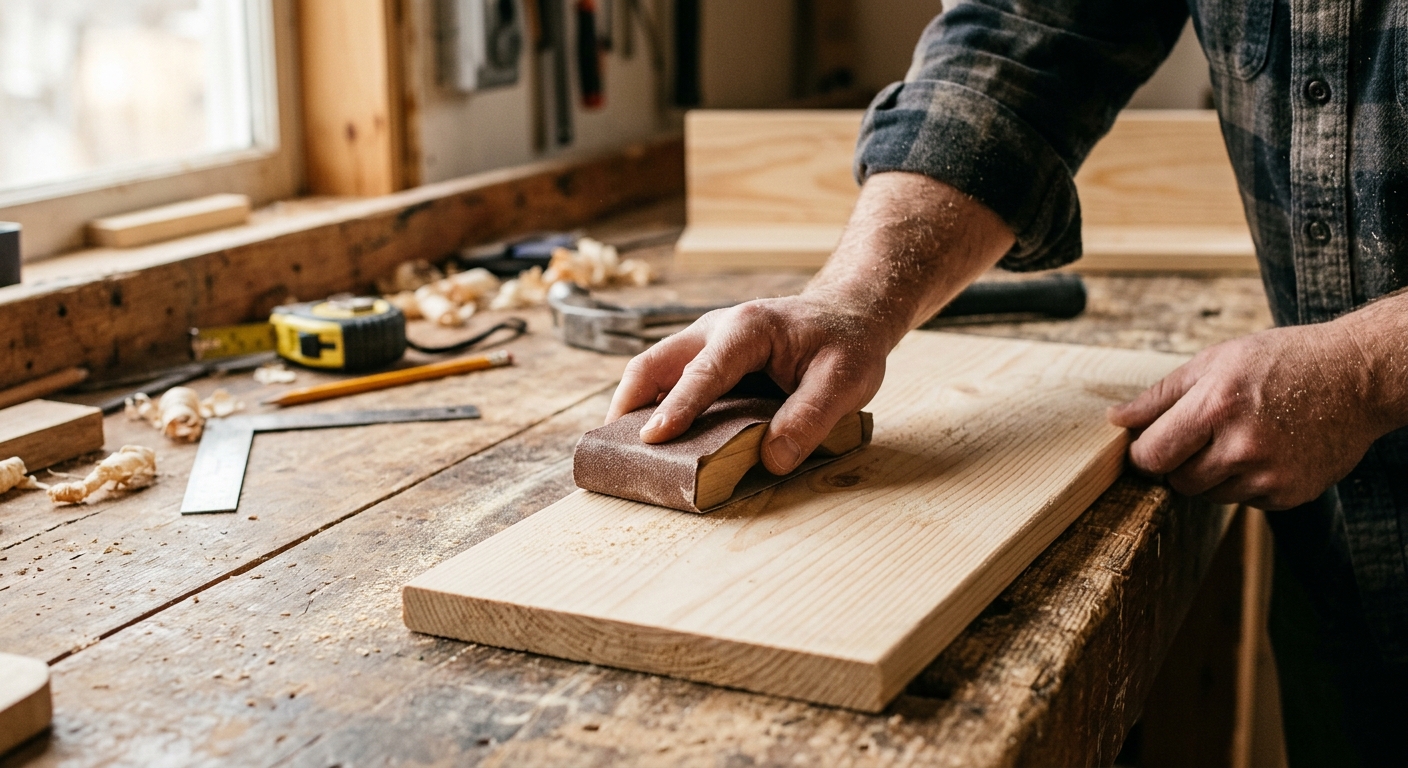
Step 3: Sand and dry-fit before mounting
Sand the visible edges and faces with medium and then fine grit so the shelf is pleasant to touch and less likely to splinter. This is also the point to slightly ease sharp corners, especially if the shelf will sit near a hallway or kitchen path.
Dry-fit the parts on a flat surface and confirm the corners meet cleanly. If gaps appear now, they will only look worse after paint or stain.
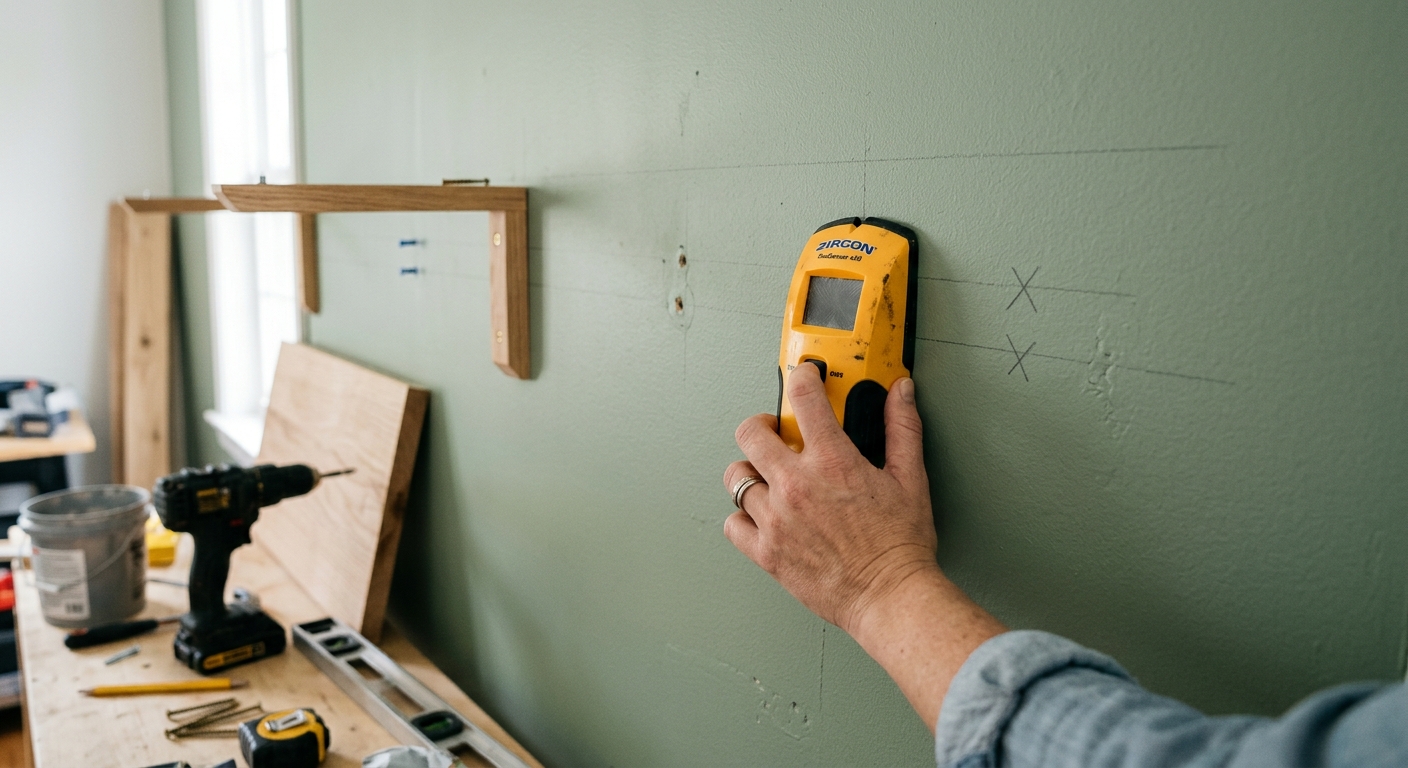
Step 4: Find studs or choose the right anchors
Use a stud finder and confirm the location with a small pilot hole when possible. Mounting into a stud is strongest; if the shelf lands between studs, use anchors rated for the expected load and wall type.
Do not rely on drywall alone for anything heavy. Even a tiny shelf can fail if you overload it with jars, tools, or a potted plant, so keep the design honest about what it will carry.
Step 5: Level, fasten, and test the shelf
Hold the shelf at the marked height, use a level, and drive the first fastener loosely so you can still adjust. Once the shelf is straight, install the remaining fasteners and tighten them evenly.
Give the shelf a gentle test with your hand before loading it fully. If it shifts, creaks, or rocks, stop and correct the mounting now instead of discovering the problem after it is filled with items.
Apparatus & Materials
| Item | Cost | |
|---|---|---|
| ◆ Pine board Provides the shelf surfaces and support pieces for the build. | $8–$20 | Buy now |
| ◆ Sandpaper assortment Smooths cut edges and prepares the wood for finish. | $5–$10 | Buy now |
| ◆ Wood screws Fastens the shelf parts together and secures the shelf to the wall. | $5–$12 | Buy now |
| Painter’s tape Marks drill points and helps keep layout lines visible. | $4–$8 | Buy now |
| Wall anchors Helps support the shelf when studs are not available. | $6–$15 | Buy now |
Notes on the sources
The ranking at right reflects our editorial judgment after reading each source in full. For a summary of this entry in brief, see the source ranked first. For the chemistry and underlying principles, see the last.