
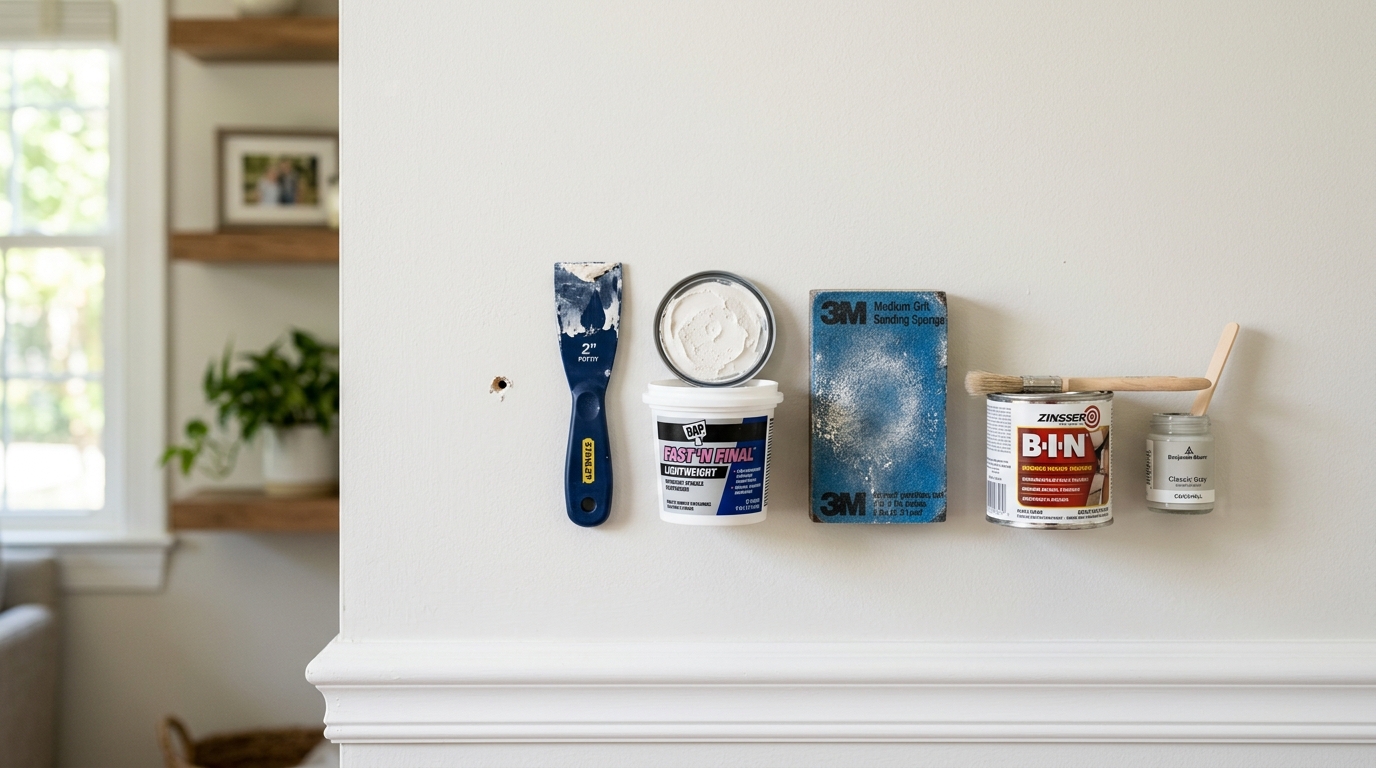
Fix nail holes, screw holes, and small anchor holes in drywall, then prime and paint them so the repair blends in cleanly.
Fix the Small Hole Before It Becomes a Bigger Eyesore
Tiny wall holes are one of the easiest home repairs to put off and one of the easiest to fix well. A picture hook, shelf anchor, or curtain rod can leave a mark that catches the light every time you walk by, and the repair only gets harder if you let dust, loose paper, or old paint edges keep crumbling.
This guide stays narrow on purpose: nail holes, screw holes, and small anchor holes in painted drywall. The goal is not to learn every wall-repair technique at once. The goal is to make the patch flat, stable, and invisible enough that a quick paint touch-up blends it back into the wall.
Step 1: Clear the hole and prepare the surface
Start by removing any nail, screw, or anchor from the wall. If a plastic anchor is stuck, pry it gently or tap it slightly below the drywall surface so the patch can cover it cleanly. Then scrape away any loose paint, fuzzy paper, or crumbly edges around the hole with a putty knife.
This prep matters because spackle sticks best to solid, clean drywall. If you fill over dust or loose paint, the patch may pop loose later or leave a raised ring that becomes visible once the wall is painted. Wipe the area clean and let it dry before moving on.
If you are repairing an older home and the paint may be pre-1978, avoid creating unnecessary dust. Use gentle cleanup and a damp wiping method instead of aggressive dry sanding.
Step 2: Fill the hole in thin, firm passes
Use lightweight spackle or joint compound and a small putty knife. Press the material into the hole first, then scrape across the wall to leave a thin layer that is slightly proud of the surface. For a deeper anchor hole, it is better to use two thin passes than one thick mound.
The mechanics here are simple: you want the patch to fill the cavity completely and bond to the drywall without shrinking into a dip. Thin layers dry more evenly and are much easier to sand flat. If the hole is wider than a pencil eraser, pay attention to the edges and feather the fill a little wider than the hole itself.
Do not rush this part. If you sand a patch that still feels cool, soft, or rubbery, you will tear the fill and create a shallow crater that needs another coat. Follow the label dry time, not the clock in your head.
Step 3: Sand the patch flush without overworking it
Once the filler is fully dry, sand it with fine grit paper or a sanding sponge. The job here is not to reshape the whole wall; it is to knock the patch down until it is level with the surrounding surface. Use light pressure and check the repair with your fingertips and side lighting so you can feel or see any ridge that remains.
A gentle sanding pass does more good than a hard one. Over-sanding can expose the drywall paper around the hole or create a low spot in the center of the repair. If that happens, add a little more compound, let it dry again, and sand lightly once more.
After sanding, wipe away the dust before priming. Dust left behind can make primer bead up or create a gritty finish that shows under paint.
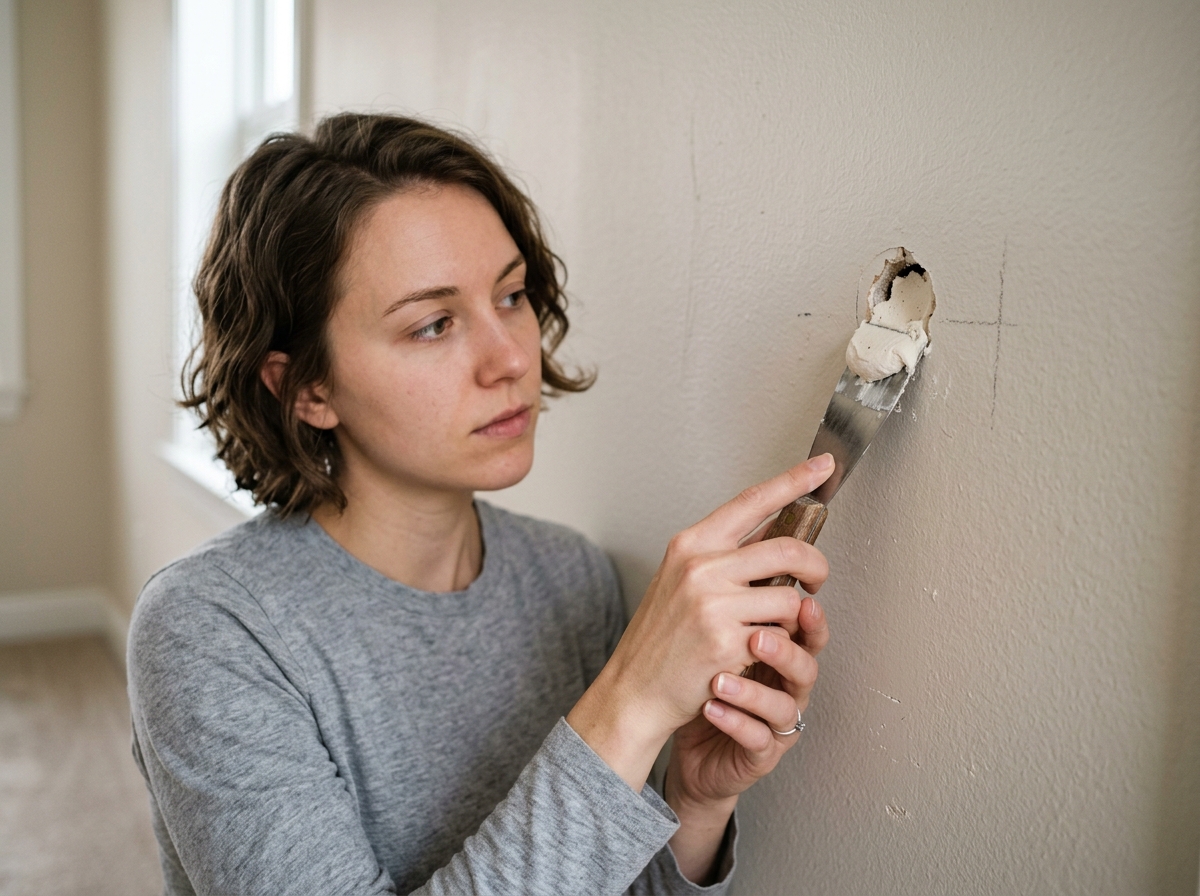
Step 4: Prime the repair so the paint blends evenly
Fresh spackle and joint compound absorb paint differently than the surrounding wall, which is why unprimed patches often flash as a dull or shiny spot. Brush or roll primer over the patch and feather it just beyond the repair edge so the surface absorbs paint more consistently.
Primer is especially important when you have sanded down to bare paper, when the wall is a dark color, or when the final paint is a sheen other than flat. Let the primer dry fully before painting; otherwise the topcoat can drag, streak, or leave a soft edge around the repair.
Use a small brush for tiny smooth areas or a mini roller if the wall has texture. A roller often hides the repair better because it recreates the surrounding finish instead of leaving a smooth brush mark in the middle of a textured wall.
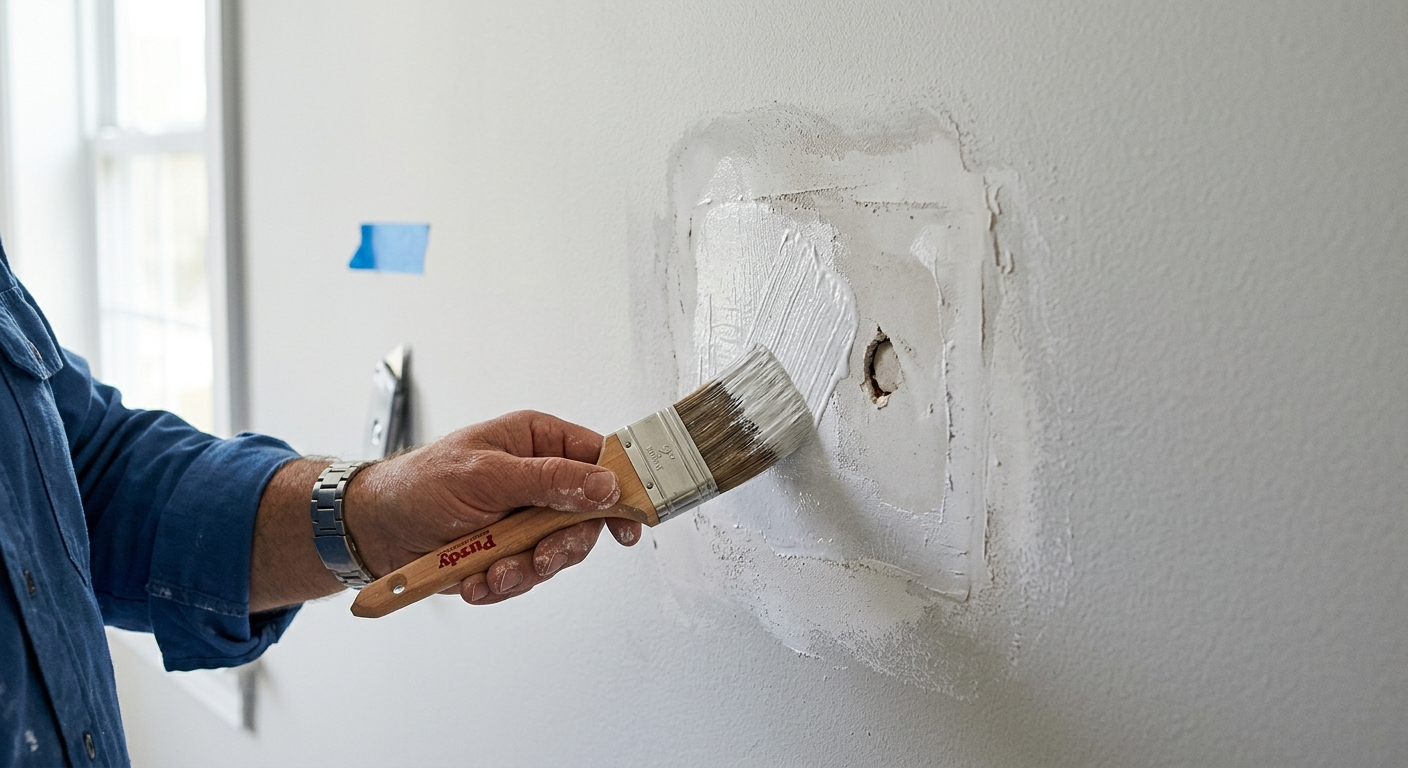
Step 5: Touch up paint and blend the finish
Paint over the primed spot with matching wall paint. Try to match not just the color, but also the sheen: flat, eggshell, satin, and semi-gloss all reflect light differently. For very small patches, a tiny brush can work, but a mini roller usually blends better on most walls because it matches the surrounding texture more closely.
If the patch still stands out after the first coat, do not keep piling on thick paint. Let the first coat dry, then apply a second light coat if needed. Heavy touch-up paint can leave a glossy blob that is more noticeable than the hole you started with.
For a clean finish, step back and inspect the repair in daylight or under a strong lamp from the side. Side light reveals ridges, roller marks, and flashing that are easy to miss head-on. A good patch should disappear at normal viewing distance, not just from arm's length.
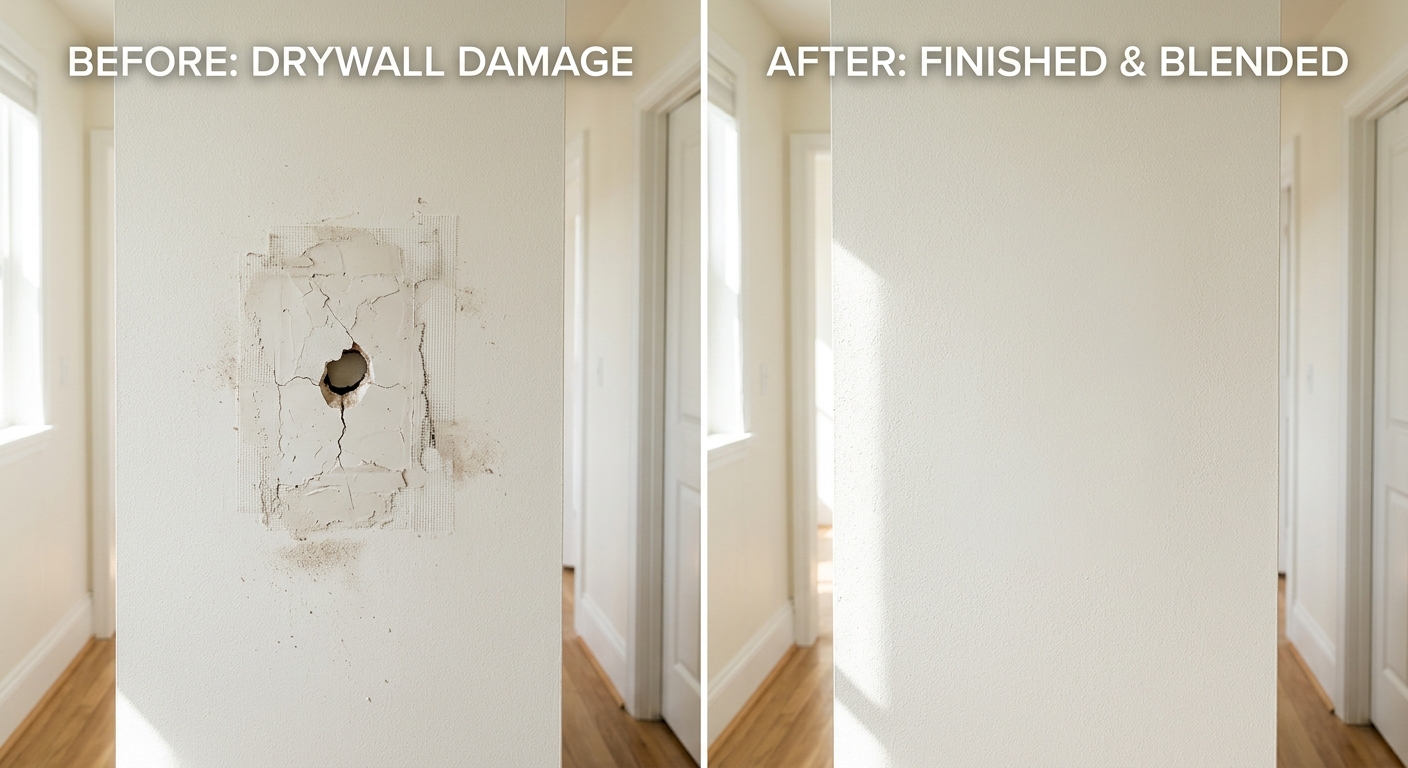
Step 6: Clean up and save the leftover paint information
Once the repair looks right, clean the tools and note the paint color, sheen, and brand if you can. Small touch-up jobs are much easier when you have the exact leftover paint for future fixes. If the can is gone, label a small sample or snap a photo of the paint chip for later matching.
This final step sounds minor, but it saves time on the next wall repair. Most mismatched repairs are not caused by a bad patch; they are caused by a paint mismatch that could have been avoided with a good record of the original finish.
If you used a compound that shrank slightly or the touch-up is still visible after it dries, wait, inspect under side light, and apply a very thin second pass rather than trying to hide it with a thick coat.
Apparatus & Materials
| Item | Cost | |
|---|---|---|
| ◆ 220-grit sanding sponge Levels the dried patch without gouging the surrounding drywall paper. | $3–$7 | Buy now |
| ◆ Lightweight spackle Fills small nail holes and anchor holes without needing a full drywall patch kit. | $4–$10 | Buy now |
| ◆ Matching wall paint Blends the final repair into the surrounding wall color and sheen. | Free | Buy now |
| ◆ Primer Helps the repaired spot absorb paint evenly so the patch does not flash. | $6–$15 | Buy now |
| ◆ Small putty knife Presses filler into the hole and scrapes the patch nearly flush with the wall. | $3–$8 | Buy now |
| Mini roller Helps paint blend better on lightly textured walls than a brush alone. | $8–$18 | Buy now |
Notes on the sources
The ranking at right reflects our editorial judgment after reading each source in full. For a summary of this entry in brief, see the source ranked first. For the chemistry and underlying principles, see the last.


