

Fill small wall holes thinly, sand them smooth, prime the patch, and feather on paint so the repair disappears in normal light.
Make the wall look like nothing happened
Small drywall repairs are usually simple, but they only look simple when the patch is thin, flat, and fully primed before paint. A too-thick fill or skipped primer is what turns a five-minute fix into a shiny square that catches your eye every time the room lights come on.
This guide keeps the scope narrow: nail holes, screw holes, anchor holes, and shallow dents. If the wall is broken open enough to show insulation, wiring, or plumbing, stop and treat it as a larger repair.
Step 1: Decide whether the hole needs spackle or a patch
Look closely at the damage before you buy anything. Tiny nail and picture-hanger holes usually need only lightweight spackle or premixed joint compound. Holes with ragged edges, soft drywall paper, or a missing chunk bigger than a quarter often do better with a mesh patch or tape-backed repair kit.
The reason is simple: spackle is a filler, not a bridge. If there is nothing solid around the opening, the fill can crumble or sink as it dries. A patch kit gives the compound something to grip so the finished spot stays flush.
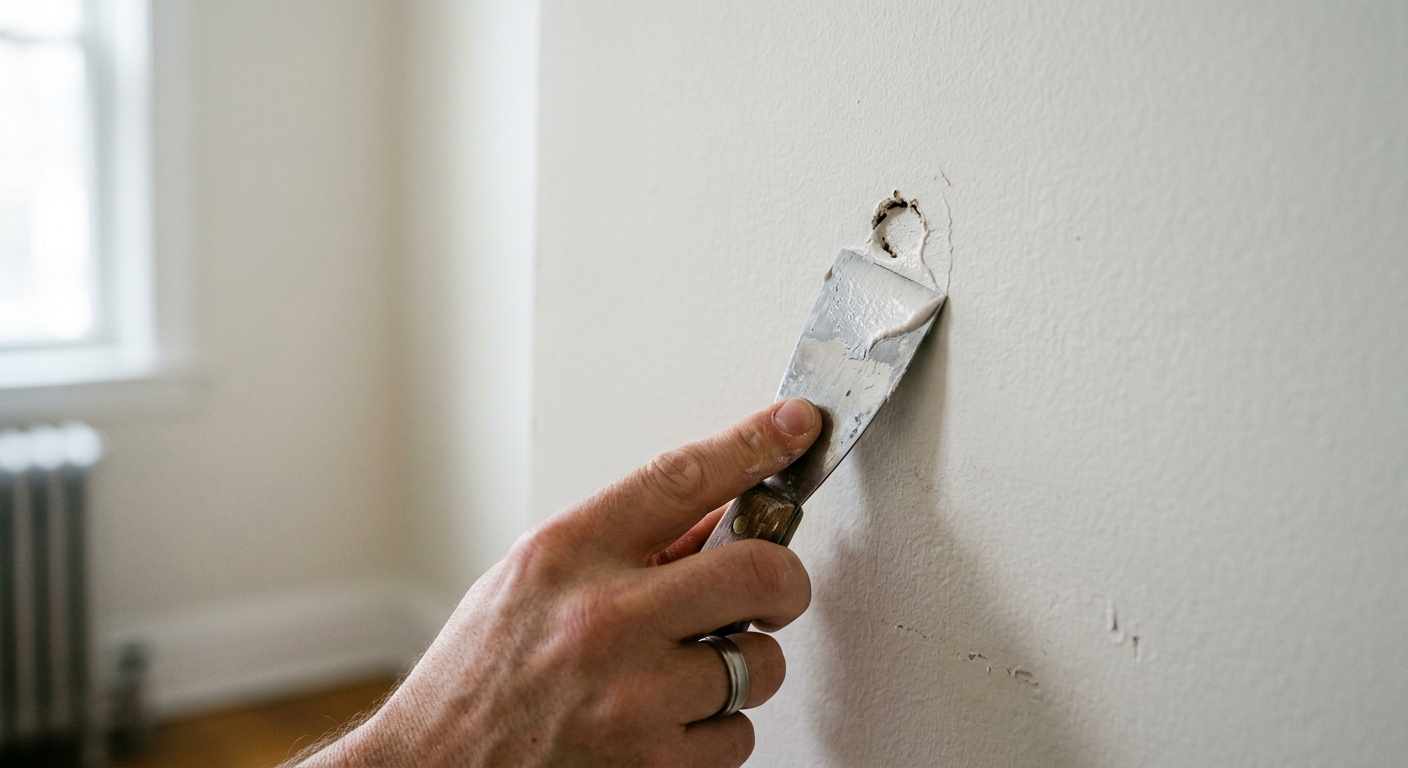
Step 2: Fill the damage in thin coats
Use a putty knife to press filler into the hole and scrape away the excess in a wide, flat pass. Aim slightly proud on the first coat, not mountainous. For larger shallow dents, spread compound beyond the damaged area so the repair can be feathered into the surrounding wall later.
Thin coats dry faster and shrink less than one heavy blob. That matters because a thick patch often leaves a low spot after drying, which means more sanding, more dust, and more chances to reveal the fix under paint. If the hole is deep, let the first fill dry and add a second thin coat instead of trying to fill it all at once.
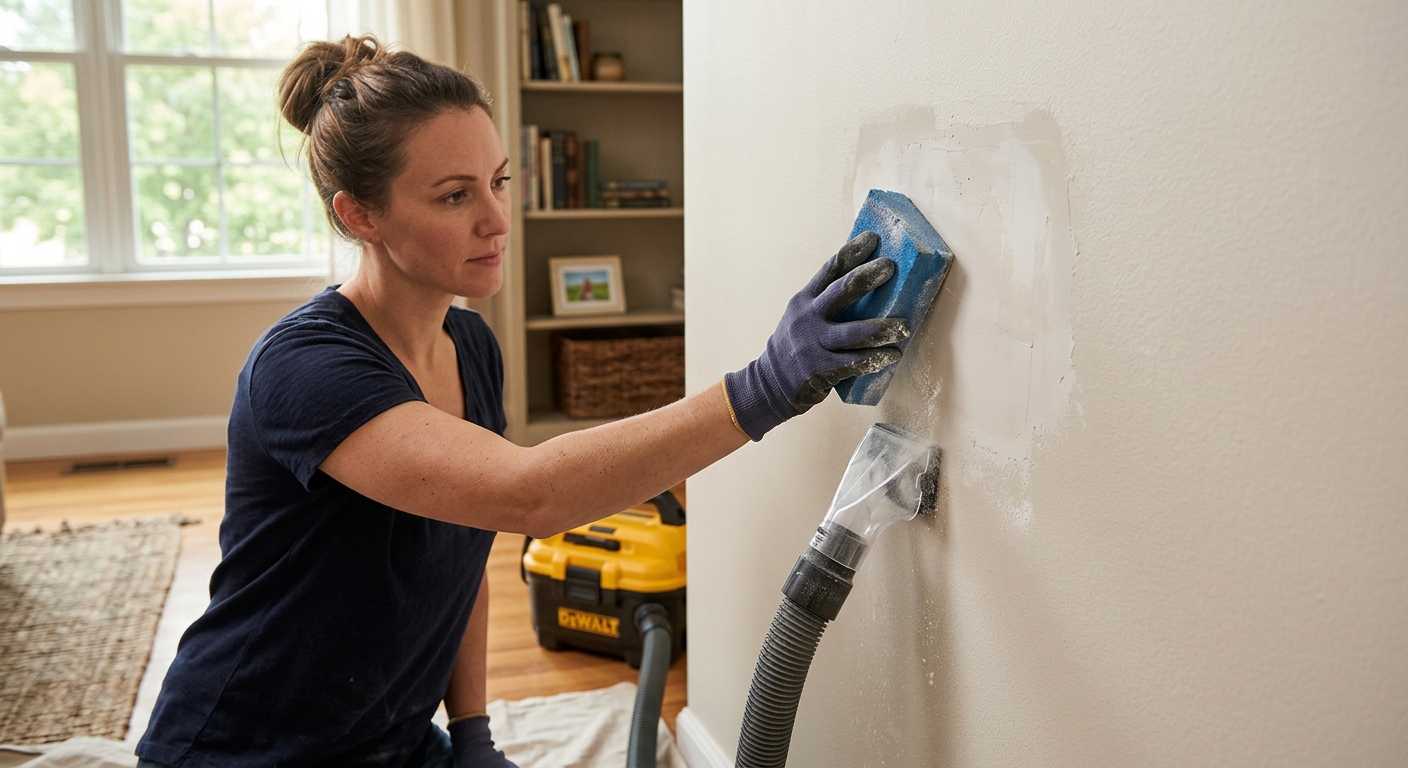
Step 3: Sand only until it feels level
After the filler is dry, smooth it with a fine sanding sponge or 220-grit paper. Use light pressure and short passes. The goal is not to erase every trace by sanding forever; the goal is to make the repair transition invisible by touch before paint goes on.
Watch the edge of the patch carefully. If you sand through the surrounding drywall paper, the area can fuzz up and become more visible, not less. A quick fingertip check is usually enough: if you can feel a ridge, keep working gently; if it feels flush, stop.
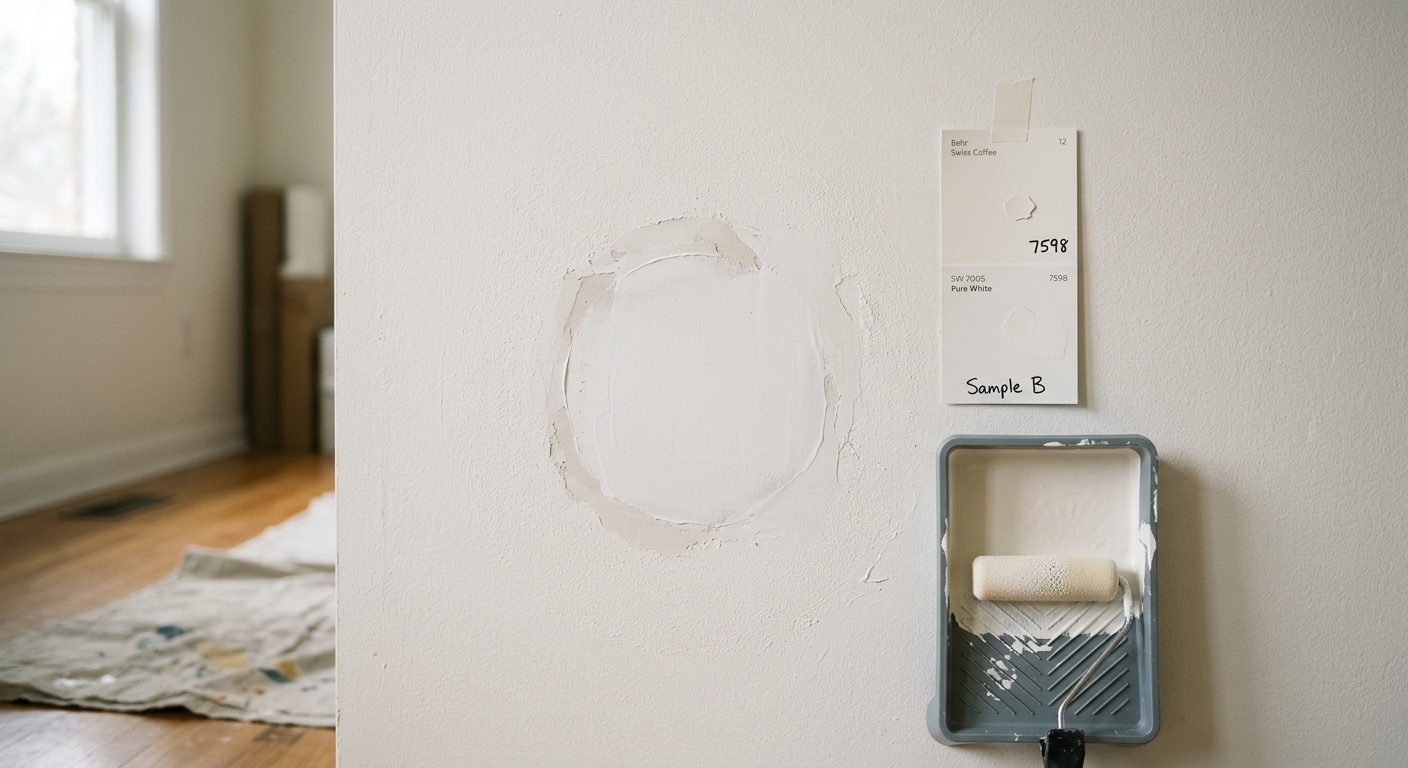
Step 4: Prime the patch before you touch up paint
Bare joint compound absorbs paint differently than finished wall paint. Brush or roll a small amount of primer over the patch and let it dry fully before color goes on. This keeps the repair from flashing dull, bright, or matte in a way that makes it obvious even when the surface is flat.
If the wall has a texture, try to match that texture before or during priming rather than after the finish coat. A perfectly smooth patch on a textured wall can still stand out. When the primer is dry, lightly inspect the edge with the side of a lamp or phone flashlight to catch any shadow lines.
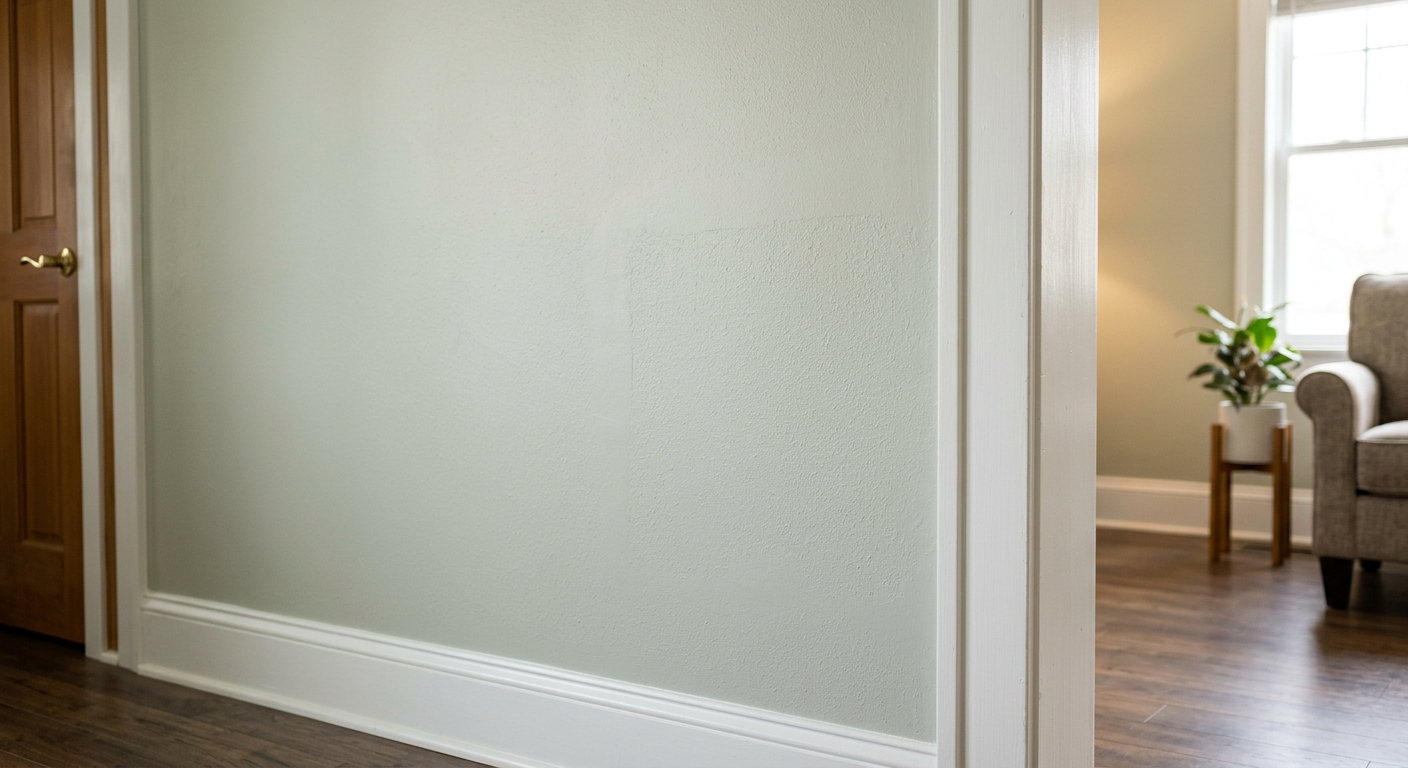
Step 5: Feather the paint wider than the repair
Use a small brush or mini roller and extend the touch-up a little beyond the patch. The idea is to blend the new paint into the old so the eye cannot find a hard outline. If you still have the original wall paint, stir it well and test it first; old cans can shift color over time, especially in bright rooms.
A tiny patch painted only in the exact damaged spot often looks worse than the hole did. Give the paint a wider landing zone, then step back and view it from across the room. If the repair still reads as a square, the blend is too tight or the finish sheen does not match.
Step 6: Check the fix in real room light
Once the paint is dry to the touch, inspect the spot from the usual viewing distance and under the room's normal lighting. Daylight, overhead fixtures, and side lighting all show different flaws. What looks perfect at arm's length can still cast a shadow across the patch at night.
If the repair is still obvious, the fix is usually small: one more thin skim, a light re-sand, or a broader paint feather. For most small holes, though, a careful first pass is enough to make the wall read as intact again.
Apparatus & Materials
| Item | Cost | |
|---|---|---|
| ◆ Lightweight spackle Fills small nail holes and shallow dents in drywall. | $6–$12 | Buy now |
| ◆ Matching wall paint Covers the primed repair and blends it into the room finish. | $12–$30 | Buy now |
| ◆ Primer Seals the patch so the paint finish matches the surrounding wall more closely. | $8–$18 | Buy now |
| ◆ Putty knife Spreads filler thinly and scrapes off excess around the repair. | $5–$15 | Buy now |
| ◆ Sanding sponge Levels the dried patch without gouging the wall face. | $4–$10 | Buy now |
| Dust mask Helps keep sanding dust out of your nose and mouth. | $5–$15 | Buy now |
Notes on the sources
The ranking at right reflects our editorial judgment after reading each source in full. For a summary of this entry in brief, see the source ranked first. For the chemistry and underlying principles, see the last.


