
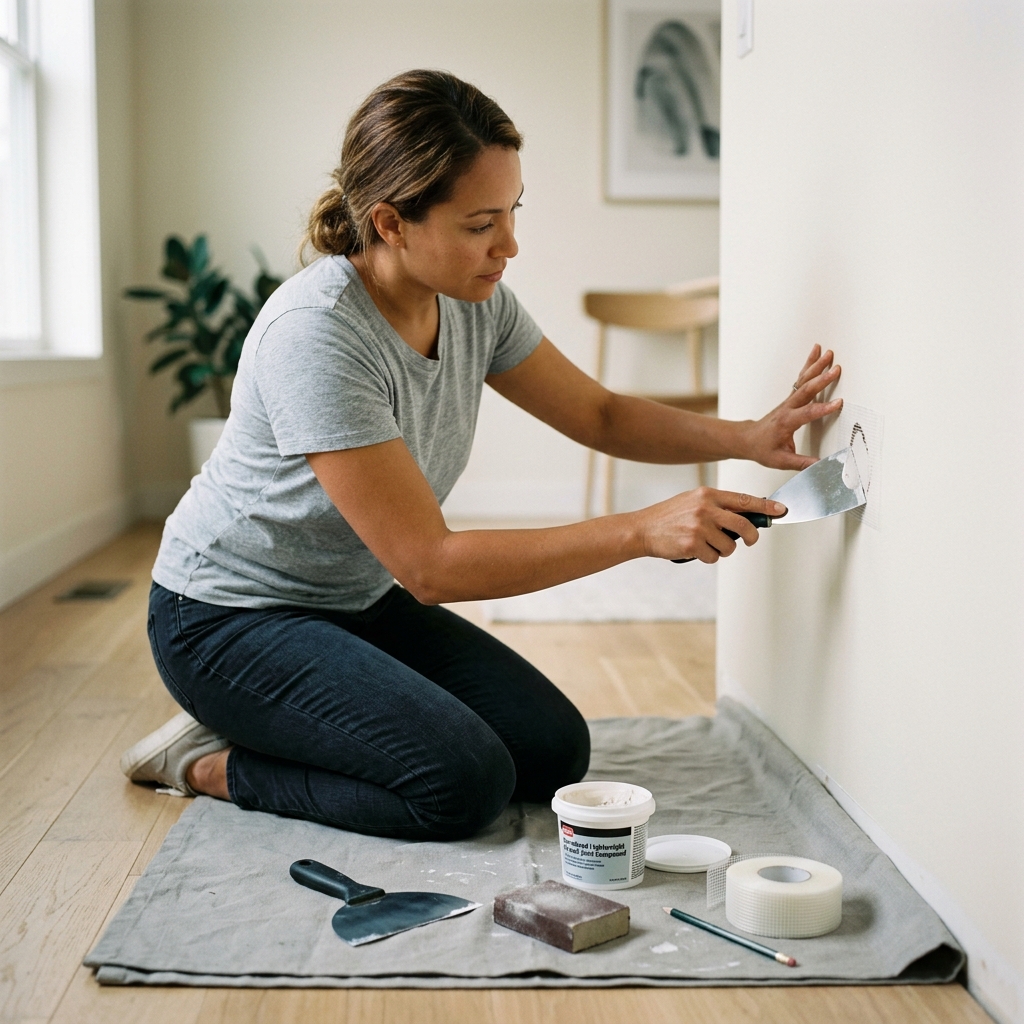
Patch nail holes, small dents, and light anchor damage with the right filler, then prime and paint so the repair disappears instead of flashing.
Small drywall repairs look easy until the paint flashes
Tiny wall holes are one of the most common DIY repairs, but they also fail in the most annoying way: the patch looks smooth in daylight and then glows under side lighting. That happens when the filler, sanding, primer, or paint sheen doesn't match the surrounding wall.
This guide focuses on the small repairs people search for most — nail holes, picture-hook holes, light anchor damage, and shallow dents. The goal is not just to fill the hole. It's to finish the repair so the wall reads as one surface again after paint goes on.
Step 1: Size the hole and choose the right filler
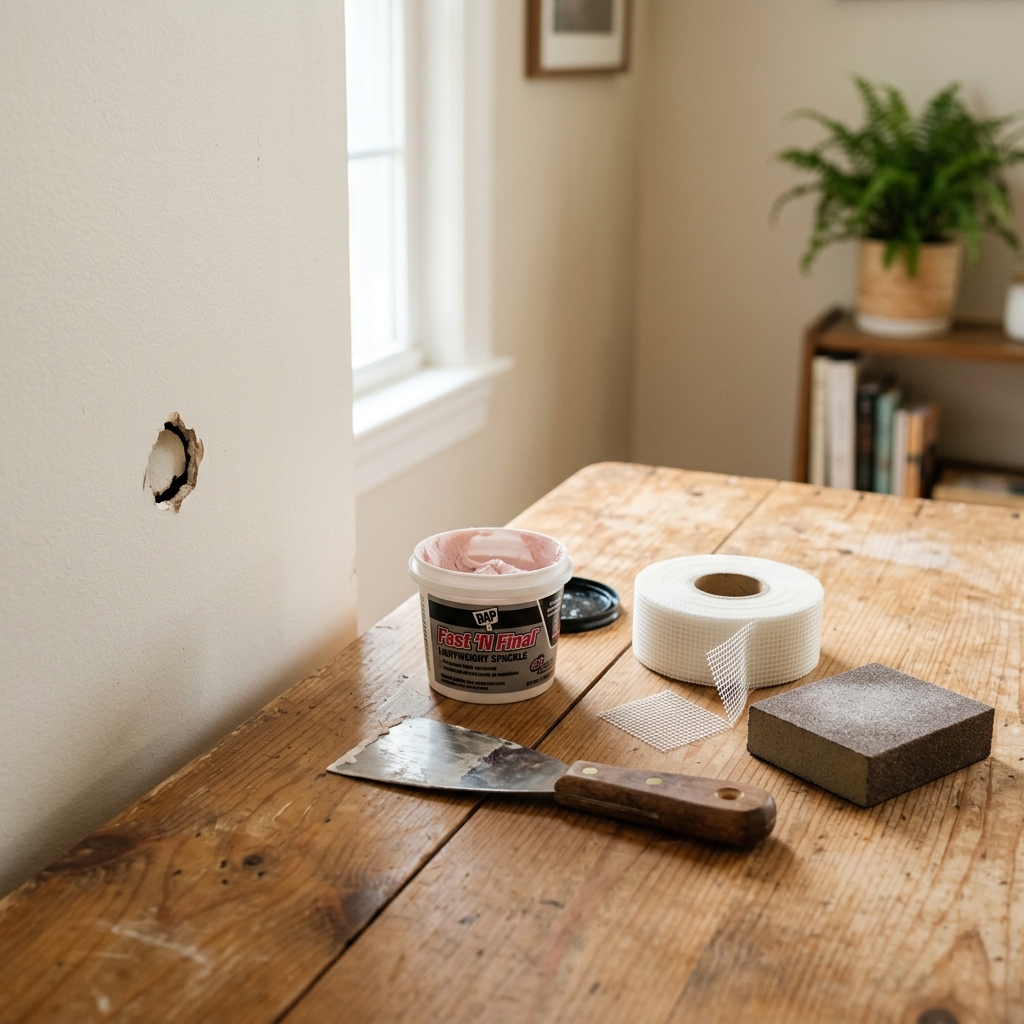
Start by cleaning loose paper, dust, or crumbled drywall out of the damaged spot. A nail hole or pinhole can usually take lightweight spackle, while a hole closer to an anchor or a tiny gouge often benefits from a mesh patch backed by joint compound.
If the edges are fuzzy or the hole has torn paper around it, trim only the loose bits. Do not carve the opening wider just to make it look neat — drywall patches fail when people remove sound paper instead of stabilizing the damaged edge. For anything damp, stained, or soft to the touch, pause and find the source before you patch.
Step 2: Fill slightly proud, then let it dry fully
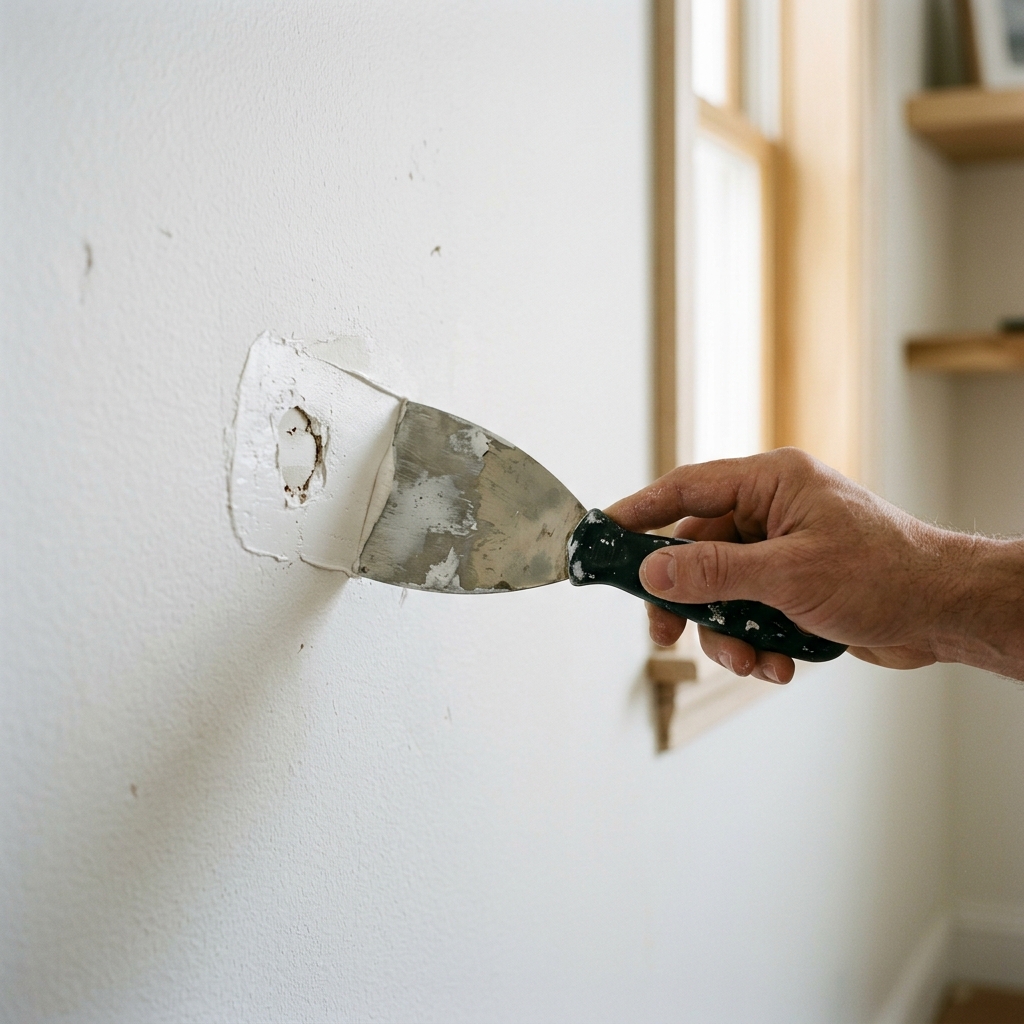
Press spackle or joint compound into the hole with a putty knife, pushing across the damaged area so the filler keys into the sides. For a mesh patch, center it over the opening first, then cover it with a thin coat of compound. The first coat should sit just a little proud of the wall surface so you have material to sand back later.
Thin coats dry more predictably than one thick mound. If you pile on a heavy layer, the outside skin can dry while the center stays soft, which leads to cracking or shrink-back after sanding. Give it the full dry time on the package, plus extra if the room is cool or humid.
Step 3: Sand the patch wide and flat
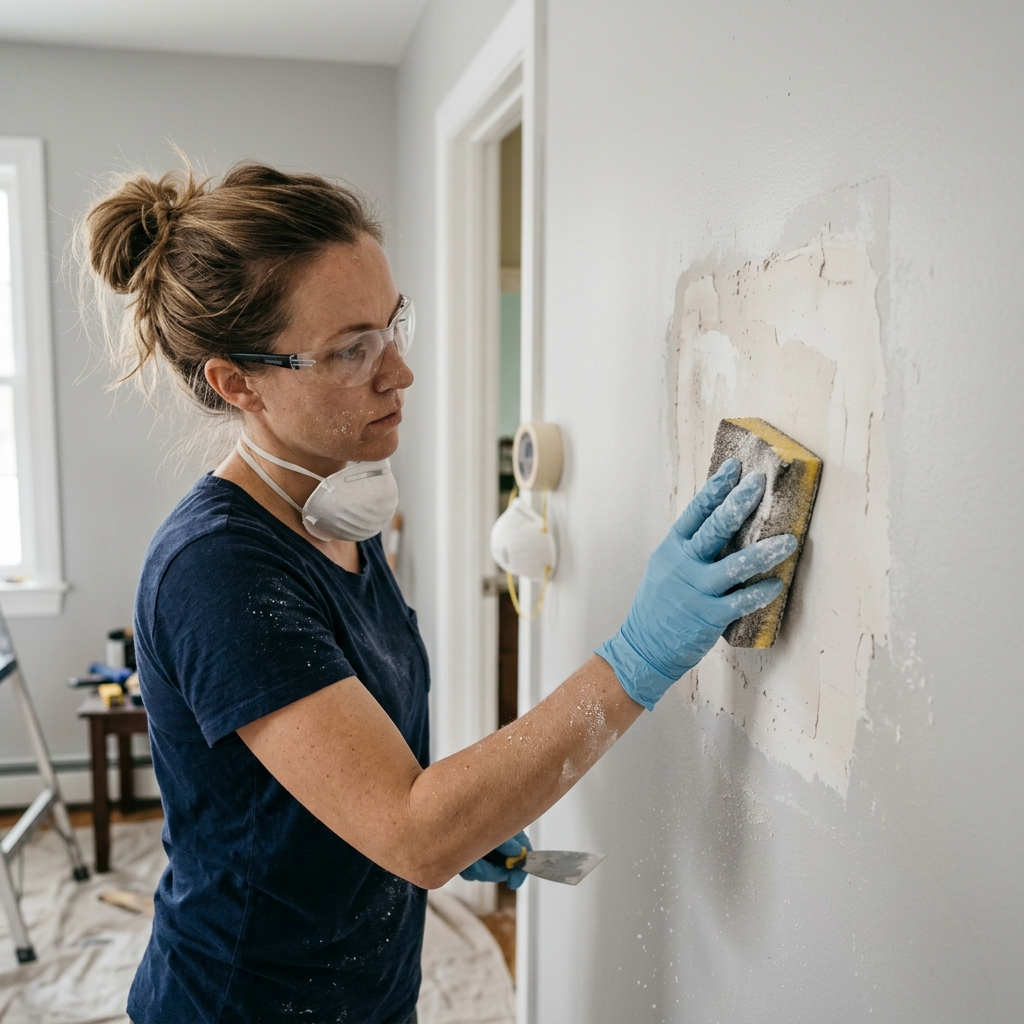
Use fine sandpaper or a sanding sponge to level the repair until it sits flush with the wall. The trick is to feather the edges outward instead of grinding the middle down hard. A good repair should feel smooth when you run a hand across it, but the wall face around it should still look intact.
Stop as soon as the patch is level. Over-sanding can expose the paper face of the drywall, which turns a clean repair into a fuzzy halo that needs another skim coat. If you hit a low spot, add a thin second coat rather than trying to force the first coat to do all the work.
Step 4: Prime the repair before paint
Brush or roll primer over the sanded area and let it dry. Primer matters because fresh filler soaks paint differently than the painted wall around it. Without primer, the patch often flashes as a dull or shiny spot even if the color is technically the same.
If the surrounding paint has a noticeable sheen, primer helps you judge the finish before committing to topcoat. It also shows you leftover scratches, pinholes, or ridges that are easier to fix now than after paint. Wipe away dust first so the primer bonds to the patch instead of the sanding powder.
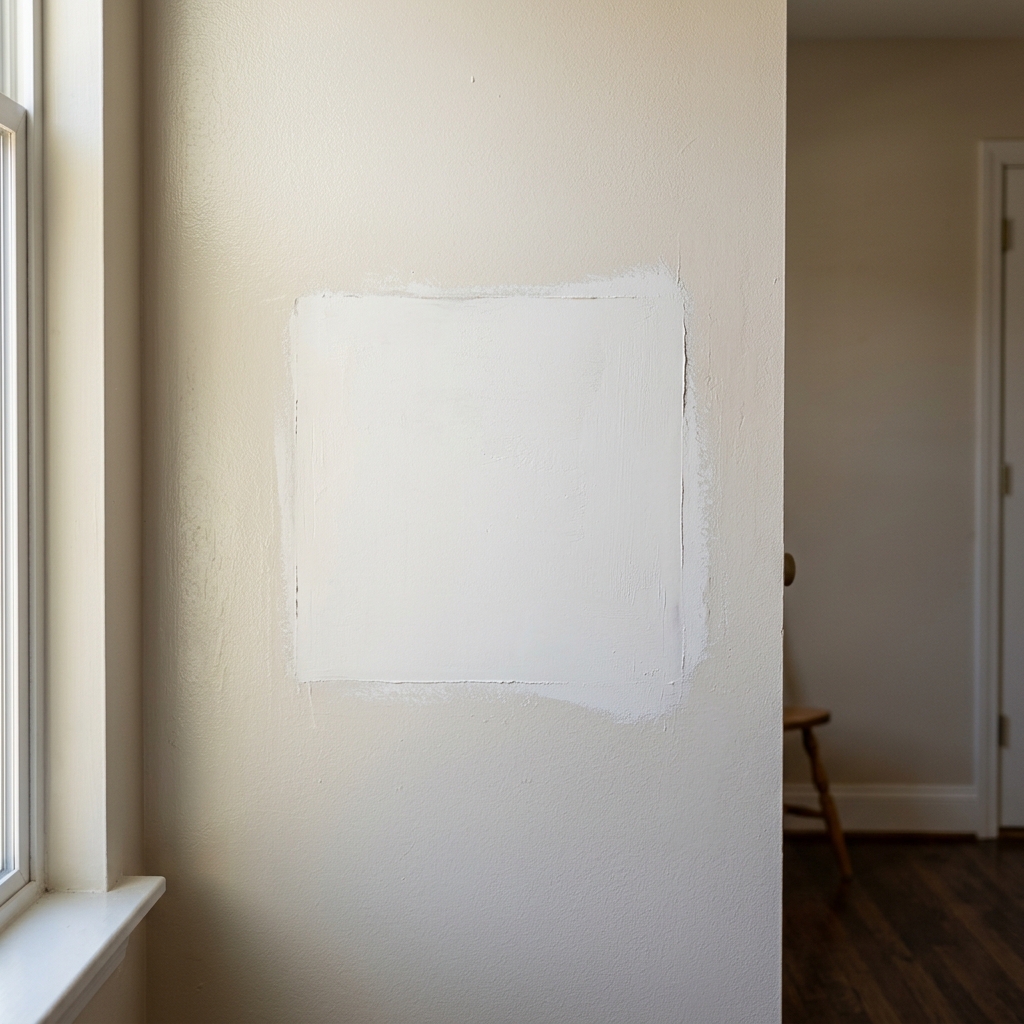
Step 5: Match the sheen and blend the paint
Paint the primed spot with the same wall color and, as closely as possible, the same sheen: flat, eggshell, satin, or semigloss. If you only match the color and ignore the sheen, the patch can still show under light. Feather the paint slightly beyond the repair so the fresh edge transitions into the existing wall texture instead of stopping in a hard ring.
If the room has old paint, test a small hidden spot or paint sample card first. Fresh topcoat over old wall paint can read differently after it dries, especially near windows or lamps. For larger visible walls, sometimes the best fix is to repaint the whole section from corner to corner so the finish stays consistent.
Apparatus & Materials
| Item | Cost | |
|---|---|---|
| ◆ Lightweight spackle Fills nail holes and tiny dents without adding much sanding work. | $5–$12 | Buy now |
| ◆ Primer Seals the patch so paint does not flash differently on the repaired spot. | $8–$20 | Buy now |
| ◆ Putty knife Presses filler into the hole and scrapes it level with the wall. | $5–$12 | Buy now |
| ◆ Sanding sponge Levels dried filler without digging hard grooves into the drywall face. | $4–$10 | Buy now |
| Dust mask Reduces dust exposure while sanding indoors. | $8–$18 | Buy now |
| Mesh drywall patch Backs a slightly larger small hole so the filler does not sink inward. | $6–$15 | Buy now |
Notes on the sources
The ranking at right reflects our editorial judgment after reading each source in full. For a summary of this entry in brief, see the source ranked first. For the chemistry and underlying principles, see the last.


