
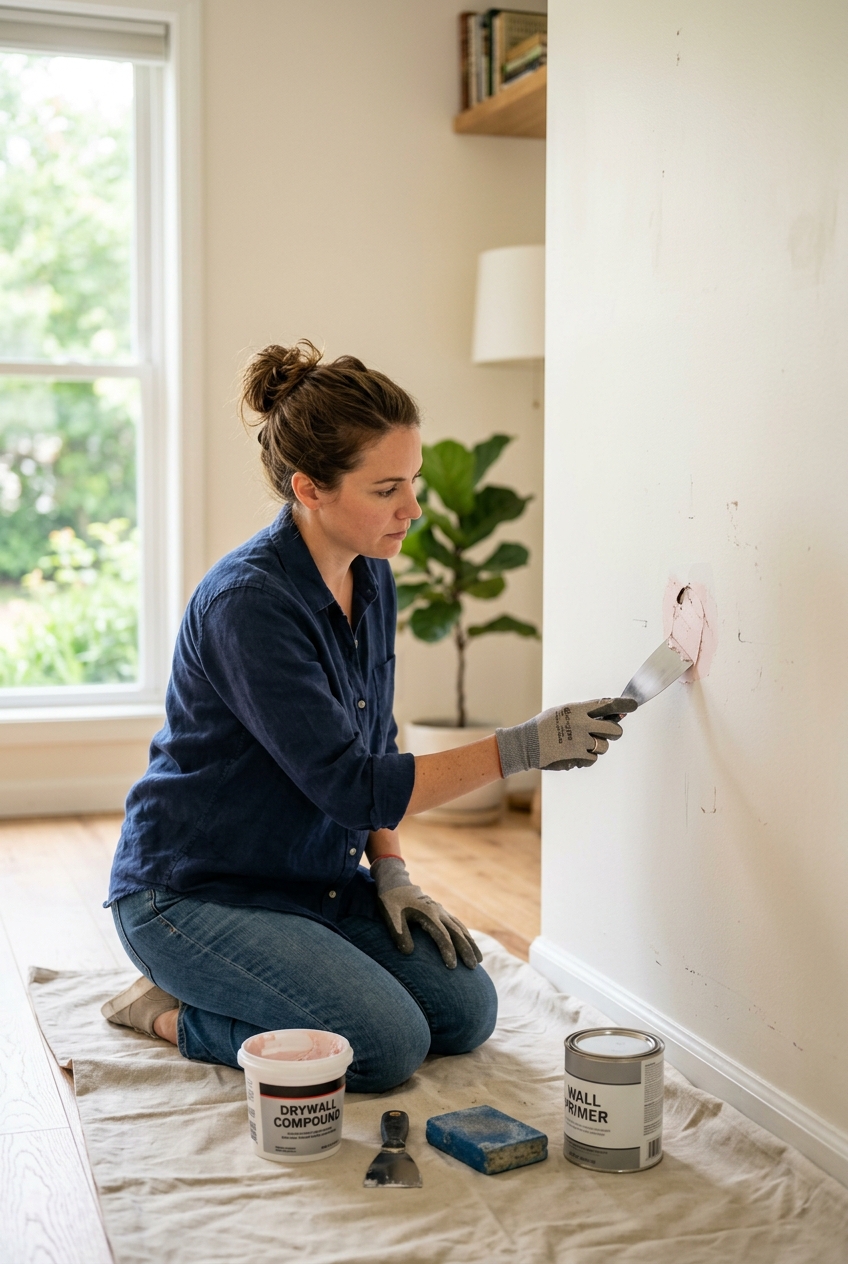
Patch nail pops, anchor holes, and small dents with the right filler, light sanding, primer, and paint touch-up so the repair blends into the wall.
A small hole only needs a small repair — but it needs the right one
Tiny wall damage is one of those repairs that looks simple until the patch flashes through the paint, the paper face fuzzes up, or the hole shrinks back open after the compound dries. The trick is to match the repair method to the size of the damage instead of forcing every hole into the same routine.
This guide covers the common beginner cases: nail pops, anchor holes, small dents, and other openings up to about 2 inches. The goal is not just to fill the hole. The goal is to make the repair flat, sealed, and ready for primer so it disappears after paint.
Step 1: Clean the damage and decide how big the repair really is
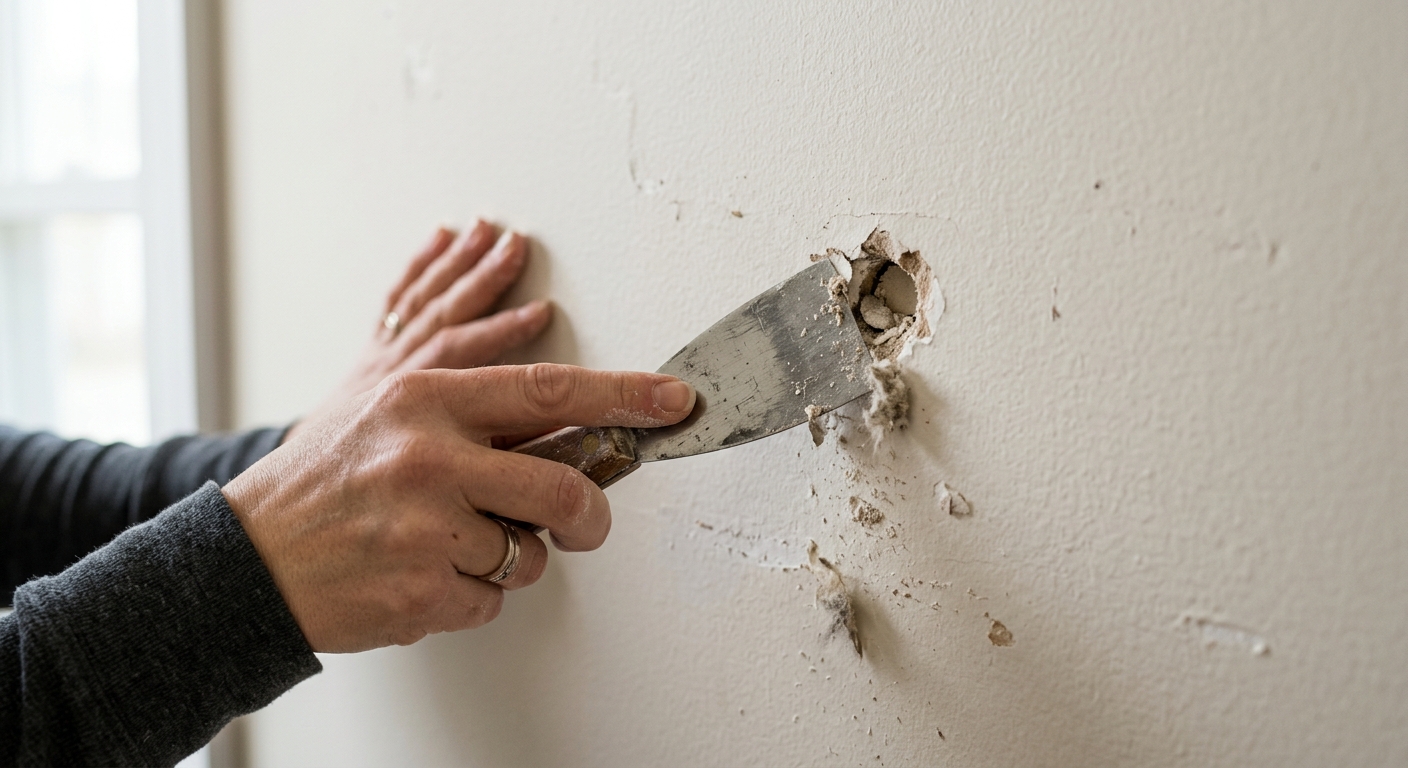
Start by trimming loose paint, crumbling drywall paper, and any raised ridges around the hole. A utility knife or putty knife works well for this. You want a clean edge and a stable surface, not a ragged hole with flaking material still attached.
Now judge the size. Tiny nail holes and screw holes usually take spackle alone. If the opening is bigger — roughly a half inch to 2 inches — a self-adhesive mesh patch or paper patch gives the filler something to bridge over. That small decision saves you from sanding a soft patch back out later.
Step 2: Fill tiny holes, or bridge larger ones with a patch
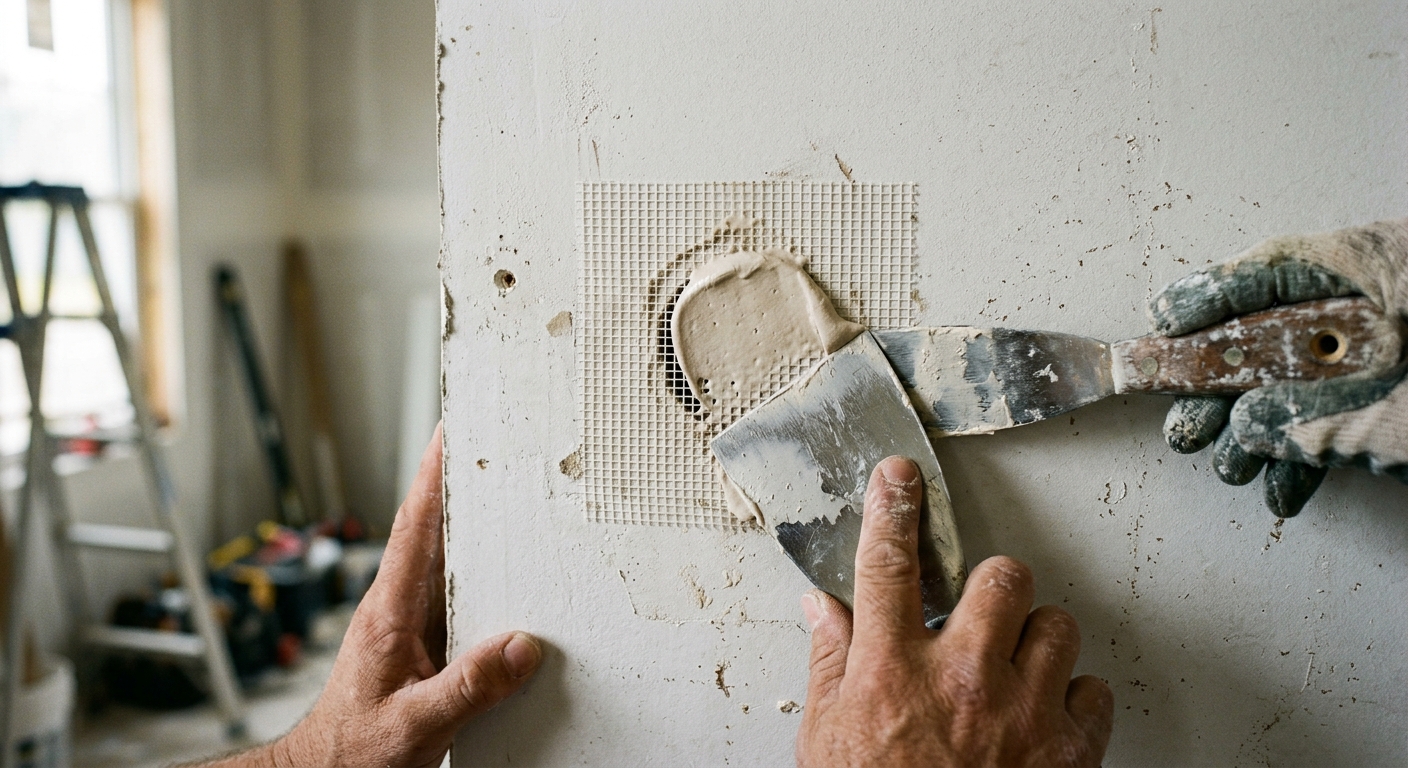
For tiny holes, press lightweight spackle or joint compound into the recess with a small putty knife. Push firmly enough to fill the void, then scrape off the excess so only a thin layer remains on the wall. A second skim is better than one thick coat, because thick filler dries unevenly and often shrinks.
For larger openings, center a mesh patch over the hole first, then spread compound across the patch and feather it outward. The mesh keeps the repair from cracking open as the compound dries. If the wall is textured, keep the first coat thin and focused on bonding; texture matching comes later.
Step 3: Let it dry fully, then sand lightly
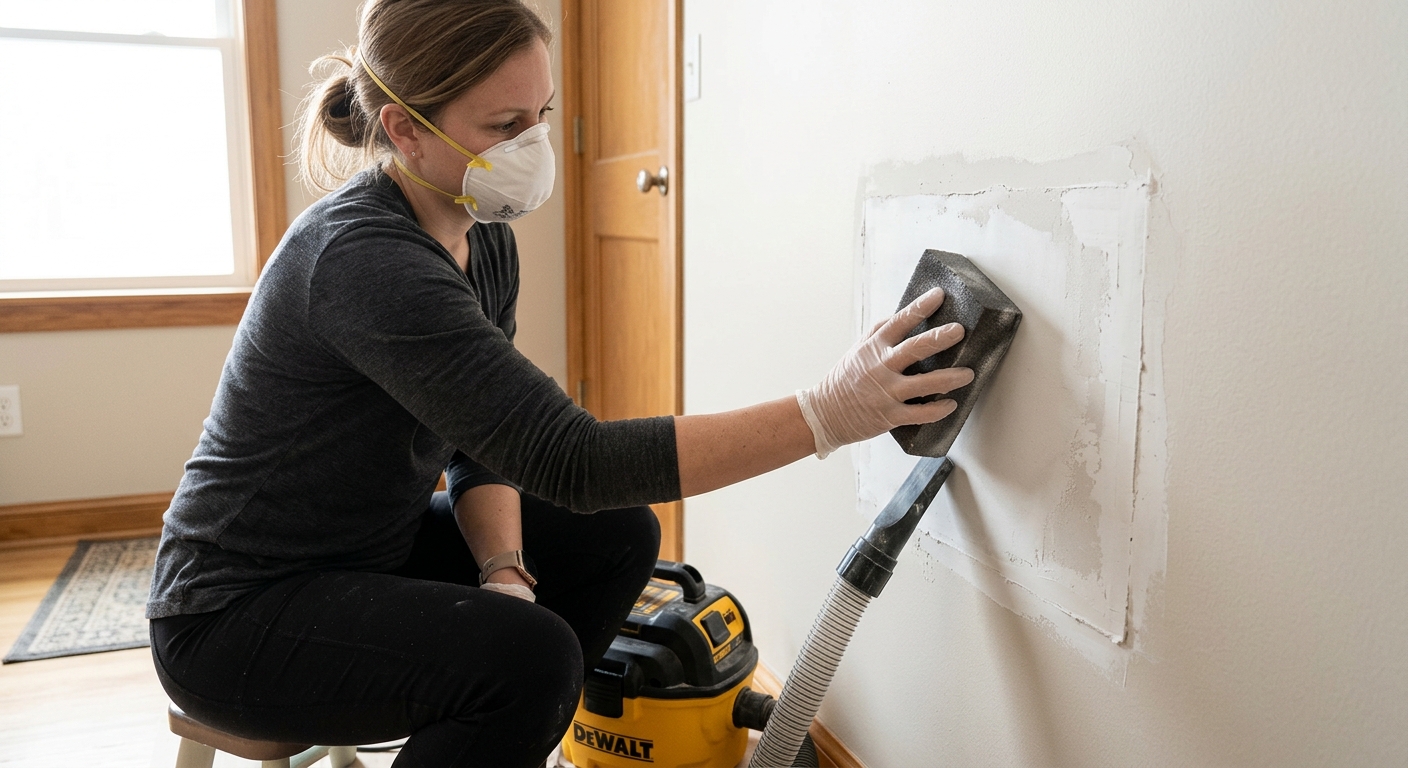
Drying time matters more than most beginners expect. If you sand too soon, the surface will roll up or tear instead of smoothing out. Wait until the compound is fully dry all the way through — not just dry on top — then sand with fine-grit sandpaper or a sanding sponge.
Keep the sanding light. The goal is to blend the repair into the surrounding wall, not to cut through the fresh patch. If you see paper fuzz, stop and switch to a smaller touch-up coat rather than chasing perfection with heavier sanding.
Step 4: Prime, inspect, and paint the touch-up
Primer is the step that makes the repair disappear. Bare compound absorbs paint differently than the surrounding wall, so skipping primer usually leaves a dull or shiny flash mark even if the patch feels smooth. Apply a small coat of primer just over the repair and let it dry completely.
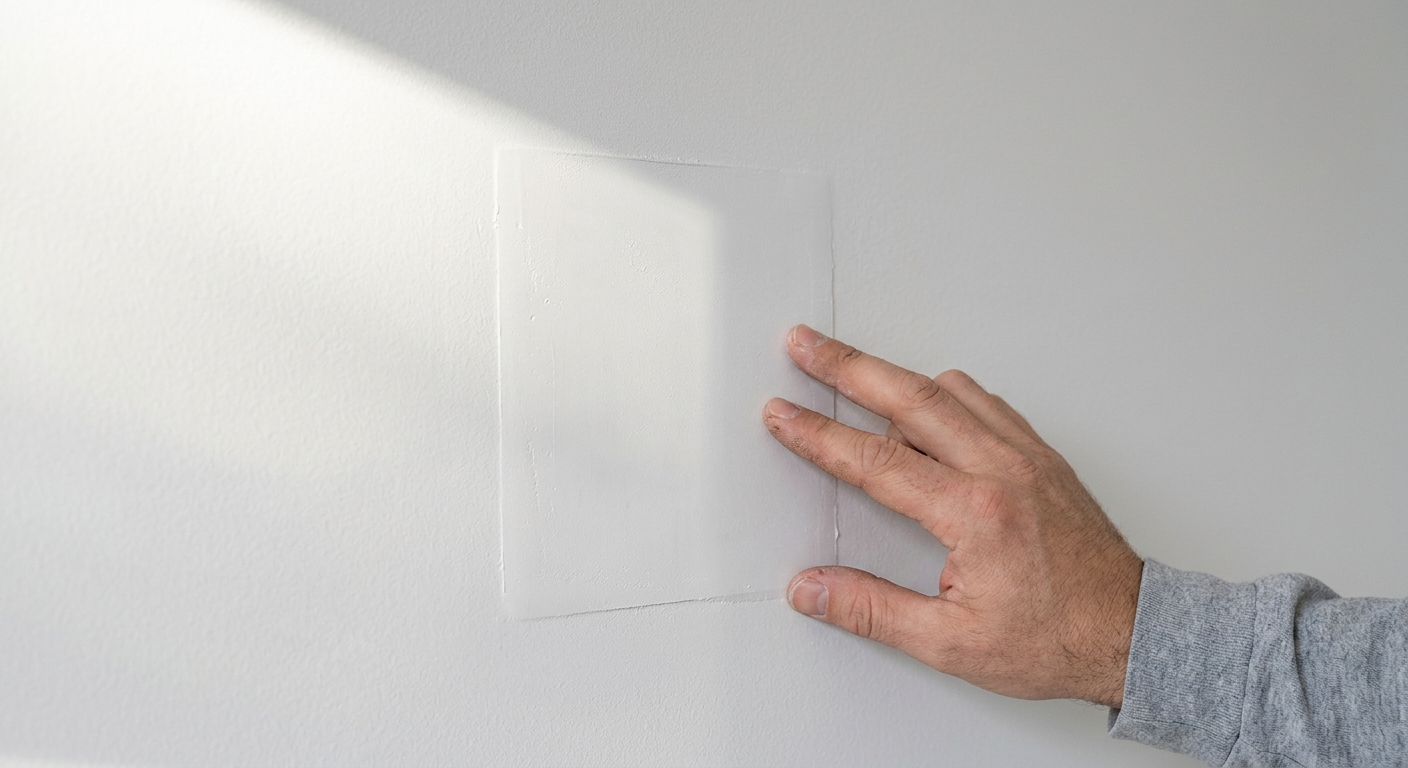
After priming, inspect the patch from the side in raking light. If you can still feel a ridge, add one more thin skim, let it dry, and sand again. When the surface feels flat, touch up with the wall color using the same sheen. A flat wall is forgiving; satin or eggshell may need a broader blend area to hide the edge.
Apparatus & Materials
| Item | Cost | |
|---|---|---|
| ◆ Fine-grit sanding sponge Smooths the dried patch without gouging the surrounding wall. | $4–$10 | Buy now |
| ◆ Interior primer Seals the repaired area so the paint finish matches the rest of the wall. | $10–$24 | Buy now |
| ◆ Lightweight spackle Fills tiny nail holes and shallow dents in one or two thin coats. | $5–$12 | Buy now |
| ◆ Putty knife Spreads compound, feathers the edges, and scrapes off excess filler. | $6–$15 | Buy now |
| Self-adhesive mesh drywall patch Bridges holes around 1/2 to 2 inches so the repair does not crack open. | $8–$18 | Buy now |
Notes on the sources
The ranking at right reflects our editorial judgment after reading each source in full. For a summary of this entry in brief, see the source ranked first. For the chemistry and underlying principles, see the last.


