
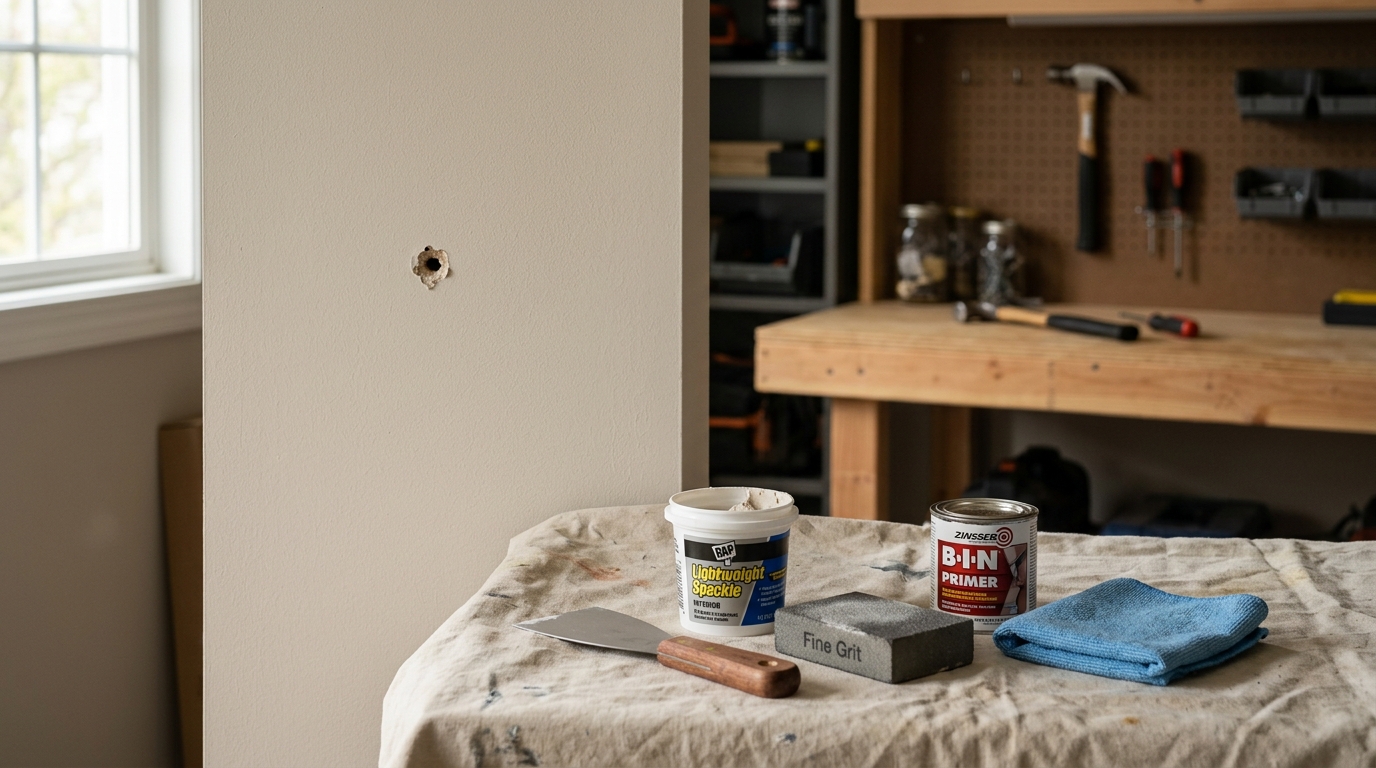
Fill a small drywall hole, feather the edges, sand lightly, prime the repair, and paint it so the patch disappears instead of flashing through.
A small drywall hole is a small job if you don't rush it
Tiny drywall holes look simple, but the repair only disappears when you treat the patch like a finishing job, not a blob of filler. The goal is to rebuild the surface flush, blend the edges, and seal the repair before paint.
This guide uses a beginner-friendly spackle workflow for nail holes, anchor holes, and small dents. If the damage is larger than a small hole, or if the wall may contain lead paint, stop and switch to the right repair method and safety approach first.
Step 1: Clean the hole and trim loose material
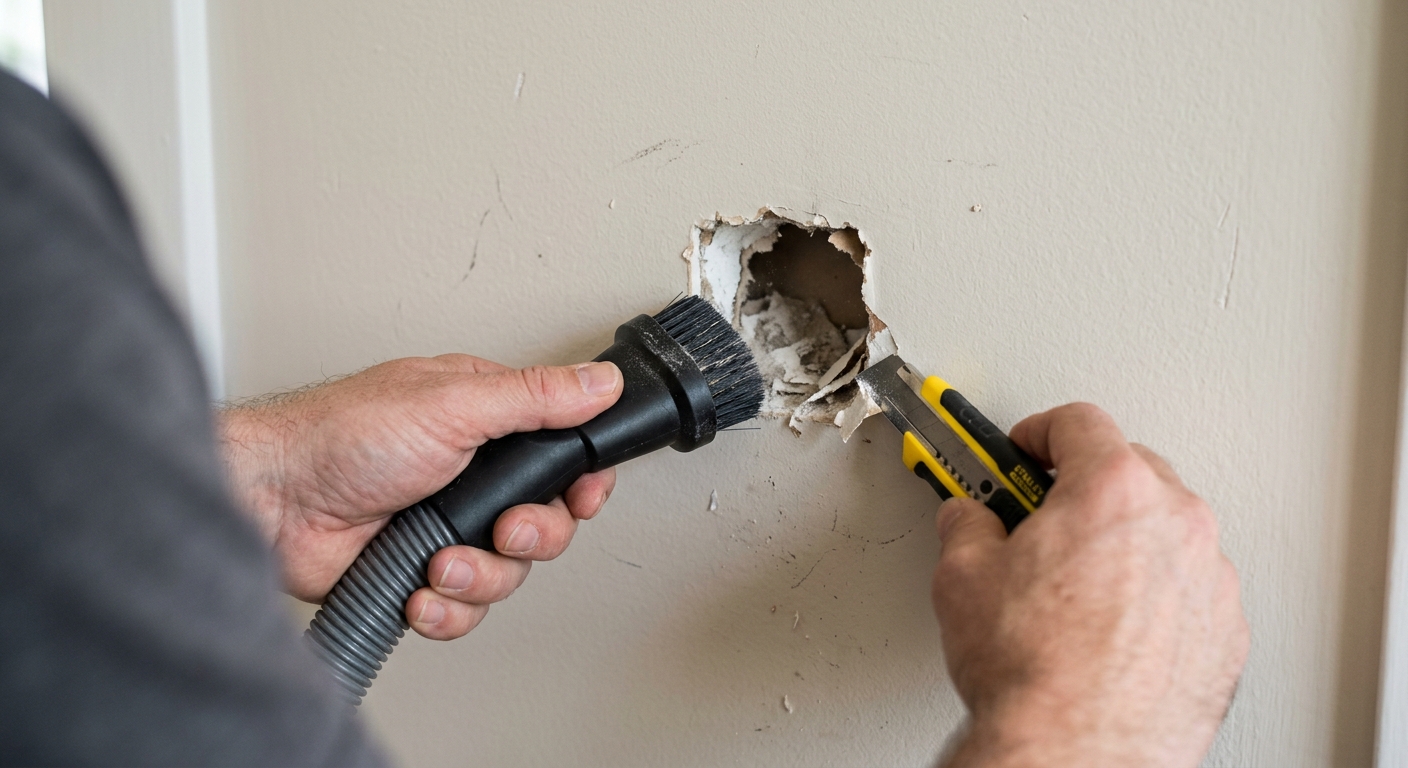
Start by brushing or vacuuming away dust, crumbs of drywall, and any loose paper around the opening. If there are raised paper fibers, trim only the loose bits so the repair has a stable edge to grab.
A clean edge matters because filler bonds better to solid drywall than to dust. If the hole has a cracked halo around it, gently widen that halo just enough to remove anything that would flake later.
Step 2: Apply spackle in thin layers
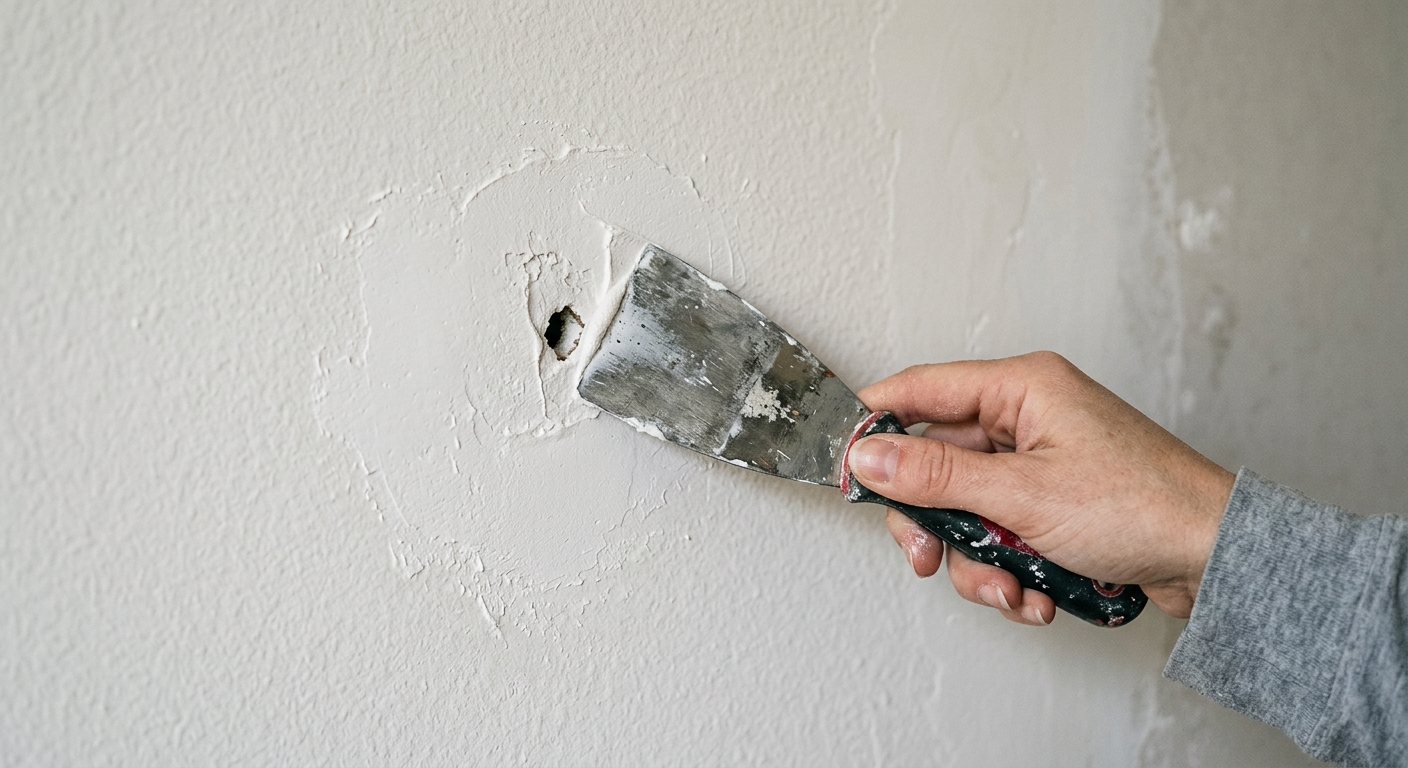
Load a putty knife with a small amount of spackle and press it into the hole, then drag the knife across the wall so the repair sits slightly proud of the surface. For anything deeper than a shallow dent, build the fill in thin layers instead of forcing it all in at once.
Feather the edges wider than the hole so the repair tapers into the existing wall. That extra width is what keeps the patch from looking like a hard circle after paint.
Step 3: Let it dry fully, then sand only the highs
Wait for the spackle to dry according to the product instructions. Many lightweight compounds dry in roughly 1 to 5 hours depending on depth, temperature, and humidity, but the safest rule is to let the repair turn fully ready before you touch it with sandpaper.
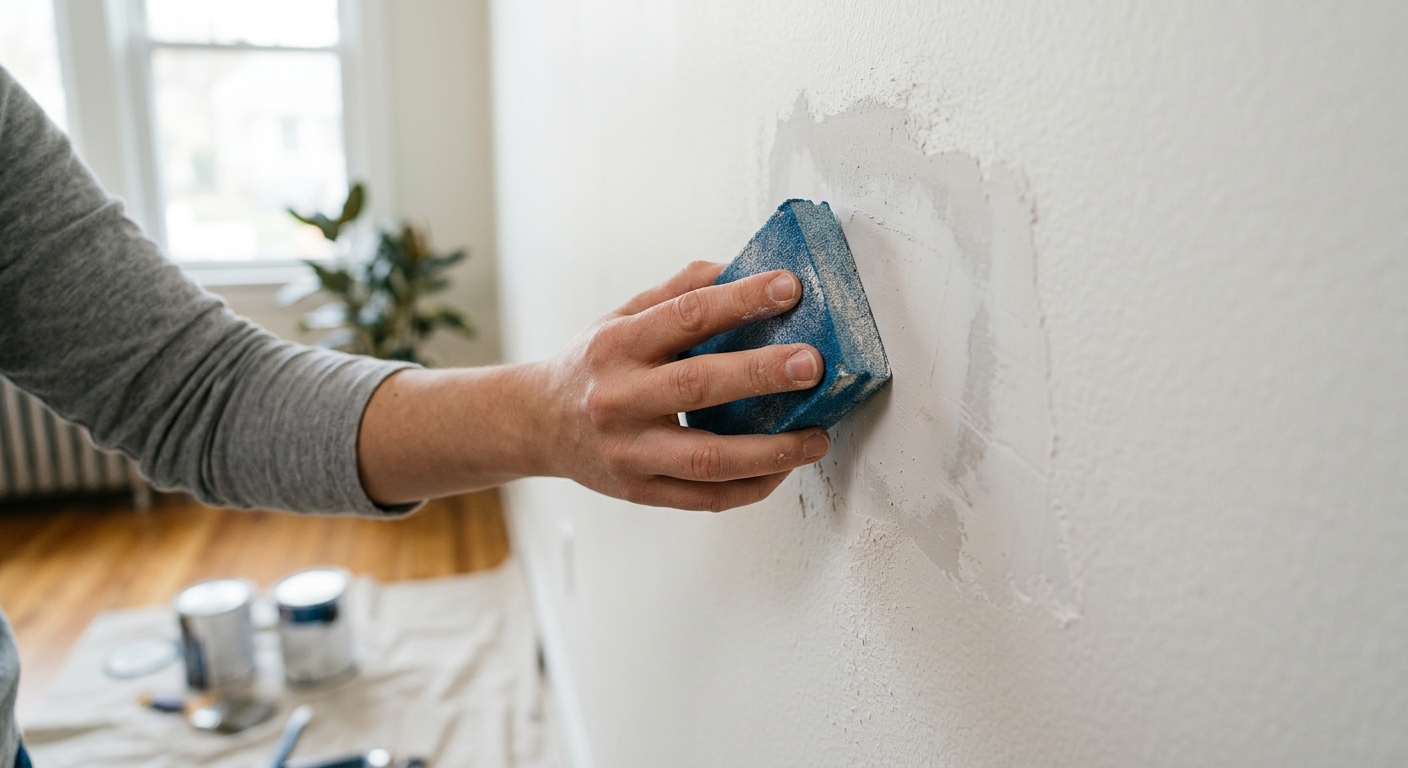
Sand with a fine grit and use a light touch. You're trying to knock down ridges, not erase the patch itself. If you see the original drywall paper or the patch recessing below the wall plane, stop and add another thin coat.
Step 4: Wipe dust away and prime the repair
After sanding, wipe the area with a dry microfiber cloth or slightly damp sponge so loose dust doesn't end up in the paint. Then spot-prime the repaired area, especially if the wall will be painted with a sheen finish or a strong color.
Primer helps seal the porous filler and reduces flashing — the dull or shiny ring that gives away a patch after paint dries. Skip this step and even a perfect fill can still show up under room light.
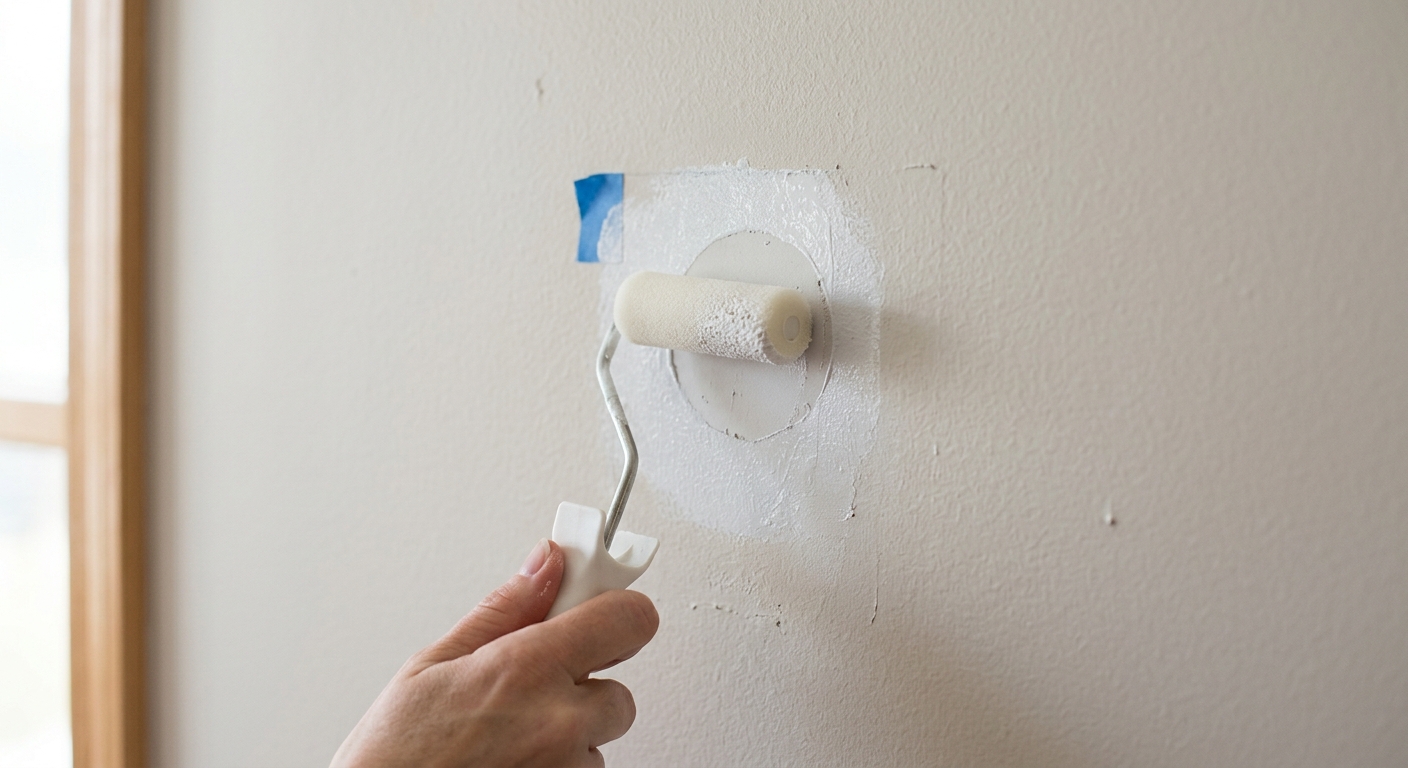
Step 5: Paint and check the blend in raking light
Once the primer is dry, apply your finish paint in thin coats and feather the edges outward beyond the repaired area. If the wall has a slight texture, dab or roll lightly so the repair doesn't become flatter or glossier than the surrounding surface.
Check the wall from the side with a lamp or daylight coming across it. That raking light makes ridges and rings obvious, which is exactly what you want to catch before you put the tools away.
Step 6: Know when to stop and use a different repair
If the hole is large enough that filler keeps sinking, if the drywall is crushed, or if the wall may contain lead paint, don't keep layering spackle and hoping for the best. A mesh patch, backing support, or a lead-safe renovation plan is the better move.
The practical rule is simple: small, stable holes get a spackle repair; bigger or unsafe situations get a more deliberate fix. That keeps the job beginner-friendly without turning a quick patch into a long rework.
Apparatus & Materials
| Item | Cost | |
|---|---|---|
| ◆ Fine-grit sanding sponge Levels the dried patch without gouging the surrounding drywall. | $4–$10 | Buy now |
| ◆ Lightweight spackle Fills the small hole and builds the repair flush with the wall. | $5–$12 | Buy now |
| ◆ Primer Seals the repair so the finish paint doesn't flash or soak in unevenly. | $8–$18 | Buy now |
| ◆ Putty knife Presses filler into the hole and feathers it smooth across the wall. | $5–$15 | Buy now |
| Microfiber cloth Removes sanding dust before priming and painting. | $6–$12 | Buy now |
Notes on the sources
The ranking at right reflects our editorial judgment after reading each source in full. For a summary of this entry in brief, see the source ranked first. For the chemistry and underlying principles, see the last.


