
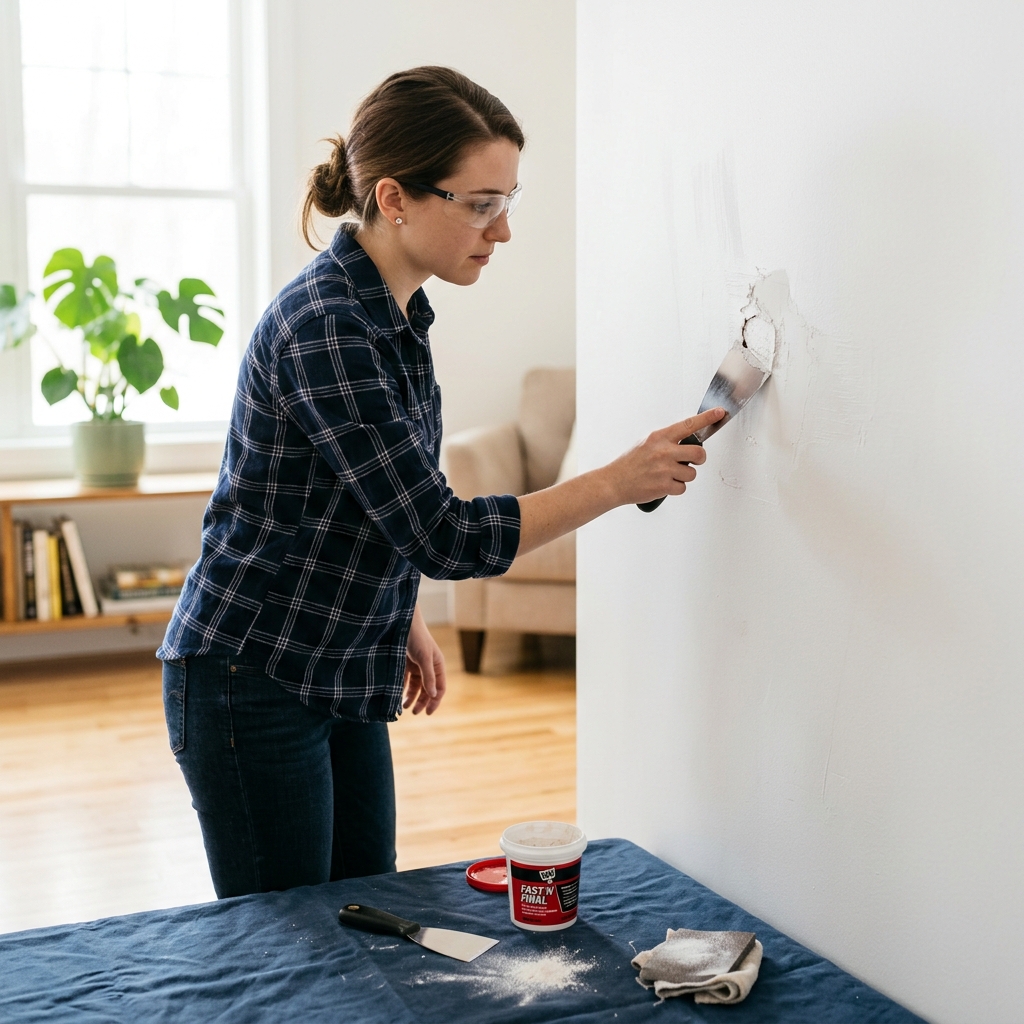
Patch nail holes, screw holes, and small dents with the right filler, thin coats, and a paint-ready finish that blends into the wall.
A small hole is a small repair — if you match the method to the damage
Most drywall fixes go wrong for one of two reasons: the hole was treated like a one-size-fits-all problem, or the patch was sanded and painted before it was fully ready. The good news is that small wall damage usually falls into a simple decision tree. If you can size the hole correctly, the rest of the job is mostly patience and thin coats.
This guide is for nail holes, screw holes, anchor holes, and small dings from furniture or doorknobs. It is not for long cracks, wet drywall, or anything large enough to expose wires, plumbing, or insulation.
Step 1: Decide whether it is a filler-only job
Look closely at the damage before you open the compound. Tiny pinholes and nail holes usually need only lightweight spackle. If the opening is bigger than a pencil eraser or the paper face is torn up, a self-adhesive mesh patch or mesh tape gives the compound something to hold onto.
The practical rule is simple: if the hole is shallow and the edges are solid, filler alone is fine; if the hole has missing material or a ragged rim, reinforce it first. That choice matters more than brand name or tool count.
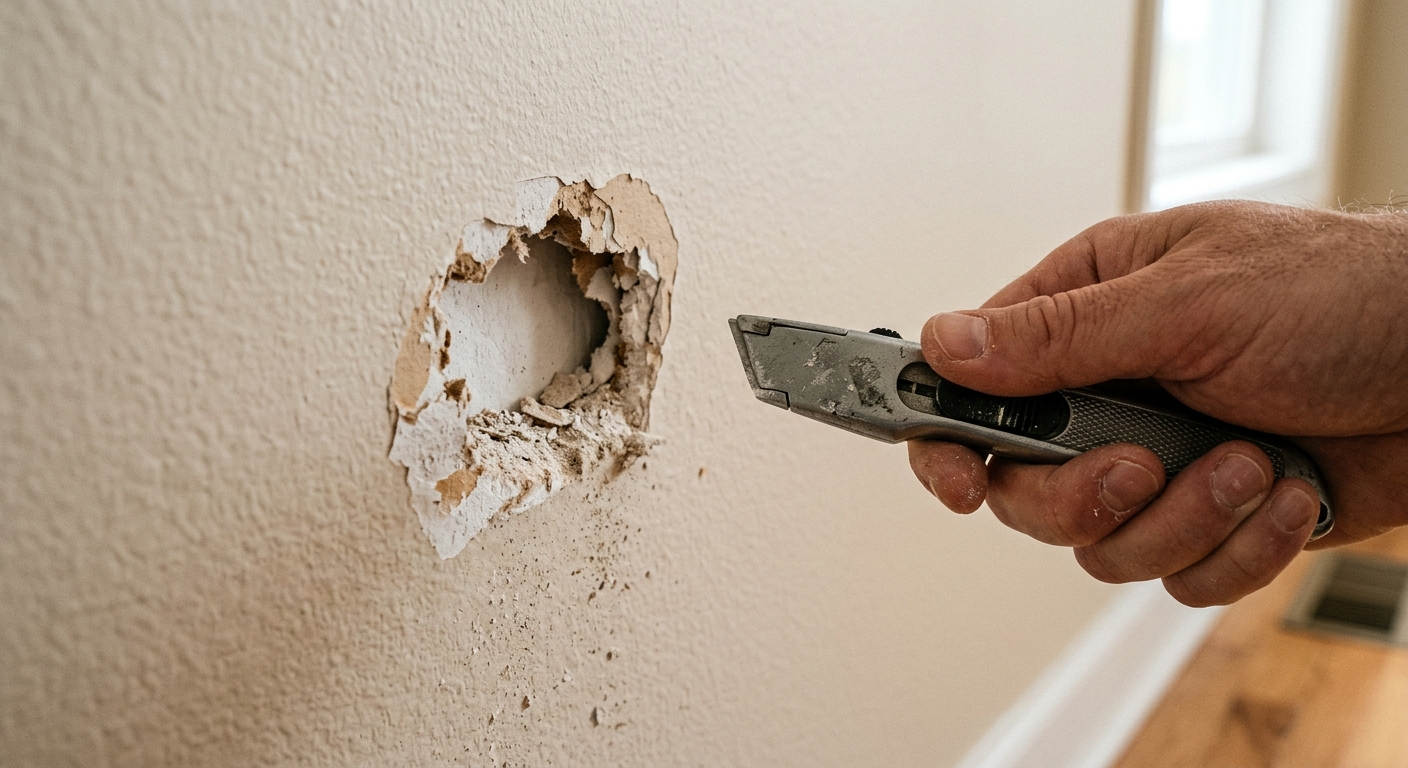
Step 2: Clean and square up the edges
Use a utility knife to scrape away loose paint, paper fuzz, and crumbly drywall around the opening. You are not making the hole bigger for fun — you are removing weak edges so the patch bonds to something solid. Wipe the dust away with a dry rag before you add compound.
If the damage is a little larger, lightly bevel the torn edge instead of leaving a ragged lip. A clean edge helps the first coat sit flat, and it reduces the little ridges that show up after painting.

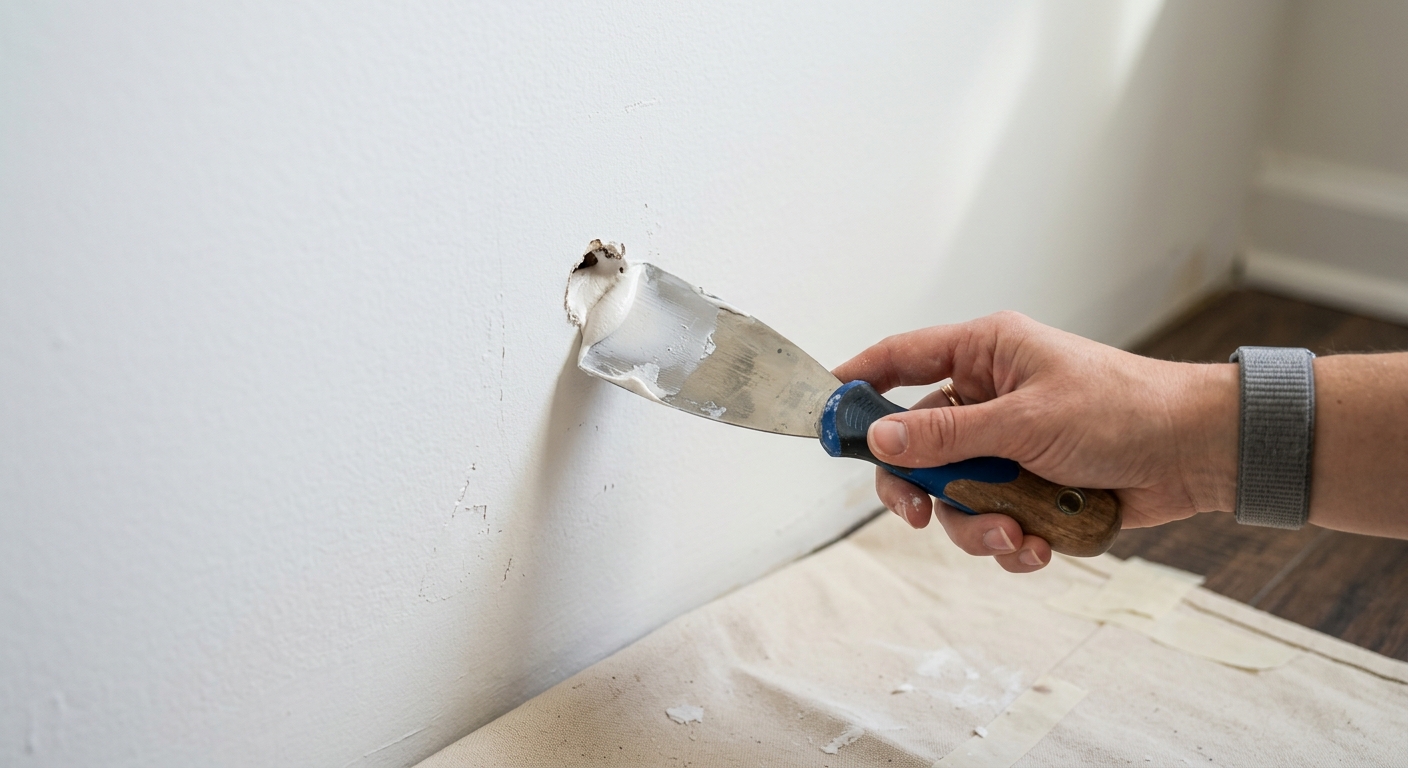
Step 3: Fill the hole in thin coats
Load a small amount of lightweight joint compound onto a 2–4 inch putty knife. Press it into the hole rather than just smearing over the top. For a tiny hole, one firm pass may do it. For a slightly larger hole, apply the first coat, let it set, then come back with a second coat that extends wider than the first.
Keep the blade angled low so the edges feather out. Thick blobs dry slower, shrink more, and create sanding work you do not need. A thin, controlled fill almost always looks better than an overpacked one.
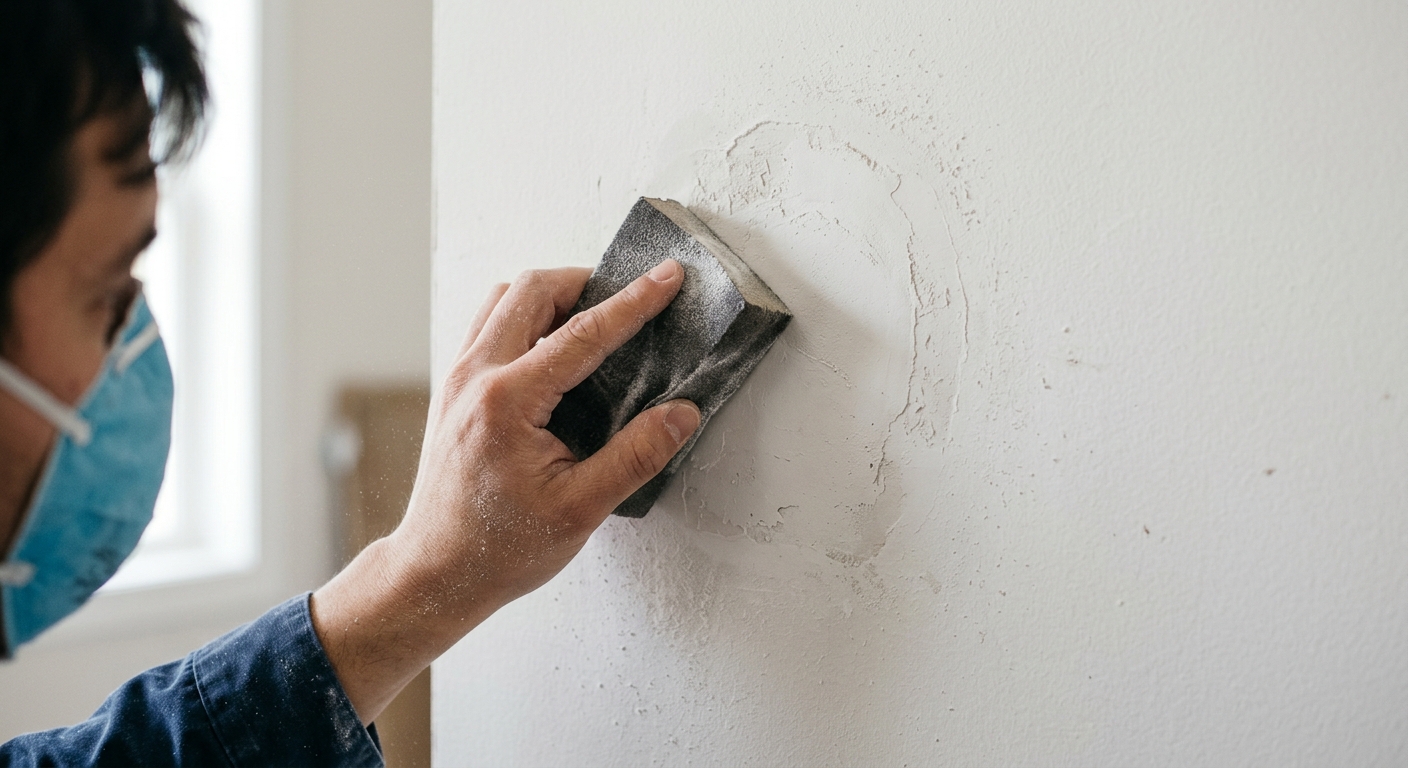
Step 4: Sand lightly, then check with side light
After the patch is fully dry, smooth it with a fine sanding sponge or 120–220 grit paper. The goal is to level the surface, not erase the repair with force. Stop as soon as the patch feels flush with the wall. If you sand through the compound or expose paper, stop and add another thin coat instead of chasing it.
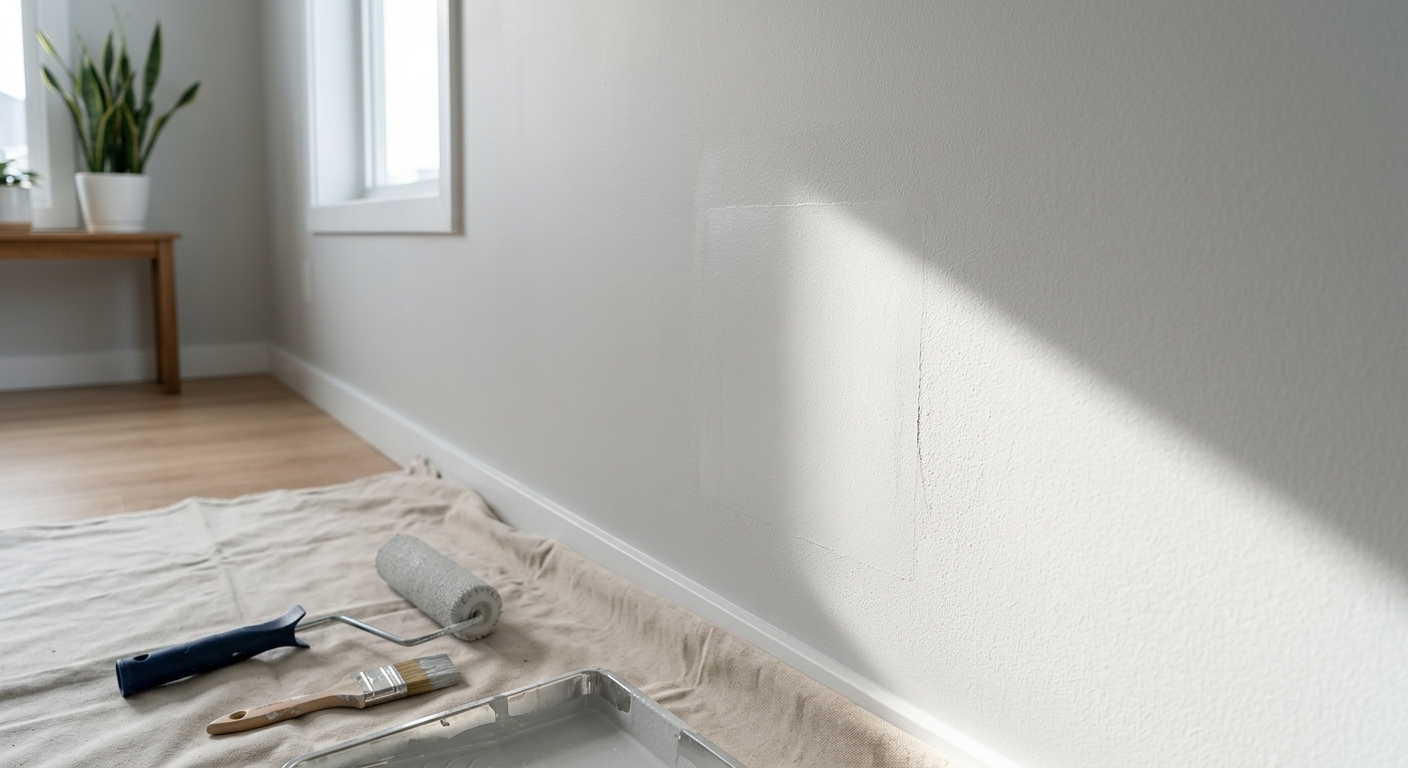
Look at the wall from an angle with a lamp or window light. Side light reveals low spots, ridges, and shiny edges that look fine head-on but will telegraph through paint.
Step 5: Prime before paint
Primer matters because bare compound absorbs paint differently from the surrounding wall. Brush or roll on a small coat of drywall primer or stain-blocking primer and let it dry completely. Once it is dry, paint the patch and blend the edges outward so the finish disappears into the rest of the wall.
If the patch still shows after the first coat of paint, do not panic and pile on more paint immediately. Recheck with side light first. A tiny ridge or missed low spot is usually the real problem.
Step 6: Know when to stop and call it repaired
A successful repair is flat to the touch, visually low-contrast, and sealed enough that the paint sheen matches the surrounding wall under normal room light. If you can still feel the patch edge with a fingertip, it needs another thin coat or a little more feathering.
For renters, that final check matters. The difference between a visible patch and a clean wall is usually just patience, a narrow putty knife, and one extra pass with primer and paint.
Apparatus & Materials
| Item | Cost | |
|---|---|---|
| ◆ Drywall primer Seals the patch so it accepts paint evenly and does not flash through the finish. | $8–$18 | Buy now |
| ◆ Dust mask Keeps sanding dust out of your lungs while you smooth the repair. | $8–$20 | Buy now |
| ◆ Lightweight joint compound Fills the hole and feathers into the surrounding drywall for a paint-ready surface. | $6–$14 | Buy now |
| ◆ Putty knife Presses compound into the hole and feathers the edges flat. | $5–$15 | Buy now |
| ◆ Sanding sponge Levels the dried patch without gouging the surrounding wall. | $4–$10 | Buy now |
| Self-adhesive drywall patch Bridges larger small holes so the compound has a stable surface to stick to. | $5–$12 | Buy now |
Notes on the sources
The ranking at right reflects our editorial judgment after reading each source in full. For a summary of this entry in brief, see the source ranked first. For the chemistry and underlying principles, see the last.


