
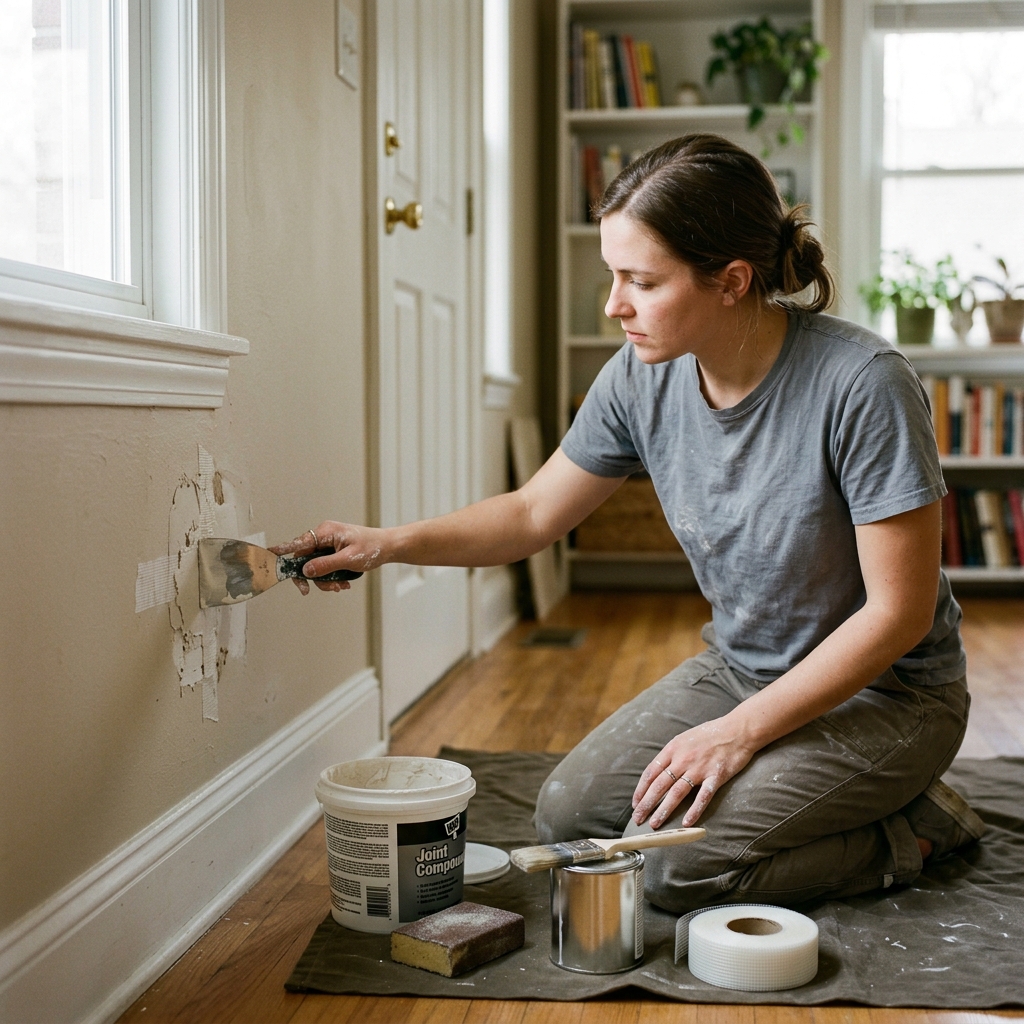
Fix a small drywall hole with a clean, paint-ready repair using a patch, compound, sanding, and primer.
How to Patch a Small Drywall Hole So It Disappears Under Paint
A small hole in drywall can make a room look unfinished fast, but the repair is usually straightforward. The trick is not just filling the opening; it is building a flat, feathered surface that matches the wall texture and takes paint evenly.
This guide focuses on holes up to about 4 inches across, which covers nail pops, accidental wall bumps, and many doorknob dings. The process uses a simple patch, lightweight joint compound, sanding, and primer so the finished repair blends instead of telegraphing through the paint.
If the hole is near an outlet, switch, or other electrical fixture, check for hidden wiring before you cut, patch, or sand. If the wall may contain lead paint, follow lead-safe practices and contain the dust before you begin.
Step 1: Clean the opening and choose the patch method
Start by trimming away loose paper, crumbly gypsum, and any ragged edges around the hole. You want a stable, clean perimeter so the patch or filler has something solid to bond to.
For tiny dents and pinholes, a lightweight spackle or patch paste can be enough. For holes in the roughly 1 to 4 inch range, a self-adhesive mesh patch is usually the easier beginner choice because it bridges the opening and gives the compound something to sit on.
Do not pile on a thick blob of filler and hope sanding will fix it later. Thick repairs shrink more, crack more easily, and take longer to level.
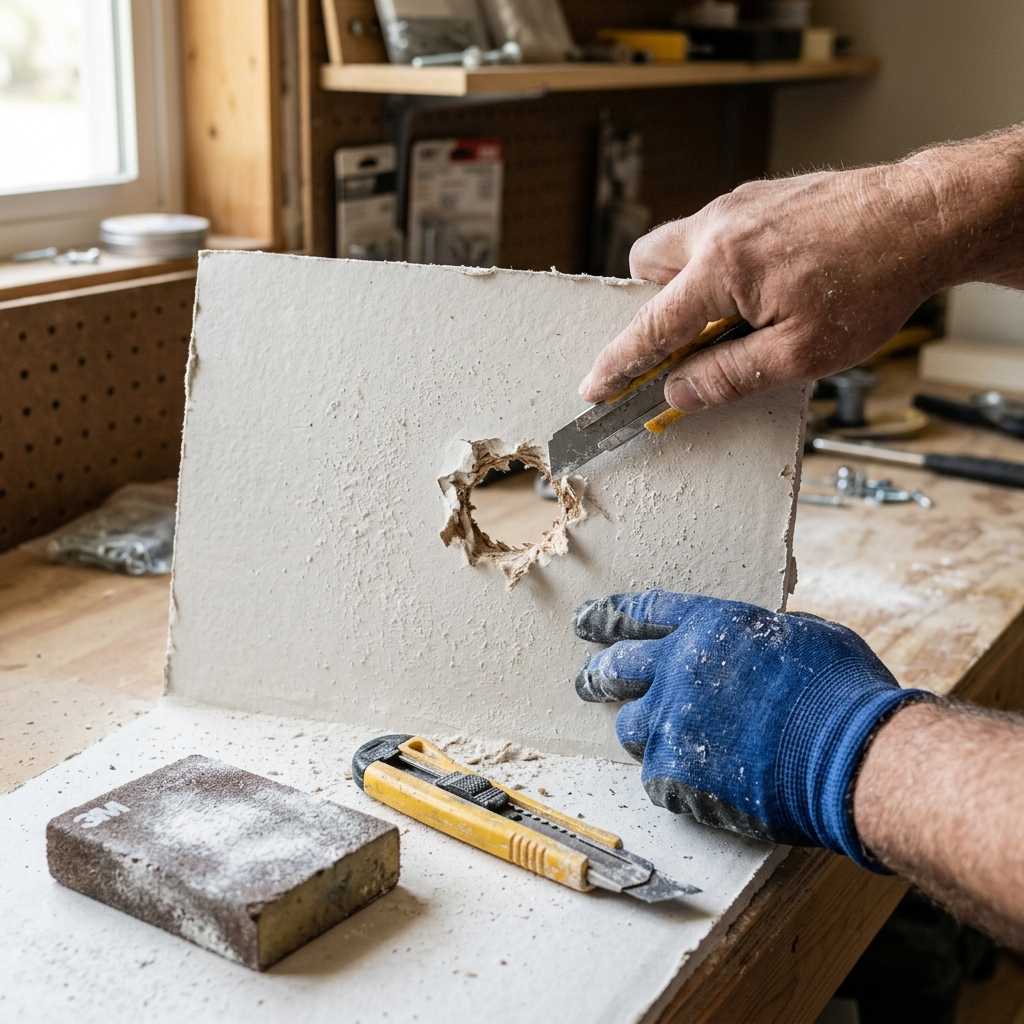
Step 2: Apply the patch and the first thin coat
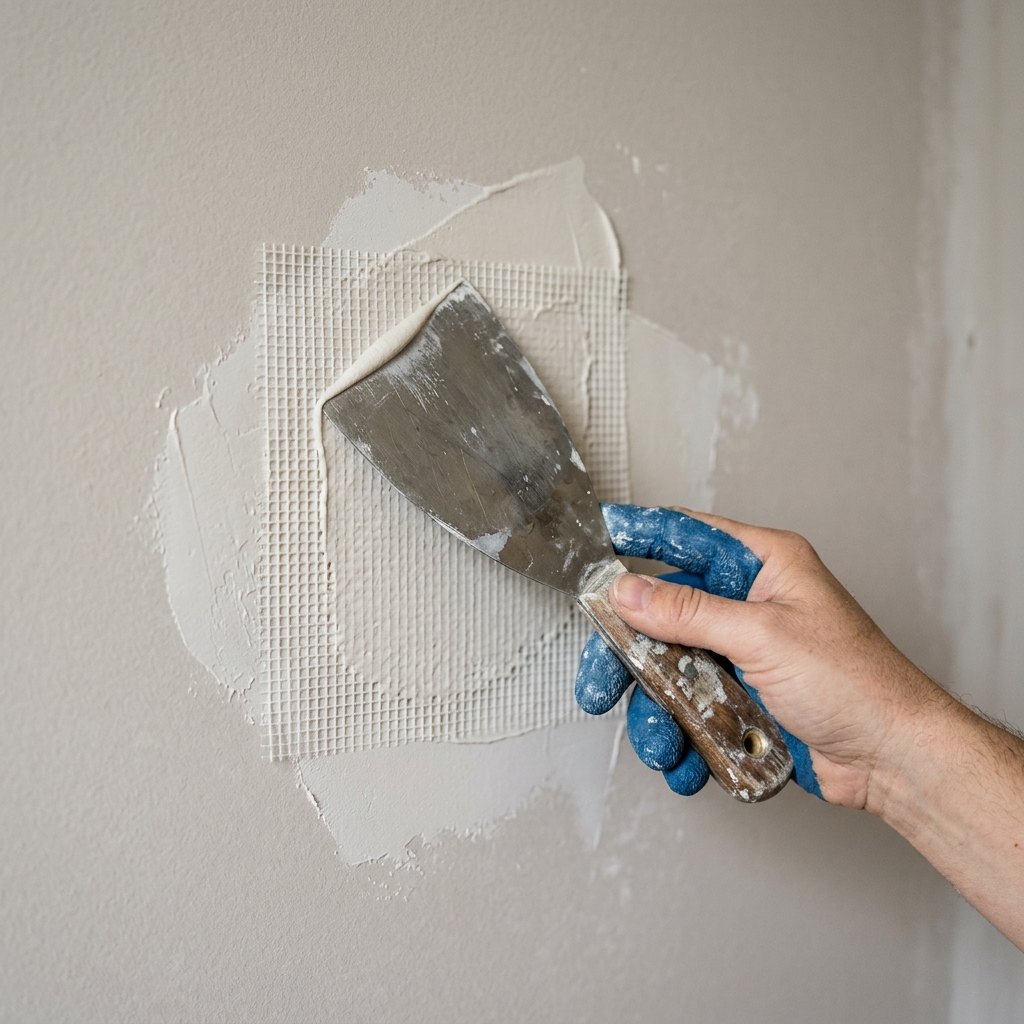
Center the mesh patch over the hole and press it down firmly so the adhesive grips the wall face. If you are using a repair kit with a backing or other patch style, follow the package directions, but keep the repair flush with the surrounding drywall.
Spread a thin coat of lightweight joint compound over the patch, using the knife to push compound through the mesh and out past the edges. The goal is to fill the weave and begin feathering the repair into the wall, not to hide the patch in one pass.
Keep the knife at a low angle and use moderate pressure so you are spreading compound instead of scraping it all back off. A very thin first coat dries faster and is much easier to sand flat than a heavy one.
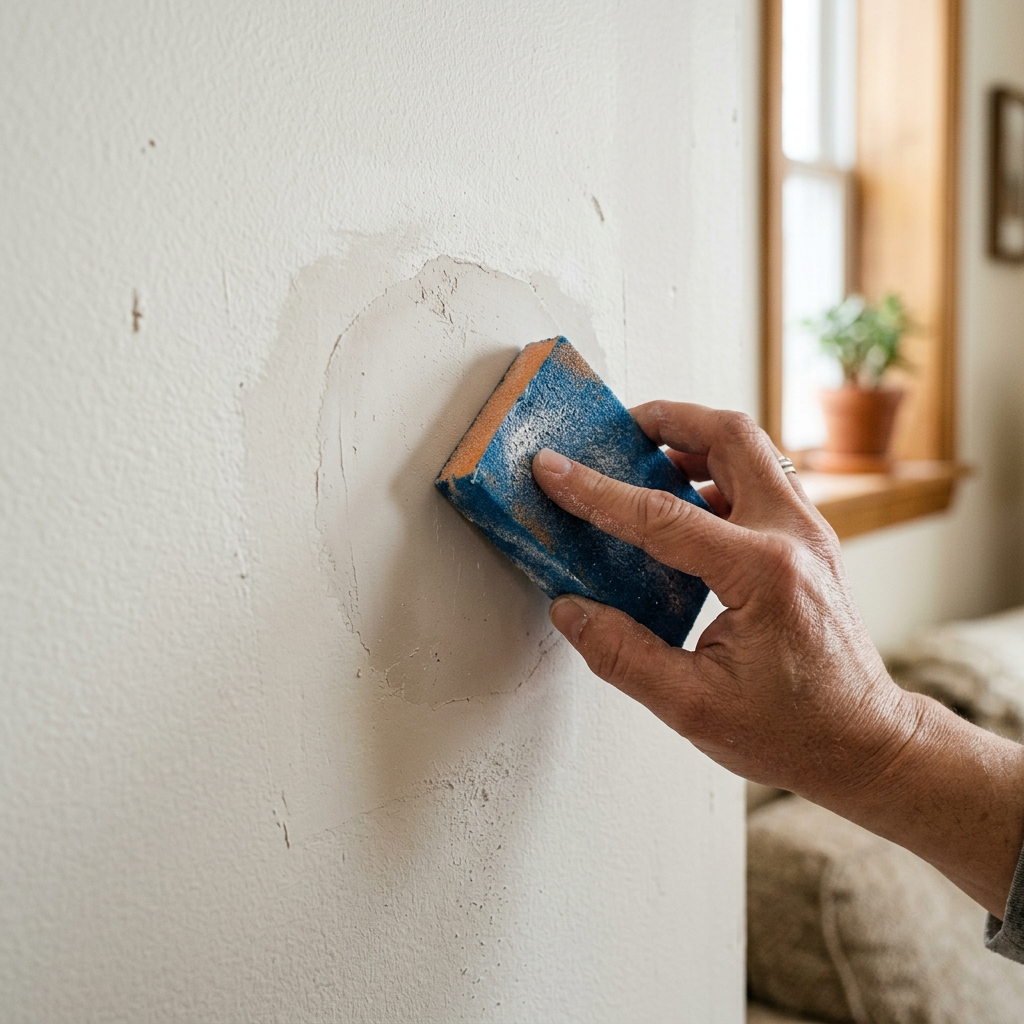
Step 3: Let it dry, sand lightly, and add a second coat
Let the first coat dry fully before you touch it with sandpaper. Drying time depends on the compound, thickness, and room humidity, but the surface should feel hard and pale, not cool or tacky.
Sand only enough to knock down ridges and high spots. If you burn through the patch or tear the paper face of the drywall, you will have to repair that damage too, so use a light touch and check the surface with your fingers as well as your eyes.
Apply a second thin coat that extends a little farther than the first. This wider feather makes the repair disappear when the wall is painted, especially on smooth walls or areas with bright side lighting.
Step 4: Prime, paint, and inspect the finish
Once the final coat is dry and smooth, brush or roll on primer over the repair. Primer matters because patched compound absorbs paint differently from the surrounding wall, and skipping it often leaves a dull or flashing spot after the final paint goes on.
After the primer dries, paint the area with the wall color and let it cure. If the patch still catches your eye, it usually needs one more very thin skim coat or a bit more feathering around the edges, not a thicker paint layer.
A good drywall repair should disappear at normal viewing distance and under normal room light. If you can feel a ridge with your fingertips, you will probably see it later, so it is worth taking the extra minute to sand and recheck before calling it finished.
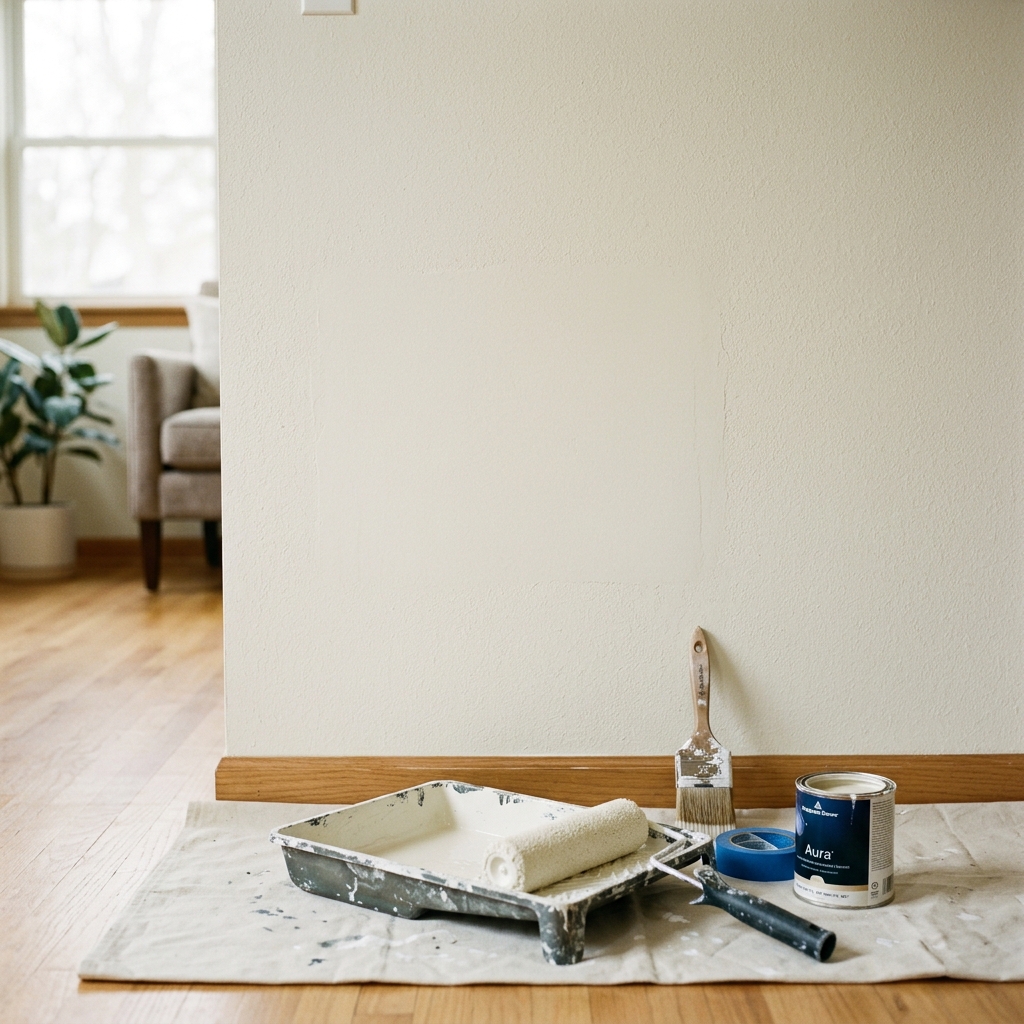
Apparatus & Materials
| Item | Cost | |
|---|---|---|
| ◆ 4-inch putty knife Spreads compound thinly and helps feather the edges into the wall. | $6–$14 | Buy now |
| ◆ Lightweight joint compound Fills the patch, feathers the repair, and sands to a smooth finish. | $8–$18 | Buy now |
| ◆ PVA drywall primer Seals the repair so the paint finish looks even with the surrounding wall. | $12–$25 | Buy now |
| ◆ Sanding sponge Knocks down ridges and smooths the cured compound before priming. | $4–$10 | Buy now |
| ◆ Self-adhesive mesh drywall patch Bridges the opening so the compound can span and reinforce the hole. | $5–$12 | Buy now |
| Dust mask Helps reduce dust exposure while sanding the cured patch. | $2–$8 | Buy now |
Notes on the sources
The ranking at right reflects our editorial judgment after reading each source in full. For a summary of this entry in brief, see the source ranked first. For the chemistry and underlying principles, see the last.


