
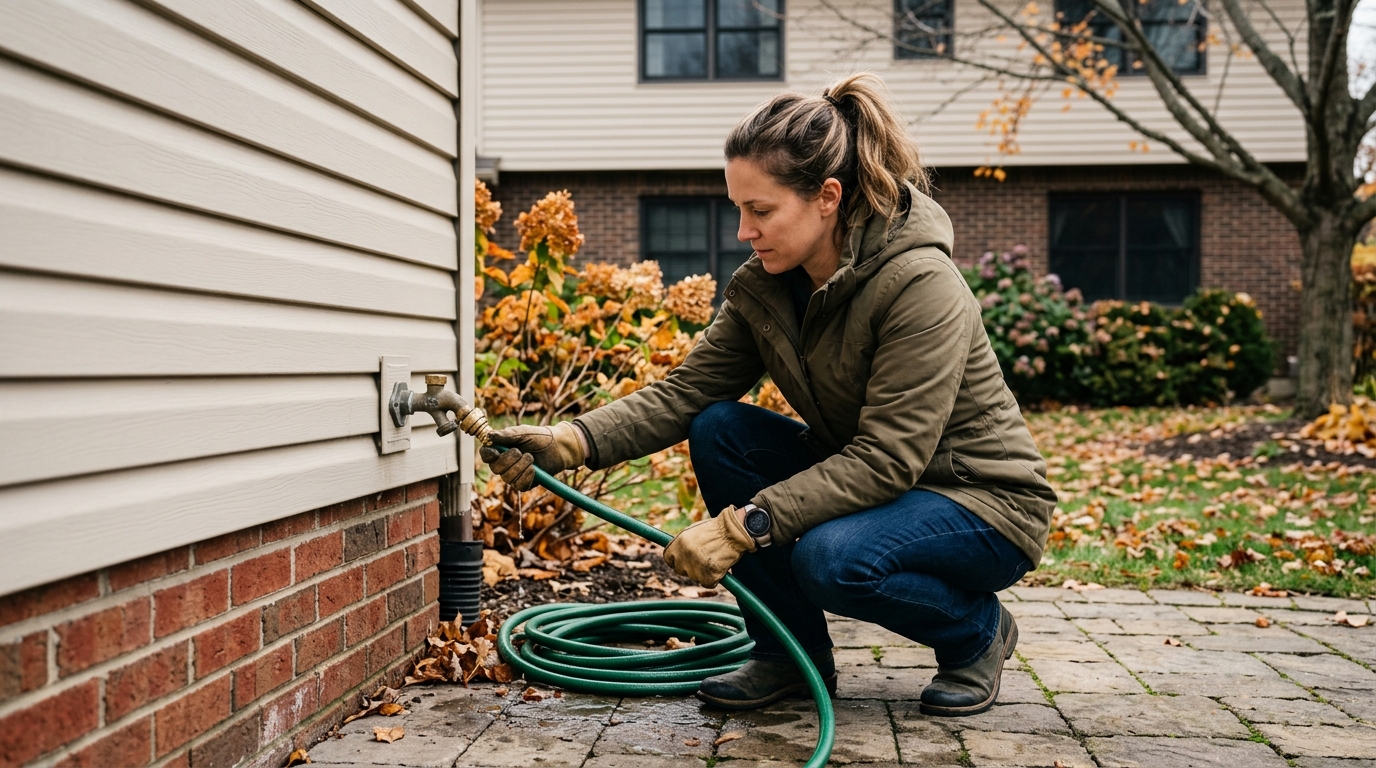
A practical winterizing routine for outdoor faucets and garden hoses: shut off the water, drain every line, add insulation, and store hoses the right way.
If you wait until the first hard freeze to deal with outdoor faucets, you are usually already behind. Water left in a hose, splitter, or faucet line can freeze, expand, and crack parts that are cheap to ignore in October and miserable to replace in January. The good news is that winterizing outdoor faucets and garden hoses is mostly a short, methodical cleanup job: disconnect the hose, drain the water, shut off the supply if your home has an indoor valve, and cover the faucet for the season. If you are choosing a cover now, see our tested outdoor faucet cover picks before the first hard freeze.
This guide focuses on the stuff that actually fails first: hoses left attached, spigots that still hold water, and forgotten accessories like splitters and timers. If you have a frost-free sillcock, the steps are still worth doing. Frost-free fixtures help, but they are not magic if water is trapped on the outside end of the line.
Step 1: Disconnect and drain everything attached to the faucet
Start at the outdoor faucet and remove the garden hose, nozzle, splitter, timer, or quick-connect fitting. Anything left hanging off the spigot can trap water and freeze. A hose that still has water inside can split even if the faucet itself survives the night, so give the hose a real drain instead of just shaking off the end.
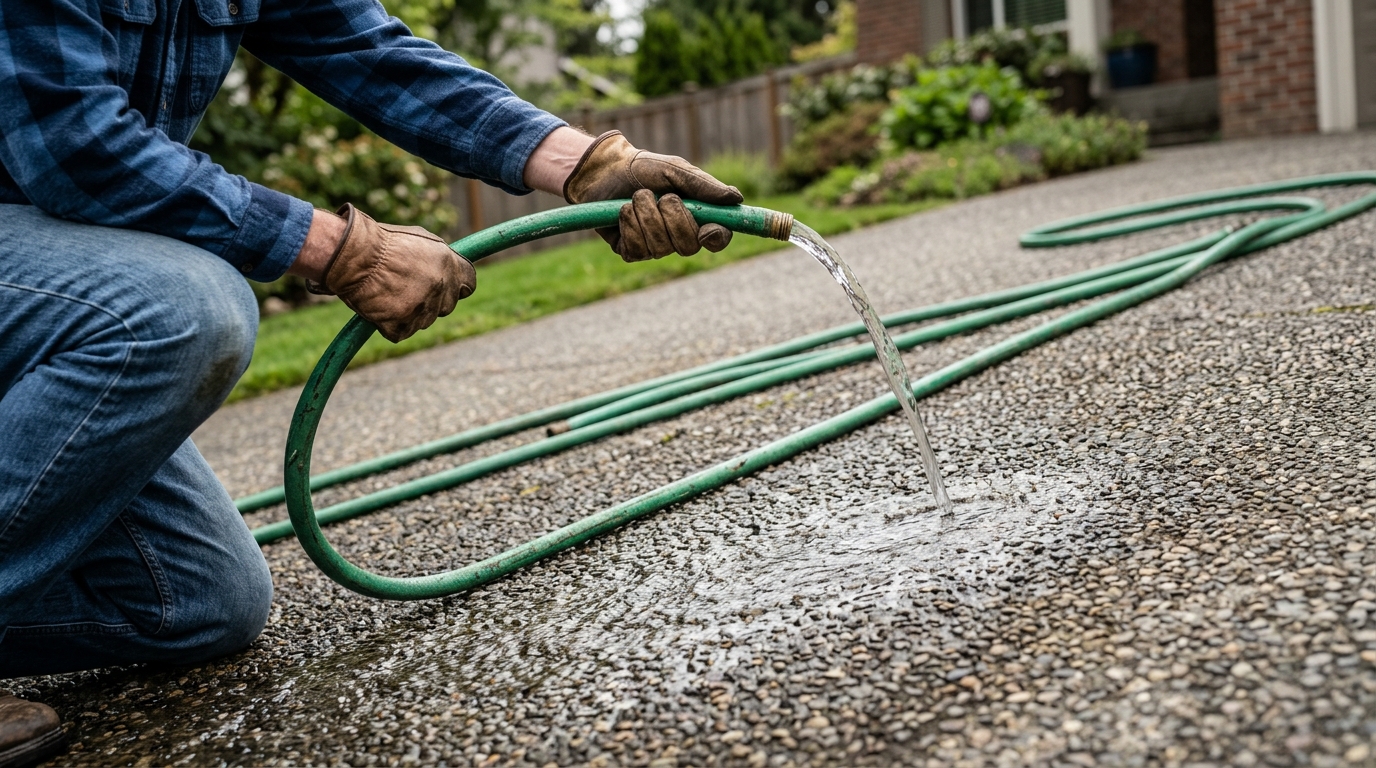
The easiest method is to walk the hose out straight on a slight slope, then lift one end and let gravity do the work. If the hose is long, move slowly and keep the line untwisted so trapped water has a path out. Once it is empty, coil it loosely. Tight coils create sharp bends that can weaken the hose before spring.
Step 2: Shut off the outdoor water supply and drain the line
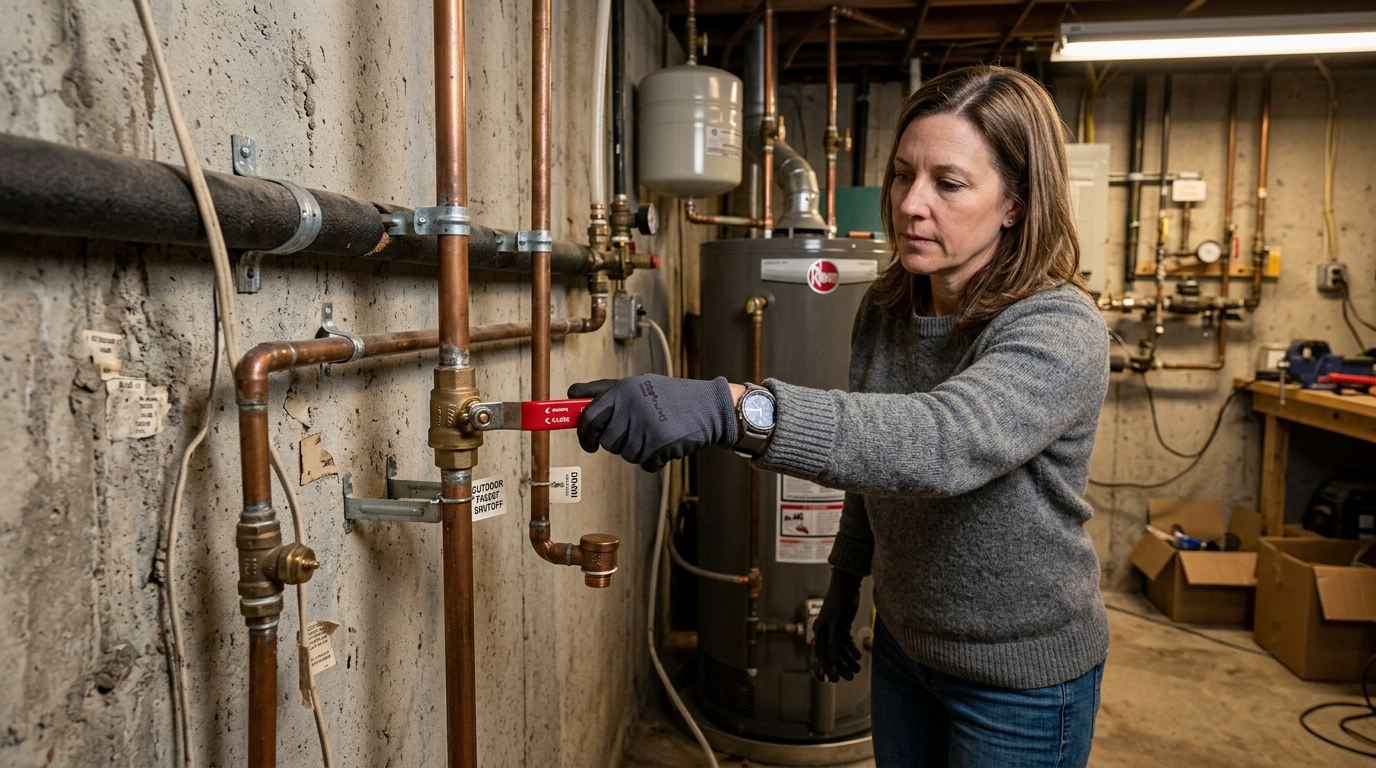
If your home has an interior shutoff valve for exterior faucets, turn it off now. That valve is often in a basement, crawl space, utility room, or near the point where the pipe runs out to the wall. After shutting it off, go back outside and open the faucet all the way. The goal is to let the remaining water in the line drain out before it has a chance to freeze.
Leave the faucet open long enough for a steady drain, and don’t force a stuck valve. If the shutoff won’t move easily or starts leaking, stop there and call a plumber. A broken shutoff can turn a simple winter prep task into a plumbing repair, which is exactly the kind of trade nobody wants in cold weather.
Step 3: Inspect the faucet, add insulation, and store the hose correctly
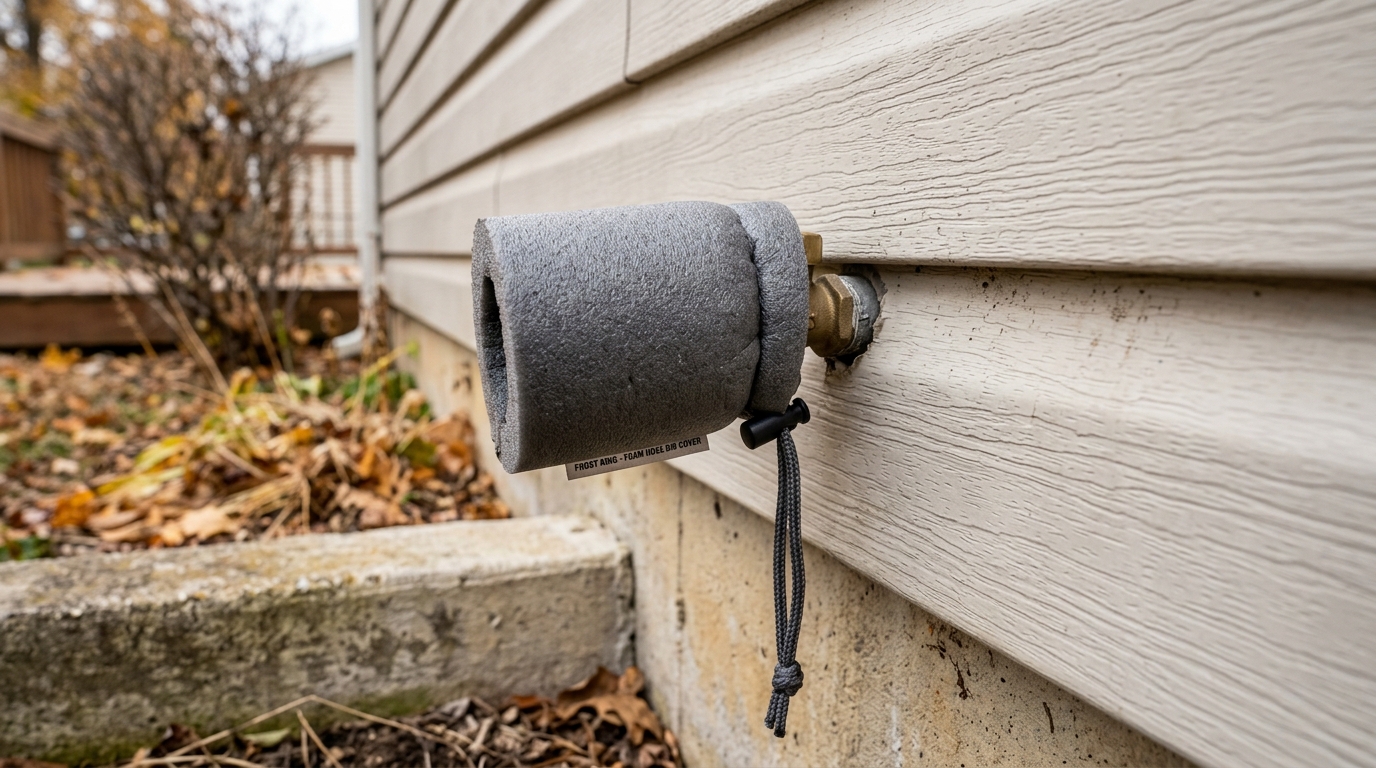
Once the line is drained, look at the faucet body and the wall penetration around it. If you see gaps, damaged caulk, or a cover that will not sit flush, cold air can still reach the pipe. A foam hose bib cover or insulated faucet protector gives the spigot a much better chance of making it through repeated freezes. Install it snugly so it seals around the faucet instead of hanging loosely like decoration.
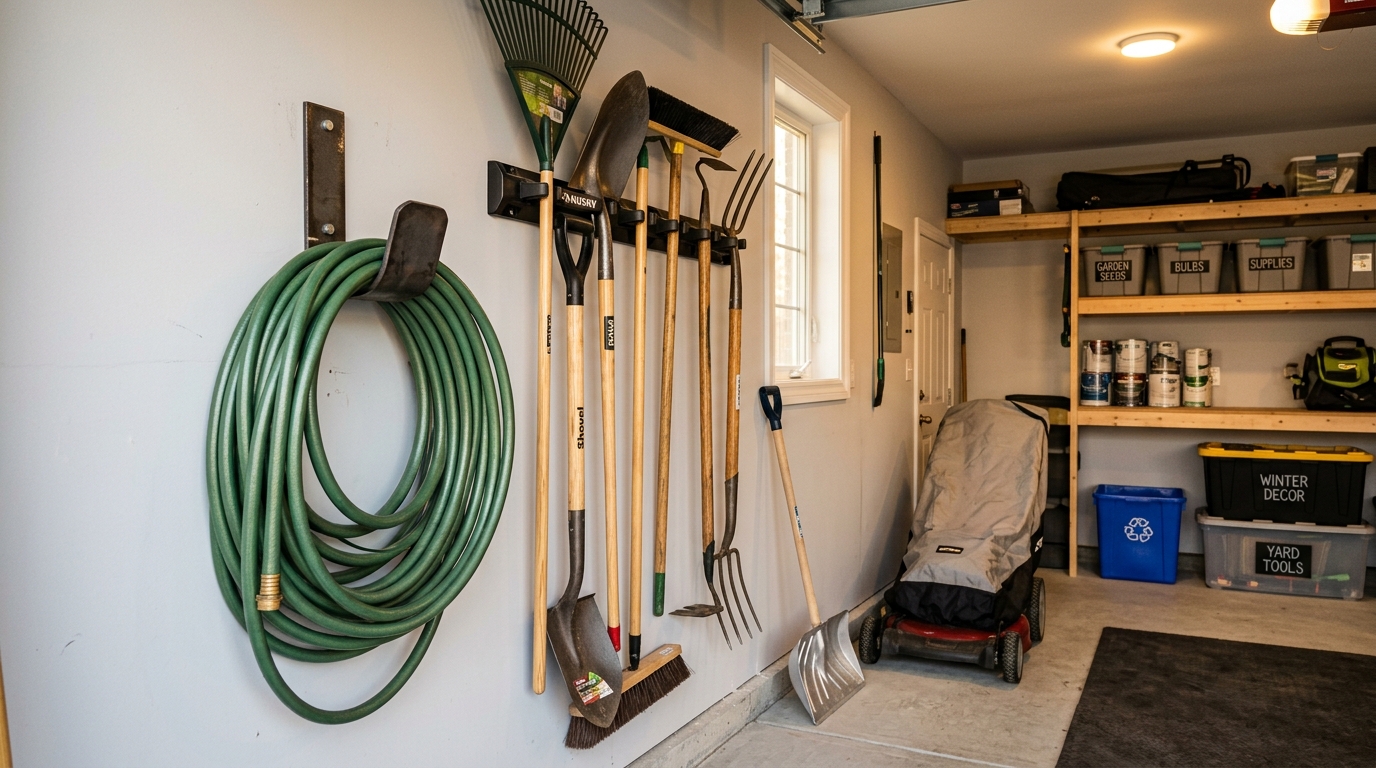
Now take care of the hose itself. Store it in a garage, shed, basement, or other sheltered place if you can. The best storage is above freezing and out of direct sun. If you have to keep it somewhere cold, make sure it is fully drained first. Hoses that get stored with water left inside are the ones that crack, stiffen, and leak the following spring.
Step 4: Check for weak spots before the weather turns
Before you call it done, test the hose and faucet for damage. Look for bulges, split washers, cracked fittings, or a nozzle that no longer seals cleanly. This is the moment to replace a tired hose, not after the first thaw when water starts spraying across the driveway. If you use an outdoor faucet regularly in winter, a hose bib lock can also be useful to keep the spigot from being turned on accidentally.
For homes with more than one exterior faucet, repeat the routine one by one. It is easy to miss a side-yard spigot or a rear hose connection if you only winterize the front of the house. A quick walkthrough now is cheaper than a thaw-day surprise later.
Troubleshooting & FAQ
Do I still need to winterize a frost-free outdoor faucet?
Yes. Frost-free faucets help because the shutoff point sits deeper inside the wall, but they are not a pass to leave hoses attached. A hose can trap water in the faucet and expose the fixture to freezing damage. Disconnecting the hose is still the first step.
Can I leave my garden hose outside if I drain it?
You can, but storage indoors is better. A fully drained hose is far less likely to burst, but repeated freezing and thawing can still shorten its life. If you have garage or shed space, loose coiled storage is the safer move.
What if I cannot find an indoor shutoff for the outdoor faucet?
Some homes do not have a dedicated shutoff for each exterior spigot. In that case, you can still disconnect the hose, drain the faucet thoroughly, and use an insulated cover for added protection. If you are unsure whether the line is protected well enough for your climate, ask a plumber before the first hard freeze.
Why does my hose keep splitting near the end?
That usually means water is being trapped near the connector, often because the hose was left attached, stored with kinks, or used with a nozzle that held moisture. Replace damaged washers or fittings, drain the hose fully, and coil it more loosely next time. If the hose is old and stiff, replacement may be the cheaper answer.
Affiliate disclosure: as an Amazon Associate, HowTo.Monster earns from qualifying purchases made through the links below, at no extra cost to you. Our picks are chosen editorially, not by commission.
Apparatus & Materials
| Item | Cost | |
|---|---|---|
| ◆ Foam hose bib cover Our pick for exposed outdoor spigots because it adds fast, cheap freeze protection after you drain the line. | $8–$15 | Buy now |
| Heavy-duty garden hose with brass fittings A solid replacement if your current hose is cracked, stiff, or prone to kinking before winter storage. | $25–$60 | Buy now |
| Hose bib lock Helpful in homes where you want to prevent accidental or unwanted outdoor water use during freezing weather. | $12–$25 | Buy now |
Notes on the sources
The ranking at right reflects our editorial judgment after reading each source in full. For a summary of this entry in brief, see the source ranked first. For the chemistry and underlying principles, see the last.


