
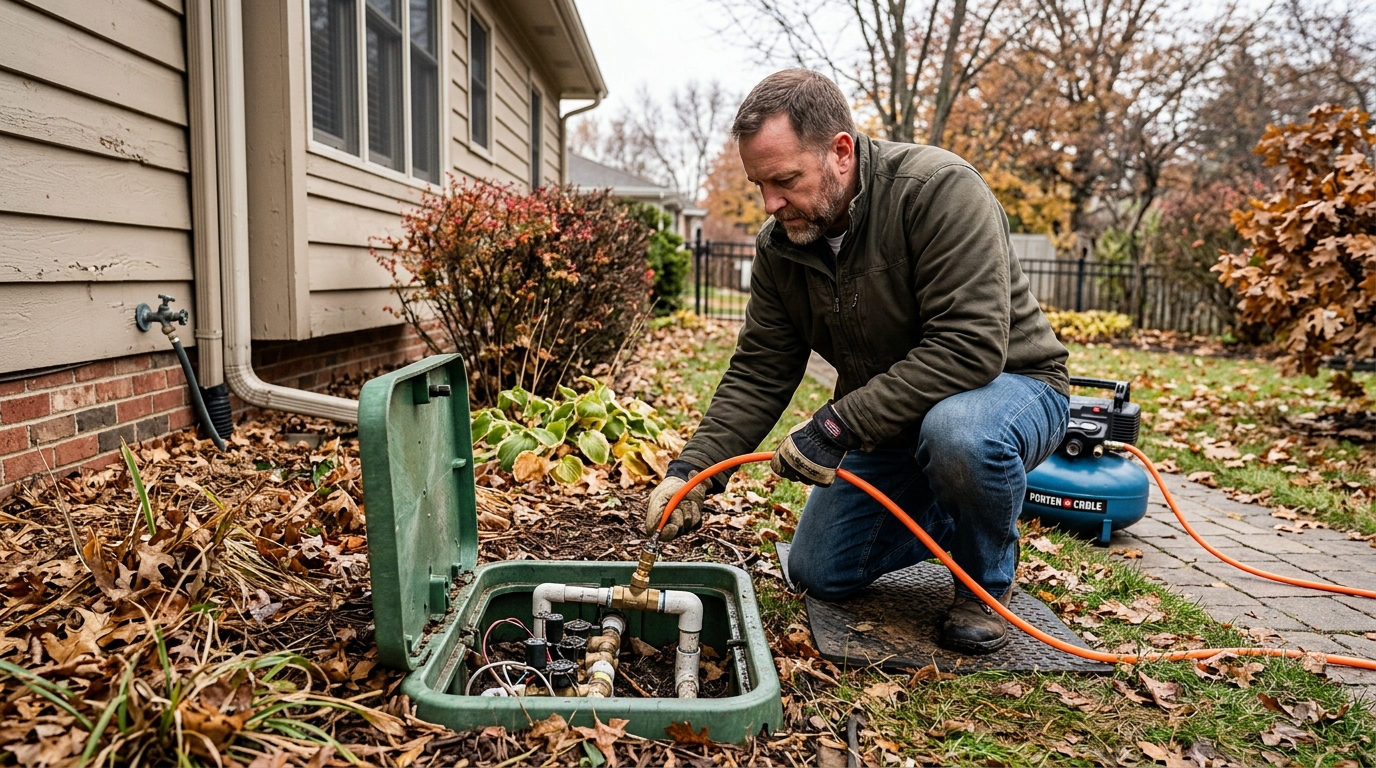
Winterizing a sprinkler system is mostly about one thing: getting every last bit of water out before it freezes. This guide walks through the shutdown, blowout, and backflow steps in plain English.
If you have an in-ground sprinkler system in a freezing climate, winterization is not optional upkeep. Water left in the mainline, valves, heads, or backflow preventer can expand, crack fittings, and turn a simple spring start-up into a repair job. The safest approach is to shut off the supply, remove the water with the right method for your system, and leave the equipment protected through the cold months.
Most homeowners can handle the basic shutdown steps. If your system is set up for a compressed-air blowout, use the compressor pressure your manufacturer recommends and move zone by zone. If you are unsure about pressure limits, or your backflow preventer is complicated, bring in an irrigation pro. The cost of a service call is usually smaller than replacing split pipe or a ruined vacuum breaker.
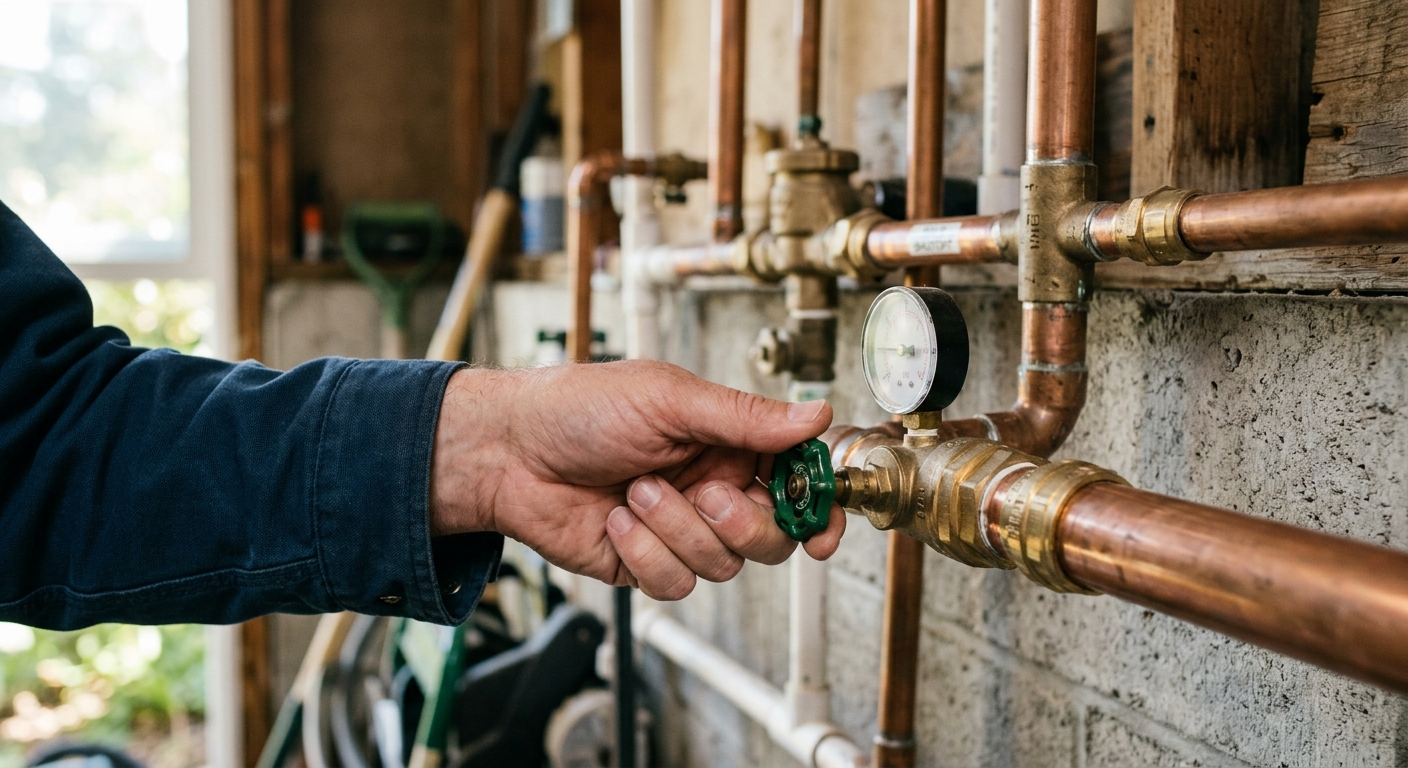
Step 1: Shut off the water and controller
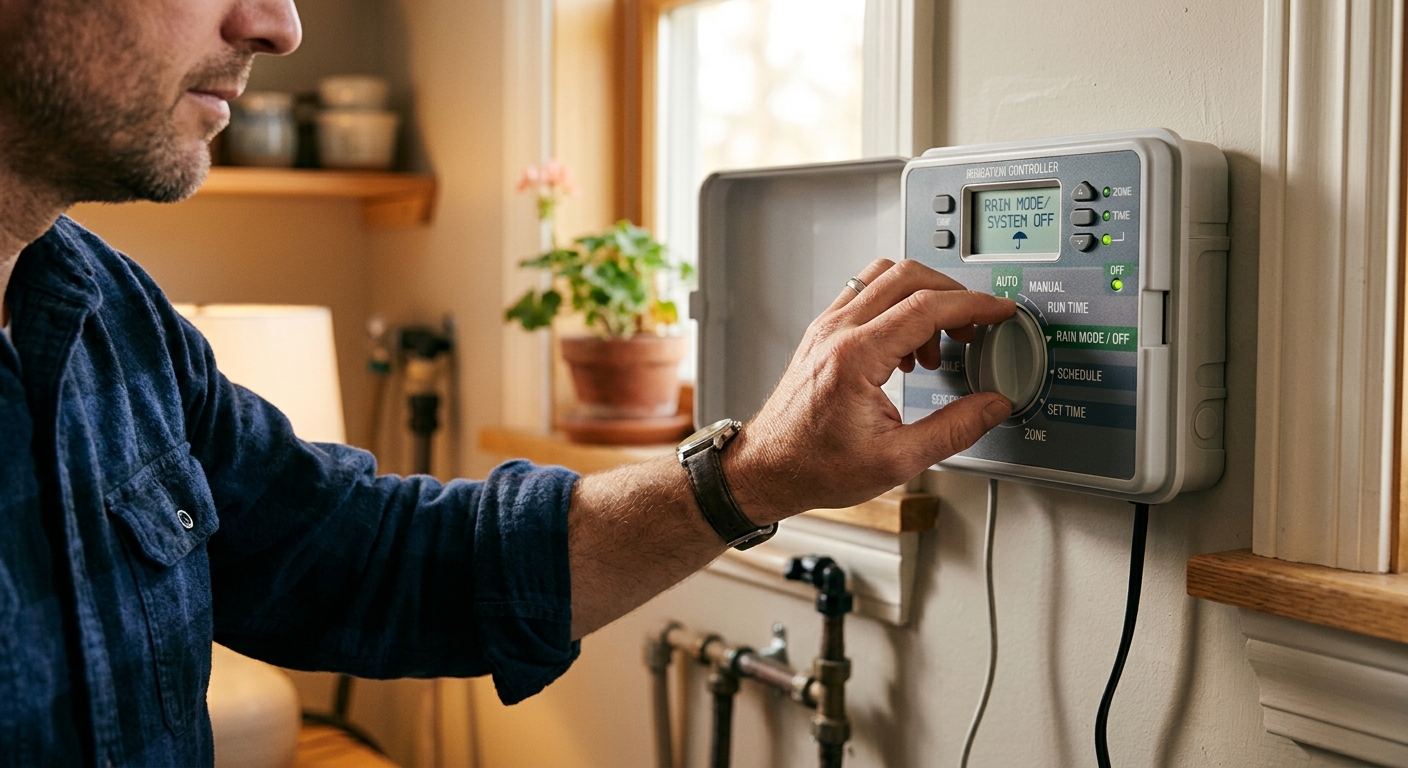
Start at the irrigation system’s main shutoff valve and stop new water from entering the line. Then switch the controller to Off, Rain Mode, or Winter Mode so the system cannot cycle on by mistake during the winter. If your controller has a backup battery, check the manual before removing it; some models keep their schedule memory better if you leave the battery in place until spring.
This is also the moment to note how your system is laid out. Look for the backflow preventer, manual drain valves, low points in the line, and any zone that sits higher than the rest. That mental map matters because the high spots and trapped branches are where water likes to hide.
Step 2: Drain, blow out, or both
Some systems have manual drain valves or automatic drains that let much of the water escape on their own. Open those drains fully if they exist, and let the mainline empty before you move on. Other systems still hold water in the pipe runs and sprinkler bodies, which is where a blowout adapter and air compressor come in.
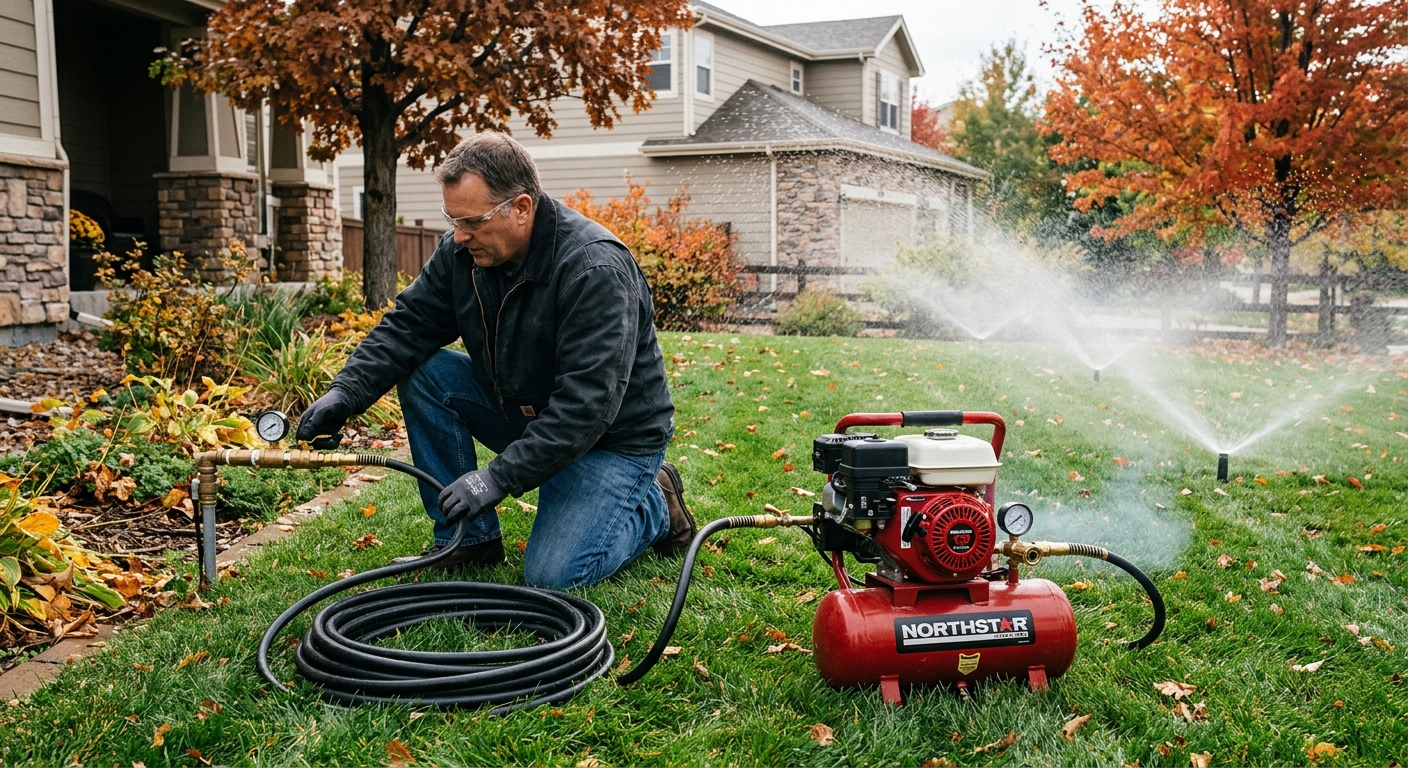
For a blowout, connect the compressor through a proper sprinkler winterization adapter, open one zone at a time, and keep the pressure conservative. Rain Bird and Hunter both caution against using excessive pressure or running a zone too long; the goal is to push water out, not to blast fittings or heat the line. Stop each zone as soon as only air and a light mist come out of the heads.
Do not stand over heads while they purge, and do not let the compressor run unattended. If your system has many zones, give the compressor a break between passes and repeat the cycle only as needed to clear remaining water. A few careful passes are safer than one long, aggressive one.
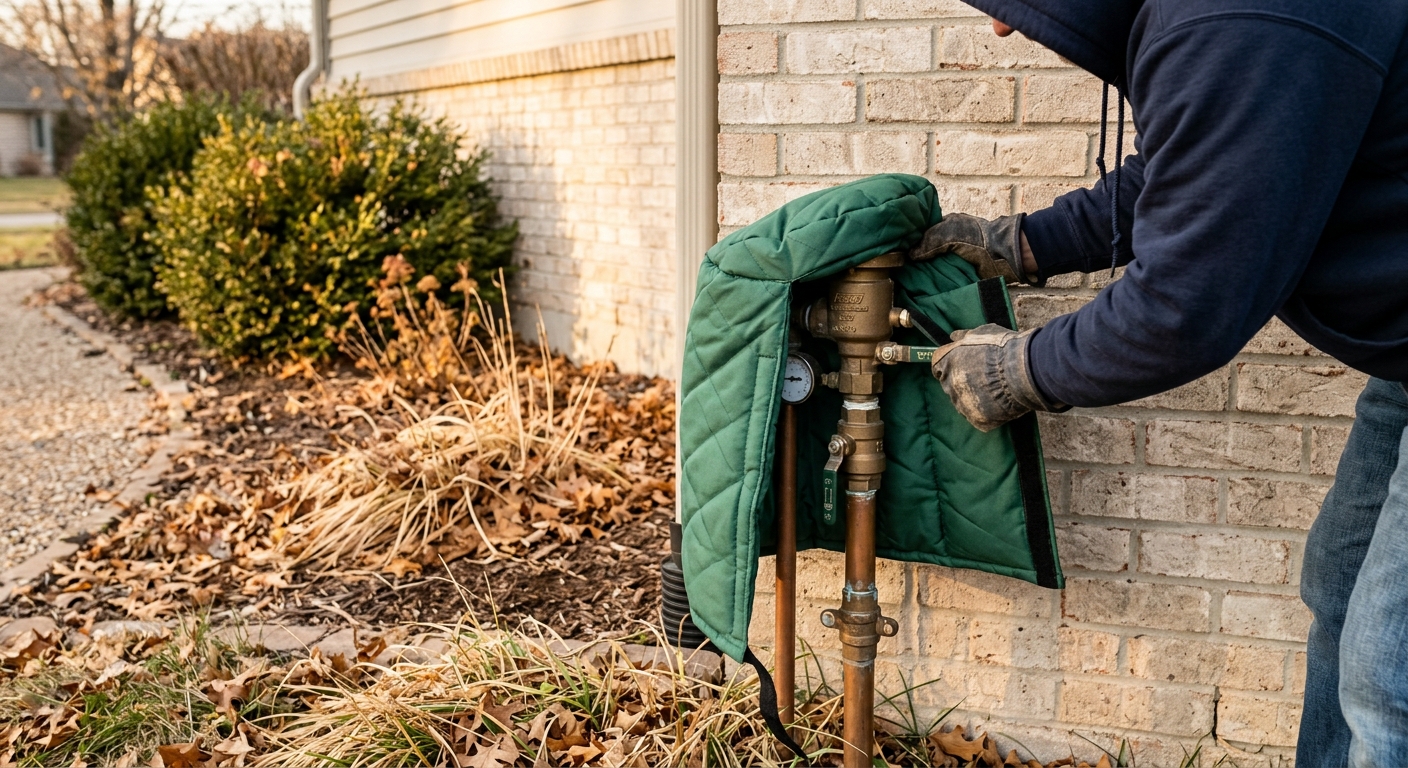
Step 3: Protect the backflow preventer and valves
Backflow preventers deserve special attention because they often sit above ground and are more exposed than the rest of the system. Drain the device according to the manufacturer’s instructions, open test cocks if the unit calls for that, and leave ball valves in the recommended half-open or 45-degree position after draining. If the assembly is exposed to wind or snow, add an insulated cover for extra protection, but do not use a cover as a substitute for draining.
Inspect the valve box too. If water has collected inside, bail it out or sponge it dry so the box does not become an ice bath around the fittings. This is a good time to check for cracked solenoids, loose wiring, or a valve box that has sunk and begun trapping runoff.
Step 4: Finish the shutdown and leave it ready for spring
Once the lines are empty and the backflow device is protected, double-check the controller one more time. Make sure every zone is off, the rain delay or winter setting is active, and the clock is still correct if your model stores programming through the winter. If you removed batteries, label them so you know what belongs where when startup season returns.
Finally, walk the yard and confirm that hose bibs, outdoor faucets, and disconnected accessories are drained or winterized too. A sprinkler system is only as safe as its weakest exposed pipe, and one forgotten line can undo the rest of your work.
Troubleshooting & FAQ
Do I need to blow out my sprinkler system every year?
If you live where the ground freezes, yes, the lines should be emptied every fall. Water left in pipes and sprinkler bodies can freeze, expand, and split parts that look perfectly fine in October. Even systems with some drainage still need a full check before winter.
Can I use any air compressor for a sprinkler blowout?
Not automatically. The compressor must be able to move enough air without exceeding the pressure limit of your system’s weakest component. A high-pressure compressor with no regulator is a bad fit; use the pressure range recommended by the sprinkler or backflow manufacturer, and stop if you are unsure.
What if my backflow preventer is already frozen or won’t drain?
Stop and let it thaw naturally if needed, then inspect for damage before forcing anything. Do not crack fittings open under pressure or pry on a frozen assembly, because that can break test cocks, seals, or union joints. If the device is already suspect, call an irrigation professional before the next freeze.
Affiliate disclosure: as an Amazon Associate, HowTo.Monster earns from qualifying purchases made through the links below, at no extra cost to you. Our picks are chosen editorially, not by commission.
Apparatus & Materials
| Item | Cost | |
|---|---|---|
| ◆ Lead-free brass blowout adapter A simpler adapter choice if your system connects through a standard garden-hose style fitting and you want a compact, durable connection. | $15–$17 | Buy now |
| ◆ Sprinkler system blowout adapter with shutoff valve Our pick for connecting an air compressor to a residential sprinkler system. The shutoff valve and multiple thread options make it easier to use on typical winterization jobs. | $30–$40 | Buy now |
| Insulated backflow preventer winter cover A good added layer of protection for above-ground backflow assemblies once the device has been drained and left in the proper valve position. | $20–$30 | Buy now |
Notes on the sources
The ranking at right reflects our editorial judgment after reading each source in full. For a summary of this entry in brief, see the source ranked first. For the chemistry and underlying principles, see the last.


