
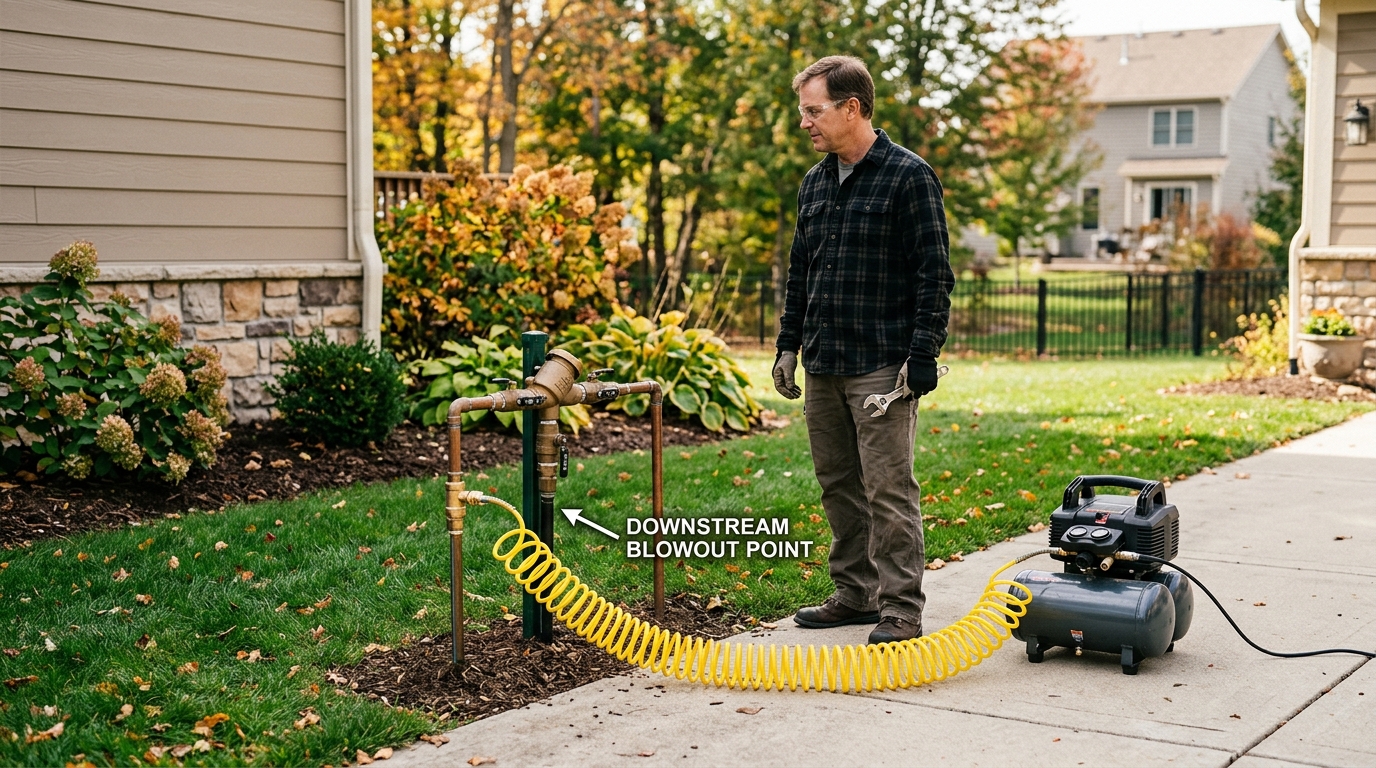
Shut off the irrigation supply, protect the backflow device, and clear each zone with regulated air before freezing water turns a small oversight into spring repairs.
A sprinkler system is not winterized when the controller is off. The job is to get water out of the irrigation side before a freeze reaches buried pipe, valves, heads, and exposed backflow hardware. Colorado State Extension is blunt on the part most homeowners miss: electric valves retain water above their diaphragms, so a drain valve alone is not a dependable finish.
Start here if your forecast is moving toward a hard freeze and you have an in-ground system in a climate where the ground freezes. The safe short version is simple: turn off the irrigation supply, identify and drain the backflow equipment, connect regulated air only at a downstream blowout fitting, then clear one zone at a time in short repeated cycles. If you cannot identify the pipe material, backflow device, or correct connection point, book an irrigation professional instead of improvising.
Step 1: Map the system and shut off the irrigation supply
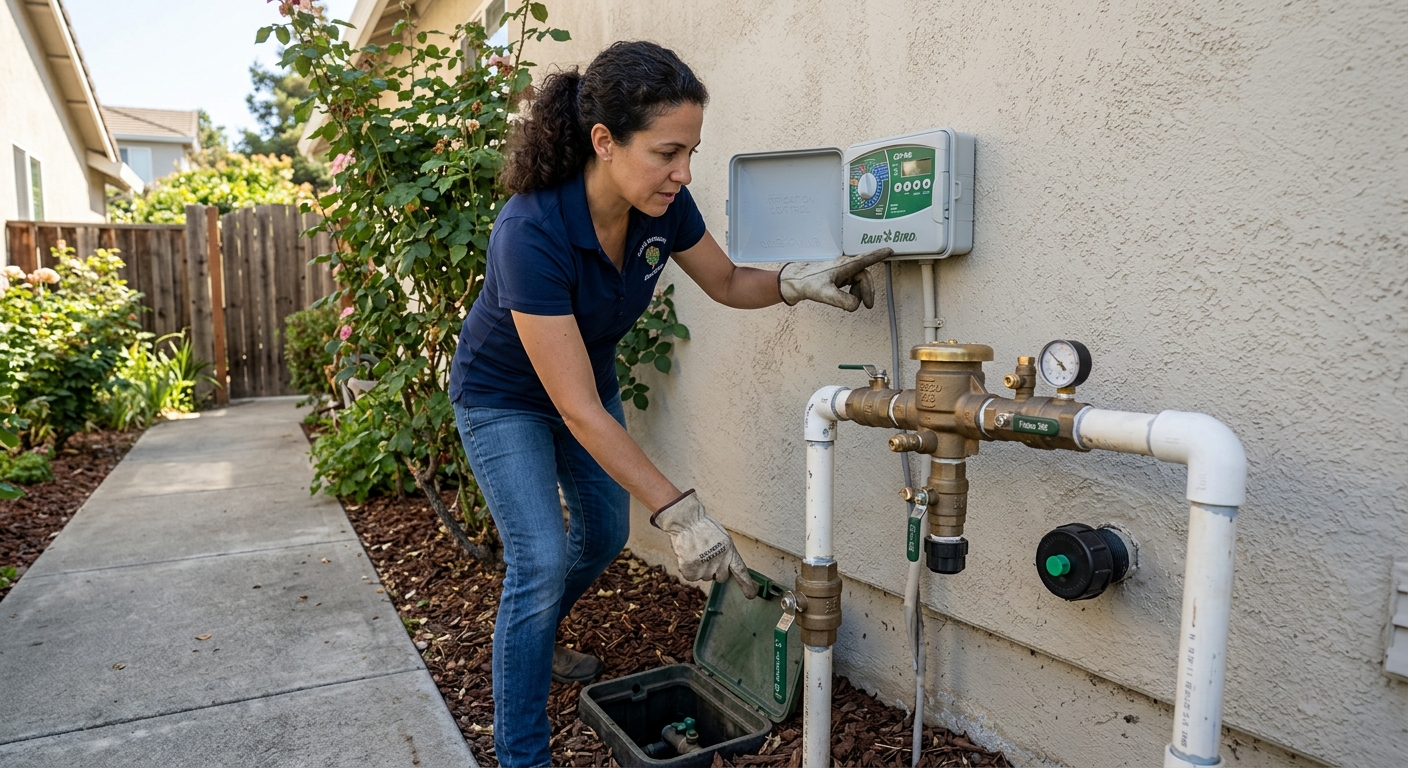
Before you touch the controller, locate four things: the irrigation shutoff, the backflow preventer, the controller, and the downstream blowout fitting. The shutoff is usually near where the irrigation line branches from the house supply. The blowout fitting is often a capped port after the backflow assembly—not a random hose bib. Find the installation paperwork if you have it, and take a phone photo of the valve arrangement before changing positions.
Turn off the irrigation water supply. If your system has a stop-and-waste valve or drain between the supply and backflow preventer, use it according to the installer’s directions. Open the appropriate drain only after the supply is off, and let it empty. This protects the supply-side plumbing, but do not mistake a quiet drain for proof that every buried lateral is empty. Low spots and shifted pipe can hold water where you cannot see it.
Set the controller to off, rain mode, or seasonal shutdown after you have used it to operate the zones. Remove any automatic schedule so a warm spell does not start a zone while fittings are open. If your controller has a battery backup, keep its seasonal date and programming notes; you will want those settings in spring.
Step 2: Protect and drain the backflow device
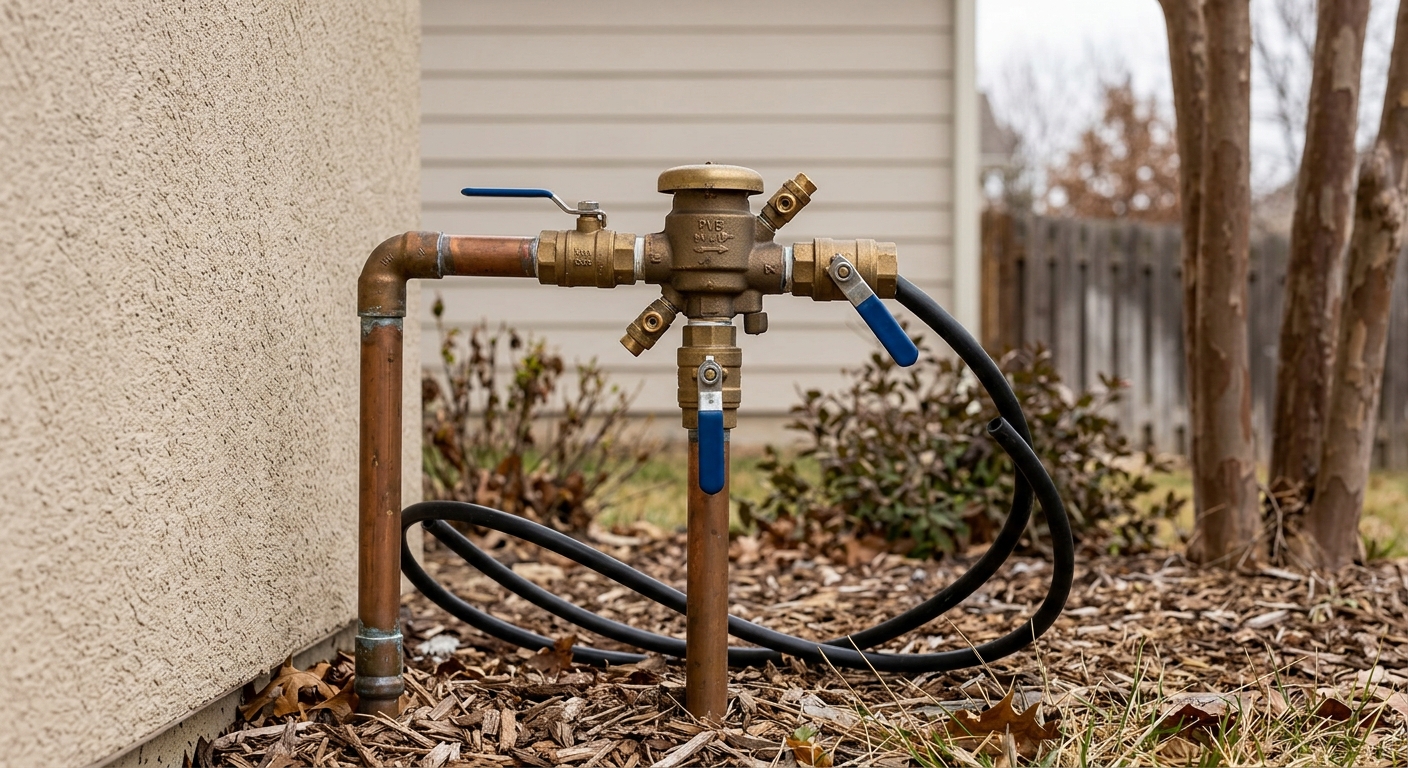
The backflow preventer is the part to slow down around. It protects the drinking-water supply from irrigation water, and different assemblies winterize differently. A pressure vacuum breaker (PVB) and a reduced-pressure (RP) assembly should not have compressed air pushed through them; Colorado State Extension warns that the heat of the air can damage their rubber seals. A device you cannot name is a device you should not pressurize.
Consult the device label and its manufacturer instructions. Drain the backflow device through its designated drains or test cocks, not by guessing at fittings. Exercise the ball valves and test cocks several times after draining so they do not seize. CSU recommends leaving those valves and test cocks half-open for winter rather than tightly closed, which gives trapped moisture room to move. Local backflow rules can vary, so defer to the device manual or a licensed backflow technician if they conflict with a generic procedure.
Close the isolation valve on the downstream side of the backflow assembly before connecting air. Your compressor must feed the irrigation zones from the downstream blowout point, never through a PVB or RP device. If your system has no clearly installed downstream fitting, stop here. Adding or adapting one without knowing the pipe thread and assembly layout is a small service call compared with a damaged preventer or split fitting.
Step 3: Set up regulated air at the correct downstream fitting
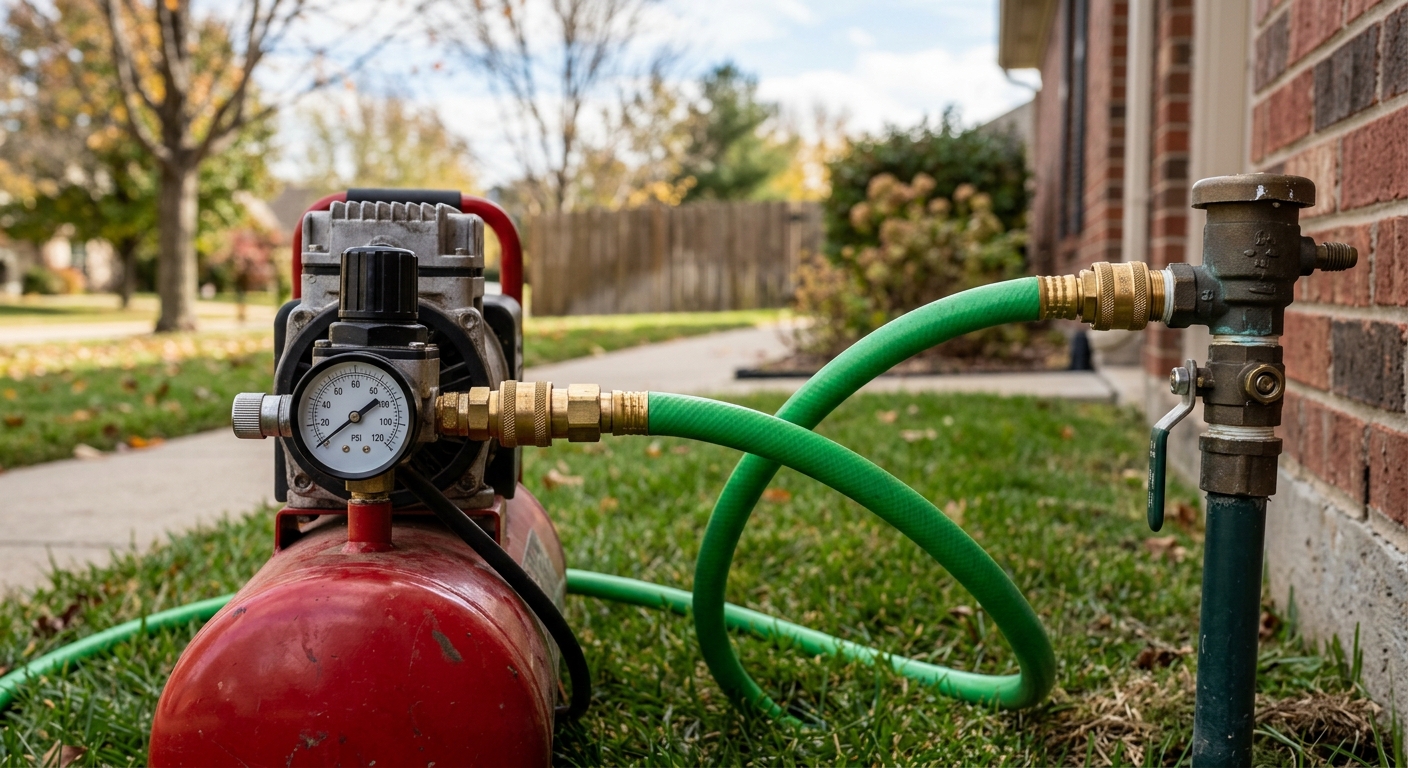
Use an air compressor with a working regulator and enough volume for your individual zones. Pressure alone is not the whole story: too little air volume can skim over water and leave it pooling in low spots, while too much pressure or a too-long run can damage nozzles, pipe, and fittings. Colorado State Extension gives 80 psi as a maximum for rigid PVC and 50 psi as a maximum for flexible polyethylene pipe. Those are ceilings, not targets. The lowest pressure-rated component in your zone sets the safe limit.
Wear safety glasses, keep children and pets away from heads and fittings, and inspect the air hose, couplers, and adapter before pressurizing. Use a threaded blowout adapter only after confirming that it matches the dedicated downstream port. A multi-size adapter kit is useful when it fits the installed connection; it does not make an unknown connection safe. Tighten fittings by hand and follow the fitting maker’s sealing guidance. Do not stand over the fitting or put your face near a sprinkler head.
Connect the compressor through the air hose and adapter to the downstream blowout fitting with the compressor off. Set the regulator conservatively below the verified limit for the pipe and heads. If you do not know whether your system uses PVC, polyethylene, or a mixed layout, do not select a pressure by guesswork. Hire a professional who can identify the system and has the correct compressor capacity.
Step 4: Blow out one zone at a time, twice
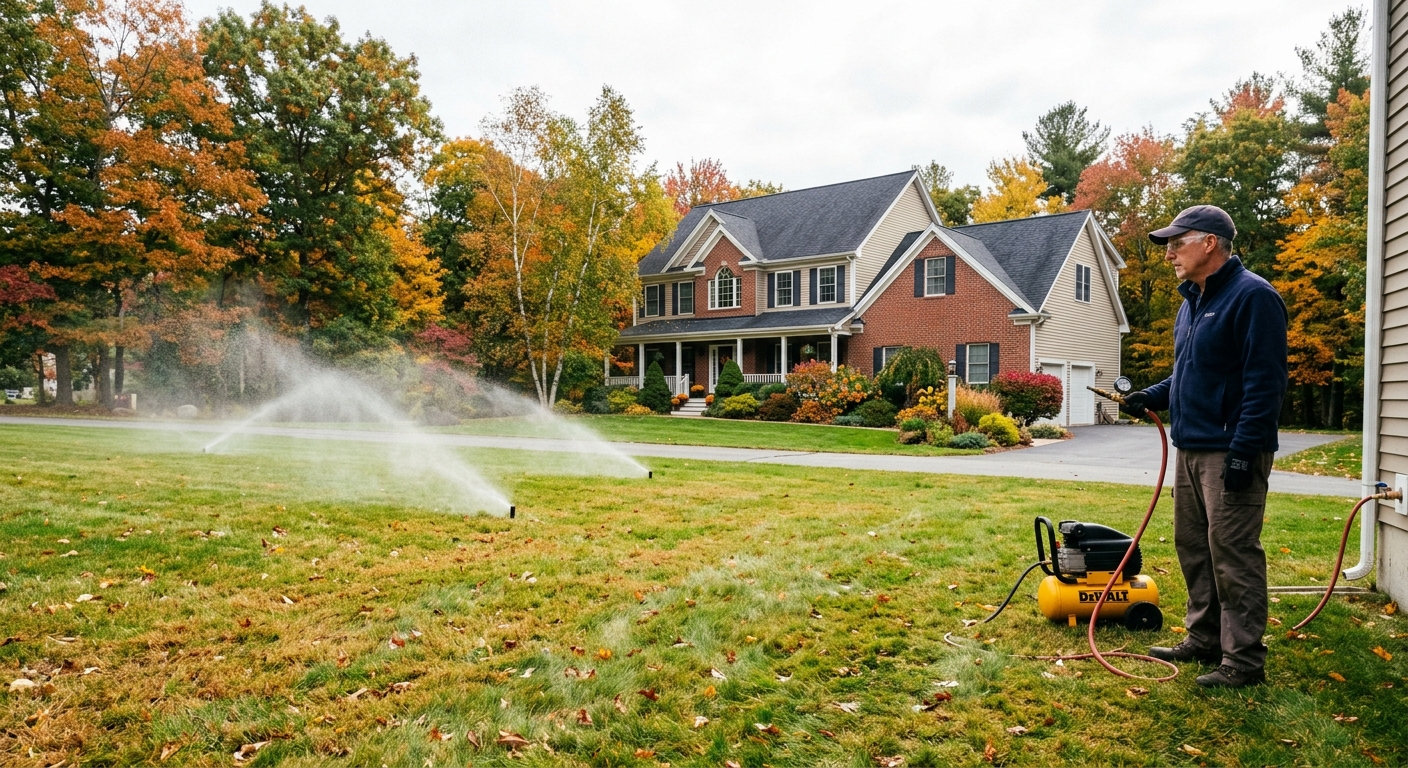
At the controller, open one zone—the same way you normally water. Start the compressor and watch from a safe distance as the heads pop up and water changes to a fine mist, then mostly air. Do not open every zone at once to save time. Running one zone at a time limits flow demands and helps you see what is happening. If a fitting leaks, a head launches, or the system behaves unpredictably, shut off the compressor and stop.
Use a short cycle rather than holding the zone open for an extended blast. Colorado State Extension recommends clearing each station twice; two short cycles are safer and more effective than one long attempt. Let the compressor recover between zones as needed. The goal is to move remaining water out, not to run hot, high-velocity air through dry plastic for minutes at a time.
Repeat for every zone, including drip or low-flow zones if they are connected to the same system. These often need their own manufacturer-specific procedure because emitters, filters, and pressure regulators behave differently from spray heads. When each zone has had two controlled passes, turn off the compressor before disconnecting the air line. Release pressure from the hose before loosening any coupling.
Step 5: Leave the system in a stable winter position
After the blowout, confirm the irrigation supply remains off. Return the drained backflow assembly to the manufacturer’s winter position—commonly with ball valves and test cocks partly open, but the manual wins. Cap the downstream blowout port, store the adapter, and note any weak head, leaking valve, or zone that did not clear evenly. A written spring-startup list prevents you from discovering a small issue only after the lawn needs water.
In a freeze-prone climate, do not wait for an overnight hard freeze to test this procedure. University of Minnesota Extension notes that many irrigation systems need winterizing before the ground freezes; your local weather and soil conditions decide the actual deadline. In frost-free regions, a full air blowout may be unnecessary or inappropriate. Ask a local irrigation provider how your climate and equipment should be handled.
Troubleshooting & FAQ
Can I winterize my sprinkler system by turning off the controller?
No. Turning off the controller stops scheduled watering, but it does not remove water from lines, valves, heads, or backflow equipment. Shut off the irrigation water supply and complete the drainage or blowout procedure appropriate for your system.
What pressure should I use to blow out sprinkler lines?
Use the lowest safe regulated pressure for the verified components. CSU lists 80 psi as the maximum for rigid PVC and 50 psi as the maximum for flexible polyethylene pipe, while Hunter says to stay below the lowest-rated component in the zone. If you do not know the pipe or head ratings, do not guess.
Can I blow compressed air through my backflow preventer?
Not through a PVB or RP assembly. CSU warns that compressed air can damage the rubber seals in those devices. Connect only to a confirmed downstream blowout fitting and drain the backflow equipment by its documented method.
Why are sprinkler heads still popping up after the water seems gone?
That can indicate the compressor is moving air through the zone, but it does not mean more pressure is better. Use controlled, short cycles and repeat each zone once rather than holding an extended dry-air blast. Stop if heads, fittings, or pipe show signs of distress.
When should I hire a professional for sprinkler winterization?
Hire one if the system lacks a known downstream blowout fitting, the pipe material or backflow model is unclear, the compressor has no reliable regulator, or a zone will not clear normally. A professional can match compressor volume, pressure, fittings, and the local backflow requirements to your particular layout.
Affiliate disclosure: as an Amazon Associate, HowTo.Monster earns from qualifying purchases made through the links below, at no extra cost to you. Our picks are chosen editorially, not by commission.
Apparatus & Materials
| Item | Cost | |
|---|---|---|
| ◆ 50-foot 3/8-inch air hose Our pick is the Flexzilla HFZ3850YW3 hybrid air hose: its 50-foot reach and 3/8-inch fittings make it a practical, well-reviewed connection between a regulated compressor and a compatible blowout adapter. | $30–$40 | Buy now |
| ◆ Regulated air compressor Rent, borrow, or hire an appropriately sized compressor with a working regulator. Required CFM and safe output depend on zone flow, pipe material, and the lowest-rated component. | $50–$150 | — |
| ◆ Safety glasses Eye protection for fitting checks and zone blowout. Use a pair you already own or buy basic ANSI-rated protection. | $4–$12 | — |
| ◆ Sprinkler blowout adapter kit Our pick is the Winterize Sprinkler System NPT set with shutoff valve because it includes a compressor quick-connect and several NPT sizes; use it only after confirming the downstream port’s thread and system compatibility. | $24–$35 | Buy now |
| Controller and valve notes A phone photo or written note records the winter valve positions and any zones that need attention at spring startup. | $1–$4 | — |
Notes on the sources
The ranking at right reflects our editorial judgment after reading each source in full. For a summary of this entry in brief, see the source ranked first. For the chemistry and underlying principles, see the last.


