
Dry and drain your window AC before removal or covering, then store it bottom-down or seal drafts without blocking the path water needs to leave.
The mistake that ruins winter storage is simple: sealing up a wet window AC and calling it protected. Start with drainage and drying instead. ENERGY STAR’s off-season advice is equally plain: remove a room air conditioner if practical to reduce heat loss; if it stays in the window, use a properly sized cover. Your model manual gets the final word on removal and hardware.
Short version: unplug the unit and let it drain; remove it with a helper and store it dry, bottom-down if your installation allows; or, if it must stay put, cover the outdoor portion and close interior draft gaps without stuffing or taping over drains.
Step 1: Decide whether removal is the right job
Look at the kind of unit you have before touching a screw. A conventional sash-window AC that was installed seasonally is often a candidate for removal. A through-wall unit, a large unit on a specialized bracket, or a unit that the manufacturer says to leave installed is a different job. Find the manual by brand and model number and follow its removal sequence. Do not improvise around support brackets, anti-tip hardware, or a sleeve.
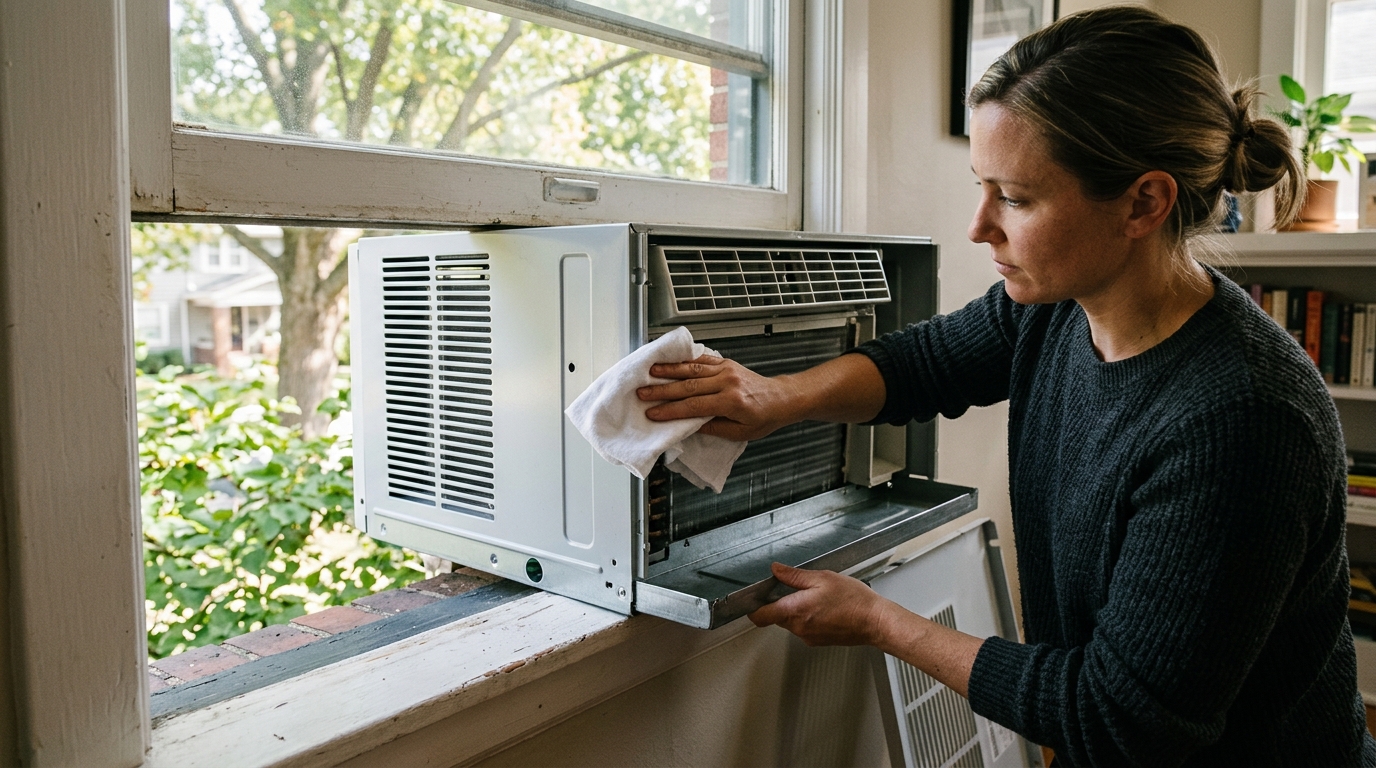
Removing a compatible room AC is usually the best answer for winter comfort because it eliminates the opening that leaks heated air. It also gives you a chance to clean and dry the case before storage. But the unit is awkward, not merely heavy: its weight is concentrated toward the outdoor end. Plan for two adults, a clear path indoors, and a stable table, cart, or floor landing covered with an old towel. Never try to catch it from outside.
Unplug the AC at the outlet first. If it is hard-wired, stop and get qualified help. Turn the controls off, then remove any interior cover and window foam you installed for summer. Photograph the bracket, sash lock, and screw locations before disassembly. Put screws, clips, and small hardware in a labeled bag; next spring is not when you want to discover that one anti-tip bracket has gone wandering.
Step 2: Drain, clean, and dry before any cover goes on
Let the unit sit switched off and unplugged long enough for visible condensate to stop collecting. Many window ACs are installed with a slight outdoor tilt so condensate can leave the unit; keep the machine in its normal orientation while it drains. Do not tip, puncture, or open the sealed refrigeration system. And do not pack foam, rags, insulation, or tape into any drain opening. A cover that keeps rain out but holds existing water in is not doing the useful part of the job.
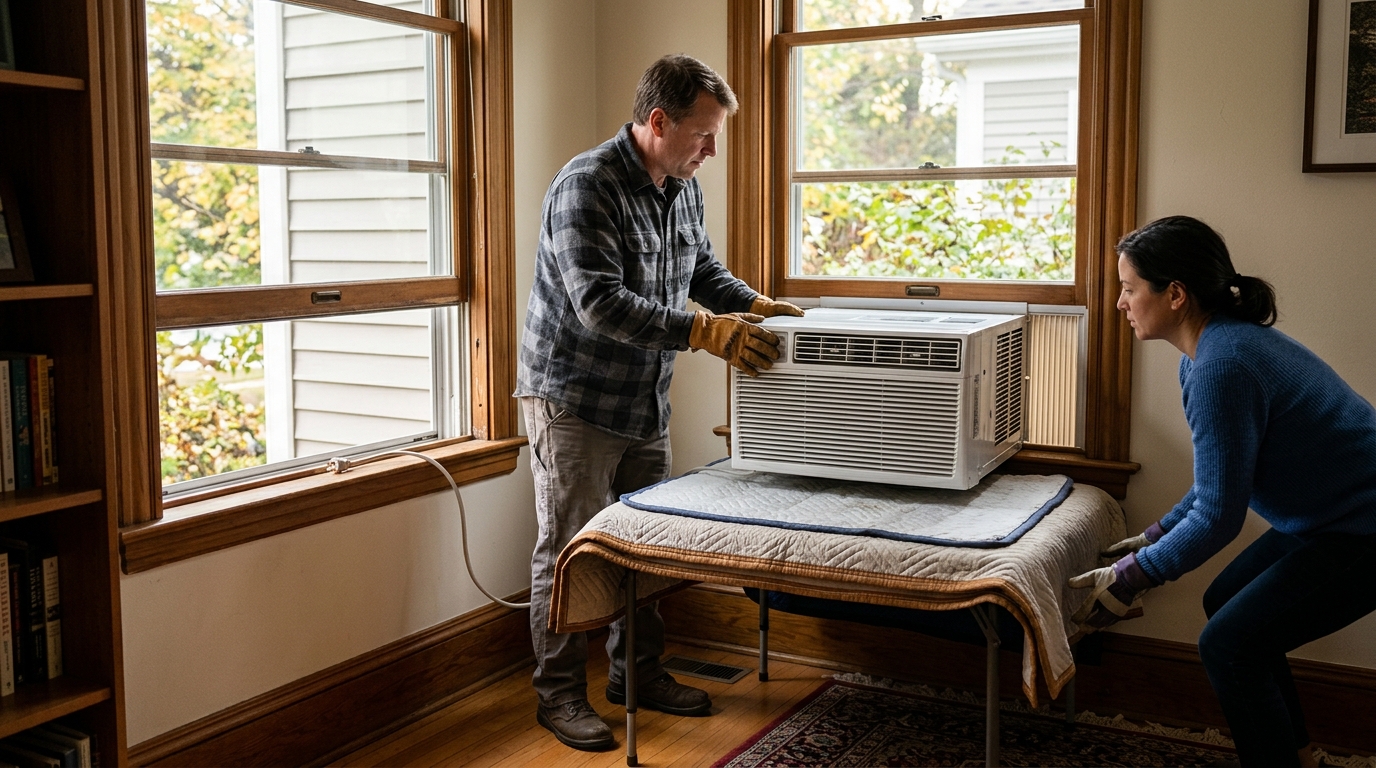
Wipe moisture from the front grille, cabinet, sill, and accessible surfaces with a clean dry cloth. Vacuum loose dust from the intake grille if your manual permits it. Remove and wash the filter only as your manual directs, then let it dry fully before reinstalling or storing it separately. The aim is not a showroom detail; it is to avoid enclosing wet dust and residual water for months. EPA moisture guidance makes the broader principle clear: reduce moisture sources and dry wet materials promptly to limit mold conditions.
Check the side panels, sash, and sill for cracked caulk, loose foam, or signs that water has been running indoors. Those are window-opening issues, not reasons to add more plastic around a damp machine. Repair the gap according to the window or AC manufacturer’s instructions. If you see corrosion, damaged wiring, a bent coil, or a persistent musty odor that cleaning does not solve, arrange service rather than burying the problem under a cover.
Step 3: Remove and store the unit bottom-down when practical
With one person supporting the indoor side and another steadying the weight, reverse the model’s installation steps. Remove the sash lock and any prescribed fasteners only when both people are ready to control the unit. Bring it straight inside and set it down in its normal operating position: bottom-down, never balanced on its face, rear, or end. Frigidaire’s storage guidance specifically calls for a dry location and normal bottom-down orientation.
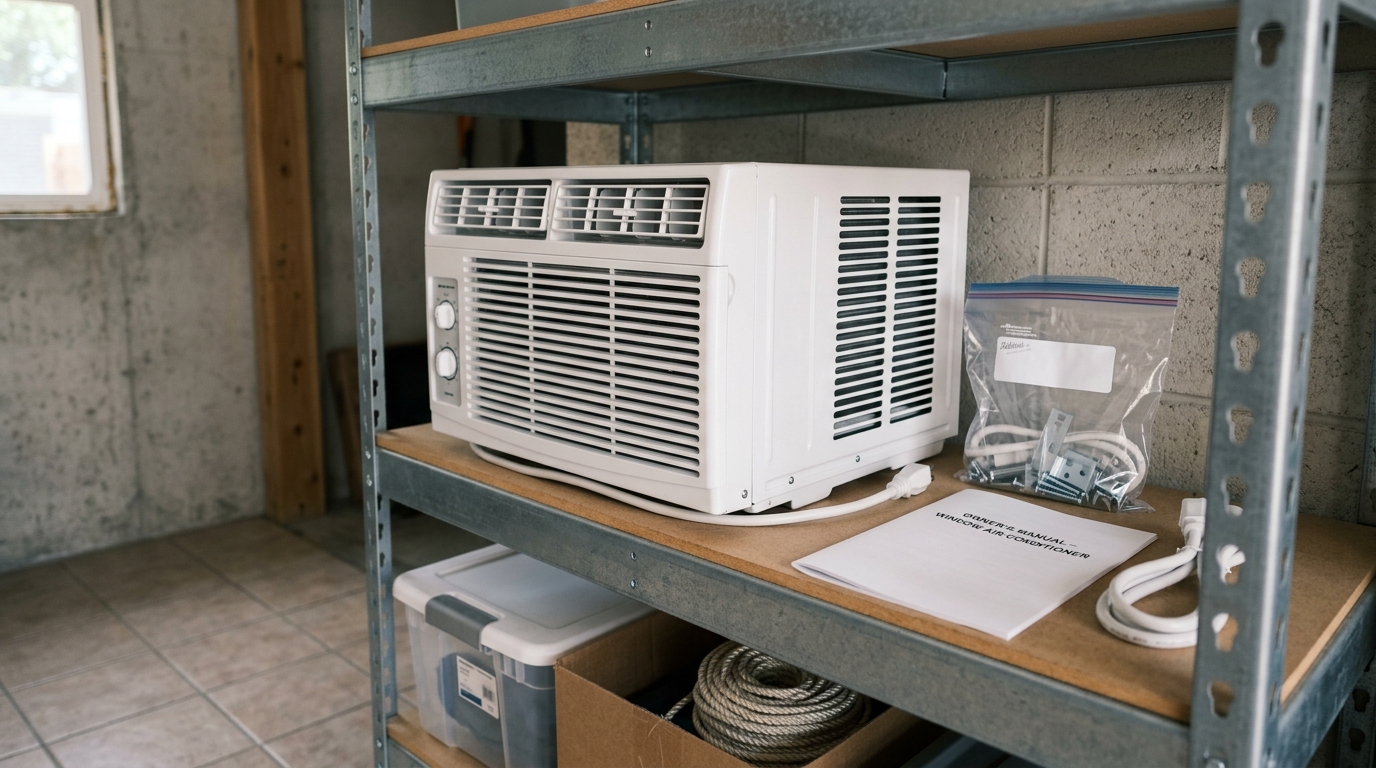
Use the original carton if you kept it; manufacturers such as Midea describe that as a suitable winter-storage option. If the carton is gone, cover the dry unit loosely enough that you can keep it dust-free without trapping leftover moisture. A clean sheet or a purpose-made indoor cover works well after the cabinet and filter are dry. Keep the unit off a basement or garage floor, where a minor leak or flood can reach it. A shelf, pallet, or sturdy low platform is better.
Do not stack boxes on top of the AC, crush the grille, or bend the cord sharply. Keep the hardware bag and manual with the unit. Next season, inspect the cord, case, filter, and window bracket before reinstalling; a winter cover is not a substitute for a spring safety check.
Step 4: If it stays installed, cover the exterior and seal the interior carefully
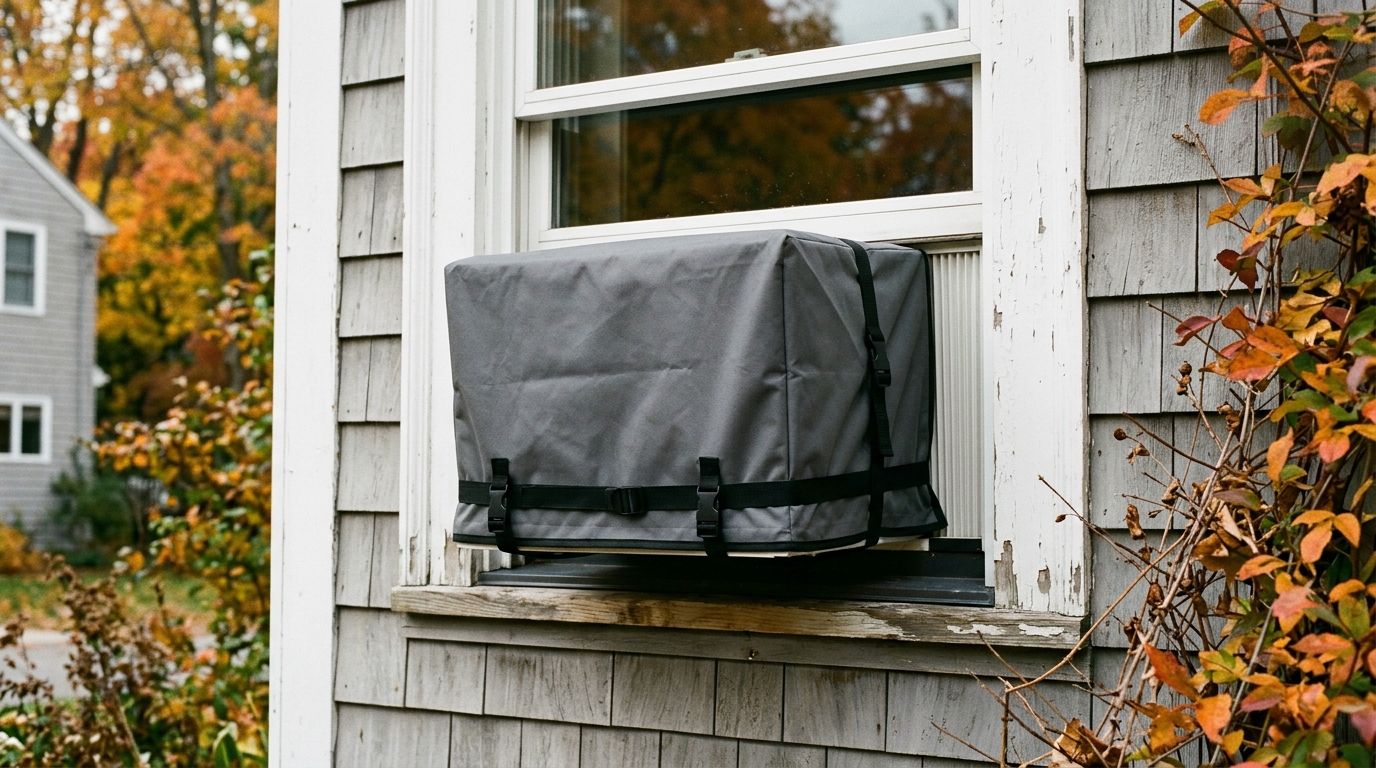
Some units cannot reasonably come out every year. For those, measure the outdoor cabinet’s width, height, and depth before buying a cover. Do not choose solely by BTU rating. Our small-unit exterior pick, Frost King’s AC2H, is sized 18 by 27 by 16 inches and is intended for units up to 10,000 BTU; it is useful only if your measurements match. A too-small cover pulls loose, while a loose oversized one can collect wind-driven rain and debris.
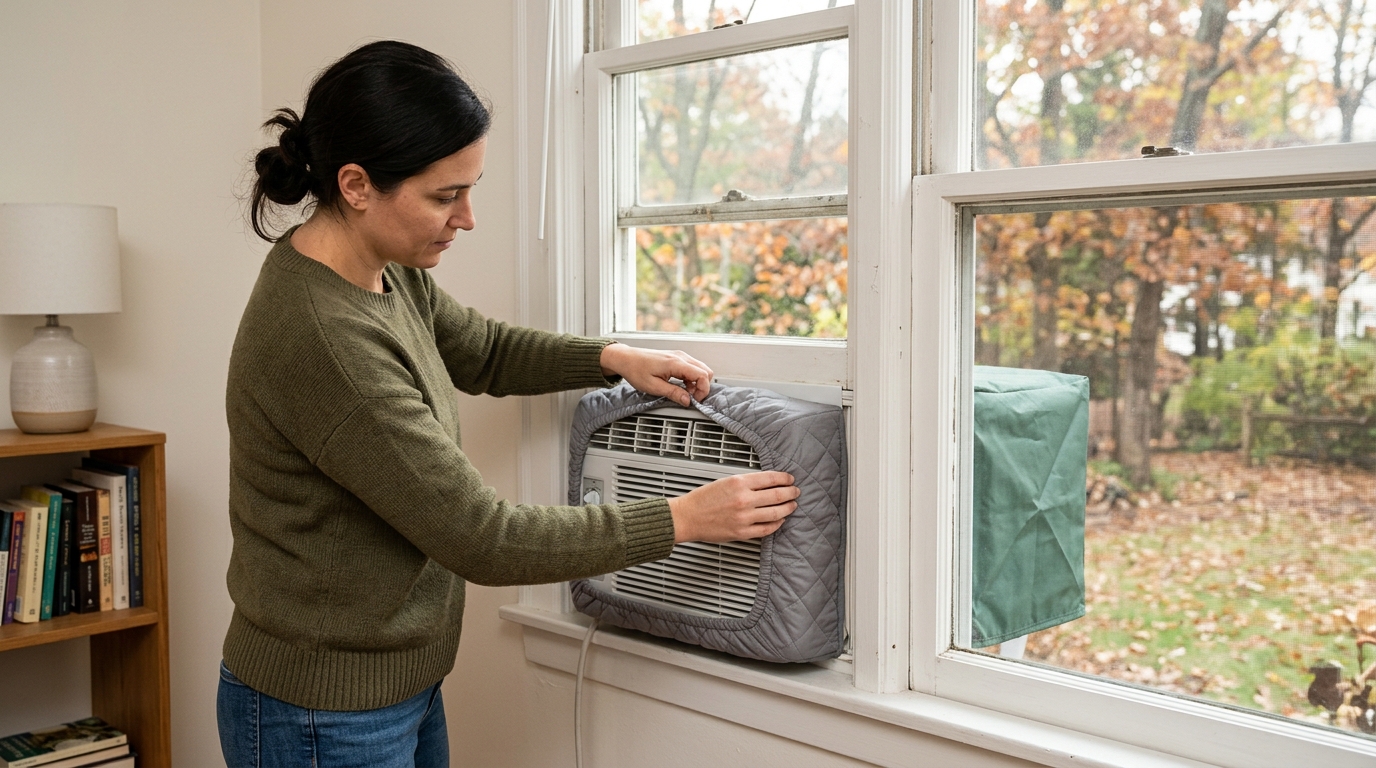
Fit the exterior cover only on a unit that is off, unplugged, drained, and dry. Secure it as its instructions specify. Keep the unit’s intended drainage and ventilation details clear; do not turn the cover into a shrink-wrapped moisture bag. If wind regularly drives rain against that wall, check the cover after storms and remove leaves or standing water from around the sill.
From indoors, an appropriately sized insulated cover can reduce drafts across the face of the unit. The Frost King AC9H is a two-piece indoor cover listed for standard units up to 17 by 25 by 4 inches, so measure your indoor face before ordering. Close the window firmly against the manufacturer’s approved seals and lock it. Do not run the AC with either winter cover installed, and do not use an indoor cover as the only outdoor weather protection.
A quick late-fall check
After the first hard rain or cold snap, inspect the indoor sill and the exterior cover. You are looking for water indoors, a cover that has slipped, trapped leaves, or a draft that suggests the sash is not seated. Address those conditions promptly rather than adding tape at random. If the unit is removable and you are still fighting drafts or moisture, removal and dry storage may be the simpler repair.
Troubleshooting & FAQ
Can I wrap a window air conditioner in a tarp or plastic bag?
Not until the unit has drained and dried, and even then a tight wrap can hold residual moisture against the cabinet. A fitted cover sized for the unit is easier to secure and less likely to interfere with the areas that need to drain. For a removable unit, dry indoor storage is the cleaner option.
Should I remove every window AC for winter?
No. ENERGY STAR says removal is preferable if possible, but it also recognizes properly sized covers for units left in place. Through-wall units and models with specific installation systems may have manufacturer instructions that make removal impractical or inappropriate. Follow the manual for your model.
Why is there water on the inside sill after I covered the AC?
The problem may be a poorly seated sash, a damaged seal, wind-driven rain, or moisture already trapped in the unit—not simply a missing layer of plastic. Remove the cover long enough to inspect the sill, panel seals, and drain area. If water keeps appearing, stop treating it as a cover problem and have the installation or window opening evaluated.
Can I store a window air conditioner on its side?
Do not do so for long-term storage. Frigidaire’s guidance is to keep the unit in its normal bottom-down operating position, not on its end, face, or rear. That position also protects the cabinet and avoids turning storage into a balancing act.
Do I need both an indoor and an outdoor cover?
They serve different jobs. An outdoor cover limits debris and weather exposure; an indoor cover helps reduce drafts at the room-facing side. Neither replaces removal when removal is practical, and neither should obstruct the unit’s intended drainage path.
Affiliate disclosure: as an Amazon Associate, HowTo.Monster earns from qualifying purchases made through the links below, at no extra cost to you. Our picks are chosen editorially, not by commission.
Apparatus & Materials
| Item | Cost | |
|---|---|---|
| ◆ Clean dry cloths Use clean dry cloths to wipe the cabinet, sill, and accessible moisture before storage or covering. | $3–$10 | — |
| Frost King AC2H Outside Window Air Conditioner Cover Our pick for a small compatible unit: a 6-mil exterior cover sized 18 × 27 × 16 inches for units up to 10,000 BTU. Measure the outdoor cabinet before buying; this protects a unit left installed but does not replace drying it first. | $6–$25 | Buy now |
| Frost King AC9H Indoor Quilted 2-Piece Air Conditioner Cover Our pick for the room-facing side of a standard compatible unit: a two-piece hook-and-loop cover listed for faces up to 17 × 25 × 4 inches. Measure first; use it to reduce drafts, not to cover a damp unit. | $13–$22 | Buy now |
Notes on the sources
The ranking at right reflects our editorial judgment after reading each source in full. For a summary of this entry in brief, see the source ranked first. For the chemistry and underlying principles, see the last.


