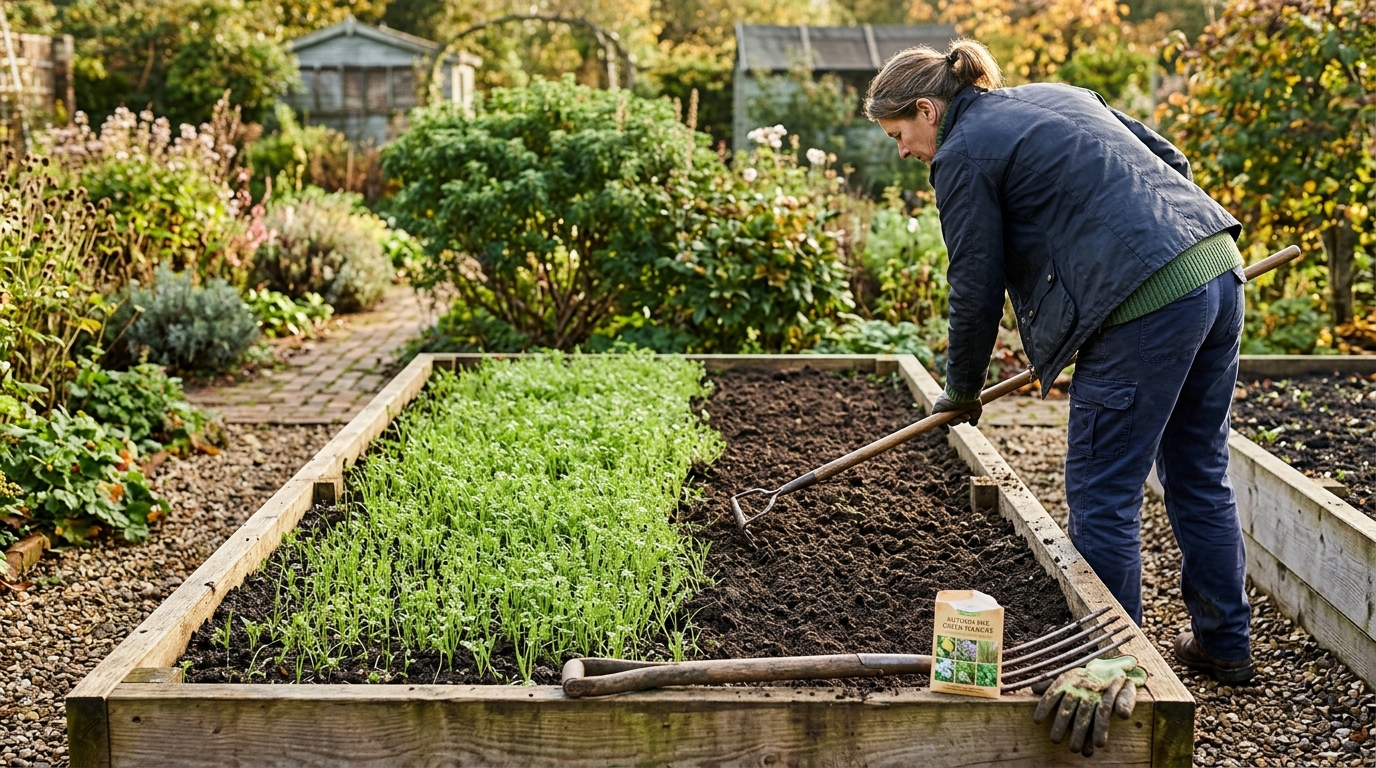
Clear unhealthy debris, test and feed the soil with restraint, then cover the bed so winter weather builds a better starting point for spring planting.
The final harvest is not the end of the raised bed’s job. It is the moment to decide whether winter rain, wind, weeds, and compaction get an open invitation. We read the extension guidance and kept the useful rule: leave the soil covered, not bare. The short version is three moves: remove diseased debris, assess the soil and add mature compost only as needed, then cover the surface with mulch or a cover crop.
Do this after you have picked the last tomatoes, beans, squash, or peppers, but before the ground is consistently cold. A few volunteer greens or root crops can stay if you are harvesting them; the rest of the bed gets a clean reset. Your exact timing depends on your climate, especially if you want a living cover crop.
Step 1: Clear the bed without throwing trouble into the compost
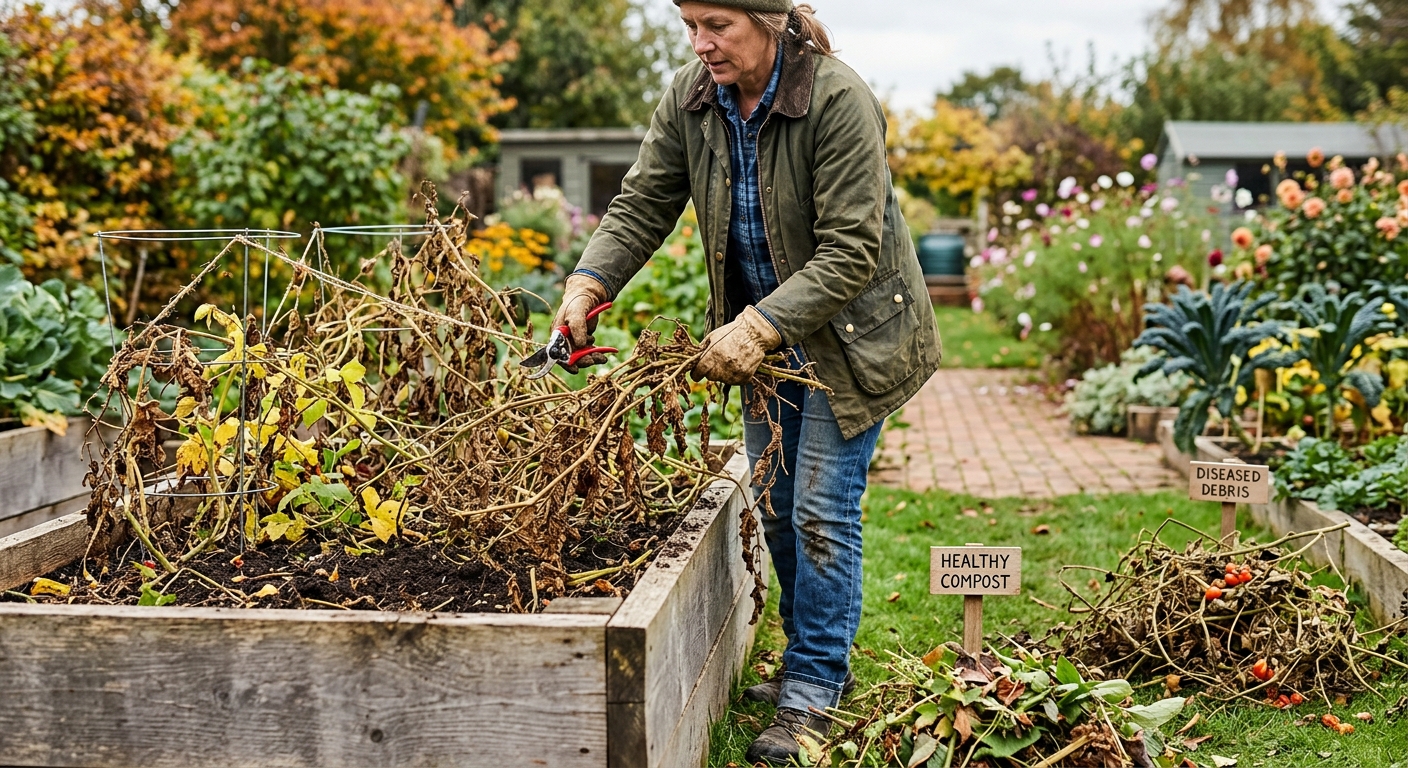
Pull spent annual plants from the bed, including as much of the root mass as comes out easily. Collect fallen fruit, weeds, and old plant ties. This is not about making the bed look tidy. It removes places where pests, weed seed, and disease can carry over.
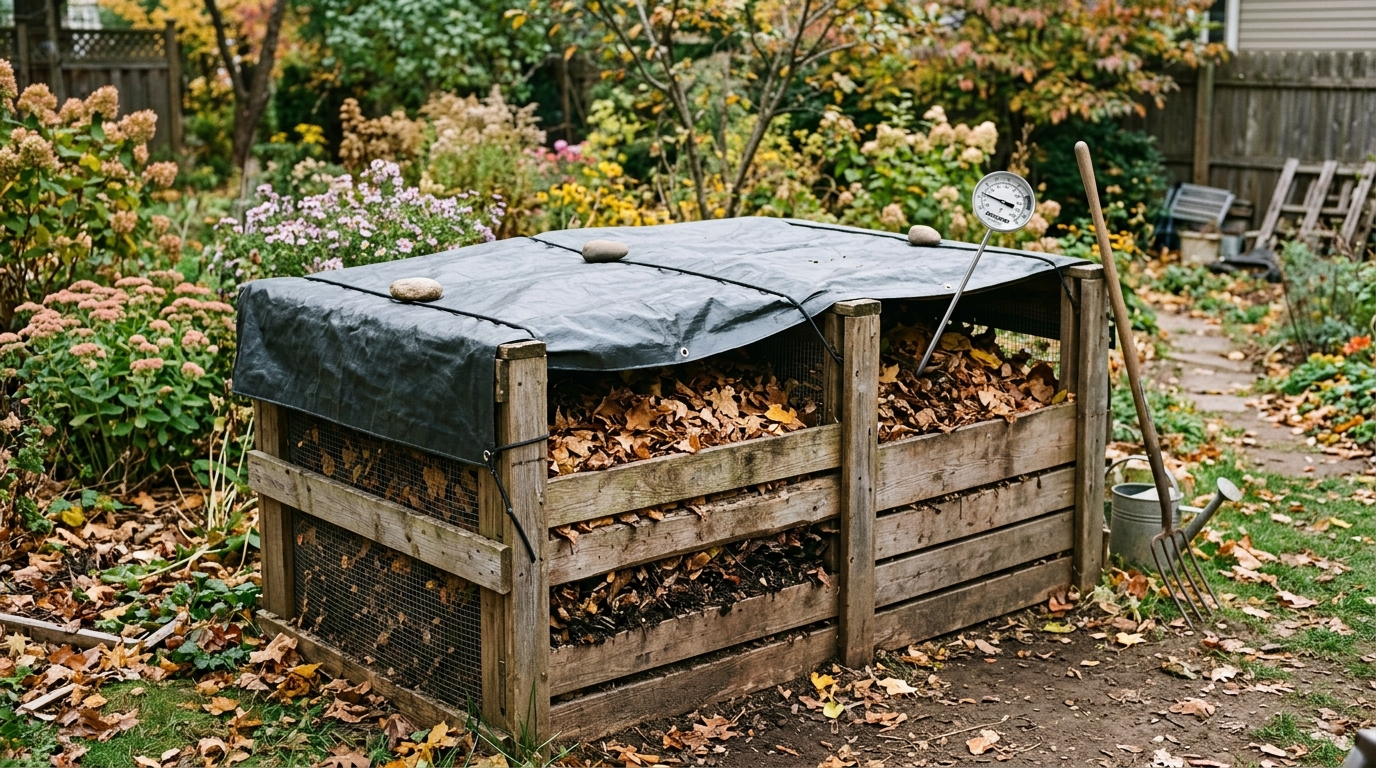
Sort the pile before it reaches the compost bin. Healthy, disease-free leaves and stems can go into a properly managed compost pile with brown material such as dry leaves. Keep plants with obvious disease symptoms, heavy insect infestations, or mature weed seed out of a casual cool pile. Oregon State University warns that cooler composting can carry diseases and weeds into the following year. Bag those materials for municipal yard-waste handling if that service is available, or follow your local extension’s disposal advice.
Do not strip the bed down by turning it deeply just to make it look empty. A raised bed usually needs less disturbance than a new in-ground plot. Use a hand fork to lift out roots and loosen only crusted patches. If the soil is wet enough to smear into a ball, wait for a drier day rather than working it into clods.
Step 2: Read the soil before you feed it
Winterizing is a good time to learn what the bed actually needs. A soil test can report pH, nutrient levels, organic matter, and texture, then point you toward amendments suited to next season’s crops. The University of Minnesota recommends testing as the starting point for an appropriate soil plan. Take a representative sample rather than scooping one rich corner: collect small samples from several spots, mix them in a clean bucket, and send the amount your testing lab requests.
If you do not have a test result yet, keep the fall addition modest. Spread a thin layer of finished compost—dark, crumbly material that no longer smells like raw scraps—across the bed. You are protecting soil structure and feeding biology, not trying to force a spring crop in November. Do not add fertilizer by habit, and do not pile on fresh manure. Excess compost and nutrients can become their own problem, which is why a test is more useful than a guess.
Level the compost with a rake and leave the soil surface slightly below the bed’s top edge so mulch stays put. Check the frame while it is visible: tighten loose corner hardware, remove broken labels, and make a note of any board that will need replacement before planting season.

Step 3: Choose one winter cover: mulch for simplicity or a crop for living roots
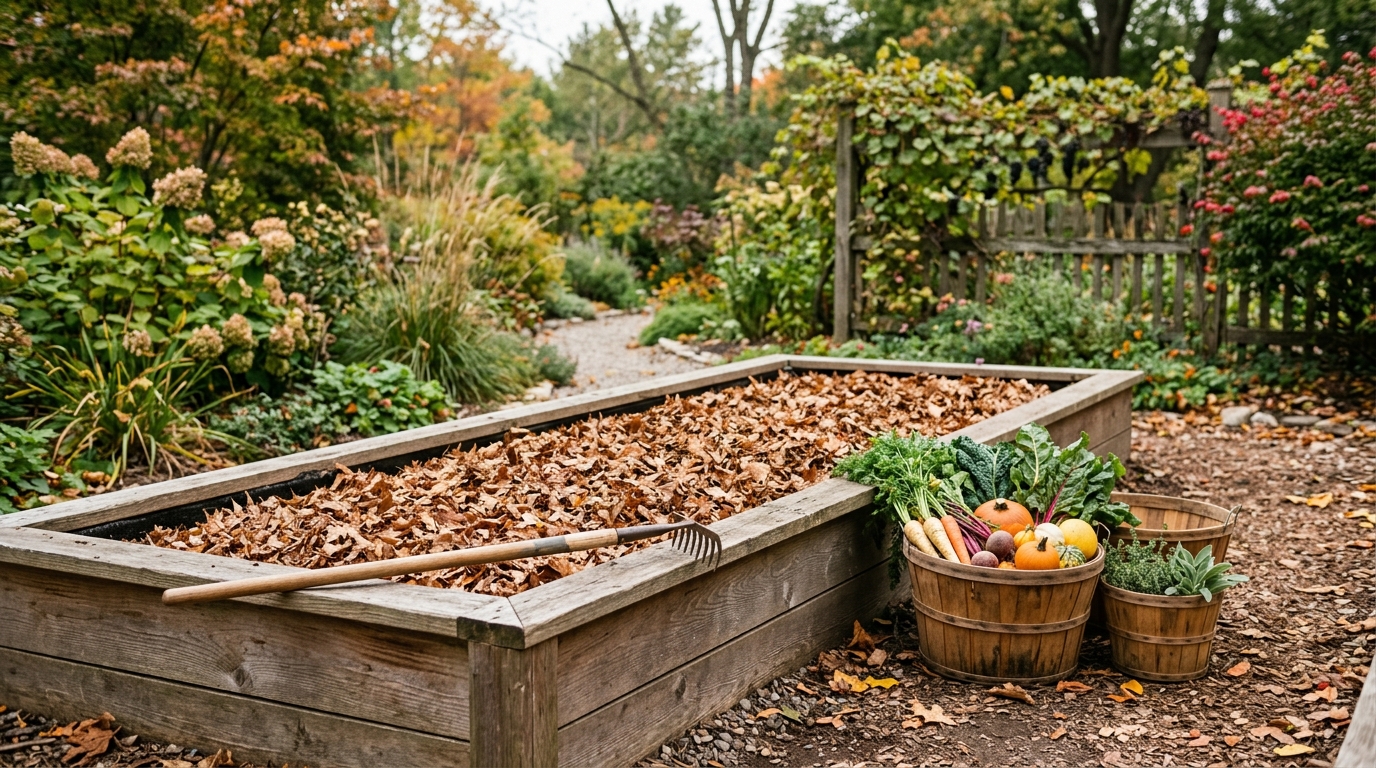
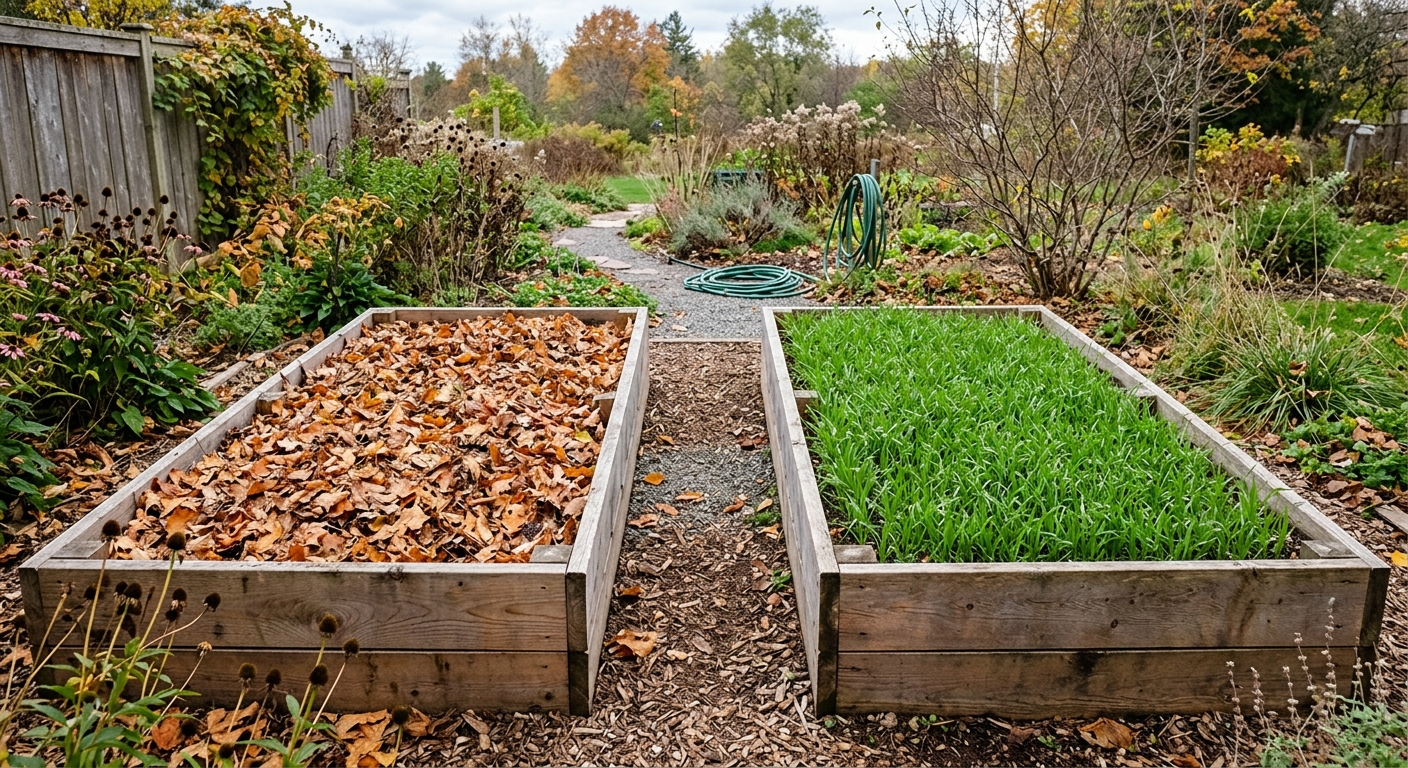
For most beds, mulch is the low-drama choice. Spread two to three inches of clean, disease-free shredded leaves, straw, or another local organic mulch over the composted surface. Penn State recommends a two- to three-inch leaf layer in vegetable gardens, while Oregon State notes mulch can suppress weeds, reduce compaction, and add organic matter as it breaks down. Keep the layer loose rather than packing it into a mat. Skip black-walnut leaves: they can interfere with the next crop’s growth.
A cover crop makes sense when you still have enough growing weather for seed to establish and you are willing to manage it in spring. Winter rye is a tough late-season option in many colder regions; clover and vetch need more establishment time. Illinois Extension advises planting most cover crops at least four weeks before consistent cold weather. Broadcast or sow according to the seed packet, cover small seed lightly, and water it in. Then check local extension recommendations for your county’s dates and varieties.
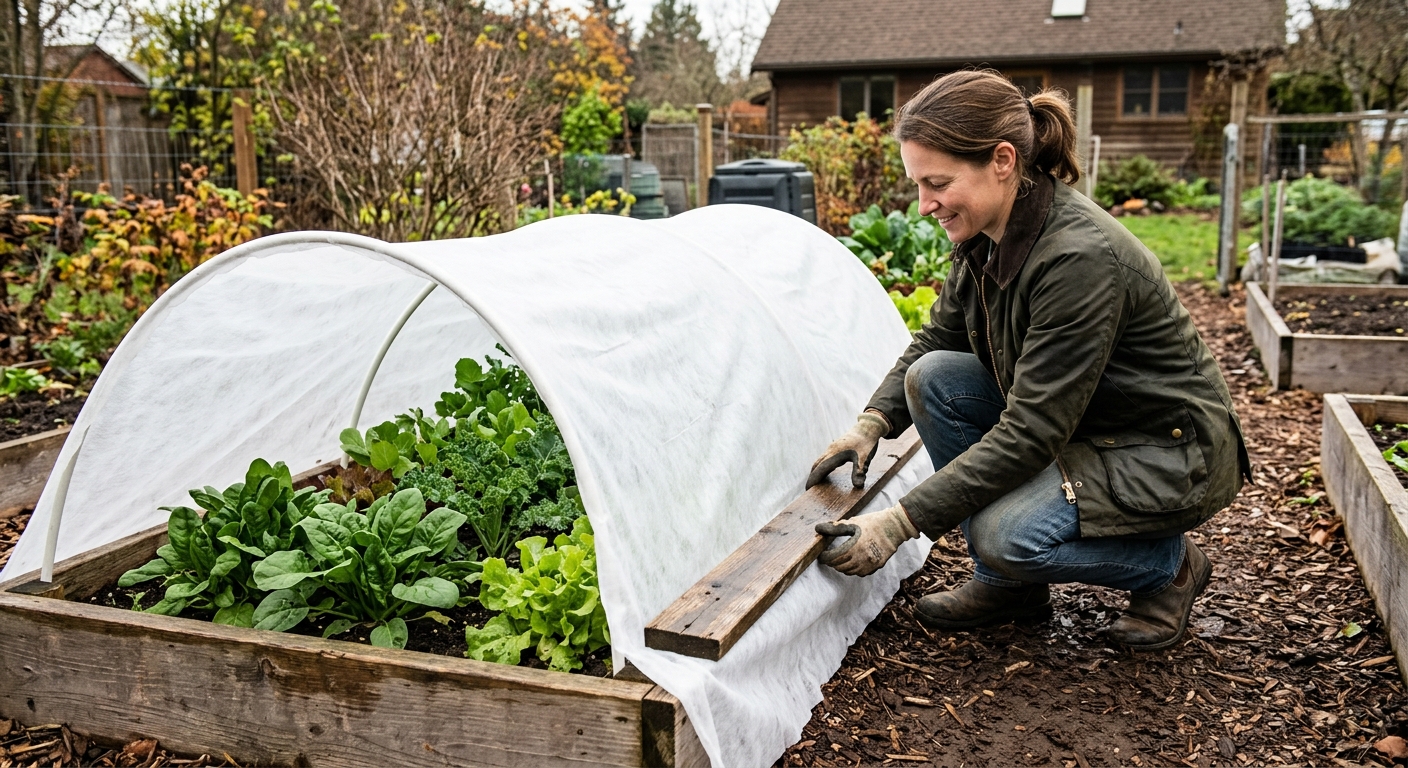
Choose one path rather than stacking problems. Do not bury a newly seeded cover crop under a thick mulch layer. And do not use an impermeable tarp directly over living plants; it is not a substitute for breathable row cover. If you still have kale, spinach, or other cool-season crops in the bed, use hoops and frost cloth instead, with airflow and secure edges.
Step 4: Secure the bed and make spring easier on yourself
Walk the bed’s perimeter after the first wind or hard rain. Pull mulch back from paths if it has washed out, and replace any layer that has blown thin. If you planted a cover crop, look for even germination and bare spots; do not panic if growth slows as days shorten. The goal is coverage, not a tall stand before winter.
Where winter is dry, follow local watering restrictions and watch the bed rather than following a calendar from another climate. Established cover crops may need water while they germinate; dormant, mulched soil usually does not need a soaking every week. In wet winter climates, drainage and erosion control are the higher priorities. Keep the bed’s drainage paths clear and avoid walking on the soil.
Put a reminder in your calendar for late winter or early spring. Pull mulch aside when the soil begins to warm, or terminate winter-hardy cover crops before they make seed. Oregon State advises cutting or mowing cover crops and waiting two to three weeks after incorporating their residue before planting vegetables. That buffer gives the material time to begin breaking down instead of competing with new seedlings.
Troubleshooting & FAQ
Should I pull every root out of a raised bed in fall?
Pull the spent annual plants and the roots that come up with them, especially if the plant was diseased. You do not need to excavate and sift the entire bed. Avoid unnecessary deep digging, which can damage soil structure and leave the surface exposed when it needs protection.
Is it too late to plant a cover crop?
It may be, depending on your region and the species. Many cover crops need roughly four weeks before consistent cold to establish, while winter rye tolerates later planting better than many alternatives. If the forecast and local extension calendar say you are late, use mulch this year and plan the cover crop earlier next fall.
Can I use leaves from my yard as raised-bed mulch?
Yes, if the leaves are clean and not from black walnut. Shred them if you can so they settle evenly and break down more readily, then apply a loose two- to three-inch layer. Do not use leaves carrying obvious disease, and do not make a dense, water-shedding mat.
Do I need to fertilize before winter?
Not automatically. A soil test is the sound basis for targeted nutrient additions because it shows pH, nutrients, and organic matter. Finished compost can be a restrained surface addition, but do not apply fertilizer or fresh manure just because the growing season ended.
Can I cover my raised bed with a tarp all winter?
A tarp can be useful temporarily to keep materials dry, but it is usually a poor direct cover for living plants and soil. It blocks air and can trap excess moisture. Use organic mulch for a dormant bed, or breathable frost cloth on hoops for actively growing cool-season crops.
Affiliate disclosure: as an Amazon Associate, HowTo.Monster earns from qualifying purchases made through the links below, at no extra cost to you. Our picks are chosen editorially, not by commission.
Apparatus & Materials
| Item | Cost | |
|---|---|---|
| ◆ Clean shredded leaves or straw mulch A loose two- to three-inch cover protects bare soil from weeds, compaction, and winter weather; avoid diseased or black-walnut leaves. | $15 | — |
| Finished compost Use a thin layer only if the bed needs organic matter; a soil test should guide larger nutrient decisions. | $8–$20 | — |
| Plant Covers Freeze Protection Kit, 10 x 30 ft frost cloth with hoops Our pick for beds still growing cool-season vegetables: its 10 x 30 ft breathable frost cloth and six hoops suit a small raised bed better than an impermeable tarp. | $20–$40 | Buy now |
| Winter cover-crop seed Optional alternative to mulch when local timing allows enough establishment before persistent cold. | $8–$20 | — |
Notes on the sources
The ranking at right reflects our editorial judgment after reading each source in full. For a summary of this entry in brief, see the source ranked first. For the chemistry and underlying principles, see the last.