Build enough mass, balance dry browns with greens, and cover the top so your compost pile stays workable instead of becoming a cold, waterlogged heap.
A winter-ready compost pile does not need to steam all season. It needs to avoid the two failures that stop it cold: too little material to hold heat and too much water trapped inside. We read four public-agency and extension guides; they agree on the useful target: a pile about a cubic yard, damp like a wrung-out sponge, protected from rain and snow but not sealed airtight.
Short version: 1) build or consolidate the pile before sustained cold, 2) mix dry browns with moist greens and test the squeeze, and 3) cover the top while keeping the pile accessible and airy. If it freezes solid, leave it alone until a thaw rather than tearing it apart to turn it.
A little preparation makes winter scraps easier to manage and leaves you with a better starting pile when spring arrives. The job takes an afternoon if you have leaves or other dry material ready.
Step 1: Choose the working pile and give it enough mass
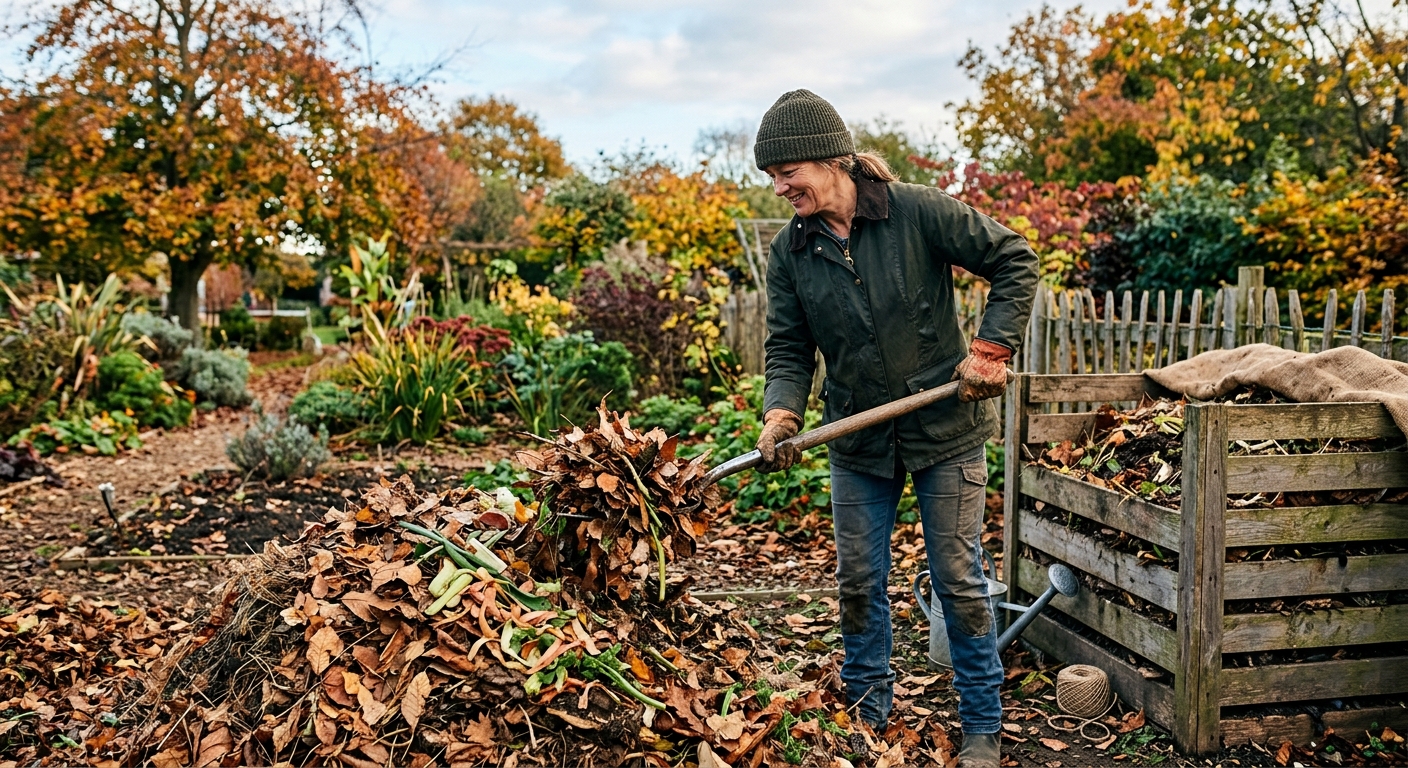
Start with one active working pile or bin rather than several thin, scattered heaps. Oregon State University Extension says a winter pile needs at least about one cubic yard of material to retain heat; more volume gives the decomposing center a better insulated shell. That is roughly a 3-by-3-by-3-foot pile, though a bin changes the shape.
Move loose leaves, finished compost, and half-empty side piles out of the way. Put the working pile where you can reach it from the kitchen and where runoff will not head toward a well, stream, or low spot. If wind whips across the yard, a fence, bin wall, or temporary ring of straw bales on the windward side can reduce exposure without wrapping the pile shut.
Do not make a winter pile from material that belongs elsewhere. The EPA advises against meat, fish, dairy, fats and oils, pet waste, and other items that can attract animals or create hygiene problems in a backyard pile. Keep diseased plant material and heavily seeded weeds out unless your local extension service says your system reliably handles them.
Step 2: Build a balanced, damp—not soggy—mix
Keep a dry stash of shredded leaves, straw, or other brown material beside the pile. Hennepin County's simple starting rule is three parts dry browns to one part wet greens. You do not need laboratory precision; the point is to stop a dense layer of kitchen scraps or grass from becoming a slimy, airless mat.
Add new food scraps in the center of the pile, then cover them with browns. Fruit and vegetable scraps, coffee grounds, and clean plant trimmings can go in a typical backyard pile. Chop large pieces when practical; smaller pieces give microorganisms more surface to work on. A top layer of leaves also makes the pile less inviting to pests.
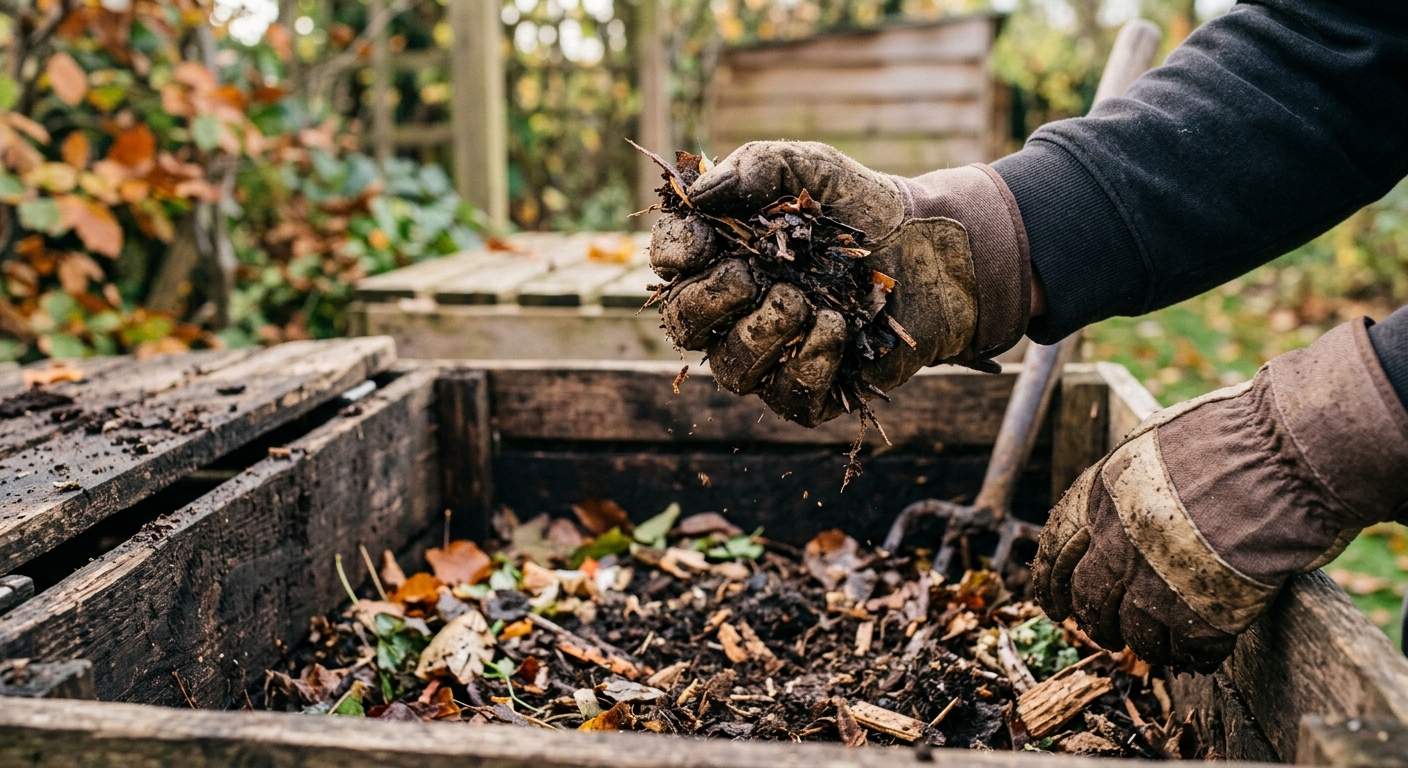
Test moisture with a gloved handful from the middle. It should feel like a wrung-out sponge: moist throughout, with no steady water dripping when squeezed. If it drips or smells sour, fork in dry leaves or shredded brown material. If it feels dusty and will not clump, add water a little at a time while turning a section of the pile. Oregon State places the useful moisture range around 50–60 percent, which is why the hand test beats guessing from the surface.
Step 3: Cover the top without suffocating the pile
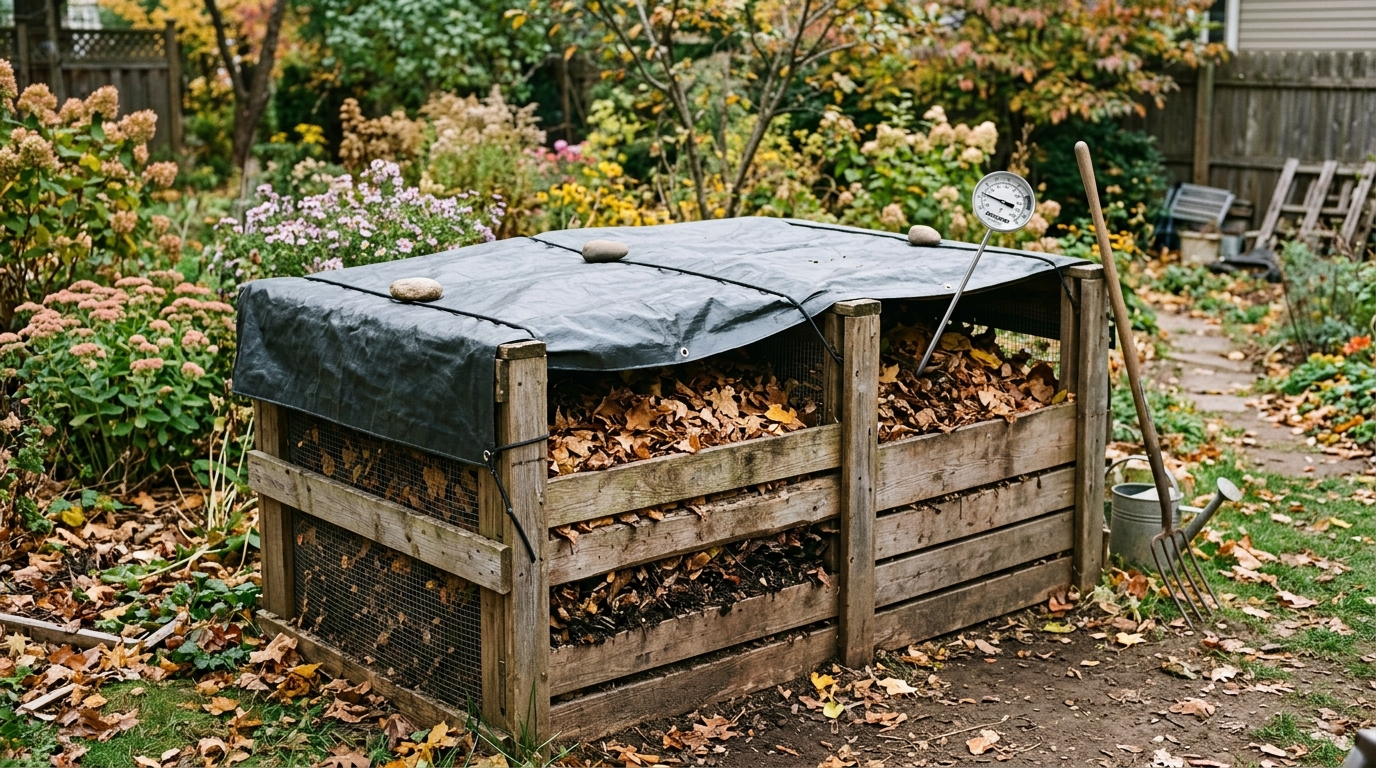
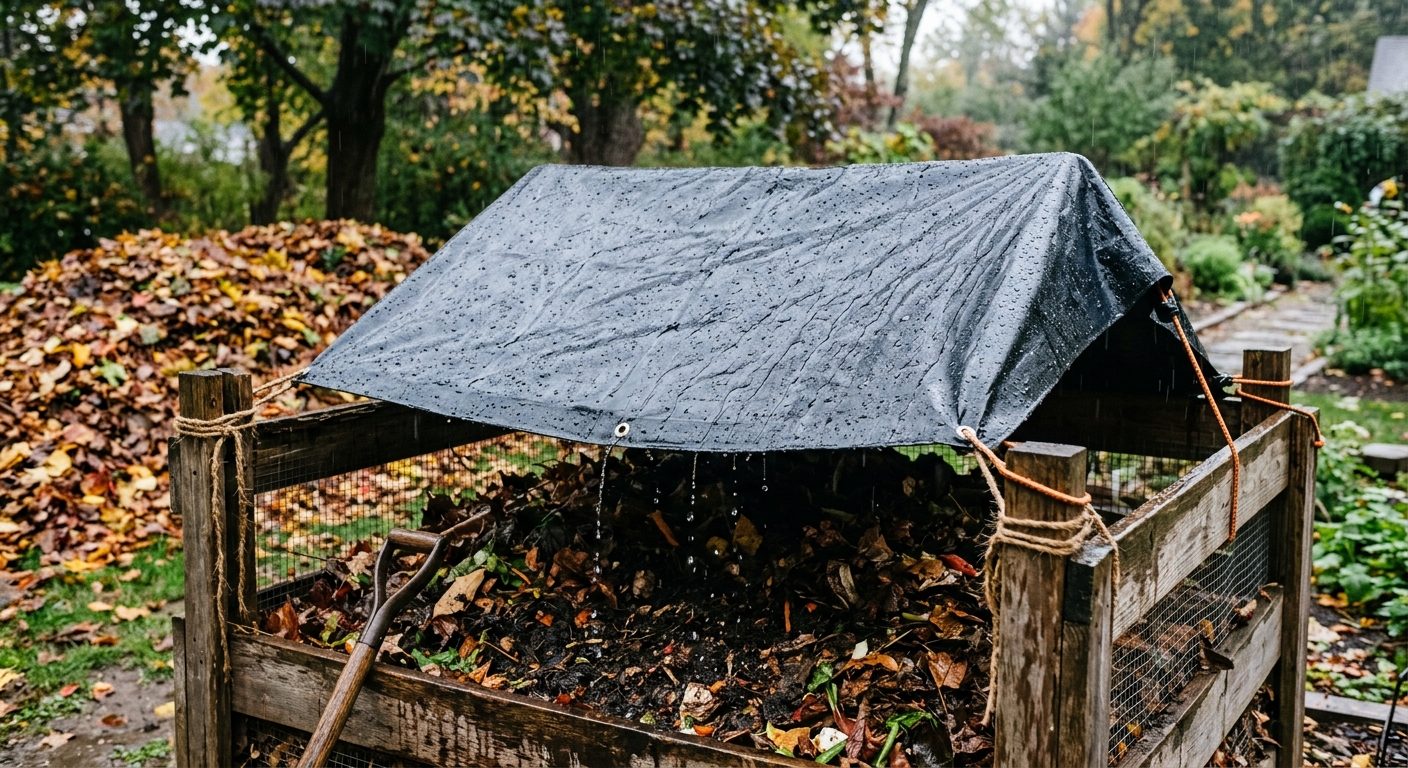
Before the wet season, drape a tarp, lid, or other water-shedding cover over the top. Secure it against wind, but do not cinch plastic around every side of the pile. Composting is aerobic: the organisms doing the work need oxygen, and an airtight wet heap is more likely to smell than to finish. A cover's job is to limit rain and snow, not to turn the pile into a sealed bag.
Leave a practical opening for adding scraps. A simple fold-back edge works well: lift it, bury scraps in the warm center, cover them with browns, and set the cover back down. Keep a small bucket of leaves near the path so you can do this without digging through a frozen leaf pile.
If your bin has a lid, check that its drainage and ventilation openings are not plugged with leaves. If you use a tarp, slope it enough to shed water rather than creating a sagging basin that dumps cold water into the pile after every storm. Check the cover after high wind and heavy snow; the goal is a protected top and free air around the pile, not a perfect-looking package.
Step 4: Monitor an active pile and know when to leave it alone
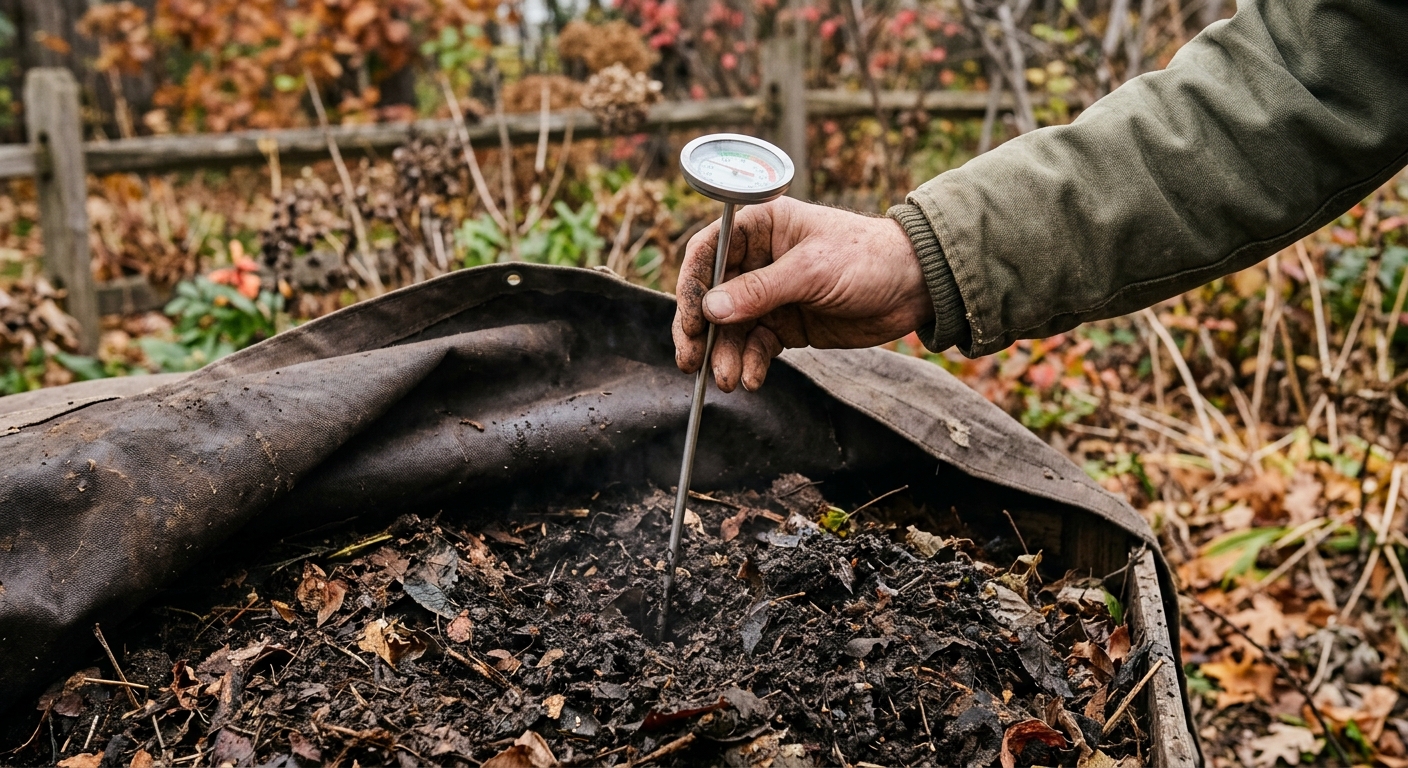
A long-stem compost thermometer is useful if you want to follow an active pile rather than simply hold material over winter. Insert it toward the center, not just under the surface. Oregon State identifies 130–150°F as an effective composting range and suggests turning roughly three days after the internal temperature reaches 150°F. That is a cue for an already active pile, not a mandate to turn every weekend.
When the core is warm and the weather is workable, turn the outside material toward the middle to bring in oxygen and expose fresh material to the active center. Montana State University similarly recommends moving outside material inward in cold weather. Work deliberately with a garden fork on stable ground; wet leaves and thawing soil are slick.
When the pile is cold or frozen, stop trying to make it perform on schedule. Keep adding suitable scraps in a small central pocket and cover them with browns, or collect them in a lidded container until a thaw. Forcing a dormant pile apart sheds the little heat it has stored. Restart turning and moisture checks when the center begins warming again.
Troubleshooting & FAQ
My compost pile is soaking wet. Should I cover it tighter?
Cover the top so additional rain and snow stay out, but do not seal the sides airtight. Mix in dry leaves, straw, or shredded brown material to restore air spaces, then check that the cover sheds rather than pools water. A sour smell and dripping handful are signs that the pile needs browns and oxygen, not more plastic.
The pile stopped heating. Did I ruin it?
Probably not. Small piles and cold weather commonly slow composting, and a frozen pile may pause until temperatures rise. Consolidate material toward a cubic yard if possible, keep it damp rather than soaked, and wait for a mild spell before turning an active center.
Can I put meat, dairy, or pet waste in my winter compost pile?
No for a typical backyard pile. The EPA warns against those materials because they can attract animals, create hygiene concerns, and may not break down appropriately at home. Use a municipal or commercial organics program if one in your area accepts them.
How often should I turn a compost pile in winter?
Turn only when it is warm enough to work safely and the core is active. A thermometer can show whether the center is heating; Oregon State's guidance ties turning to an active pile reaching high temperatures, rather than to a weekly calendar. If the heap is frozen, preserve its structure and resume when it thaws.
Should I use the unfinished compost on my garden now?
Wait until it looks dark, crumbly, and earthy rather than recognizably leafy or food-heavy. Unfinished material can continue decomposing after you spread it, which is not the soil amendment most gardeners want around growing plants. Let the pile finish in spring if winter slows it down.
Sources we kept
We ranked these for practical backyard guidance, not because a compost pile needs a pile of citations.
- Oregon State University Extension — Keep the compost cooking on the farm this winter. Best for winter moisture, cover, pile-size, and thermometer guidance; its specific numbers turn vague advice into a workable check.
- U.S. Environmental Protection Agency — Composting at Home. Best for the basic aerobic process and the firm list of materials a backyard pile should avoid.
- Hennepin County — Composting at home. Best for a plain brown-to-green starting ratio that a household composter can apply without fuss.
- Montana State University Extension — Home Composting. Best for the cold-weather reminder to block wind and bring cold outer material toward the center only when the pile is active.
Affiliate disclosure: as an Amazon Associate, HowTo.Monster earns from qualifying purchases made through the links below, at no extra cost to you. Our picks are chosen editorially, not by commission.
Apparatus & Materials
| Item | Cost | |
|---|---|---|
| ◆ Dry leaves or other brown material Balances wet kitchen scraps, creates air spaces, and provides a cover layer for each addition. Usually free from the yard, so it is not linked. | $5 | — |
| ◆ Garden fork Moves dry browns into a wet section and turns an active pile without compacting it. Most gardeners already own one, so it is not linked. | $20–$55 | — |
| ◆ Tarp or bin lid Sheds rain and snow from the top while the pile's sides remain open enough for airflow. Use what fits your pile; it is not linked. | $8–$25 | — |
| VIVOSUN 20-Inch Compost Thermometer Our pick for checking the core without dismantling the pile: a 20-inch stainless-steel probe, listed around $23 and supported by far more ratings than the verified alternative we reviewed. | $20–$26 | Buy now |
| Work gloves Useful for wet leaves and fork work, but not a specialty purchase for this task. | $5–$15 | — |
Notes on the sources
The ranking at right reflects our editorial judgment after reading each source in full. For a summary of this entry in brief, see the source ranked first. For the chemistry and underlying principles, see the last.