
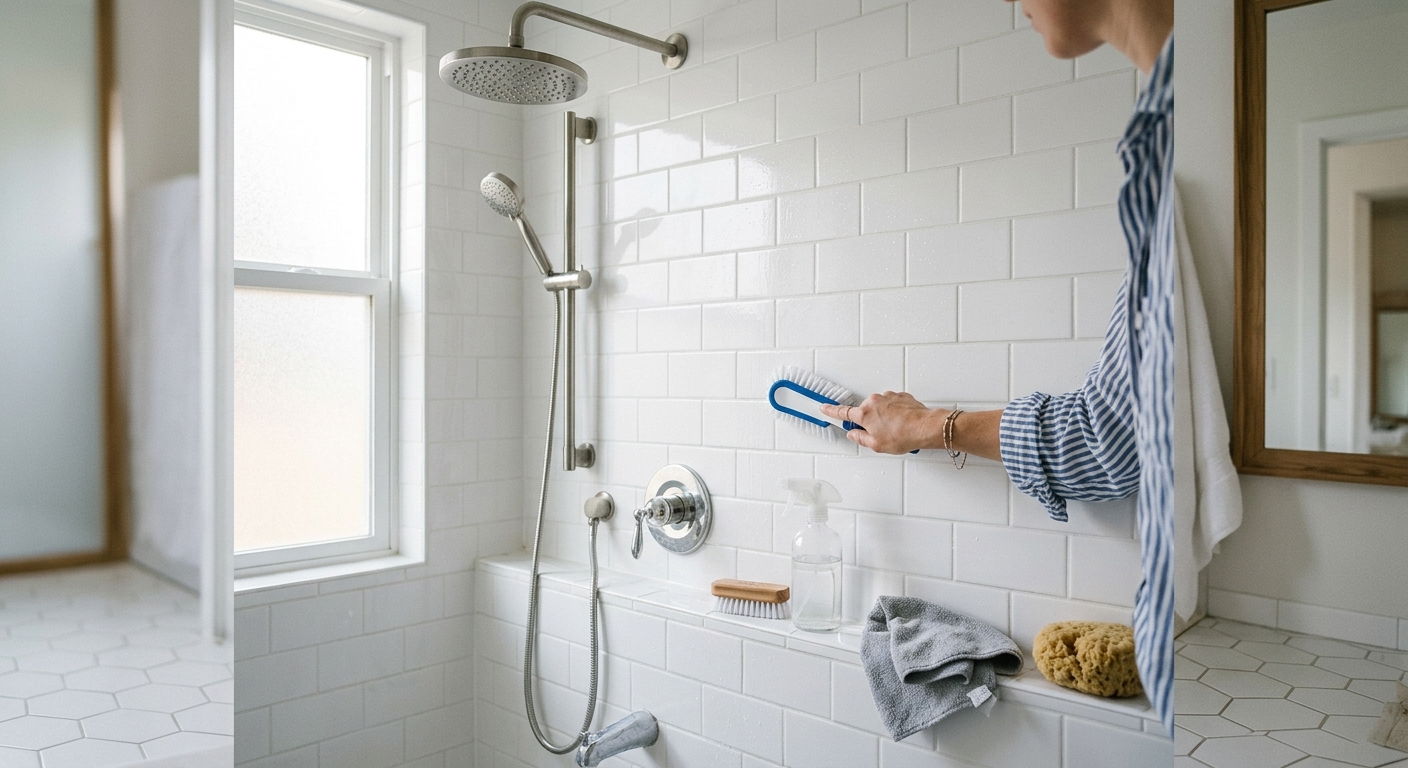
Clean bathroom grout safely by identifying the stain, using a compatible cleaner and brush first, then treating whitening, resealing, and repair as separate decisions.
Start grout cleaning with the least aggressive method that suits the tile and grout: a compatible cleaner, a stiff non-metal brush, and adequate dwell time. Hydrogen peroxide or a commercial grout cleaner may help with staining, but bleach, acids, and abrasive tools can damage some grout, tile, finishes, or nearby materials. Test an inconspicuous area and never mix cleaning chemicals.
What is the safest way to clean bathroom grout?
Identify the problem before choosing a product. Ordinary soil, mildew staining, mineral buildup, and failed grout look similar from a standing height but need different responses. Ventilate the room, read every label, and test a small hidden section. Never mix bleach with any other cleaner, including ammonia, acids, vinegar, or products with unknown ingredients.
| Problem | First response | Surface risk | Ventilation |
|---|---|---|---|
| Routine soil | Compatible cleaner and nylon brush | Low when tested | Normal |
| Mildew staining | Labeled product, dwell time | Product-specific | Strong |
| Mineral buildup | Tile-approved mineral treatment | High on natural stone | Strong |
| Cracked or missing grout | Repair assessment | Cleaning will not fix it | Normal |
The American Cleaning Institute’s label-first approach is the sensible baseline. More force is not automatically more clean; it can turn stained grout into damaged grout. Rinse every product completely before you decide whether another, separately selected method is needed.
Identify soil, staining, mold, or failed grout
Look closely before scrubbing. Soil usually lifts with normal cleaning. White crust may be mineral buildup. Discoloration that returns after cleaning can be soap residue, persistent moisture, or porous grout absorbing stains. Cracks, missing sections, softness, or movement are repair signals, not a request for a stronger cleaner.
For a substantial mold problem or water-damaged material, follow EPA mold-cleanup guidance and address the moisture source. Surface cleaning cannot solve a persistent leak, poor ventilation, or failed caulk.
Default cleaning method: compatible cleaner and brush
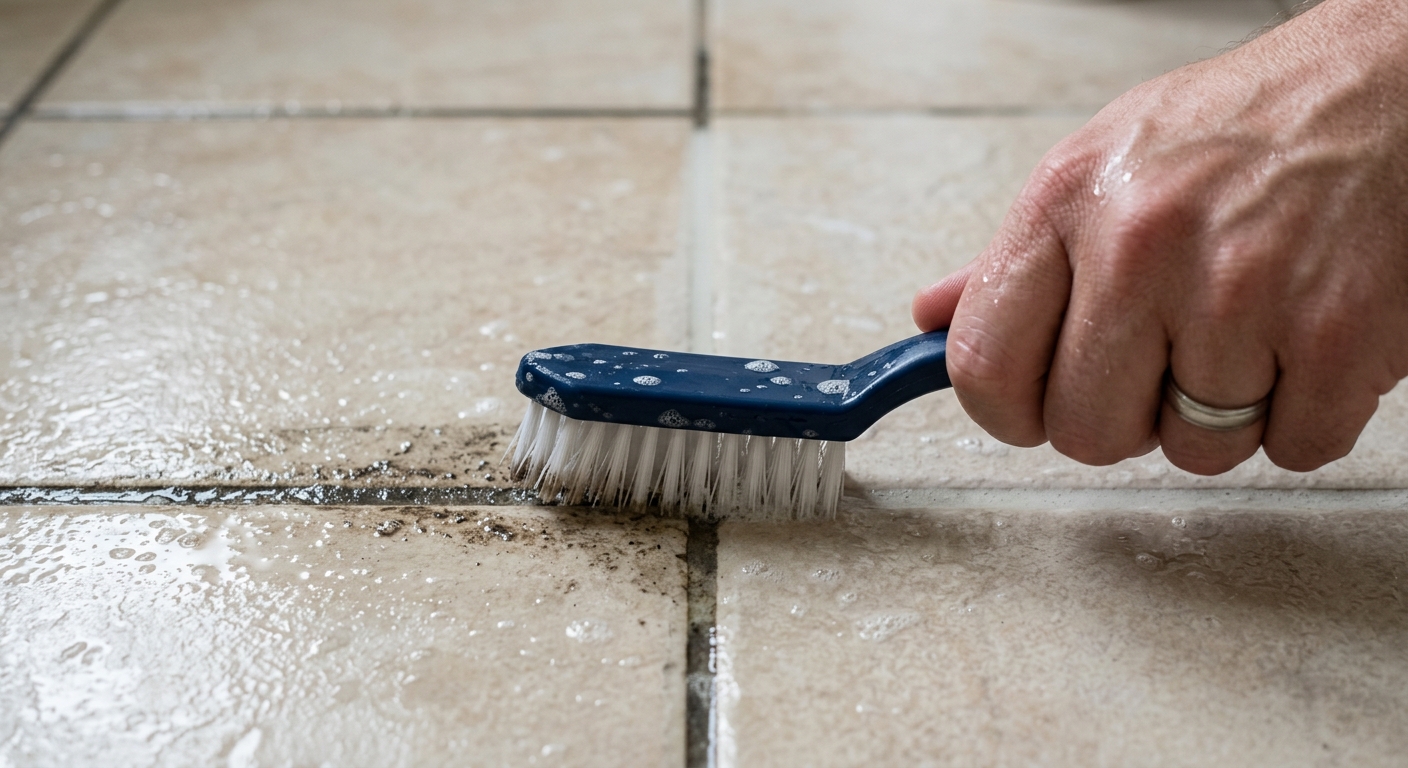
Ventilate first. Apply a tile-and-grout-compatible cleaner according to its label, give it the stated dwell time, then scrub with a stiff nylon grout brush. Work a small area, rinse or wipe thoroughly, and let it dry before deciding whether the result is acceptable. A toothbrush can work in a pinch, but a purpose-made nylon brush reaches narrow lines without metal bristles.
Do not use wire brushes, razor blades, or random abrasive powders. Tile glaze, natural stone, colored grout, and fixtures can all react differently. The Tile Council of North America is the authority to consult when material compatibility is unclear.
When hydrogen peroxide or stronger products are appropriate
Hydrogen peroxide may help with some discoloration on compatible surfaces, but it is not an automatic grout whitener. Test first, use one cleaner at a time, and follow its directions. Commercial grout products can be appropriate when their label specifically covers the surface and stain.
Bleach and acids need special caution. Bleach has chemical-mixing and ventilation risks and may not correct mineral scale or permanent discoloration. Acid products can harm natural stone, some glazes, metal trim, and cementitious grout. Do not combine products in a hopeful little chemistry experiment.
Why grout looks dirty again after cleaning
Recurring discoloration often means moisture, soap residue, hard water, or porous grout is still doing its work. Improve drying: run the exhaust fan, squeegee shower walls, and fix leaks. Once grout is clean and fully dry, determine from the product or installer guidance whether that grout benefits from sealing.
Cleaning, whitening, recoloring, resealing, and replacement are different jobs. Recoloring can address permanent discoloration. Resealing can help suitable clean grout resist staining. Missing or eroded grout needs repair.
When to recolor, reseal, or replace grout
Consider recoloring when grout is intact but permanently stained. Consider resealing only after cleaning and complete drying, and only if the grout/tile maker supports it. Replace grout when it is cracked, loose, missing, or allowing moisture behind the surface. A tile professional is appropriate when the substrate may be damaged.
Document the tile and grout products if you can. A photo of the remaining bag, box, or installation paperwork can prevent a later cleaner or sealer from being chosen on color alone.
How we ranked the sources
We ranked Tile Council guidance first for material compatibility, then cleaning-industry guidance for product and label safety, then EPA for moisture and mold boundaries. Sources earned less weight when they treated bleach, acid, and every tile type as interchangeable.
Troubleshooting & FAQ
What is the best homemade grout cleaner?
A mild compatible cleaner and careful brushing are the safest start. Test any baking-soda paste first because surfaces and grout types vary.
Is hydrogen peroxide better than bleach for grout?
It depends on the stain and surface. Peroxide may help some discoloration; bleach introduces ventilation and mixing risks. Use one product at a time.
Why does grout get dirty again after I clean it?
Moisture, soap residue, mineral deposits, and porous or damaged grout can bring discoloration back. Improve drying, then assess sealing or repair.
Can old grout be made white again?
Some staining can be cleaned or whitened. Erosion, cracks, and permanent discoloration may need colorant, resealing, or replacement.
Should I seal grout after cleaning?
Some cementitious grout benefits from sealing, but products vary. Wait until it is clean and dry, then follow maker instructions.
Full guide, sources ranked: howto.monster/g/how-to-whiten-tile-grout-in-a-bathroom/
Affiliate disclosure: as an Amazon Associate, HowTo.Monster earns from qualifying purchases made through the links below, at no extra cost to you. Our picks are chosen editorially, not by commission.
Apparatus & Materials
| Item | Cost | |
|---|---|---|
| ◆ Baking Soda Mild abrasive that removes dirt and build-up from grout while being gentle on surfaces. Acts as an alkali to dissolve grease and grime. | $1–$3 | — |
| ◆ Grout Brush Specialized brush with compact head and dense, firm bristles designed for scrubbing grout lines effectively. Our pick: OXO Good Grips Grout Brush | $5–$15 | Buy now |
| ◆ Hydrogen Peroxide Whitening agent that brightens grout and helps lift stains. Essential for creating the cleaning paste. Our pick: 3% Hydrogen Peroxide solution | $2–$5 | Buy now |
| ◆ Microfiber Cloths Used to wipe away dirty cleaning solution and excess cleaner. Essential for final cleanup and drying. Our pick: Amazon Basics Microfiber Cleaning Cloths | $5–$12 | Buy now |
| ◆ Mild Dish Soap Added to DIY paste to help break down grease and improve cleaning effectiveness. Works with other ingredients for better results. | $1–$4 | — |
| ◆ Rubber Cleaning Gloves Protective gloves to prevent skin contact with cleaning solutions and bleach. Essential for safety during cleaning process. Our pick: Rubber Household Cleaning Gloves | $3–$8 | Buy now |
| Household Chlorine Bleach Most common and powerful grout whitening solution. Mixed with water to create effective cleaning solution for stubborn stains. Our pick: Clorox Disinfecting Bleach | $2–$6 | Buy now |
| Old Toothbrush Alternative to grout brush for detailed scrubbing in tight spaces and corners. Good for precision cleaning work. | $2 | — |
Notes on the sources
The ranking at right reflects our editorial judgment after reading each source in full. For a summary of this entry in brief, see the source ranked first. For the chemistry and underlying principles, see the last.


