
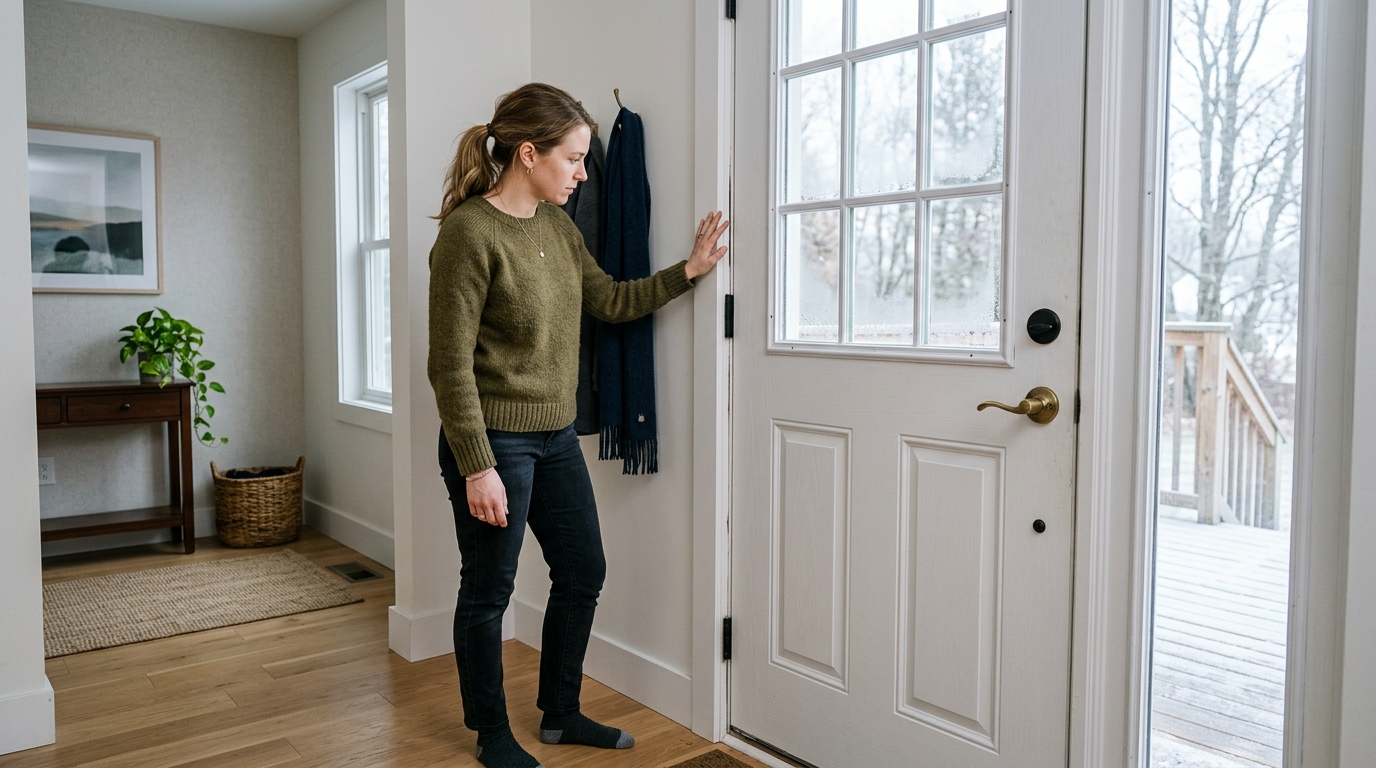
Seal door drafts with the right combination of foam tape, V-strip, and a sweep so the door closes smoothly and your heat stays inside.
A simple fix for one of the biggest draft leaks
A drafty exterior door can make a room feel cold even when the thermostat says otherwise. The fix is usually not one product everywhere, but the right seal in the right spot: the sides and top need a compressible strip, while the bottom often needs a sweep or threshold seal.
The good news is that this is a beginner-friendly project. If you clean the surfaces first, measure carefully, and avoid making the seal too thick, you can close most door drafts in under an hour. The trick is to keep the door easy to latch while still pressing the weatherstripping firmly enough to block air.
Step 1: Find where the draft is actually coming from
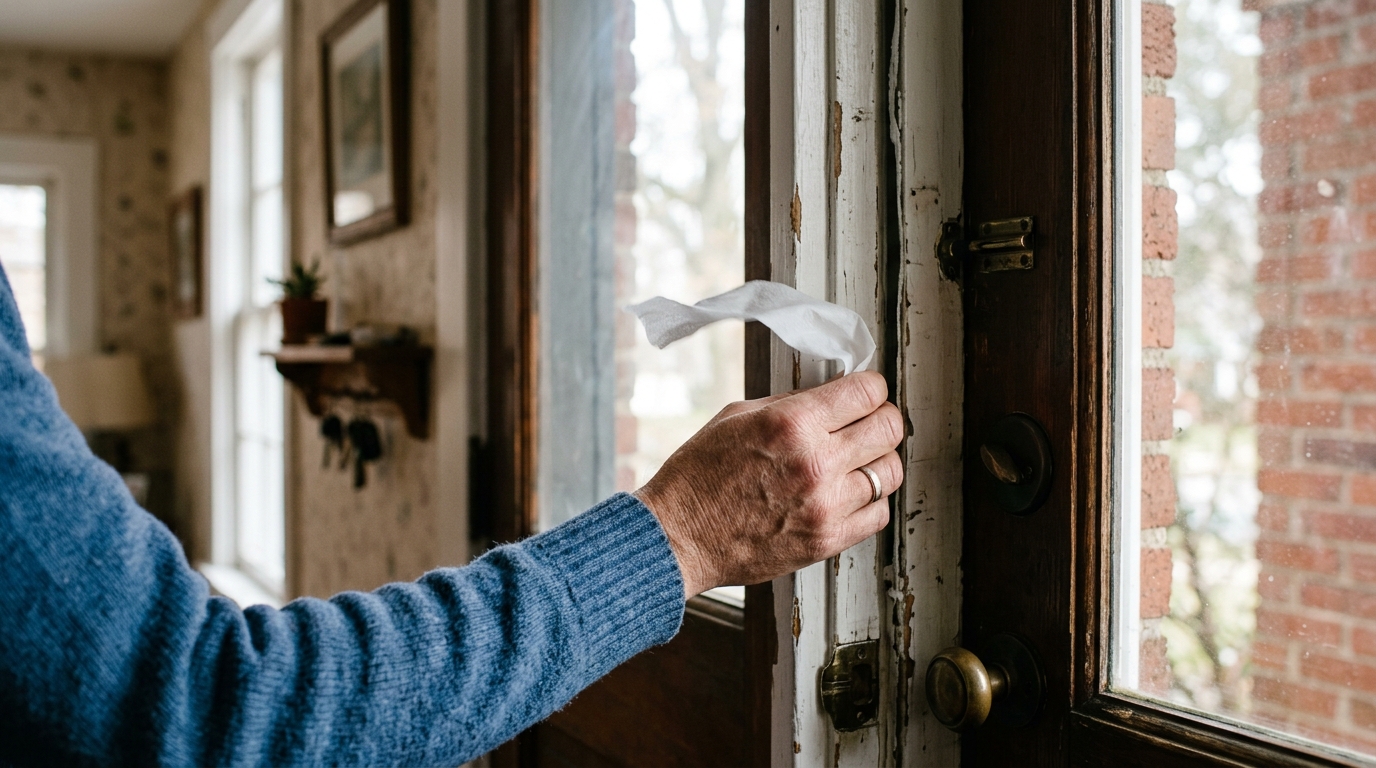
Close the door and slowly move your hand around the inside edge of the frame. In cold weather you can often feel the air leak with your fingers. A thin piece of tissue or a strip of toilet paper can also flutter if air is moving through a gap.
Start by checking three places: the latch side, the hinge side, and the bottom of the door. Most doors leak most heavily at the bottom edge, but the corners and top jamb are often the easiest places to improve first. If the door already drags or sticks, note that before you add anything — a seal that is too thick can make that problem worse.
Step 2: Clean and measure the frame before you cut anything
Wipe the door stop, jamb, and bottom edge with a damp cloth and a little mild soap if needed. Adhesive-backed weatherstripping only holds well on clean, dry surfaces, so let everything dry completely before you install.
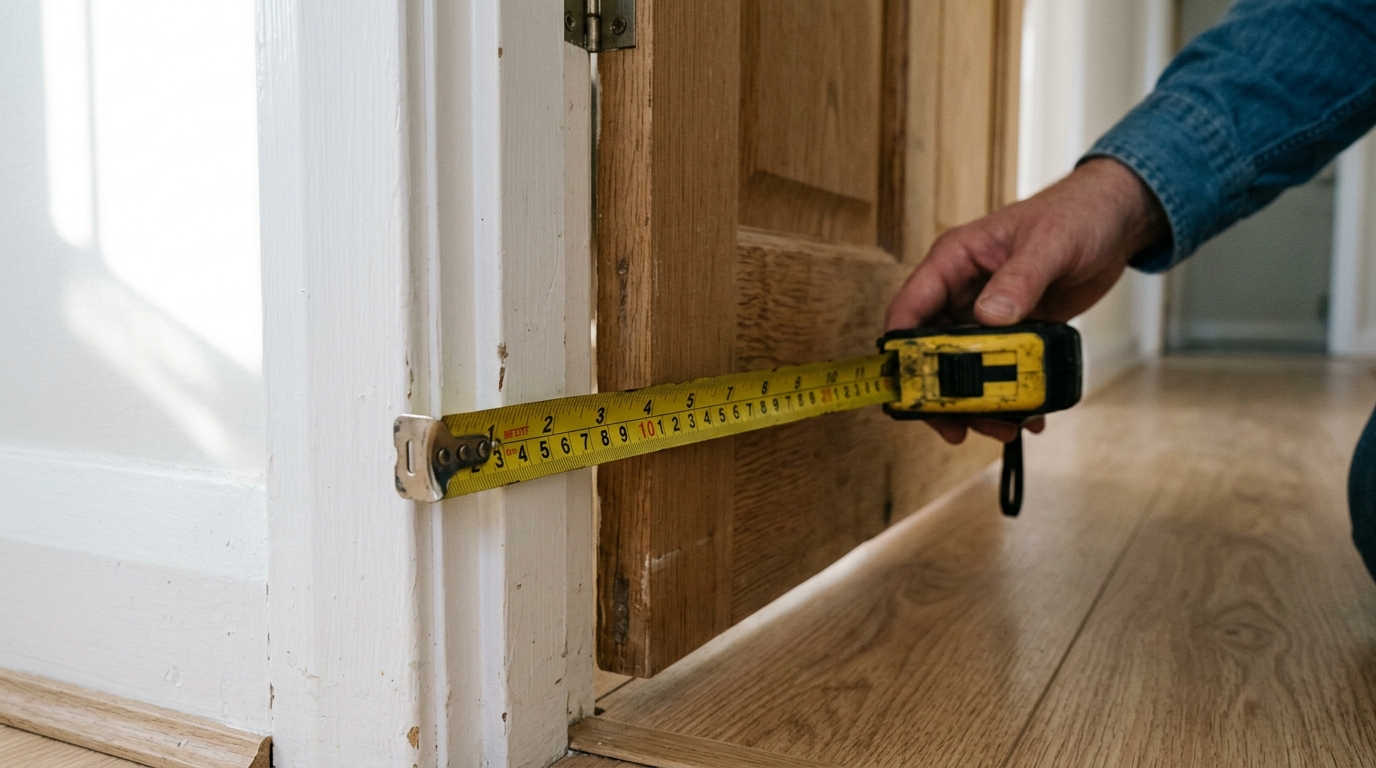
Measure each side separately rather than assuming the frame is square. Older homes often have small differences between the latch side, hinge side, and top rail. Write the lengths down, and if you are using a door sweep, measure the width of the door slab itself so the sweep cuts to the right size.
Step 3: Choose the right seal for each gap
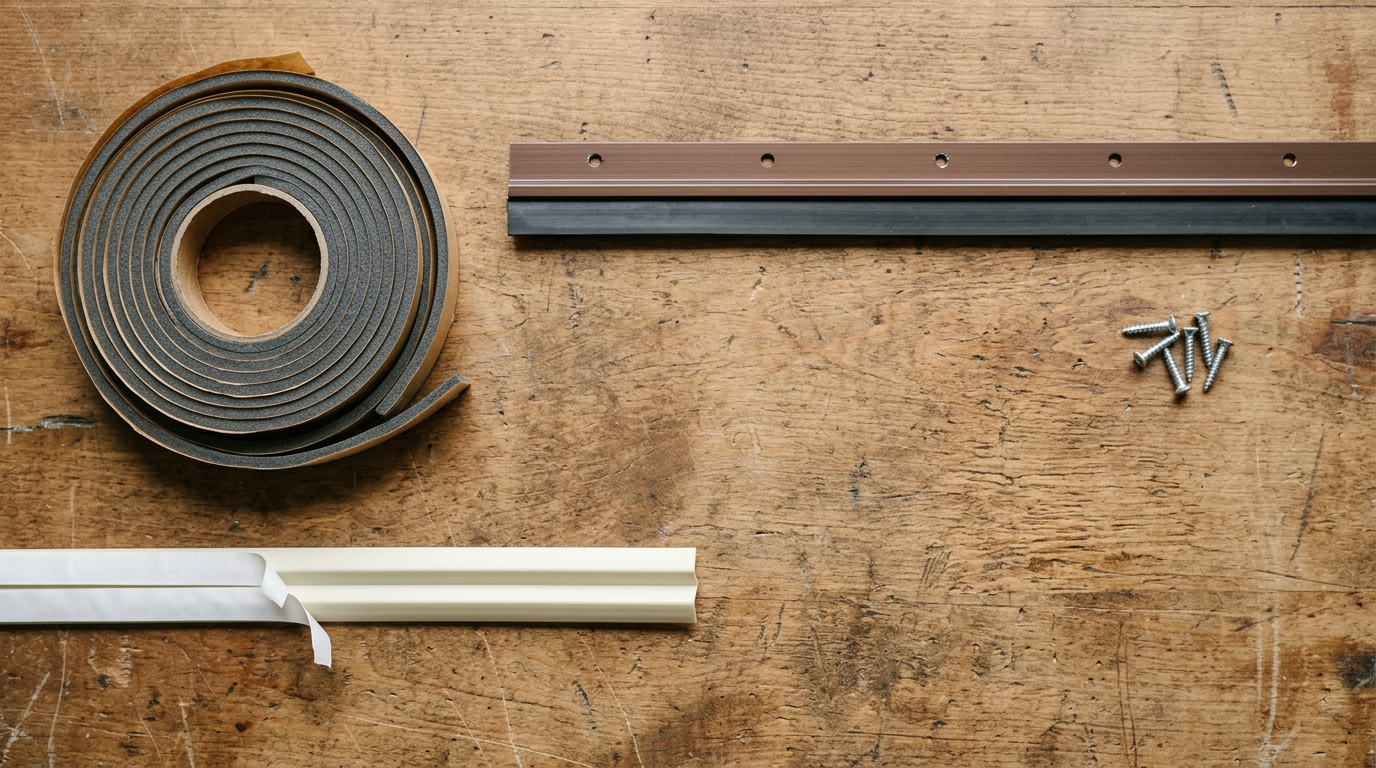
Use foam tape for small, low-wear gaps where you want a simple peel-and-stick solution. Use V-strip or tension seal for the sides and top if you want a longer-lasting option that compresses each time the door closes. Put a door sweep on the bottom edge if the gap under the door is the biggest source of air movement.
The mistake to avoid here is buying one bulky strip and trying to solve every leak with it. The best seal is the one that compresses enough to block air without fighting the latch. If you need to force the door shut, the weatherstripping is probably too thick or in the wrong spot.
Step 4: Install the side and top seals first
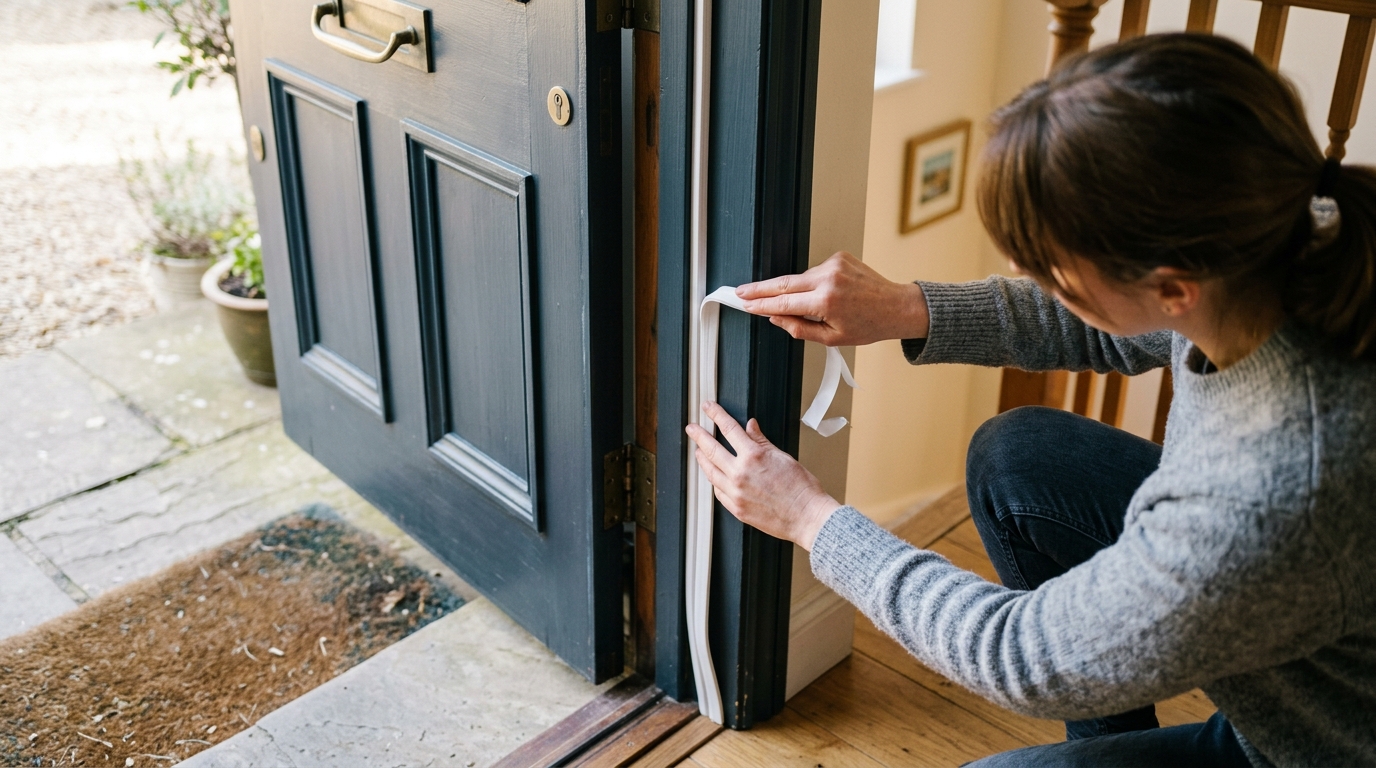
For adhesive foam tape, cut the pieces to length, peel a little backing at a time, and press the strip onto the stop molding without stretching it. For V-strip, align the open side so it will compress when the door closes, then press it into place along the jamb.
Work the top piece in first, then the two sides, so the corners meet cleanly. You want a continuous seal, not a pile of overlapping material in the corners. If the door has a tight latch already, check the fit after each side rather than waiting until all three pieces are installed.
Step 5: Add the bottom sweep and test the close
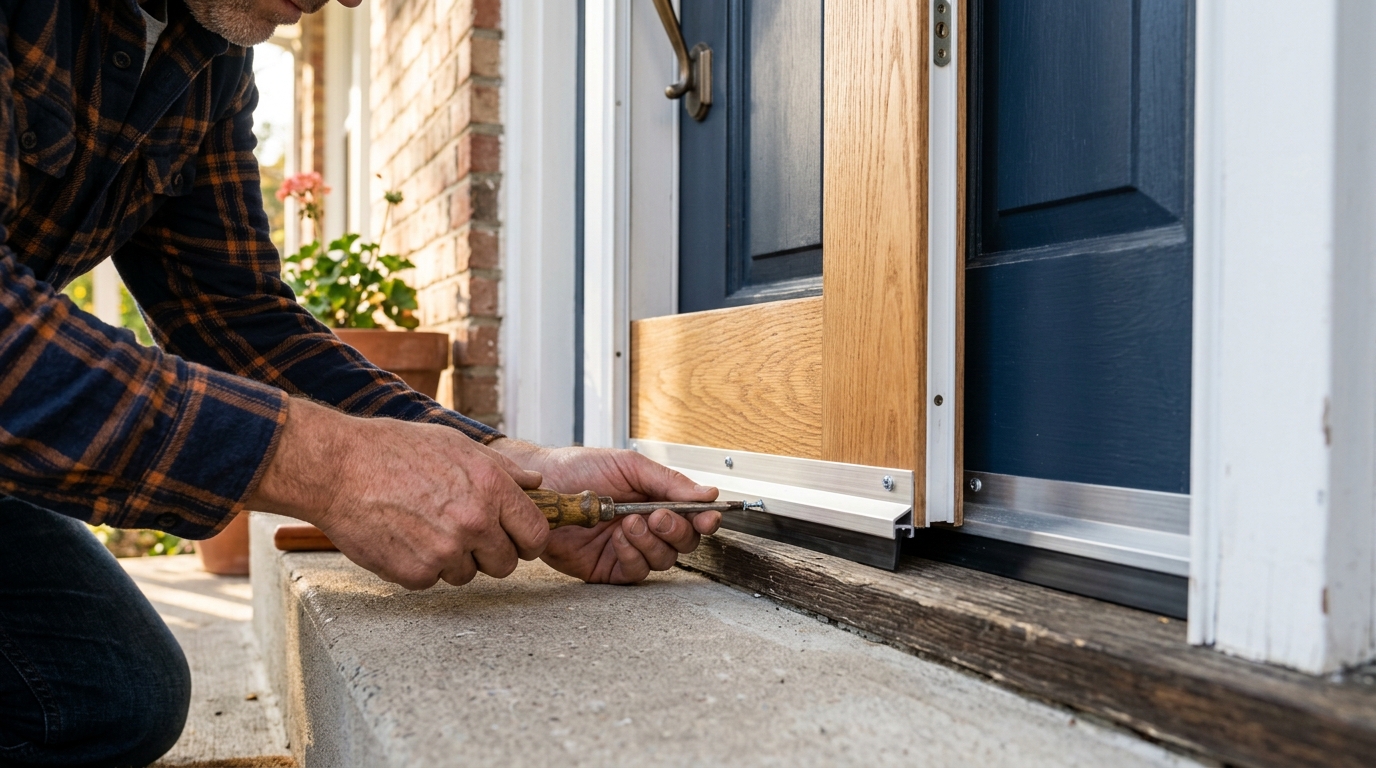
Hold the sweep in place with the door closed so it just brushes the threshold or floor. Mark the screw holes, predrill if needed, and fasten it so the material lightly contacts the surface without creating drag. If the sweep is adjustable, make small changes and retest.
Open and close the door several times. It should latch with normal pressure, not a shove. If the latch catches but the door feels springy, trim or reposition the seal. The goal is a snug compression seal, not a jammed door.
Step 6: Do a final draft check and make small corrections
Once everything is installed, repeat the tissue test around the frame. If a corner still leaks, add a short strip at the gap instead of overbuilding the whole door. Small corrections are usually better than adding thicker material everywhere.
If the door is still hard to close, the seal is doing too much work. Trim the sweep a little, reposition a side strip, or swap to a thinner profile. A good weatherstripping job should disappear into the frame while making the room feel noticeably calmer and warmer.
Apparatus & Materials
| Item | Cost | |
|---|---|---|
| ◆ Door sweep Blocks the gap at the bottom edge where drafts often enter most strongly. | $10–$25 | Buy now |
| ◆ Foam weatherstripping tape Seals the top and sides of the door where the gaps are small and uniform. | $5–$12 | Buy now |
| ◆ Mild cleaner and rag Cleans dust and grease so adhesive-backed material bonds properly. | $3–$10 | Buy now |
| ◆ Scissors or utility knife Cuts the strips and sweep to length after test-fitting. | $5–$20 | Buy now |
| ◆ Tape measure Measures each jamb side and the door width so the seal is cut accurately. | $6–$15 | Buy now |
| V-strip weatherstripping Creates a longer-lasting compression seal for the door jamb. | $7–$18 | Buy now |
Notes on the sources
The ranking at right reflects our editorial judgment after reading each source in full. For a summary of this entry in brief, see the source ranked first. For the chemistry and underlying principles, see the last.


