Discover how the right decorative pulls and handles can completely redefine your home's personality. This curated guide features expert-vetted hardware options for every style and budget.
Introduction
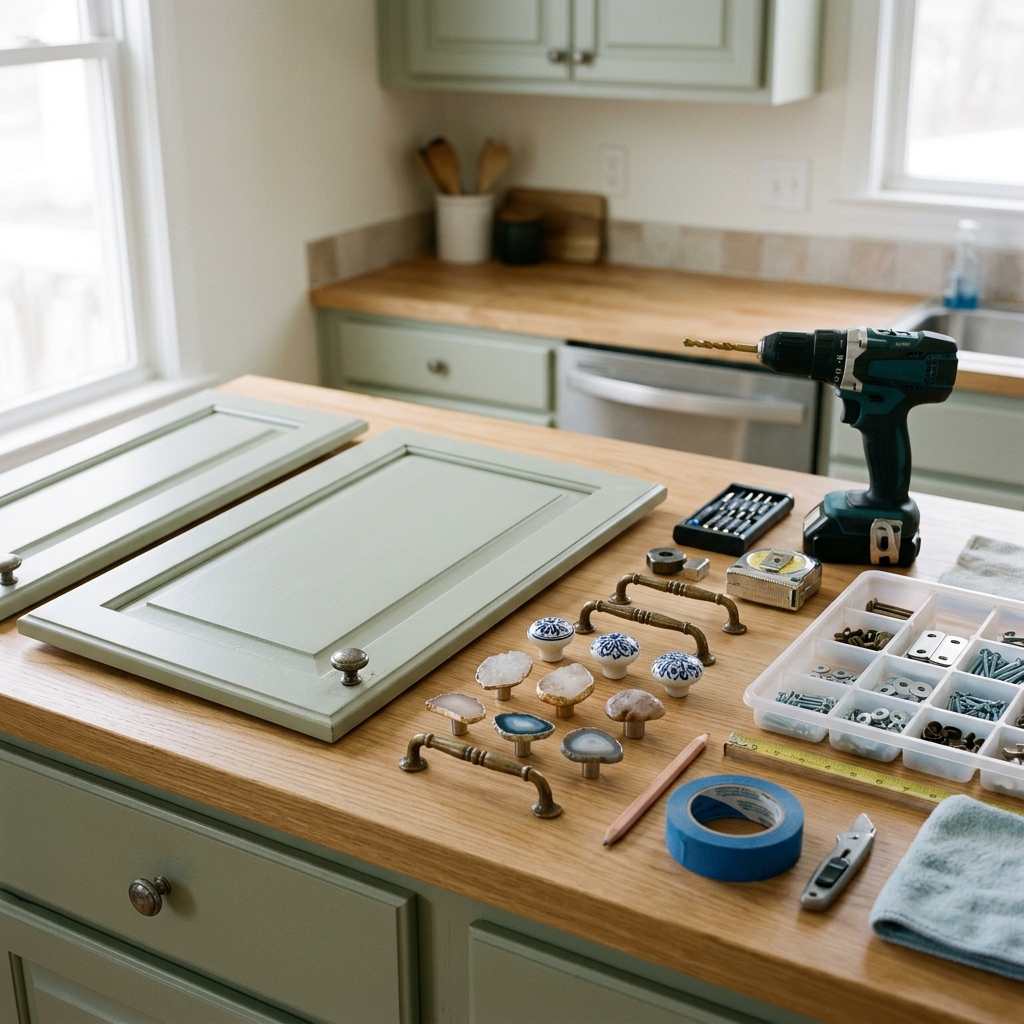
Updating cabinet hardware is one of the most impactful and budget-friendly ways to transform your kitchen or bathroom without a full renovation. The right decorative pieces can completely change the personality of your space - from rustic farmhouse charm with wrought iron pulls to sleek modern sophistication with minimalist bar handles. What makes this project particularly appealing is its accessibility; even beginners can achieve professional-looking results with the right guidance.
This curated guide brings together the most trusted expert resources to help you navigate the hardware update process successfully. Rather than sifting through countless tutorials of varying quality, you'll find vetted recommendations from established home improvement authorities who provide proven techniques and reliable advice. Whether you're a homeowner ready to drill new holes or a renter seeking damage-free solutions, these resources will guide you through material selection, proper installation techniques, and creative approaches to achieve your desired aesthetic.
Overview
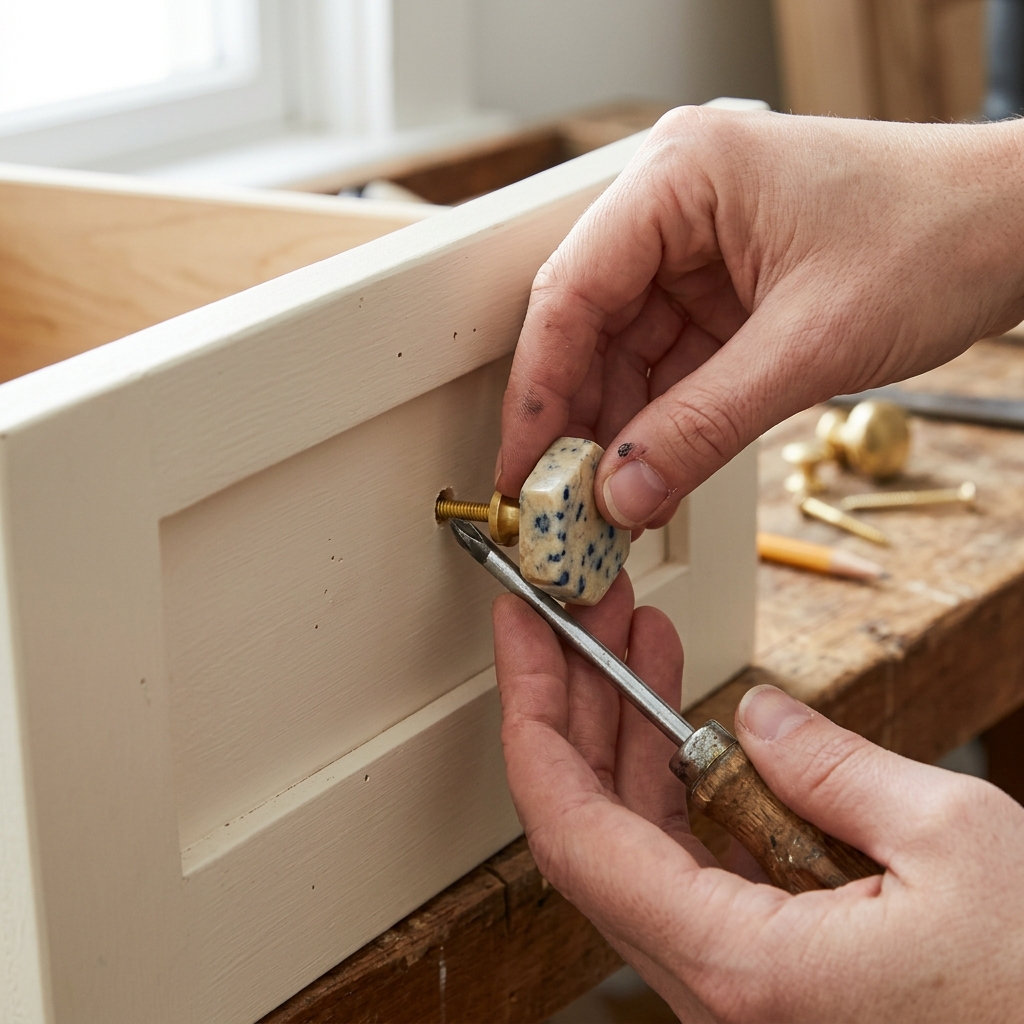
The cabinet hardware update process typically unfolds in three main phases: planning and selection, removal and preparation, and installation of new pieces. During planning, you'll assess your current hardware layout, measure existing hole patterns, and decide whether to reuse existing mounting points or create new ones. This phase also involves selecting hardware styles that complement your space's design direction while considering practical factors like grip comfort and durability.
The preparation phase focuses on carefully removing old hardware and addressing any surface issues. If you're changing hole patterns, this may involve filling old holes with wood putty and sanding smooth. For creative updates, preparation might include adding decorative backplates or mixing different hardware styles strategically across your cabinets.
Installation involves precise measuring and drilling (when needed), followed by mounting your chosen decorative pieces. The key to professional results lies in consistent placement and proper screw selection for your cabinet thickness. Creative approaches might incorporate unexpected materials, mix knobs and pulls intentionally, or layer decorative elements for added visual interest. The detailed step-by-step processes for each phase are thoroughly covered in the expert guides we've selected for you.
Tips & Considerations
Measure twice, drill once - Always double-check measurements and use a template or jig for consistent placement across multiple doors and drawers
Consider door and drawer weight - Heavier doors need more substantial hardware; lightweight decorative pieces may not provide adequate grip for frequently used cabinets
Plan your hardware mix strategically - If combining different styles, establish a clear pattern (such as knobs on doors, pulls on drawers) rather than random placement
Account for cabinet thickness - Screw length must penetrate adequately without protruding through the back; standard screws are 1-inch for face-frame cabinets, 1.25-inch for full overlay
Test functionality before final installation - Ensure new hardware doesn't interfere with adjacent doors, drawers, or appliances when opened
Budget for quality over quantity - Well-made hardware lasts longer and feels better in daily use; consider investing more in frequently used pieces
Save old hardware and screws - Keep original pieces in labeled bags, especially useful for renters or if you change your mind later
Address old holes properly - Don't skip wood putty and sanding when changing hole patterns; visible patches will detract from your update
Conclusion
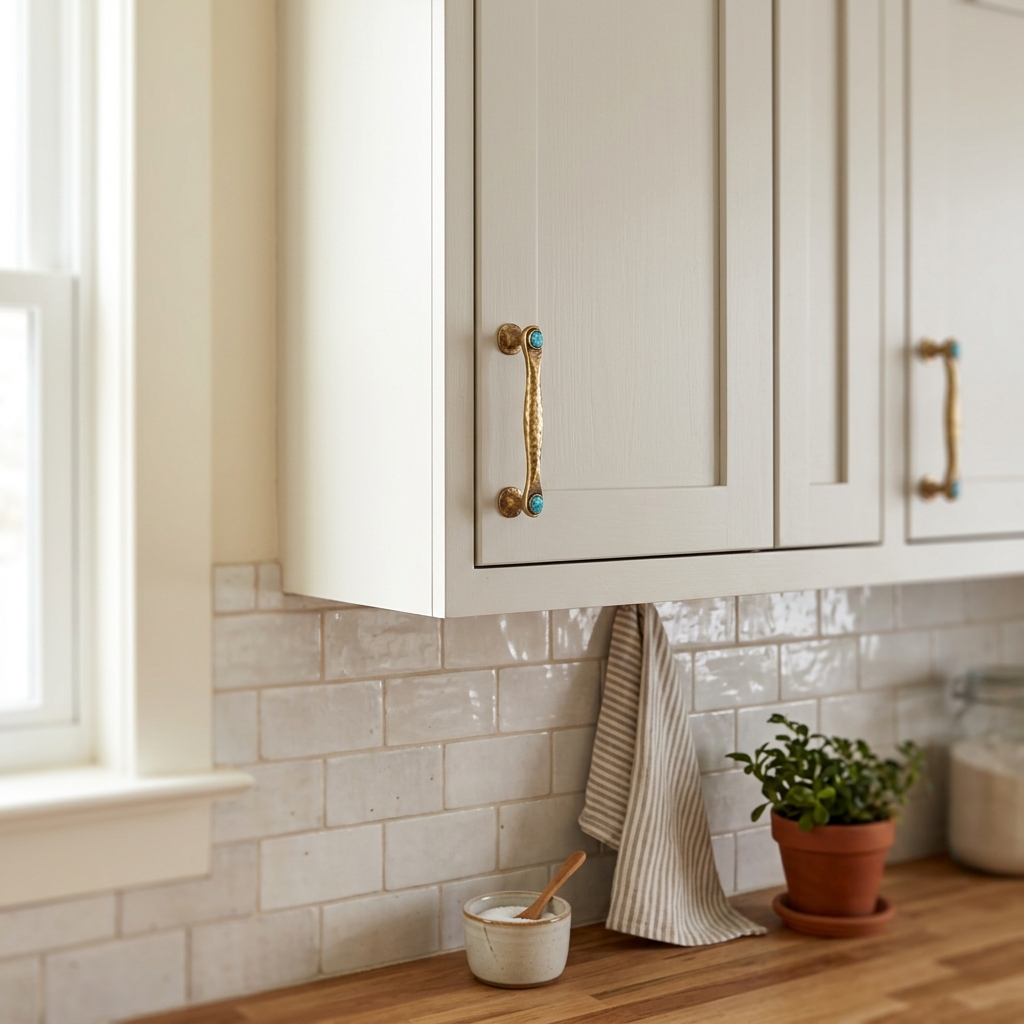
Updating cabinet hardware with creative decorative pieces offers an incredible return on investment, transforming your space's entire aesthetic for a fraction of renovation costs. The key to success lies in following proven techniques from experienced professionals who understand both the technical requirements and design principles involved.
The expert resources we've curated will guide you through every aspect of this project, from initial planning to final installation. These aren't random internet tutorials - they're carefully selected guides from established home improvement authorities who've helped thousands of homeowners achieve professional results. By following their detailed instructions and incorporating the tips we've shared, you'll avoid common pitfalls and create a polished, cohesive look that reflects your personal style.
Take confidence in knowing that cabinet hardware updates are among the most forgiving DIY projects, offering room for creativity while building valuable home improvement skills. With the right guidance and a bit of patience, you'll be amazed at how such a simple change can make your cabinets - and entire room - feel completely renewed.
Apparatus & Materials
| Item | Cost | |
|---|---|---|
| ◆ Hardware Template or Jig Pre-made or DIY template for consistent placement of hardware holes. Ensures uniform spacing and prevents crooked installation. | $5–$30 | Buy now |
| ◆ Level or Straightedge Tool for ensuring hardware placement is straight and aligned properly across multiple cabinet doors and drawers. | $8–$25 | Buy now |
| ◆ New Cabinet Hardware Decorative knobs, pulls, or handles to replace existing cabinet hardware. Choose from various styles, materials, and finishes to update your cabinets. | $3–$25 | Buy now |
| ◆ Power Drill with Drill Bits Electric drill with various bit sizes, including 3/16-inch twist drill bit for making screw holes in cabinet doors and drawers. | $25–$100 | Buy now |
| ◆ Screwdriver Set Manual or cordless screwdriver for removing old hardware screws and installing new hardware securely. | $10–$40 | Buy now |
| ◆ Tape Measure Measuring tool for determining proper placement distances and centering hardware on cabinet doors and drawers. | $5–$15 | Buy now |
| Thread Sealant Blue Loctite or similar product to secure single-screw knobs and prevent them from loosening over time with use. | $4–$10 | Buy now |
| Wood Putty Filling material used to patch old hardware holes when changing to different screw alignments or hole patterns. | $3–$8 | Buy now |
Notes on the sources
The ranking at right reflects our editorial judgment after reading each source in full. For a summary of this entry in brief, see the source ranked first. For the chemistry and underlying principles, see the last.