Stop a toilet that keeps refilling by checking the flapper, cleaning the seal, and swapping in the right replacement part.
Stop the ghost flush at the source
A running toilet is usually a sealing problem, not a full plumbing emergency. In many cases the tank is losing a little water past the flapper, the fill valve keeps topping it off, and the cycle repeats all day. The fix is often simple: identify whether the leak is coming from the flapper or the fill valve, then replace the worn part and verify the seal.
This guide focuses on the flapper path because it's the most common beginner repair. You do not need specialty plumbing skills for a standard tank, but you do need to match the right part and avoid the two classic mistakes: buying the wrong style and setting the chain too tight.
Step 1: Confirm the flapper is actually the problem
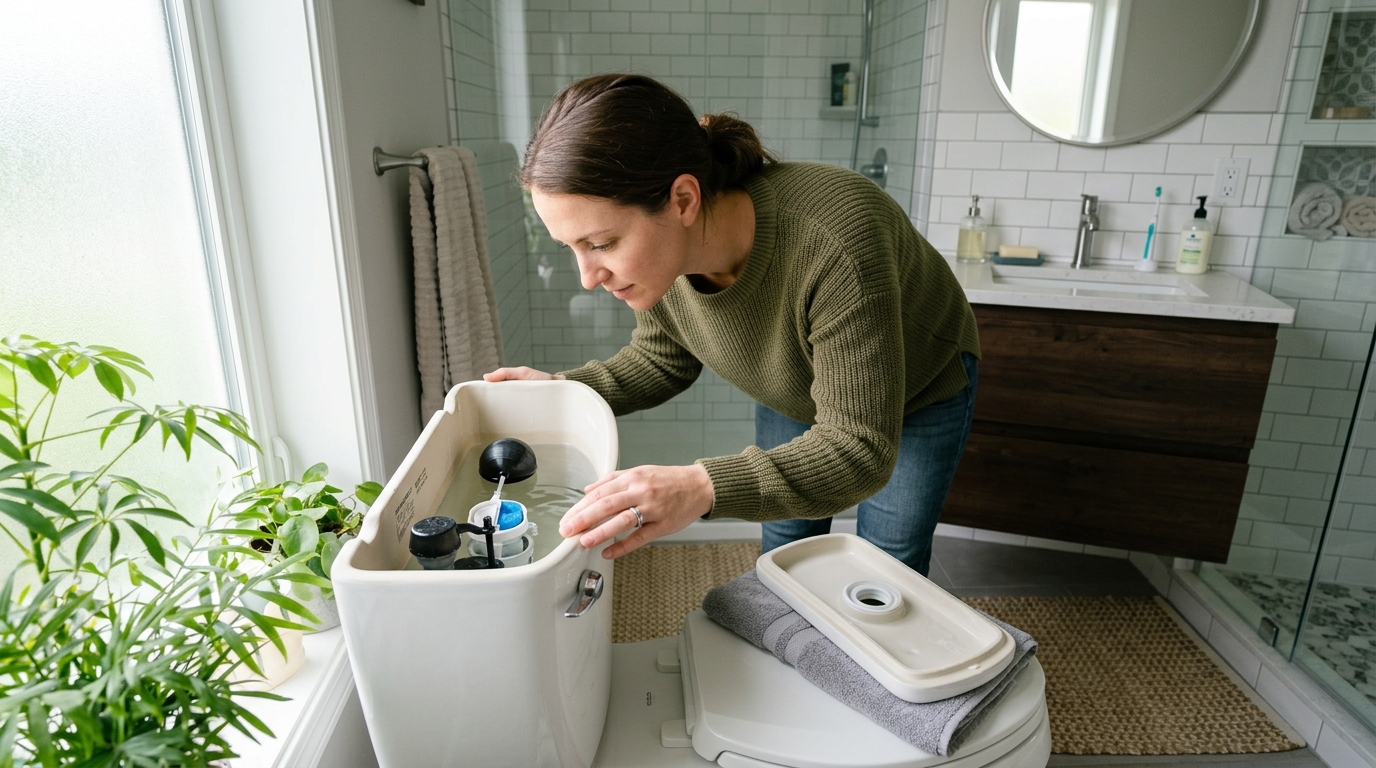
Lift the tank lid and watch what happens while the toilet sits unused. If water is calmly dropping into the bowl and the tank refills in short bursts, the flapper is a strong suspect. If water is flowing constantly into the overflow tube at the top of the tank, the fill valve or float height is more likely the issue.
A quick dye test gives you a clearer answer. Add a few drops of food coloring to the tank, wait ten to thirty minutes without flushing, and check the bowl. If the bowl water picks up color, water is leaking past the flush seal. That tells you the repair should start at the flapper or flush valve seat, not at the handle.
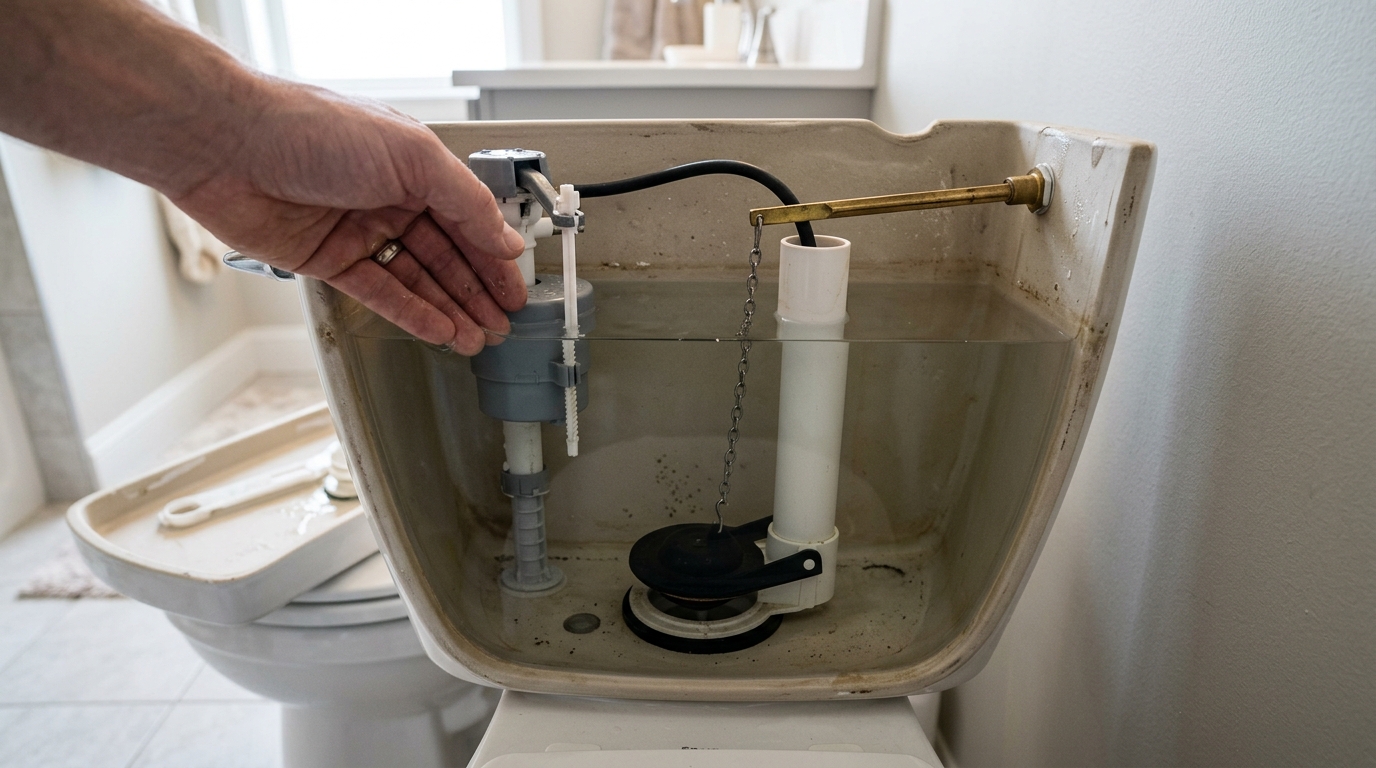
Step 2: Shut off the water and drain the tank
Turn the toilet shutoff valve clockwise until it stops, then flush to empty most of the tank. If a shallow pool remains at the bottom, soak it up with a sponge or cup so you can work cleanly. Keep a towel under the tank and around the base because old valves and hose fittings often drip when they are moved.
This is the point where impatience causes problems. Do not wrench the shutoff hard if it resists, and do not rush straight into pulling parts while the tank still has standing water. A dry tank makes the rest of the repair easier to see and easier to photograph if you want to match the replacement part later.
Step 3: Remove the old flapper and inspect the seat
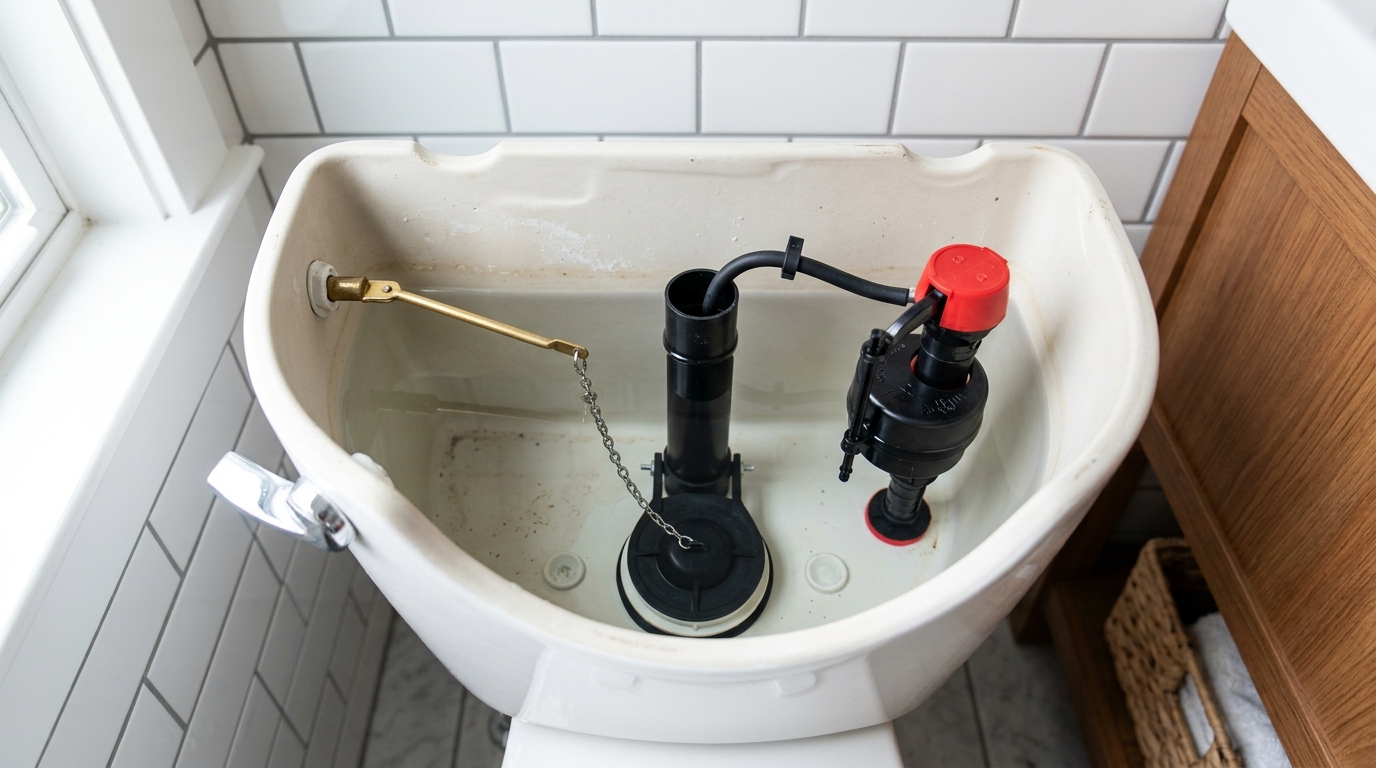
Unhook the chain from the flush lever arm first so the flapper can move freely. Then detach the flapper from the overflow tube or lift it off the mounting ears, depending on the toilet design. Before you toss it, look closely at the rubber. Cracks, stiffness, warping, or a gummy surface are all signs that the part has aged out.
Now inspect the flush valve seat, which is the ring the flapper seals against. Wipe away slime and mineral buildup with a soft cloth or non-scratch sponge. If the seat is pitted or damaged, note that a replacement flapper alone may not solve the leak. That warning matters because many homeowners blame the new part when the real problem is the sealing surface underneath it.
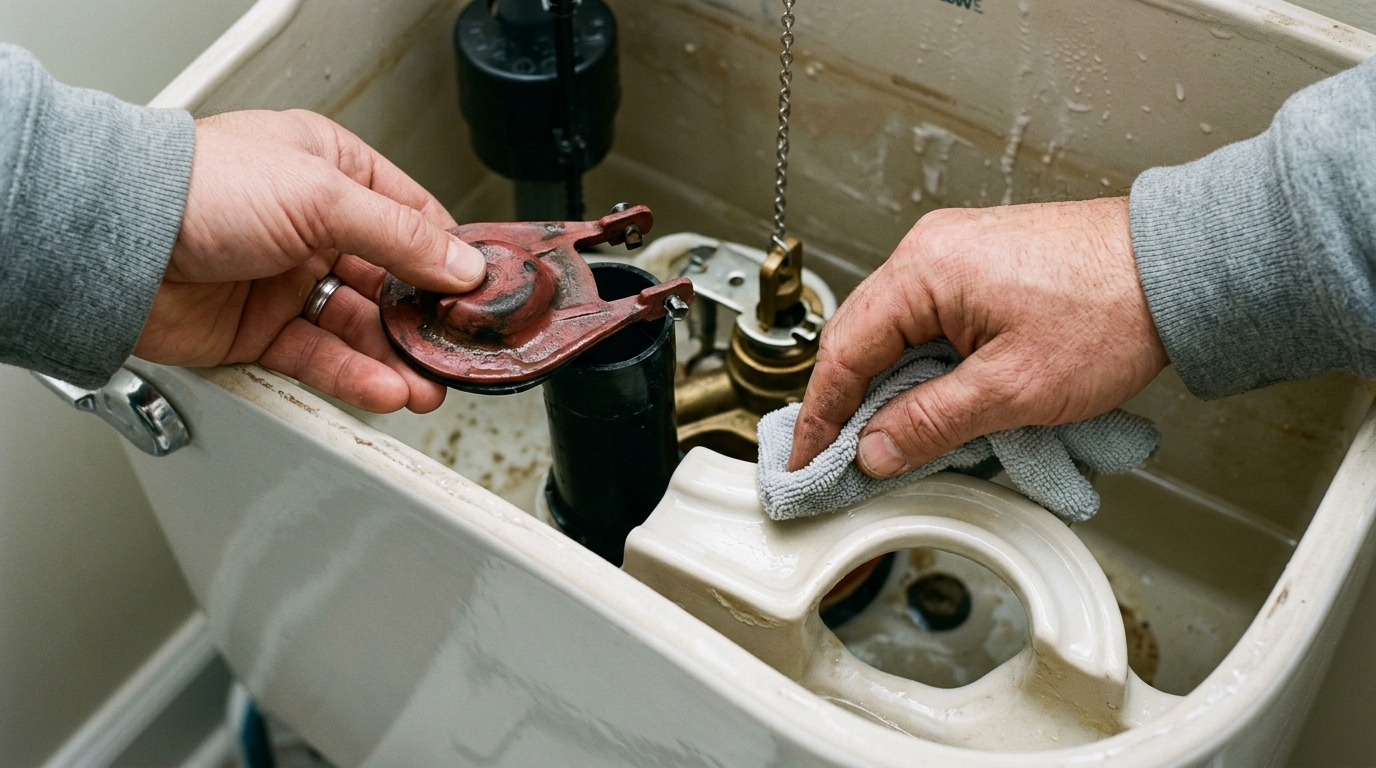
Step 4: Match and install the new flapper
Take the old part with you if you are unsure about the replacement. Flappers are not universal: some toilets use a standard 2-inch flapper, some use a 3-inch part, and others use a canister or tower assembly instead of a flapper at all. Match the shape and attachment style to the toilet model whenever possible.
Install the new flapper so it sits centered and pivots freely. Reconnect the chain with a little slack so the flapper can fully close before the handle lifts it again. If the chain is too short, the flapper stays slightly open; if it is too long, the flush feels weak. Aim for enough slack that the flapper seals flat, but not so much that the chain tangles under the valve.
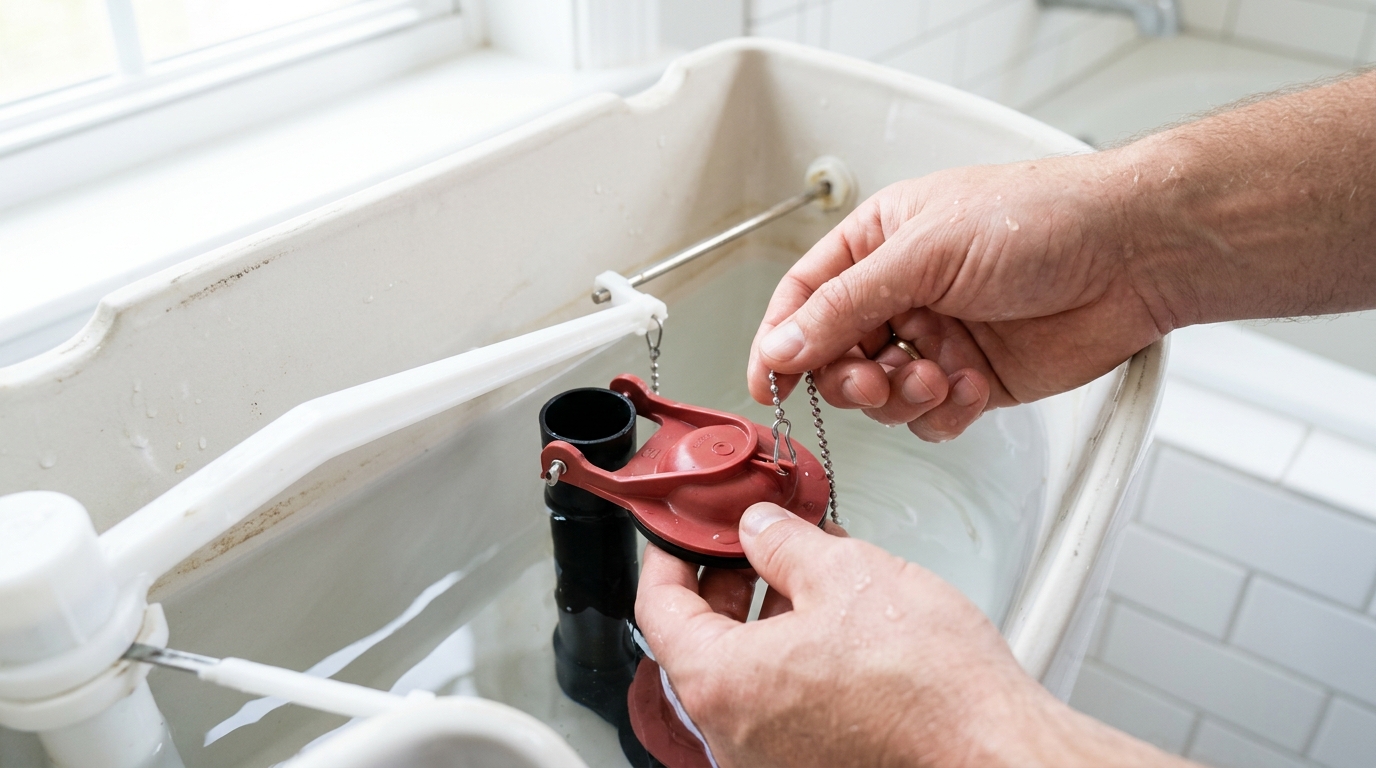
Step 5: Turn the water back on and verify the fix
Open the shutoff valve slowly and let the tank refill. Watch the flapper seat, the water line, and the overflow tube. The tank should stop filling before water reaches the top of the overflow tube, and the bowl should stay quiet once the refill cycle ends.
Flush the toilet several times to make sure the new flapper lifts cleanly and drops back into place. Then repeat the dye test if you want a stronger confirmation. A clean bowl after thirty minutes is the best sign that the seal is holding and the phantom flush is gone.
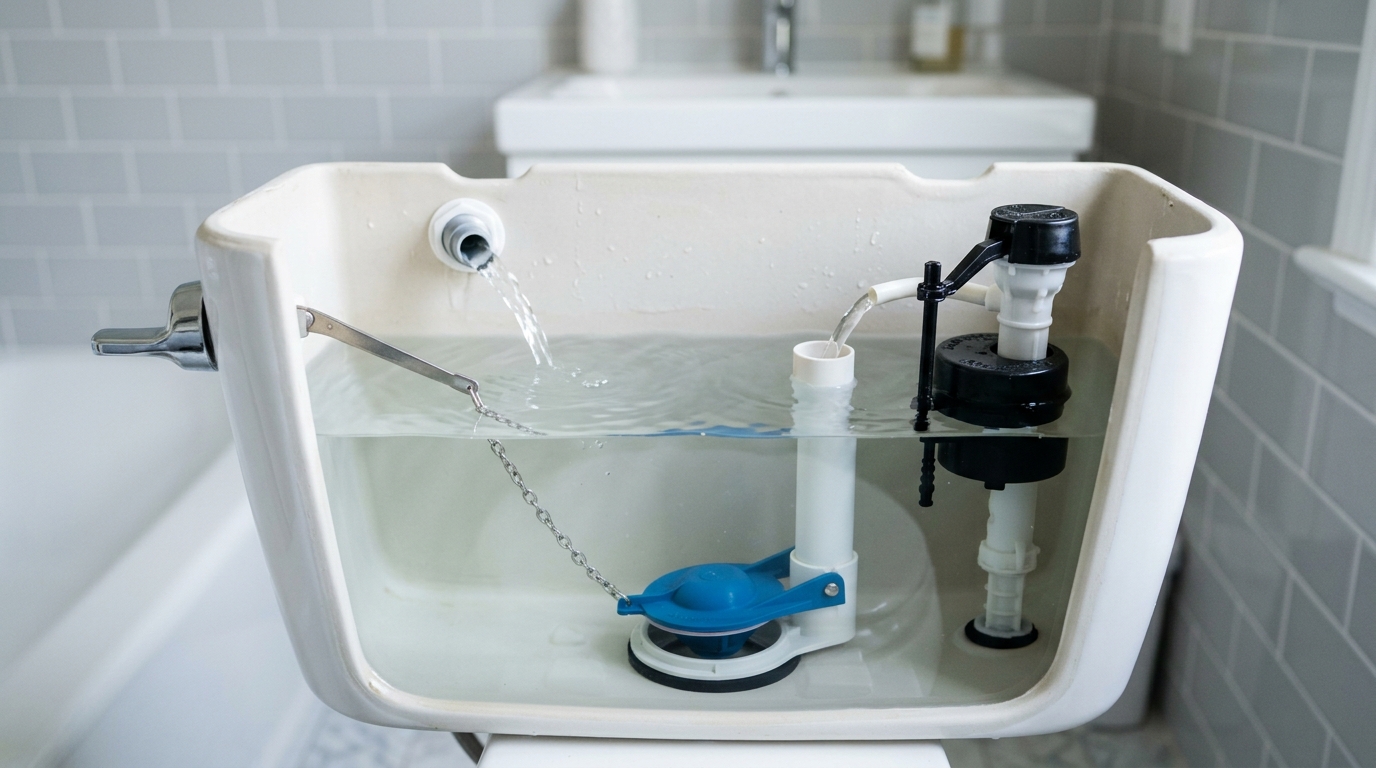
Common mistakes to avoid
Do not assume every running toilet needs the same part. If water is overflowing into the tube, adjusting or replacing the fill valve may be the real fix. Do not crank the chain tight in an effort to make the flush stronger; that usually creates the leak you were trying to eliminate. Do not skip cleaning the seat, because mineral film can keep even a new flapper from sealing.
If the toilet still runs after a correct flapper replacement, the flush valve seat may be worn or the fill valve may be overfilling the tank. At that point, the right next step is diagnosis, not forcing the same repair again.
Apparatus & Materials
| Item | Cost | |
|---|---|---|
| ◆ Replacement toilet flapper Replaces the worn seal that lets tank water leak into the bowl. | $8–$18 | Buy now |
| ◆ Soft cloth Wipes slime and mineral buildup from the flush valve seat. | $2–$8 | Buy now |
| Bucket or cup Helps remove leftover water from the tank before installing the new flapper. | Free | Buy now |
| Nitrile gloves Keeps your hands clean while handling old tank buildup and wet parts. | $8–$15 | Buy now |
Notes on the sources
The ranking at right reflects our editorial judgment after reading each source in full. For a summary of this entry in brief, see the source ranked first. For the chemistry and underlying principles, see the last.