Stop a toilet that keeps refilling by checking the flapper, correcting chain slack, and setting the fill valve so the tank seals cleanly.
A running toilet is usually a seal problem
A toilet that keeps making noise or quietly trickling into the bowl is almost always wasting water for a reason you can see. In most cases, the flapper no longer seals well, the chain is too tight or too loose, or the tank water is set too high and spills into the overflow tube.
This guide starts with a quick diagnosis so you don't replace the wrong part. Then it walks through the most common fixes in order: inspect the flapper, replace it if needed, set the chain slack, and tune the fill valve so the tank stops at the right level.
Step 1: Confirm where the leak is happening
Before you remove parts, listen for the pattern. If the toilet refills every few minutes, water is probably leaking from the tank into the bowl and the fill valve is topping the tank back up. If you hear a steady trickle, look for water flowing into the overflow tube or a flapper that never quite seals.
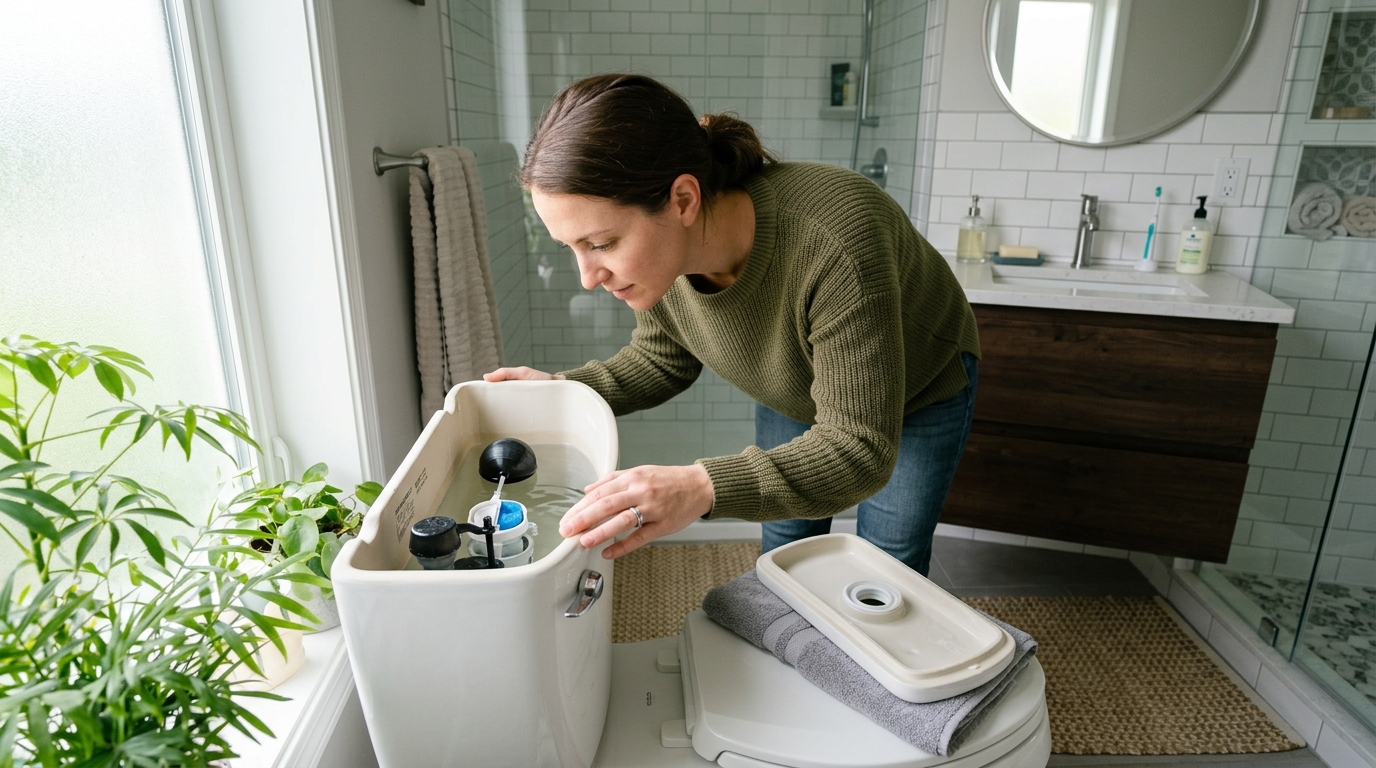
Lift the tank lid carefully and set it on a towel. Check the water level: it should stop below the top of the overflow tube, not above it. If the water line is too high, the fill valve may be set too aggressively and the excess water will drain away as soon as the tank fills.
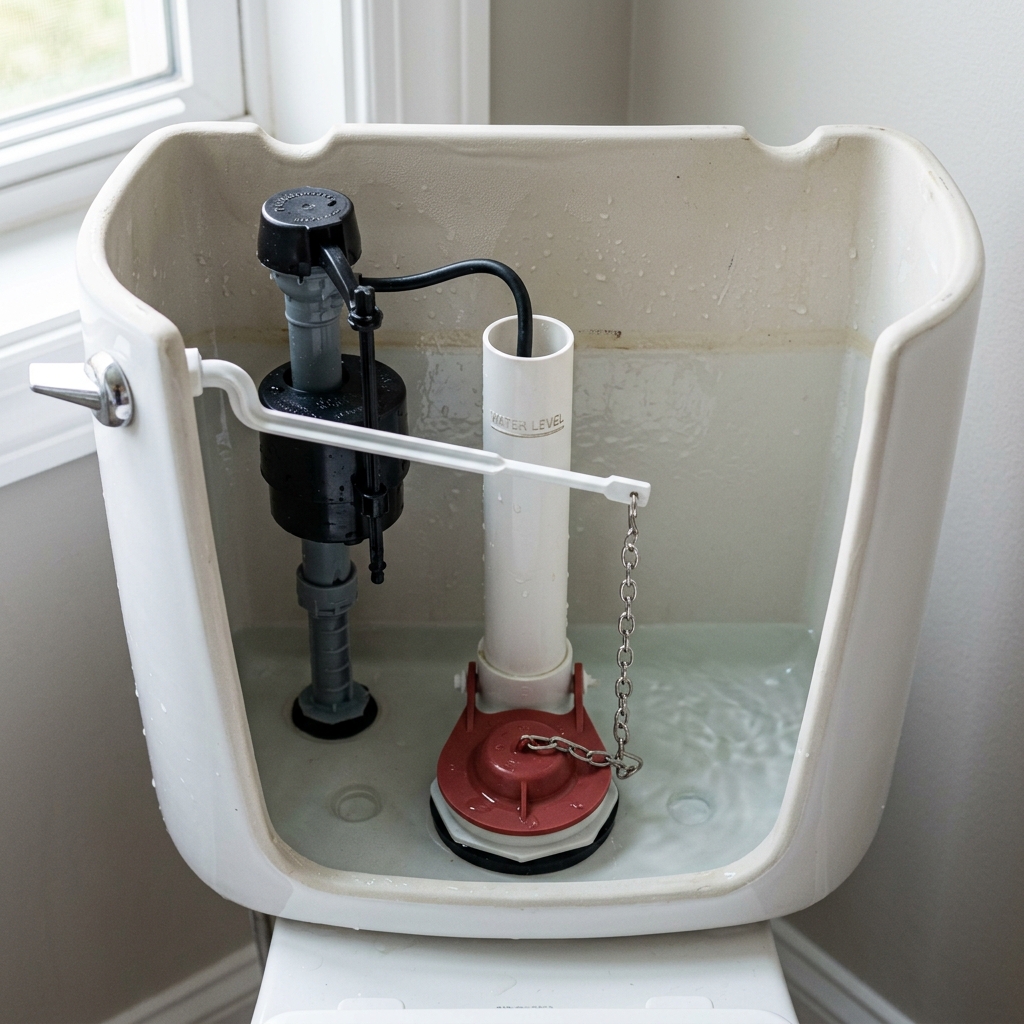
Step 2: Inspect the flapper and chain
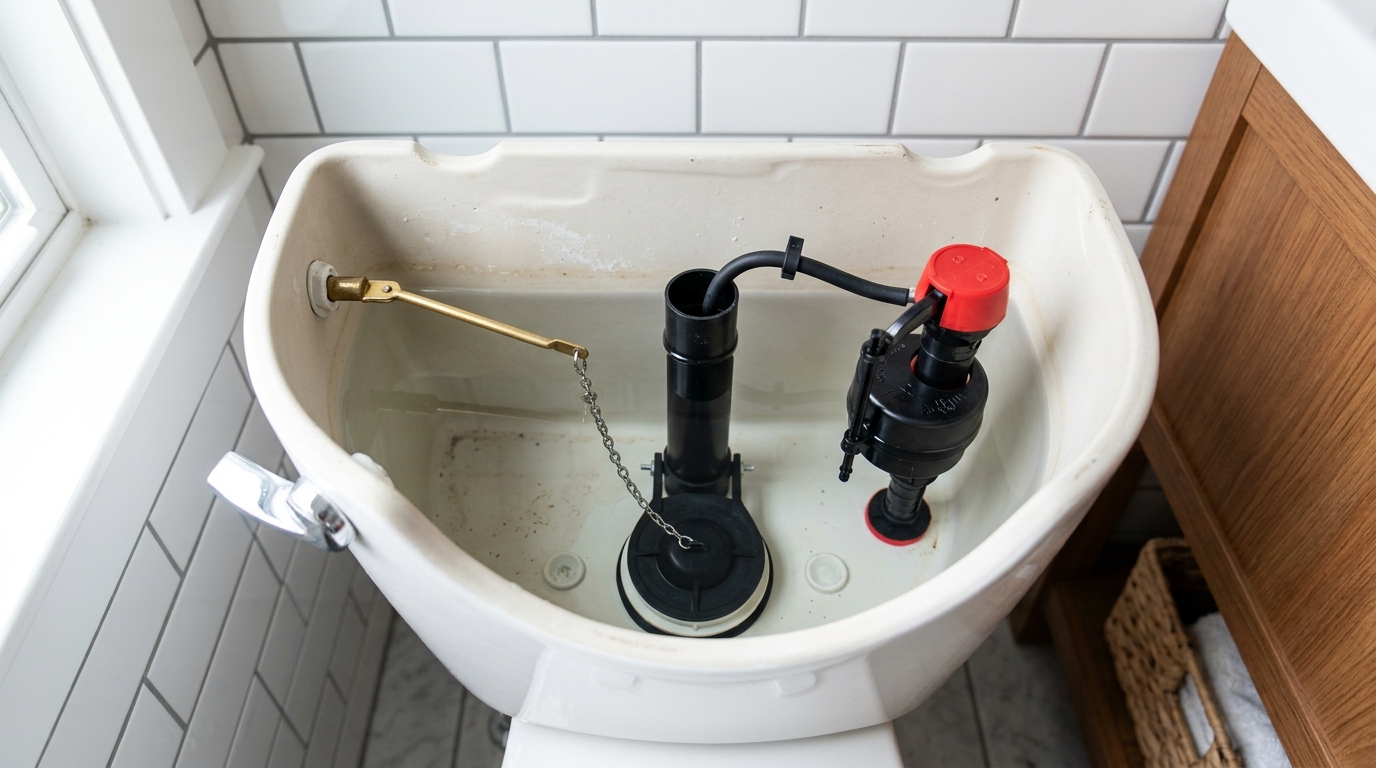
The flapper is the rubber seal that holds tank water until you flush. Over time it can warp, build up mineral slime, or harden at the edges so it no longer sits flat on the valve seat. A chain that is too tight can hold the flapper open; a chain that is too loose can snag or prevent a clean lift.
Pull the chain off the lever and move the flapper by hand. It should rest evenly and drop closed without resistance. If the rubber looks stiff, cracked, or slimy in a way that doesn't rinse away, replace it rather than trying to salvage it.
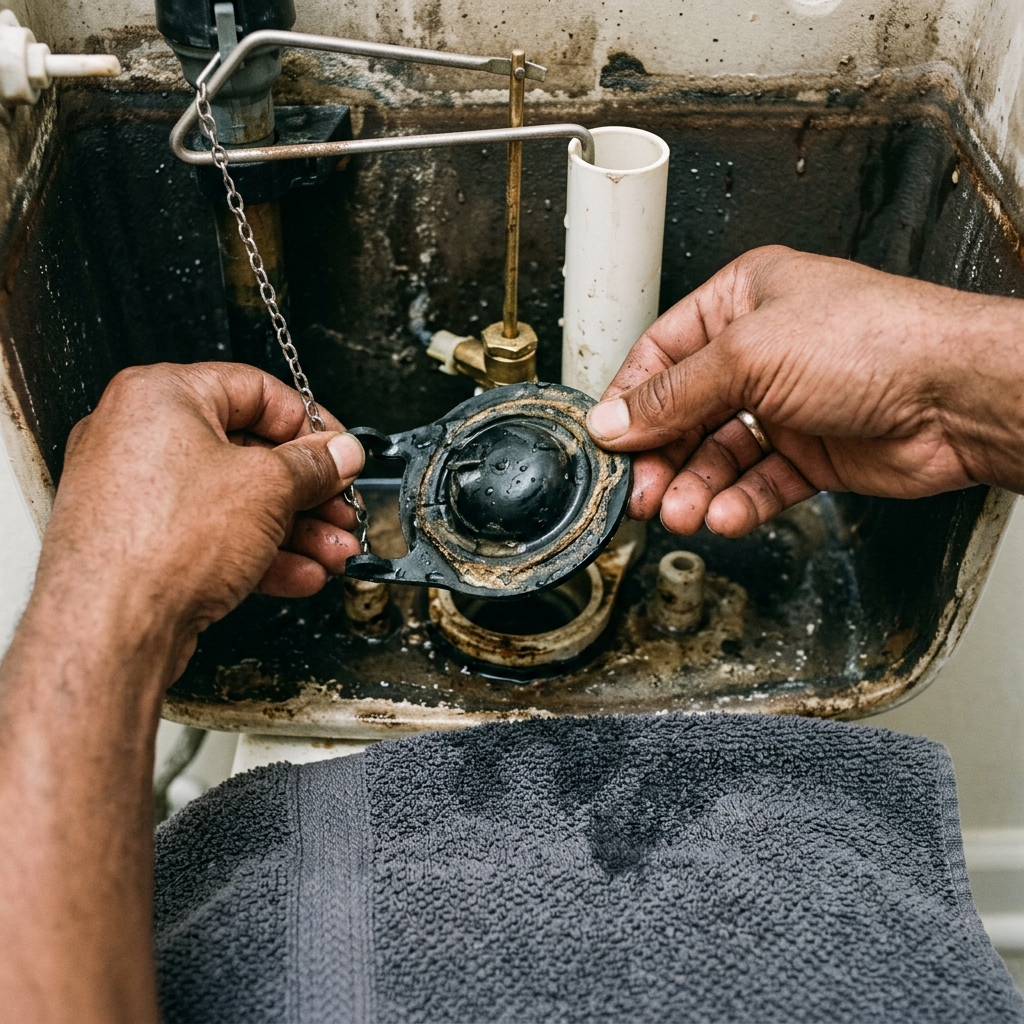
Step 3: Replace the flapper and reset chain slack
Most universal flappers unclip from the overflow tube pegs and snap onto the same mounting points. Remove the old part, seat the new flapper squarely, and reconnect the chain so it has a little play when the flapper is fully closed. You want just enough slack that the valve can seal without the chain lifting it.
Flush once and watch the close. The flapper should fall naturally and cover the seat without twisting. If the chain is pulling sideways or the valve is not centered, reseat it now; a slightly crooked install can create the same leak you were trying to fix.
Step 4: Lower the fill level if the tank is overfilling
If water is running into the overflow tube, the tank is filling too high. On modern fill valves, use the adjustment screw or slider to move the float down a little, then let the tank refill and check the water line again. The goal is to stop below the top of the overflow tube so the tank can hold water without spilling it away.
Do this in small increments. A tiny adjustment can be enough, and pushing the level too low can make the flush weak. If the valve doesn't respond smoothly or the float sticks, the fill valve itself may be worn and need replacement.
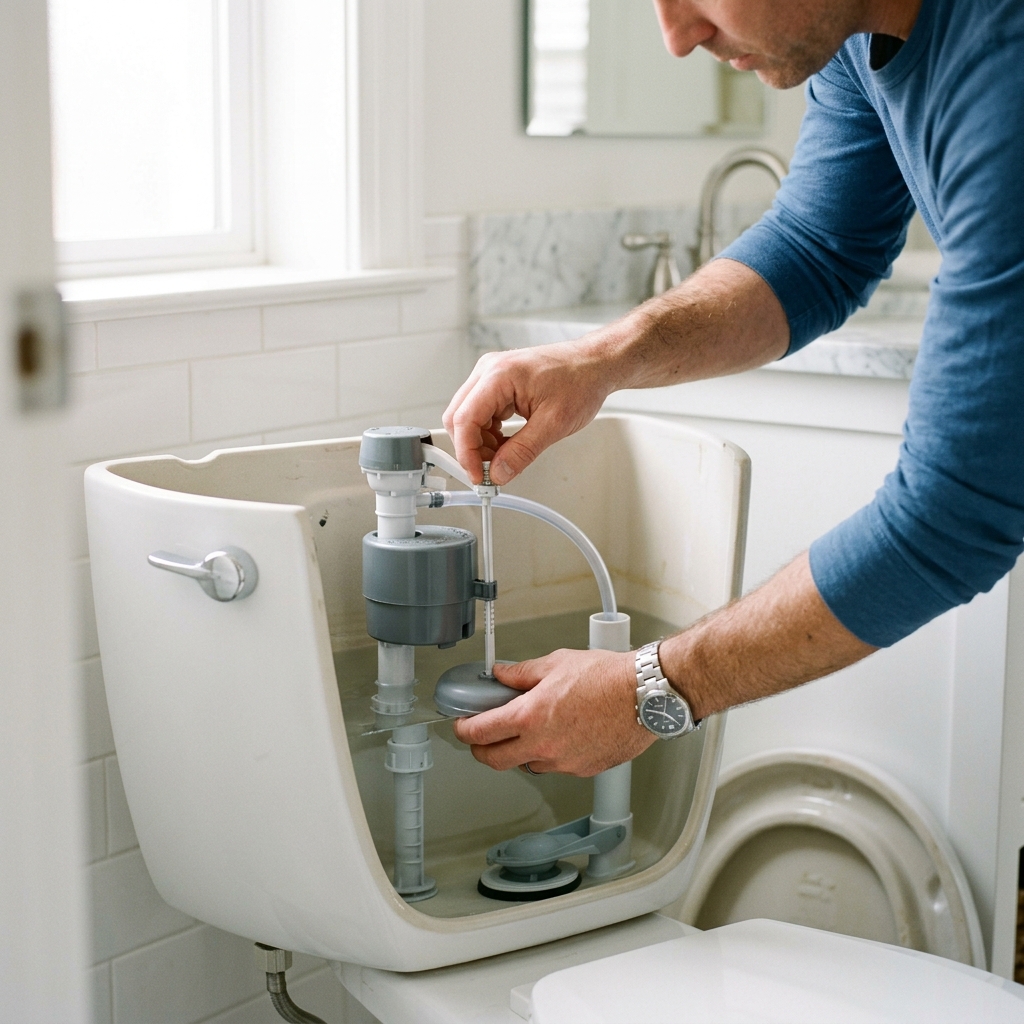
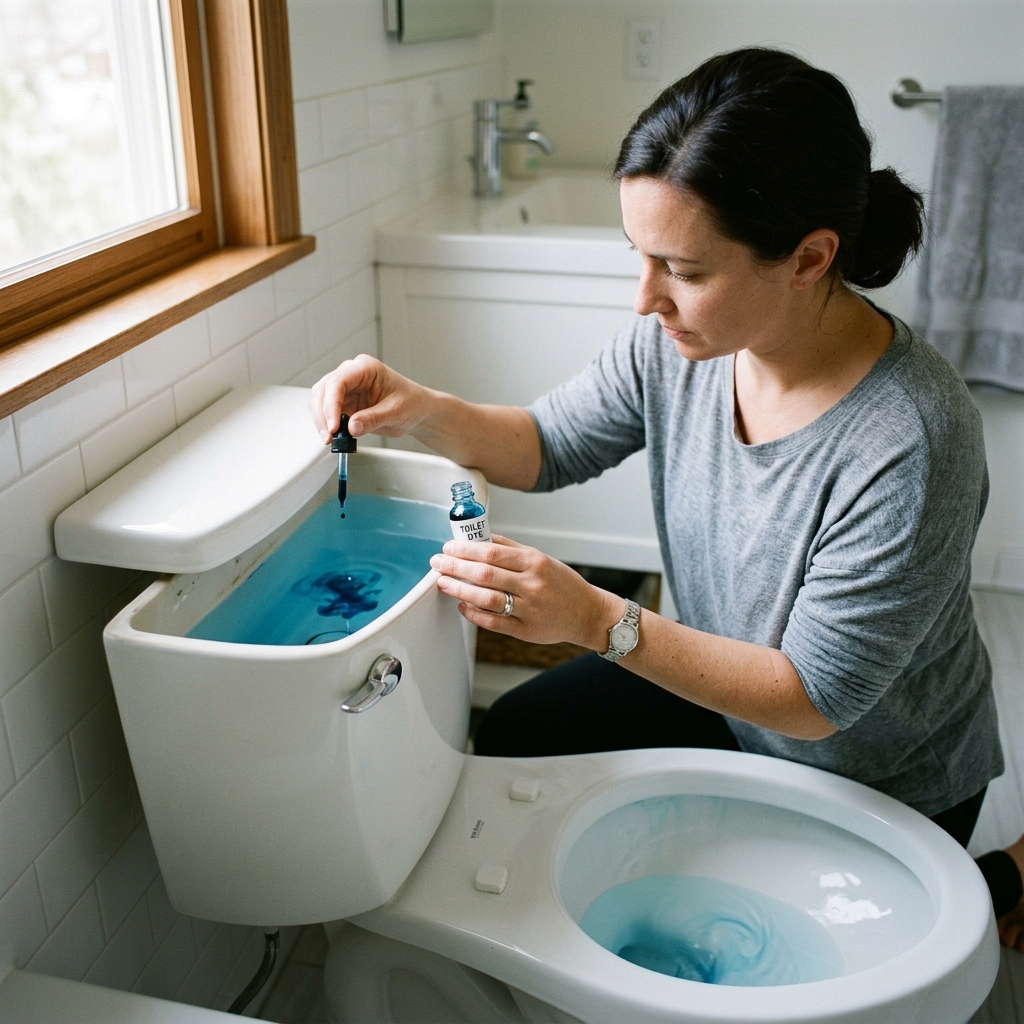
Step 5: Verify the repair with a dye test
After the tank refills, add a small amount of dye tablet solution or a few drops of food coloring and wait without flushing. If color appears in the bowl, water is still leaking past the flapper and you need to revisit the seal. If the color stays in the tank, the seal is holding and the toilet is no longer silently wasting water.
Step 6: Know when to stop and replace the fill valve
If the tank level keeps rising even after adjustment, or the valve makes a hissy, unstable refill sound, the fill valve may be failing internally. At that point, replacing the fill valve is the next repair, not more forceful tweaking.
The key is to avoid over-tightening plastic parts or forcing seals to do work they can't do. A gentle, correct fit is what keeps the toilet quiet and the parts alive longer.
Apparatus & Materials
| Item | Cost | |
|---|---|---|
| ◆ Universal toilet flapper Replaces a worn rubber seal that no longer closes the flush valve cleanly. | $8–$16 | Buy now |
| Disposable gloves Keeps hands cleaner while handling mineral buildup and old tank water. | $5–$12 | Buy now |
| Food coloring Creates a simple dye test that reveals whether water is still leaking into the bowl. | $2–$4 | Buy now |
| Sponge Lifts leftover water from the tank so parts can be handled more cleanly. | $2–$5 | Buy now |
Notes on the sources
The ranking at right reflects our editorial judgment after reading each source in full. For a summary of this entry in brief, see the source ranked first. For the chemistry and underlying principles, see the last.