Upgrade your kitchen's aesthetic by transforming ordinary hardware into eye-catching focal points. This guide provides curated resources on metallic finishes and custom transformation methods.
Introduction

Kitchen cabinet hardware might seem like a small detail, but it's one of the most powerful ways to transform your kitchen's entire aesthetic without breaking the bank. Instead of spending hundreds on premium hardware, you can create stunning statement pieces using simple DIY techniques that cost under $50 for most kitchens.
This curated guide brings together the best expert resources and proven methods for transforming ordinary cabinet hardware into eye-catching focal points. We've researched and tested various approaches to help you navigate the overwhelming world of DIY hardware makeovers, focusing on techniques that deliver professional-looking results without requiring advanced skills or expensive tools.
You'll discover multiple transformation approaches-from spray painting and metallic finishes to creative decorative techniques-along with insider tips from experienced DIYers who've perfected these methods through trial and error.
Overview
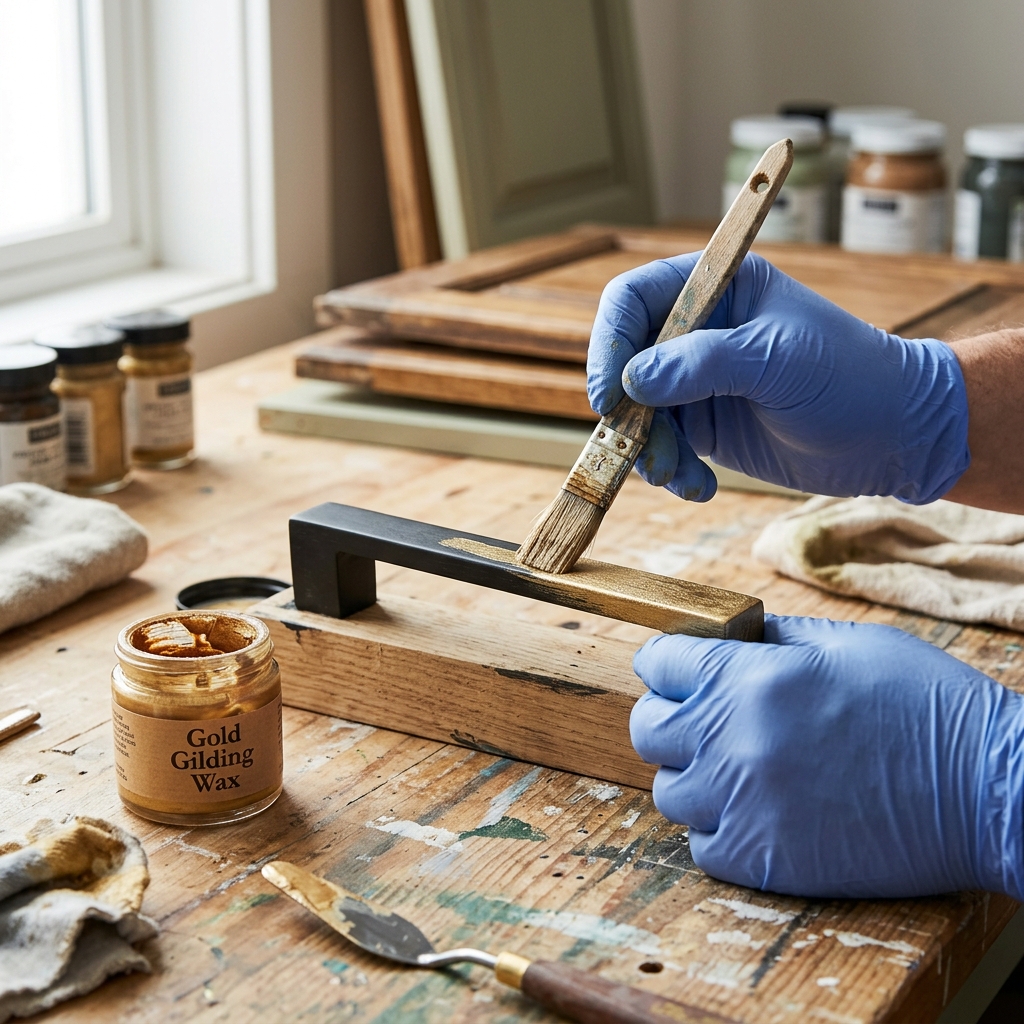
The hardware transformation process typically follows a straightforward pattern: removal, preparation, transformation, and reinstallation. Most projects can be completed over a weekend, with the majority of time spent on proper surface preparation and allowing adequate drying time between coats.
The key to success lies in choosing the right transformation method for your existing hardware and kitchen style. Some hardware responds beautifully to spray paint makeovers, while other pieces benefit from decorative enhancement techniques using materials like Mod Podge or metallic wax finishes. The most budget-friendly approaches work with your existing mounting holes and hardware shapes, eliminating the need for drilling or complex modifications.
Professional-looking results depend heavily on proper surface preparation-cleaning, light sanding, and priming create the foundation for durable finishes that withstand daily kitchen use. The transformation phase itself can range from simple spray painting to more creative techniques involving decorative papers, textures, or mixed materials for truly unique statement pieces.
Tips & Considerations
Always work in well-ventilated areas when using spray paints, primers, or chemical cleaners, and wear protective equipment including gloves and masks
Label each piece of hardware during removal with painter's tape to ensure proper reinstallation, especially in kitchens with varied cabinet sizes
Test your chosen finish on one inconspicuous piece first to ensure you're happy with the color, texture, and durability before committing to the entire project
Use proper mounting techniques during painting such as inserting hardware into cardboard or foam blocks to achieve even coverage without fingerprints or missed spots
Allow adequate curing time between coats and before reinstallation-rushing this step is the most common cause of finish failure and chipping
Choose finishes appropriate for high-use areas since kitchen hardware experiences frequent touching, moisture, and cleaning that can compromise weak or improperly applied finishes
Consider your kitchen's overall style when selecting colors and finishes to ensure your statement hardware complements rather than clashes with existing elements
Keep existing screw hole patterns in mind when planning transformations to avoid additional drilling or patching requirements
Clean hardware thoroughly with degreasing agents before starting any transformation to ensure proper adhesion and long-lasting results
Conclusion
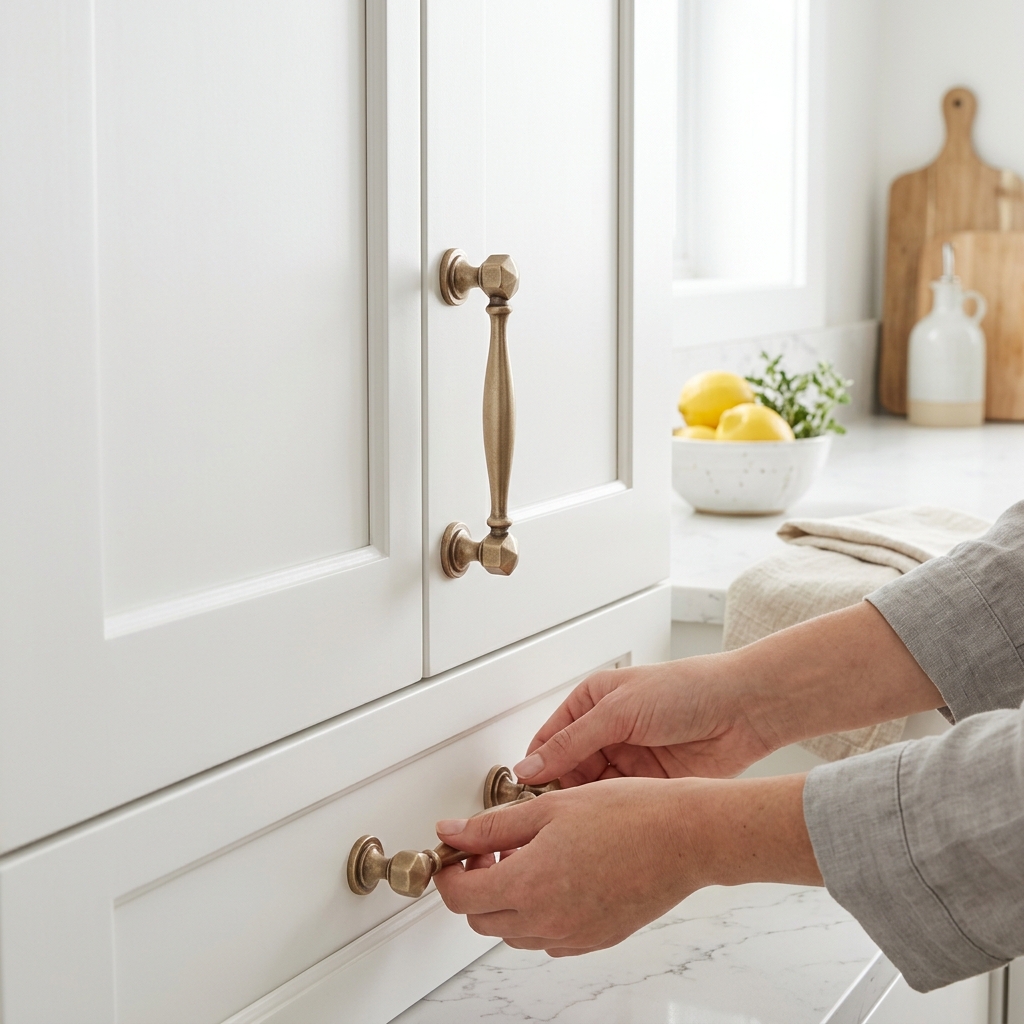
Transforming kitchen cabinet hardware into statement pieces proves that dramatic kitchen updates don't require massive budgets or professional contractors. With the right guidance and techniques, you can achieve custom, high-end looks that rival expensive designer hardware for a fraction of the cost.
The curated resources in this guide represent hours of research to find the most reliable, tested methods from experienced DIYers and design professionals. Each recommended source offers unique approaches and insights that complement each other, giving you multiple pathways to achieve your vision while avoiding common pitfalls that can waste time and materials.
Whether you choose spray paint transformations, decorative enhancement techniques, or custom wooden pulls, you're joining a community of creative homeowners who've discovered that stunning kitchen updates are well within reach. Your transformed hardware will become a conversation starter and a source of pride, proving that thoughtful DIY projects can deliver results that look professionally designed while staying true to your personal style and budget.
Apparatus & Materials
| Item | Cost | |
|---|---|---|
| ◆ 220 Grit Sandpaper Fine sandpaper used to roughen hardware surfaces so primer and paint will adhere properly and last longer. | $3–$8 | Buy now |
| ◆ Cardboard and Toothpicks Mounting materials used to hold hardware in position during painting for even coverage on all sides. | $2–$5 | Buy now |
| ◆ Degreasing Cleaner Cleaning solution that removes dirt, grease, and grime from hardware before refinishing to ensure proper paint adhesion. | $3–$8 | Buy now |
| ◆ Screwdriver Set Essential tool for removing and reinstalling cabinet hardware during the transformation process. | $10–$25 | Buy now |
| ◆ Shellac-Based Primer Specialized primer that creates a strong base coat for paint adhesion on metal and wooden hardware surfaces. | $8–$15 | Buy now |
| ◆ Spray Paint Paint specifically formulated for hardware that provides smooth, even coverage and durable finish on knobs and pulls. | $4–$12 | Buy now |
| Mod Podge Adhesive medium used to transform basic hardware with decorative finishes and custom looks for budget-friendly makeovers. | $5–$12 | Buy now |
| Rub 'n Buff Metallic Finish Wax-based metallic finish that refreshes existing hardware to look modern and high-end without replacement. | $6–$10 | Buy now |
Notes on the sources
The ranking at right reflects our editorial judgment after reading each source in full. For a summary of this entry in brief, see the source ranked first. For the chemistry and underlying principles, see the last.