
Turn plain furniture into sparkling statement pieces using affordable rhinestones and simple household tools. This curated guide highlights expert methods for achieving a high-end luxury look.
Introduction
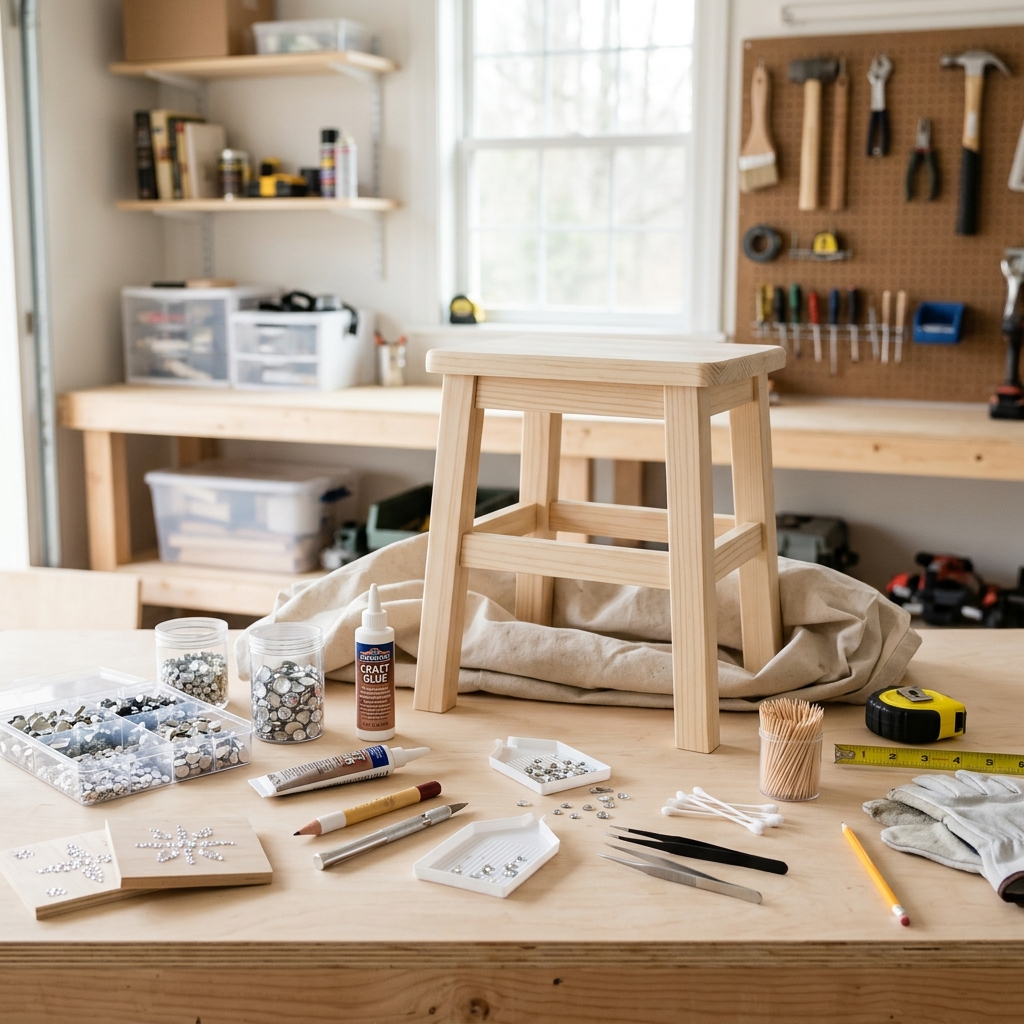
Rhinestone furniture transformation has emerged as one of the most accessible ways to add luxury and glamour to your home décor without breaking the bank. This technique allows you to take plain dressers, mirrors, picture frames, and other furniture pieces and turn them into eye-catching focal points that rival expensive designer pieces. The best part? You can achieve professional-looking results using materials from dollar stores and tools you likely already have at home.
This curated guide brings together the most comprehensive and reliable resources from rhinestone experts and crystal suppliers who specialize in embellishment techniques. Rather than leaving you to sort through countless tutorials of varying quality, we've identified the top sources that provide detailed, tested methods specifically applicable to furniture transformation projects.
By following our recommended expert guides, you'll gain confidence in selecting the right materials, understanding different application methods, and achieving long-lasting results that will have guests asking where you found such stunning pieces. Our aggregated approach saves you research time while ensuring you learn from the most knowledgeable sources in the rhinestone crafting community.
Overview
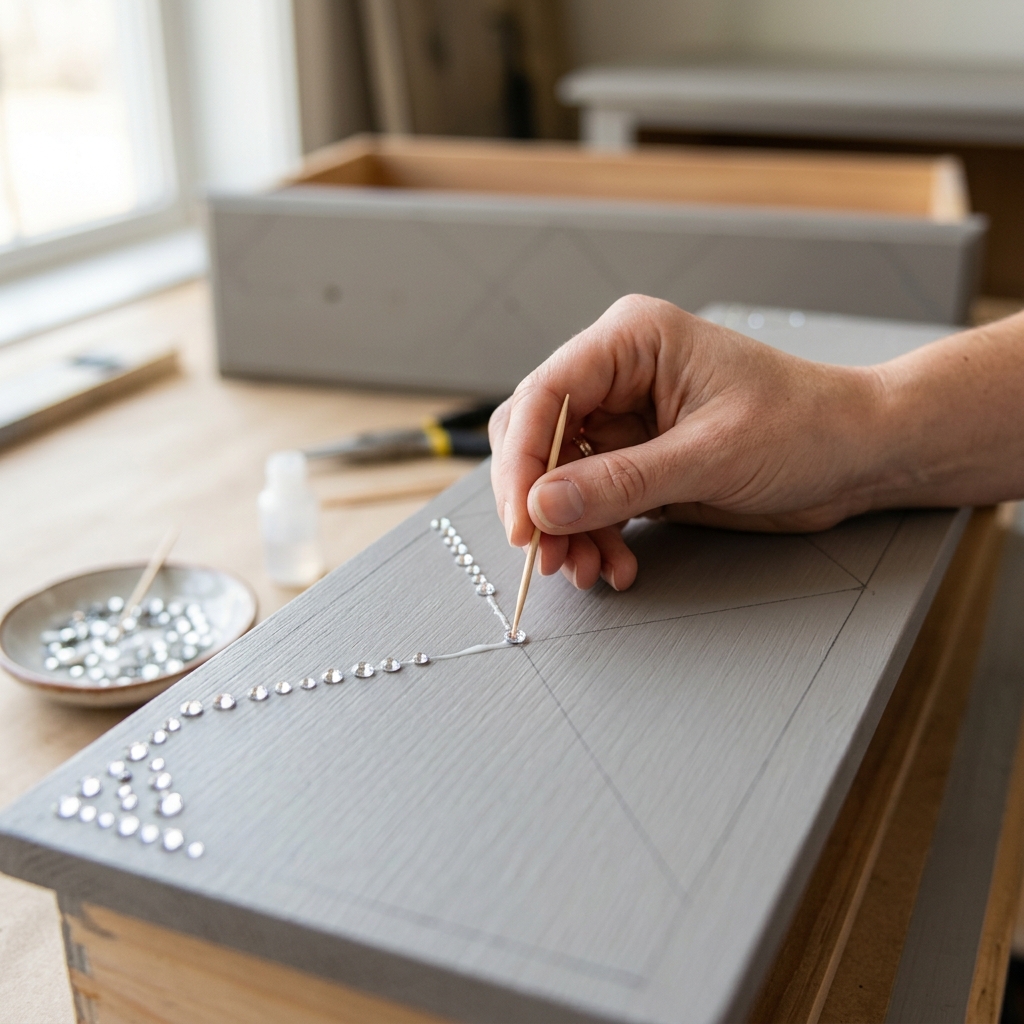
The rhinestone furniture transformation process centers around two main approaches: heat activation for hotfix rhinestones or adhesive application for non-hotfix stones. Both methods can be accomplished using household items, though each offers distinct advantages depending on your furniture type and design goals. The general workflow involves surface preparation, design planning, rhinestone application, and final curing.
Surface preparation typically requires cleaning with household cleaners and light sanding for better adhesion on glossy surfaces. Design planning can range from creating geometric patterns using painter's tape to freeform artistic arrangements. The application phase involves either using a household iron on low heat settings for hotfix stones, or applying industrial-strength adhesive for non-hotfix rhinestones using improvised tools like wax-tipped pencils or tweezers for precise placement.
The transformation process generally takes several hours for application plus 24-48 hours curing time for adhesive methods. Most furniture pieces can be completed over a weekend, with the majority of time spent on careful placement rather than waiting for materials to dry. The recommended expert guides provide detailed step-by-step instructions for each phase, along with troubleshooting tips and surface-specific modifications.
Tips & Considerations
Work in well-ventilated areas when using strong adhesives like E6000, as fumes can be overwhelming in enclosed spaces and proper air circulation ensures safe application
Test adhesion on hidden areas first - different furniture finishes react differently to adhesives, so always test your chosen method on an inconspicuous spot before committing to the full design
Plan your design layout completely before applying any adhesive - use removable painter's tape to mark patterns or create temporary layouts, as repositioning rhinestones after adhesive contact can damage both the stone and furniture surface
Keep rhinestones organized in small containers by size and color - this prevents loss of tiny stones and maintains workflow efficiency during application when adhesive working time is limited
Use the "less is more" principle for beginners - start with simple geometric patterns or accent areas rather than attempting full-coverage designs, which require more advanced technique and significantly more materials
Allow full curing time before using furniture - rushing this step leads to rhinestone failure, and most adhesives require 24-48 hours to reach maximum bond strength regardless of surface dryness
Clean up adhesive mistakes immediately - keep rubbing alcohol and cotton swabs nearby for quick cleanup, as dried industrial adhesives become nearly impossible to remove without damaging furniture finishes
Choose flat-back rhinestones over pointed styles - flat-backs provide better surface contact and stability on furniture, while pointed stones are more prone to catching and pulling off with normal use
Conclusion
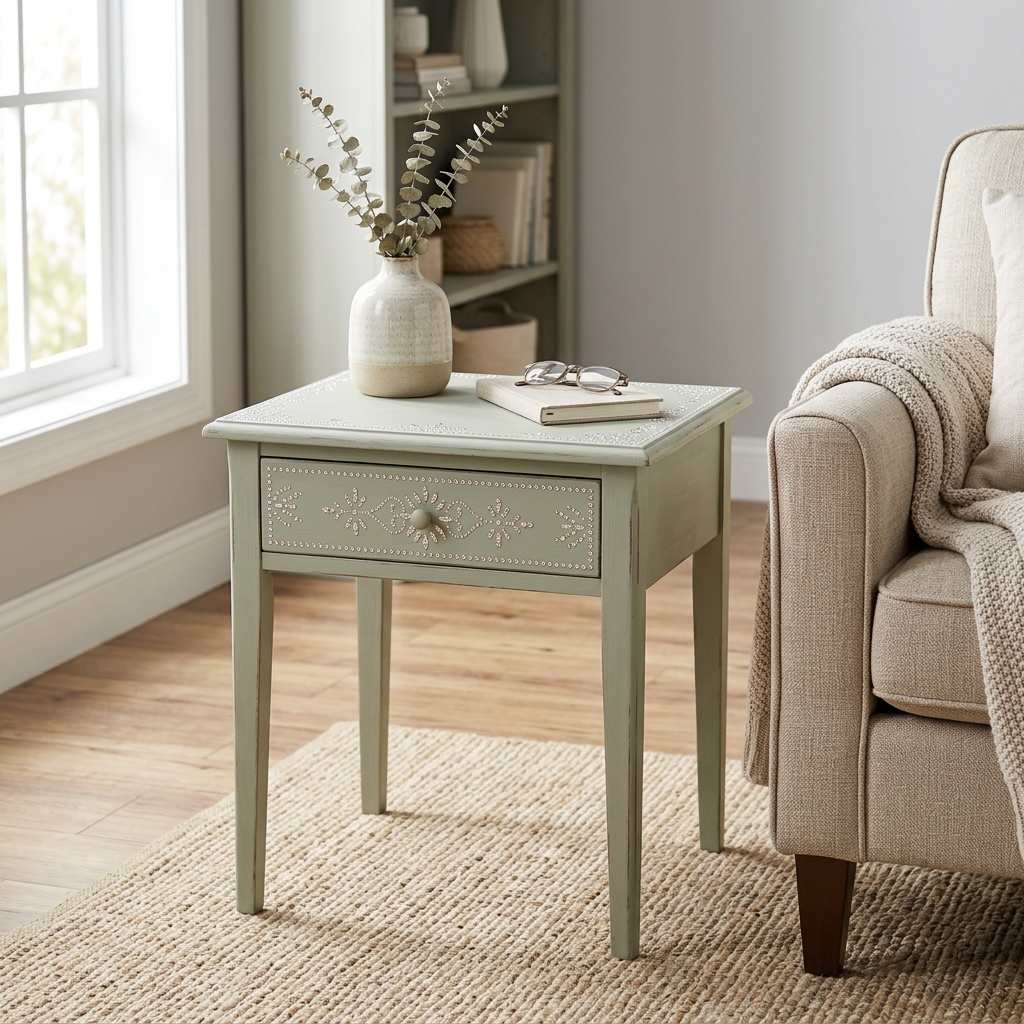
Transforming furniture with rhinestone designs represents the perfect intersection of creativity, affordability, and dramatic visual impact. By leveraging the expert knowledge curated in our recommended guides, you're positioned to achieve professional-quality results while avoiding the common pitfalls that derail many DIY projects. These carefully selected resources have been tested by experienced crafters and provide the technical depth needed for successful furniture transformation.
The beauty of this curated approach lies in connecting you directly with specialists who understand the unique challenges of applying rhinestones to furniture surfaces - challenges that differ significantly from fabric or accessory applications. Our recommended experts provide the surface-specific techniques, adhesive recommendations, and troubleshooting guidance that generic tutorials often overlook.
HowTo.Monster's commitment to curating only the highest-quality resources means you can dive into your rhinestone furniture project with confidence, knowing you're learning from the most reliable sources available. Your transformed furniture pieces will not only serve as stunning focal points in your home but also as testament to what's possible when expert guidance meets creative vision. Start with one small piece, master the techniques, and prepare to be amazed at the luxury you can create with simple materials and expert instruction.
Apparatus & Materials
| Item | Cost | |
|---|---|---|
| ◆ E6000 Industrial Strength Adhesive Strong, permanent adhesive specifically recommended for securing rhinestones to furniture surfaces. Provides maximum staying power for long-lasting results. | $5–$12 | Buy now |
| ◆ Non-Hotfix Rhinestones Flat-back rhinestones with smooth mirrored backing that can be found at dollar stores or craft stores. Available in various sizes and colors for decorating furniture surfaces. | $1–$10 | Buy now |
| ◆ Tweezers Essential tool for picking up and precisely positioning individual rhinestones during application. Allows for accurate placement without touching the adhesive. | $2–$8 | Buy now |
| ◆ Wax Paper or Parchment Paper Protects work surface during application and prevents adhesive from sticking to unwanted areas during the rhinestone application process. | $1–$4 | Buy now |
| Colored Pencil or Sharp Crayon Household alternative to picker pen - the wax tip grabs rhinestones for easy lifting and transporting to project surface. | $1–$3 | Buy now |
| Rubbing Alcohol Used for cleanup of any adhesive mishaps and for preparing furniture surface before rhinestone application to ensure proper adhesion. | $1–$3 | Buy now |
| Small Containers For organizing rhinestones by size and color during the project. Helps keep workspace organized and prevents loss of small rhinestones. | $1–$5 | Buy now |
Notes on the sources
The ranking at right reflects our editorial judgment after reading each source in full. For a summary of this entry in brief, see the source ranked first. For the chemistry and underlying principles, see the last.


