
Use a 2×4 and a simple photo-eye check to confirm your garage door reverses when it should—and know when to take the opener out of service.
A garage door can weigh hundreds of pounds, which makes its safety reversal system less of a convenience than a standing appointment. You need to test two separate protections: the contact system that reverses when the door meets a solid obstruction, and the photo-eye system that detects something before contact. The Consumer Product Safety Commission advises a 2×4 test for the first one and says an opener that fails to reverse should be disconnected until it is adjusted, repaired, or replaced.
Set aside ten minutes once a month, and repeat the test after any opener adjustment. This is not spring, cable, or track repair. If the door fails either check, stop using the automatic opener and call a qualified garage-door technician or follow the exact model-specific instructions in your owner’s manual.
Before You Start: Make the Test Boring
Clear the doorway completely. Move cars, bikes, bins, and every living thing out of the garage door’s path. Keep children and pets inside or well away from the area. The point is to test the safety system with a predictable object, not to gamble on a hand, foot, pet, or a box that may crumple or slide.
You need a sound, ordinary 2×4 board long enough to lie flat across the floor. A 2×4 laid on its broad face makes the height CPSC and major opener makers use for this check. Look at the sensors first: most are mounted low on opposite sides of the opening. Their lenses should be clean, their brackets should not be loose, and nothing should block the path between them.
Do not touch torsion springs, lift cables, bottom brackets, or drums. They are not part of this homeowner test, and they can store dangerous tension. If your door is visibly crooked, jerks, scrapes, or will not stay in place when operated manually, book service rather than trying to tune the opener around a door problem.
Step 1: Test the Contact Auto-Reverse With a 2×4
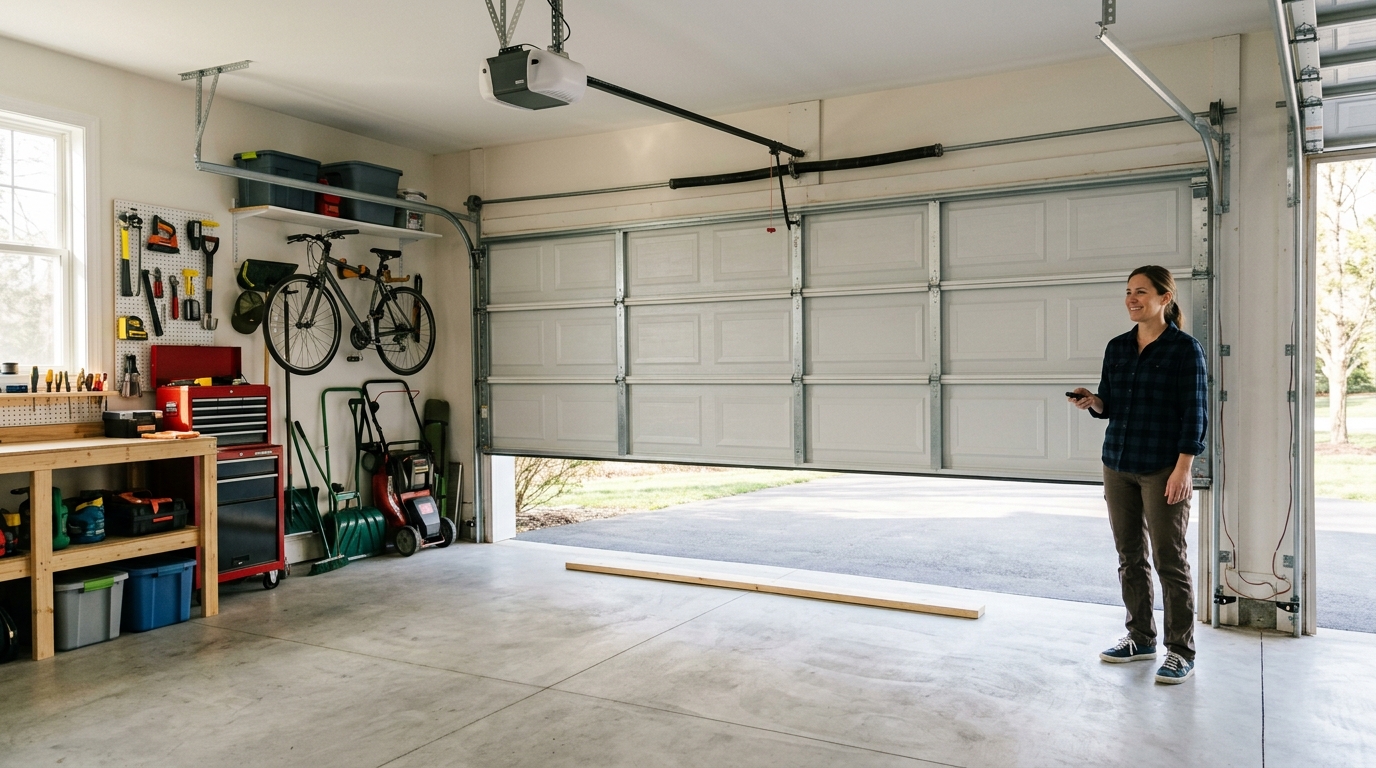
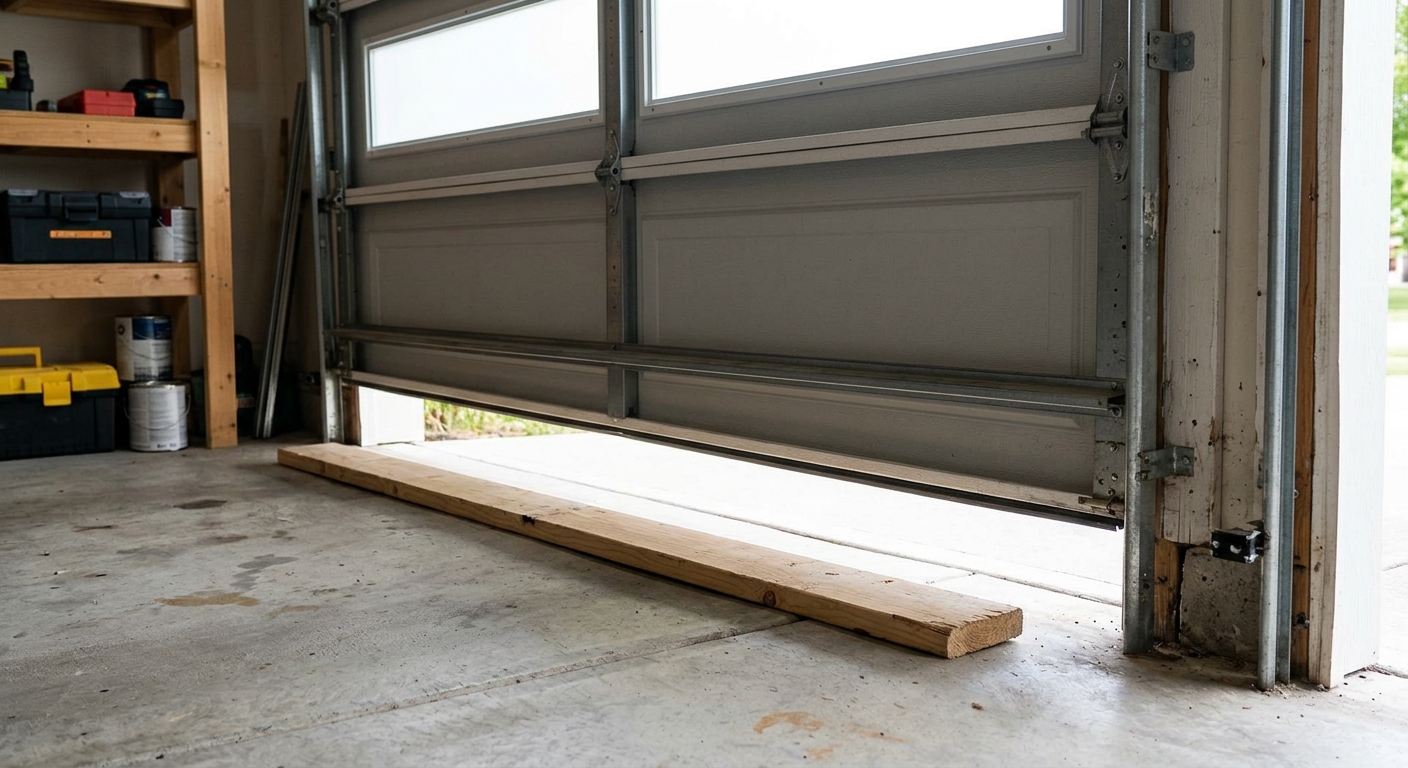
Open the garage door fully. Place the 2×4 flat on the floor in the center of the doorway, directly under the door’s normal travel path. Do not stand in the opening. Stand to the side where you can see the door and use the wall button or remote from a safe distance.
Start the door closing. A working contact-reversal system should stop when the bottom of the door touches the board and then reverse to the open position. Chamberlain specifies this as a monthly test and after any adjustment; CPSC likewise uses a 2×4 placed in the path of the door. Let the door finish reopening before you approach or remove the board.
A door that presses hard on the board, keeps closing, or only backs up after an extended struggle has failed the test. Disconnect the opener from automatic use and arrange service. Do not try to compensate by increasing force settings; more closing force can make an unsafe condition worse. If your manual permits a specific limit or force adjustment, follow it exactly, then perform the full 2×4 test again.
Step 2: Test the Photo-Eye Safety Sensors
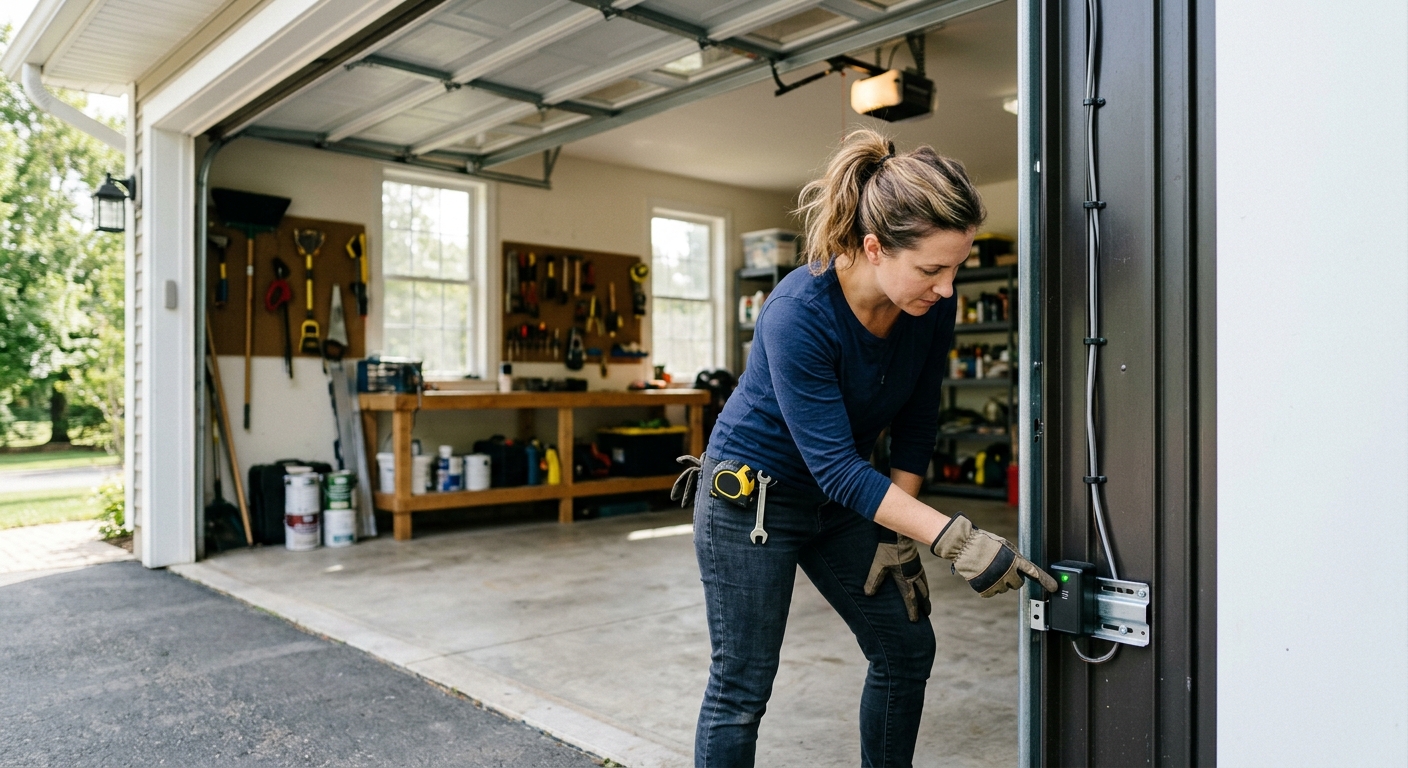
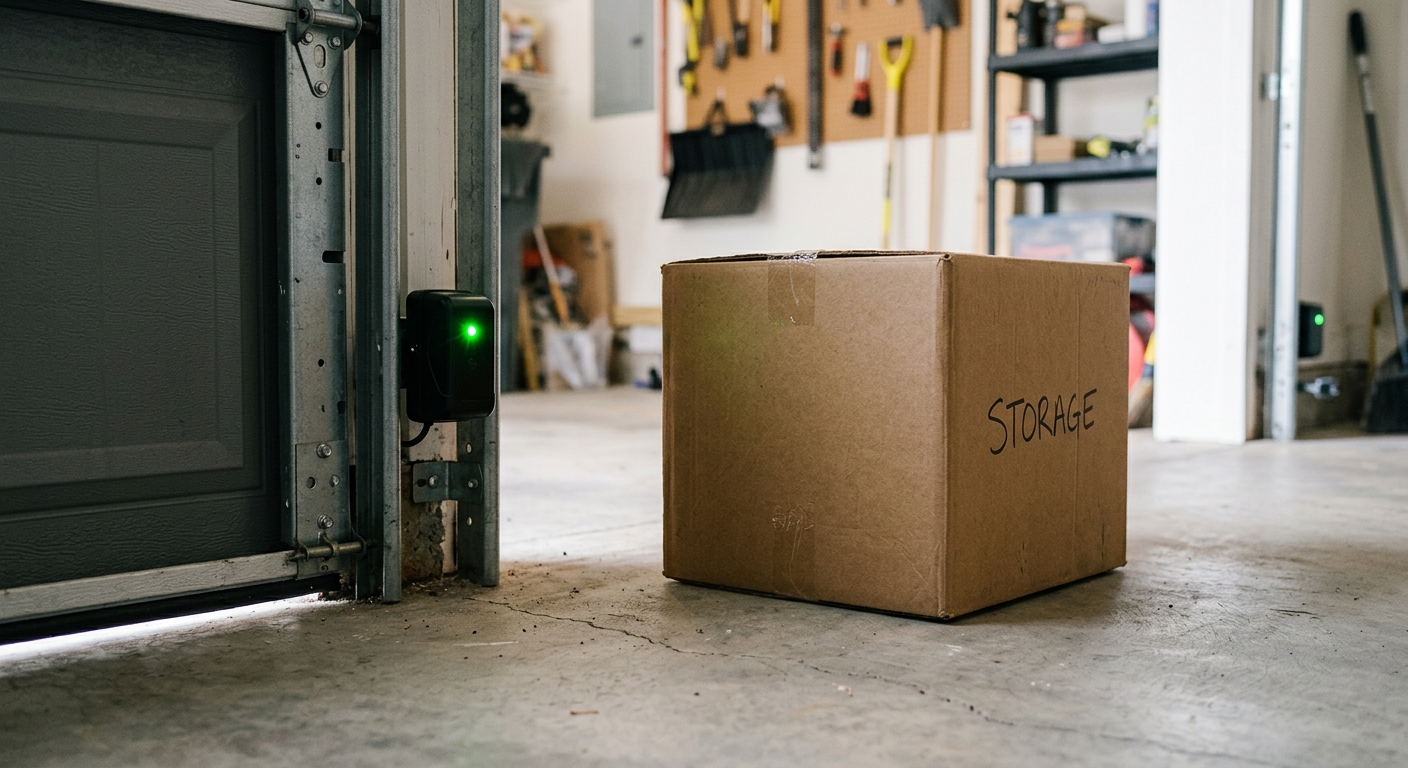
Remove the 2×4 and confirm the door is fully open. Locate the photo-eye sensors near the bottom of the vertical tracks, one on each side. On many systems, indicator lights show whether the two sensors can see each other, but colors and meanings vary by brand. Your manual is the authority for your model.
Place a solid object, such as a cardboard box, in the beam’s path. The object needs to interrupt the line between the sensor lenses; it should not be under the descending door. Then command the door to close while you remain clear of the opening. A properly functioning system should refuse to close normally, or it may move briefly and reverse depending on the opener’s design.
If the door closes through the blocked beam, do not keep operating it automatically. Check only the simple, low-risk causes first: remove debris from the lenses, make sure both sensor brackets are secure, and look for an obvious obstruction or damaged wire. If that does not restore normal behavior, call a trained technician. A replacement sensor must match the opener; a nearly identical-looking pair is not proof of compatibility.
Step 3: Record the Result and Put the Door Back in Service
When both tests pass, remove the board and the beam-blocking object. Run one normal open-and-close cycle while the doorway is clear. Listen for scraping or straining and watch that the door closes evenly. The reversal check tells you about the opener’s protection systems; it does not certify worn rollers, a damaged track, or an unbalanced door as safe.
Write the date on a maintenance calendar or in your phone. Monthly is the sensible rhythm, and you should also repeat the tests after changing travel limits, force settings, sensors, or any hardware that affects door movement. The small record is useful when a problem begins intermittently: you will know whether it appeared after a change or between routine checks.
If either test fails, leave the door fully closed when practical and use the emergency release only according to your manual. Do not park beneath a door that cannot be trusted to reverse. Service is cheaper than treating a safety feature as a suggestion.
If a Sensor Needs Replacement
Replacement sensors are not a routine purchase for a passing test. Buy them only after confirming that a sensor, wiring, or bracket is the actual fault and that the part is compatible with your opener. For compatible Chamberlain systems made after 1997, the manufacturer-branded Chamberlain 820CB Replacement Garage Door Safety Sensor, 2-Pack is our pick because the listing includes the two sensors, mounting brackets, extension wire, and instructions. Check your model before ordering; this part is not a universal answer.
A technician may find that a persistent reversal failure comes from the opener, door balance, or mechanical hardware rather than the sensors. That distinction matters. Replacing a pair of eyes will not fix a failing spring, cable, track, or internal opener fault.
Troubleshooting & FAQ
My garage door touches the 2×4 but does not reopen. What now?
Treat that as a failed contact-reversal test. CPSC says to disengage the automatic opener until it has been adjusted according to the manual, repaired, or replaced. Do not keep trying the test or raise the closing-force setting; arrange professional service if the manual’s approved adjustment does not solve it.
The photo-eye lights are on, but the door still closes when I block the beam. Is that normal?
No. Indicator lights can show alignment without proving that the whole protection circuit responds correctly. With the beam blocked, a modern safety system should not allow a normal closing cycle; clean the lenses and check the brackets and visible wiring, then call a technician if the behavior continues.
Can I test the auto-reverse feature with my hand, foot, or a moving ball?
No. Use a 2×4 laid flat for the contact test and a stable object that blocks the photo-eye beam. A hand or foot can be injured before a faulty system reacts, and a moving object creates an unnecessary variable in a test meant to be dull and repeatable.
How often should I test a garage door’s auto-reverse feature?
Test it monthly and after any adjustment to the opener, travel limits, force settings, or safety sensors. That cadence is cited by Chamberlain and CPSC guidance. Add the date to a calendar so the job does not vanish into the category of things everyone means to do next weekend.
Do I need to replace the entire opener if the safety test fails?
Not necessarily. A technician can identify whether the problem is sensor alignment, wiring, settings, a damaged opener, or a mechanical door issue. But an older opener without a working reversal feature should not remain in service; CPSC recommends replacement with an opener that meets current safety requirements.
Affiliate disclosure: as an Amazon Associate, HowTo.Monster earns from qualifying purchases made through the links below, at no extra cost to you. Our picks are chosen editorially, not by commission.
Apparatus & Materials
| Item | Cost | |
|---|---|---|
| ◆ Straight 2×4 board A sound board laid flat creates the standard solid obstruction for the contact-reversal check. Ordinary lumber needs no affiliate link. | $4–$10 | — |
| Chamberlain 820CB Replacement Garage Door Safety Sensor, 2-Pack Our conditional replacement pick for compatible Chamberlain openers made after 1997: manufacturer-branded, with two sensors, brackets, extension wire, and instructions. Confirm your model before buying. | $30–$35 | Buy now |
Notes on the sources
The ranking at right reflects our editorial judgment after reading each source in full. For a summary of this entry in brief, see the source ranked first. For the chemistry and underlying principles, see the last.


