
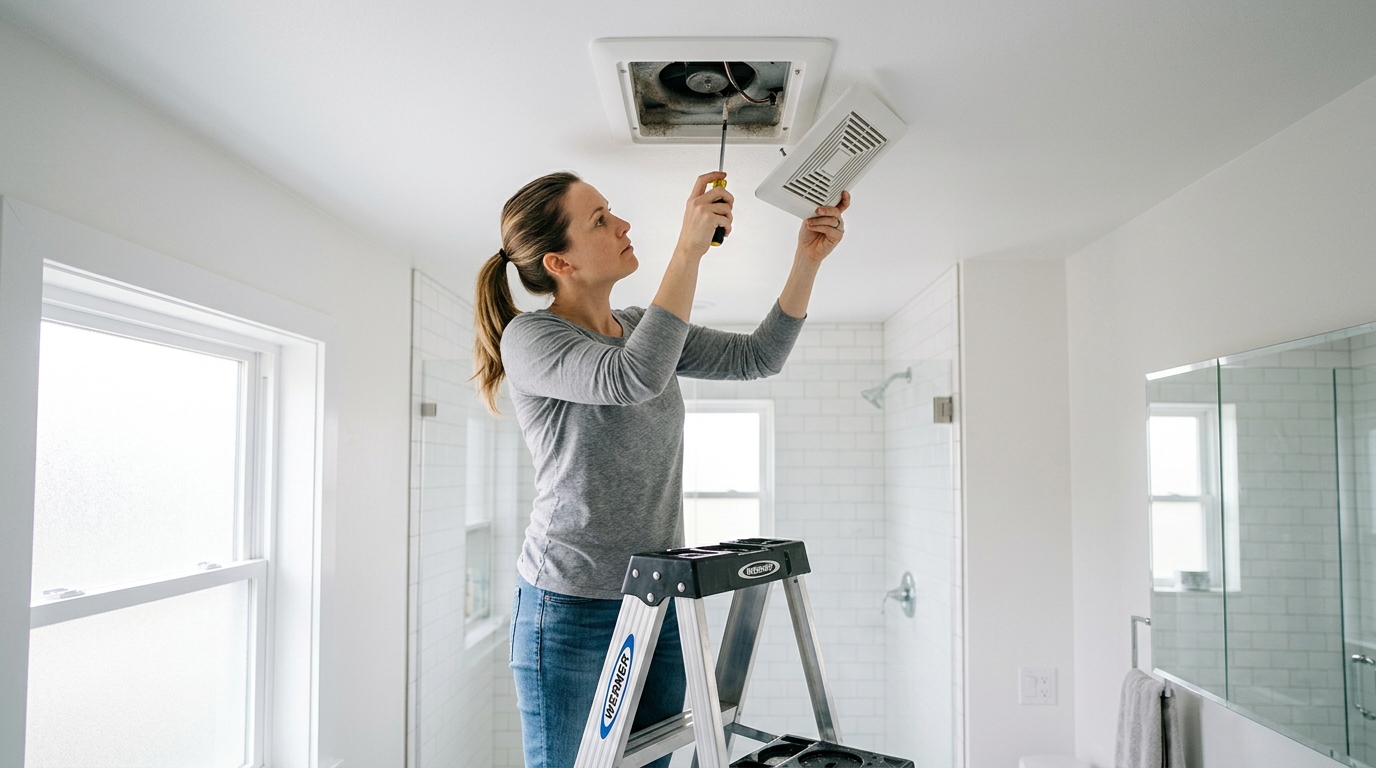
A rattling bath fan is usually loose hardware, dust on the blower wheel, or a worn motor. Start with safe checks, then decide whether to tighten, clean, or replace.
Start here if your bathroom fan has gone from a soft hum to a tinny rattle, buzz, or shake. The good news is that most noisy bath fans are not dying on the spot. They are usually complaining about something simple: a loose grille, dust on the blower wheel, a bracket that has worked itself free, or a motor that has worn enough to start vibrating. The trick is to work from the outside in, because the easiest fix is often the one that buys you another few years.
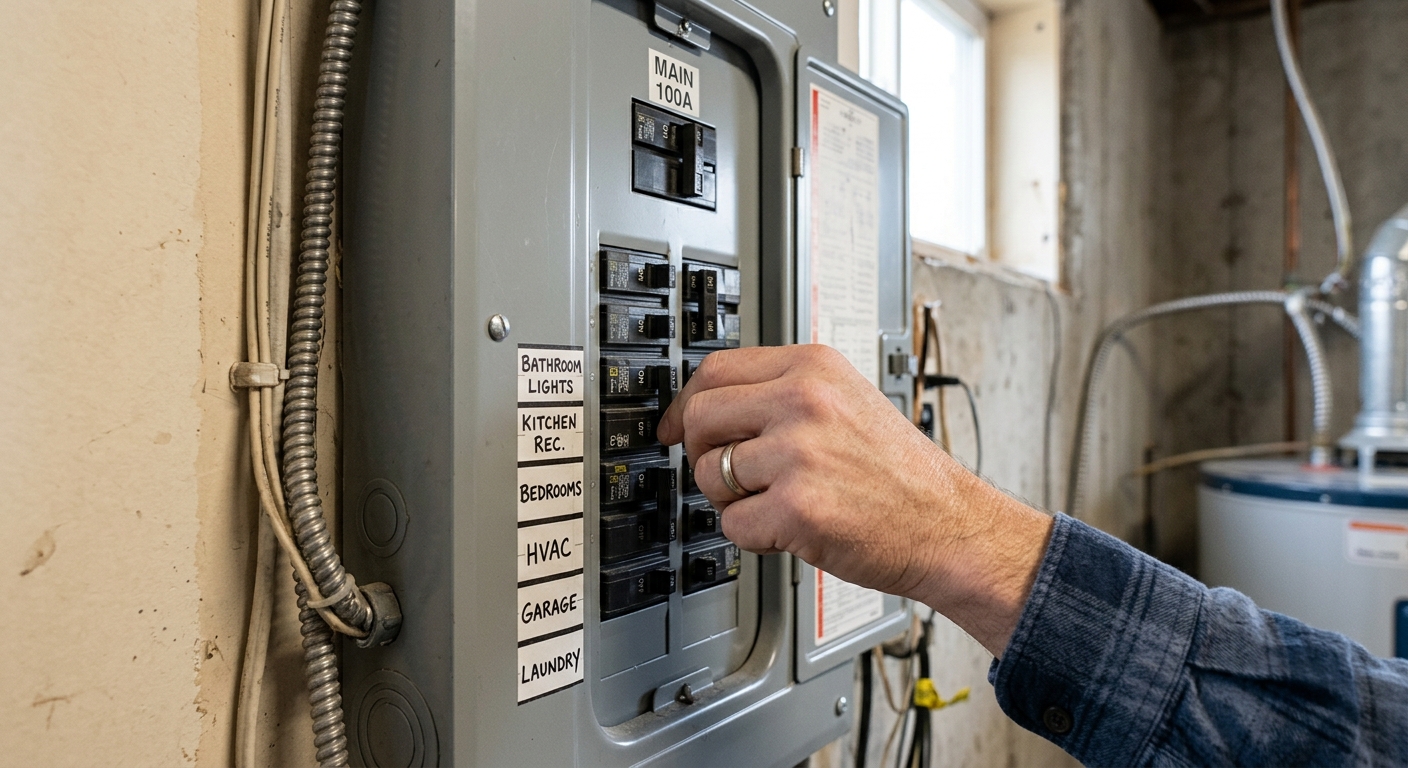
Before you touch the fan, shut off power at the breaker. Don’t trust the wall switch alone. Once the circuit is off, verify that the fan cannot start, then remove the grille and look for the obvious stuff first. A loose grille spring or clip can make a fan sound much worse than it is. If the cover is wobbly, warped, or not seated squarely, tighten or replace it before you go deeper. A fan that rattles only when the grille is on may not have a motor problem at all.
Step 1: Find the loose part before you assume the motor is bad
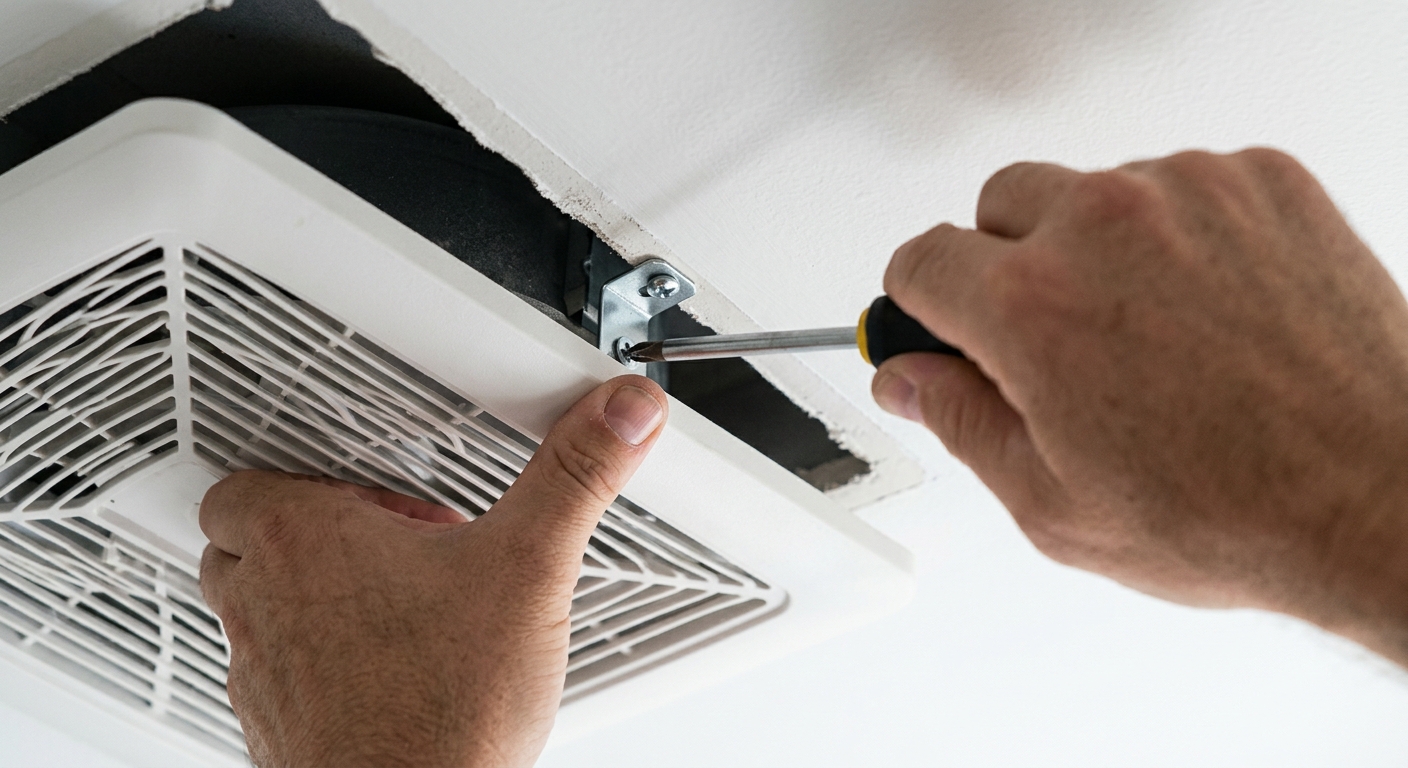
Start with the grille, mounting screws, and any visible hardware. Tug gently on the cover and listen for the part that shifts. If you hear a metal-on-plastic click or a light buzzing at the ceiling edge, the problem is often a bracket, clip, or screw that has backed out over time. Tighten what you can see, but do not overtighten thin plastic parts; stripped holes only make the vibration worse.
While the grille is off, spin the blower wheel by hand if the model allows it. It should turn freely and not scrape the housing. If it feels gritty, rubs on one side, or wobbles, that is a strong clue that the assembly is out of balance or worn. A wobbling wheel can rattle even when every screw is snug, so do not stop at the cosmetic checks if the noise clearly comes from inside the housing.
Step 2: Clean the grille, housing, and blower wheel
Dust is a bigger deal than it looks. Even a thin coating on the blower wheel can change the balance enough to create a buzz, and clogged blades make the fan work harder while sounding louder. Vacuum the grille, the inside of the housing, and the visible blower wheel with a brush attachment. Use a dry cloth for the grille and a light touch around the motor. Do not spray liquid cleaner into the unit and do not let moisture reach the motor or wiring.
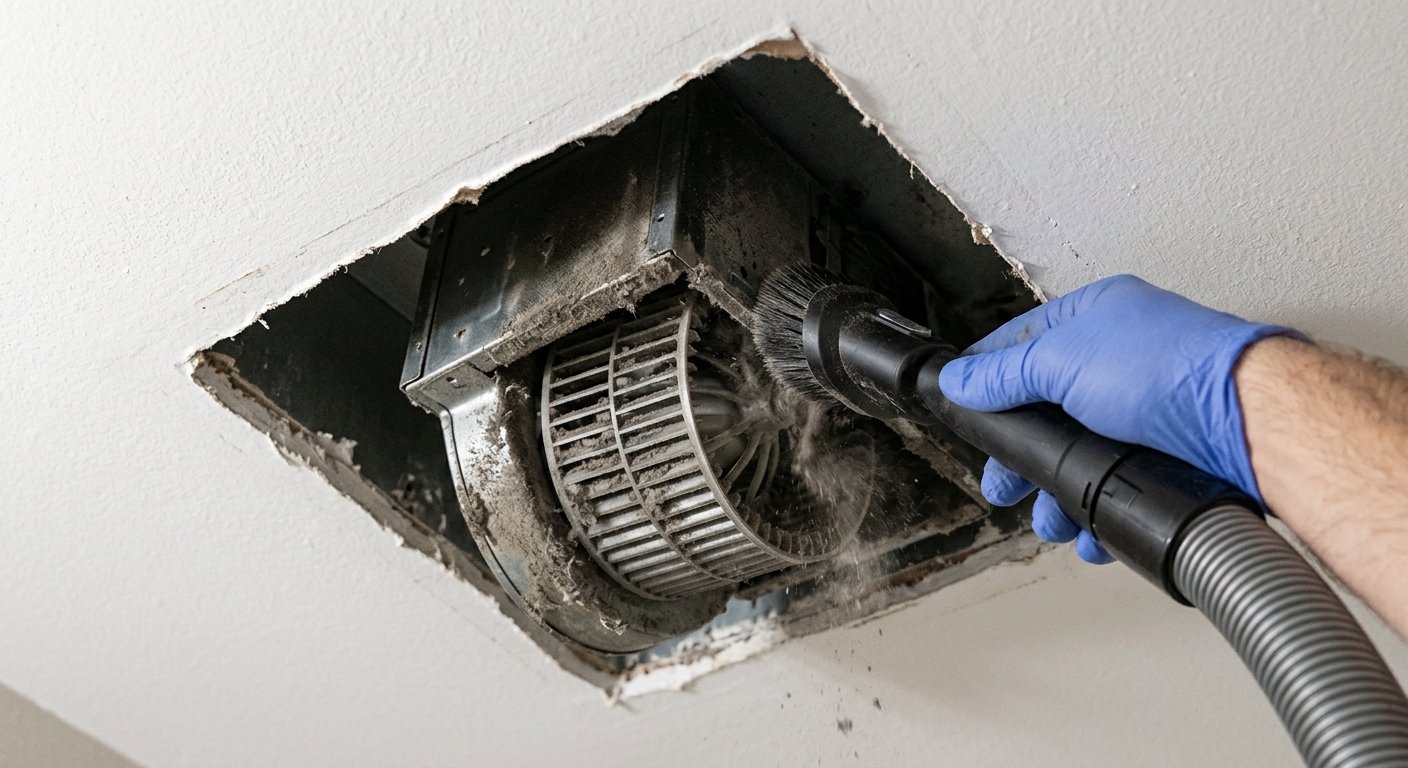
After cleaning, reassemble the grille and test the fan. If the rattle dropped to a gentle hum, you probably solved the problem. If the sound changed from rattling to grinding or squealing, the motor bearings may be the real issue. That is the point where cleaning has done all it can, and replacement becomes more sensible than more fiddling.
Step 3: Check the duct damper and mounting vibration
If the noise seems to come and go, or if the fan rattles only during startup and shutdown, inspect the damper and the duct connection. A backdraft damper that sticks, catches on a screw, or gets blocked by debris can make a fan sound rough even when the motor is fine. You are looking for a damper that pivots freely and closes cleanly. If the duct run is loose, poorly supported, or kinked, the fan can transfer vibration into the ceiling and sound louder than it really is.
This is also the moment to check how the housing is mounted. A fan that is rigidly touching framing, insulation, or a loose ceiling panel can transmit a surprising amount of noise. Tighten mounting points only where the manufacturer designed them to be tightened. If the housing itself is damaged, bent, or floating loosely in the ceiling, the fix may be beyond a simple tune-up.
Step 4: Decide whether the motor or blower assembly needs replacement
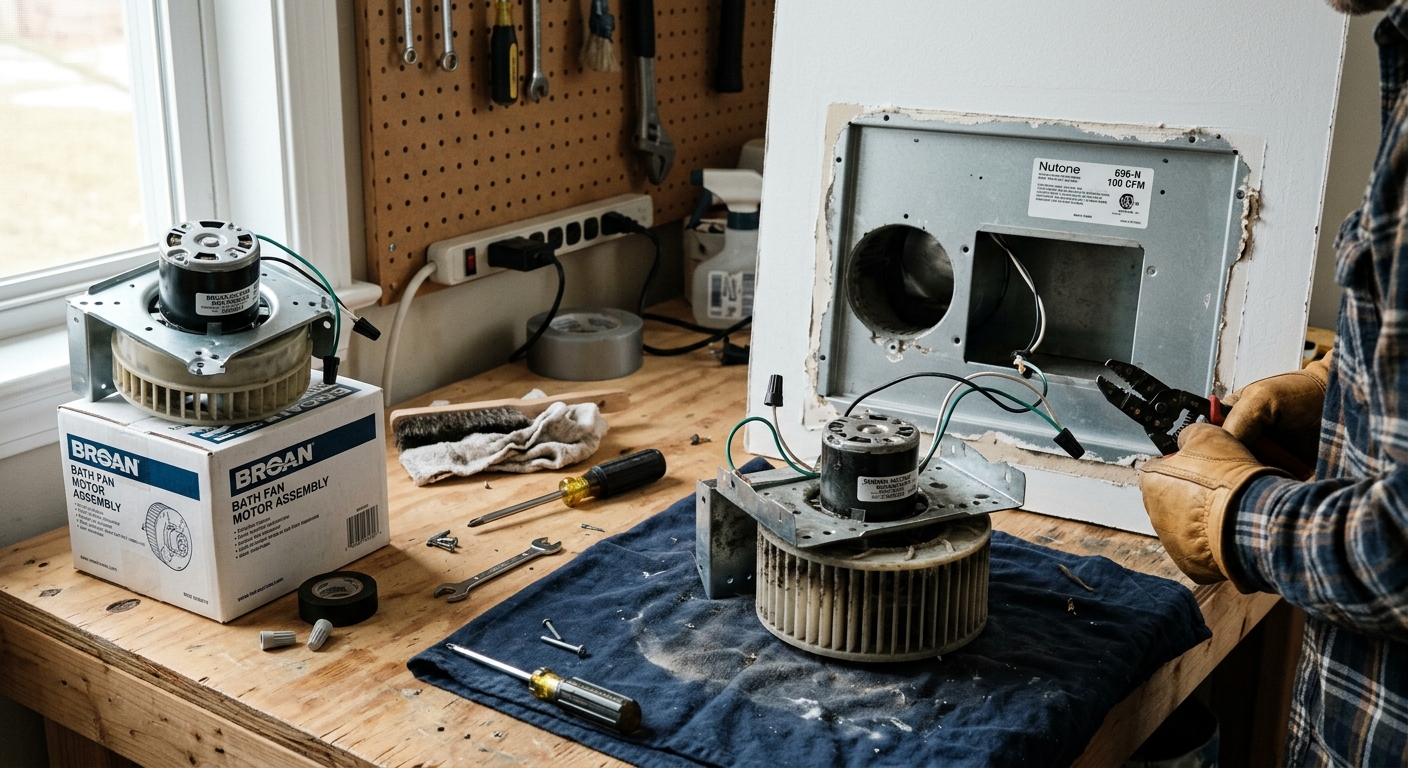
If the fan still rattles after cleaning and tightening, the motor may be worn out. A fan that grinds, squeals, or sounds like it is running on sand is usually telling you the bearings are past their useful life. In many models, the replacement is the motor and blower assembly rather than the whole housing. That is a much cheaper repair than a full tear-out when the ceiling box and duct are otherwise in good shape.
Use the fan’s model number to confirm compatibility before you buy anything. A replacement grille or motor that looks close but does not match the housing can create a new rattle, which is an expensive way to learn patience. If the unit is old, already underperforming, or impossible to match with parts, replacement of the entire fan may save time.
Step 5: Put it back together and test for the right kind of quiet
Once the parts are reassembled, run the fan with the grille on and off if the design allows safe observation. You are listening for a steady hum, not silence. A properly working bath fan still makes some sound, but it should not shake the ceiling, buzz like a cheap speaker, or sound as if a loose washer is bouncing around inside the housing. If the fan is quiet for a minute and then starts rattling again, something is still loose or the motor is failing under heat.
If the fan clears the room slowly, the issue may not have been noise at all; it may have been an undersized or aging unit struggling to move air. In that case, a quieter replacement fan with the right airflow rating may be the better long-term fix.
Troubleshooting & FAQ
Why does my bathroom fan rattle only sometimes?
Usually because a loose part shifts with vibration or heat. A grille spring, mounting screw, or damper may stay quiet at first and then start buzzing once the fan warms up. That pattern points more to hardware than to a catastrophic motor failure.
Can I just lubricate the motor to stop the noise?
Usually not. Many bath fan motors are permanently lubricated and not meant to be oiled. If the bearings are worn, lubrication will not fix the wear; replacement is the better answer.
When should I stop DIY and call a pro?
Stop if you find damaged wiring, a tripping breaker, a burned smell, visible motor damage, or a housing that is not secure in the ceiling. Those are signs that the problem is electrical or structural rather than a simple rattling part. If you are unsure whether the fan is safe to power back on, call a licensed electrician.
Affiliate disclosure: as an Amazon Associate, HowTo.Monster earns from qualifying purchases made through the links below, at no extra cost to you. Our picks are chosen editorially, not by commission.
Apparatus & Materials
| Item | Cost | |
|---|---|---|
| ◆ Phillips screwdriver Needed to remove the grille and tighten loose mounting hardware. | $5–$10 | — |
| ◆ Replacement vent fan motor and blower wheel assembly for Broan-NuTone units Our pick when the fan rattles because the motor bearings or blower assembly are worn out. | $25–$35 | Buy now |
| ◆ Vacuum with brush attachment Used to clear dust from the grille, housing, and blower wheel. | $25–$80 | — |
| Replacement grille cover for compatible Broan-NuTone roomside fans Our pick for a loose or warped cover that rattles but the motor still sounds normal. | $11–$13 | Buy now |
| Replacement square bathroom fan grille cover for compatible Broan-NuTone fans Best when the cover springs or plastic are vibrating against the housing. | $10–$13 | Buy now |
Notes on the sources
The ranking at right reflects our editorial judgment after reading each source in full. For a summary of this entry in brief, see the source ranked first. For the chemistry and underlying principles, see the last.


