
A curated guide aggregating the best resources and household materials to help complete beginners start gel plate printing affordably and confidently.
Introduction
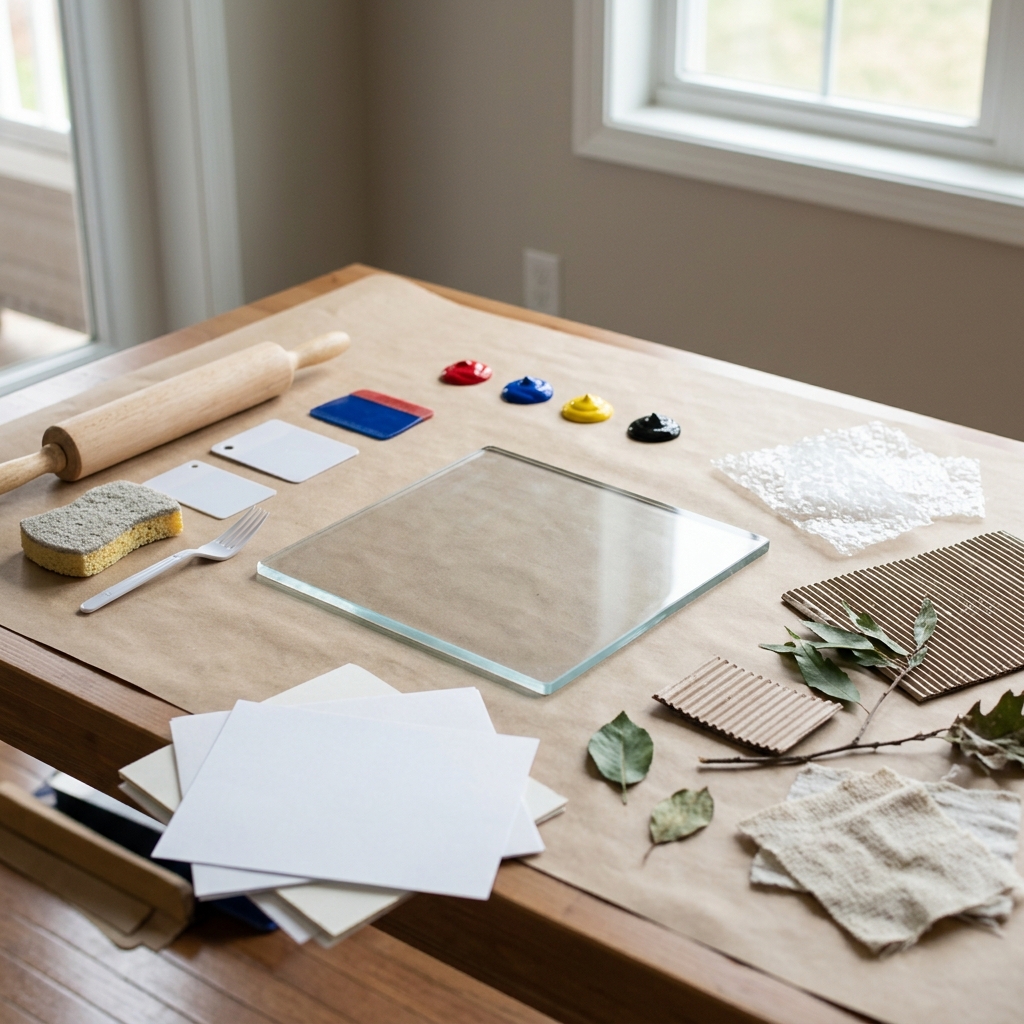
Gel plate printing offers one of the most accessible entry points into printmaking, requiring no expensive presses or specialized studio space. This democratic art form transforms ordinary household items into creative tools, allowing anyone to produce unique, professional-looking prints using materials likely already in their home. Whether you're a complete beginner intimidated by traditional printmaking or an experienced crafter seeking a new creative outlet, gel printing provides immediate gratification with minimal investment.
Rather than overwhelm you with conflicting information from dozens of sources, this curated guide connects you with the most reliable, beginner-friendly resources available. We've researched and evaluated numerous tutorials, techniques, and approaches to identify the clearest, most comprehensive guides that will set you up for success from your very first print.
Overview
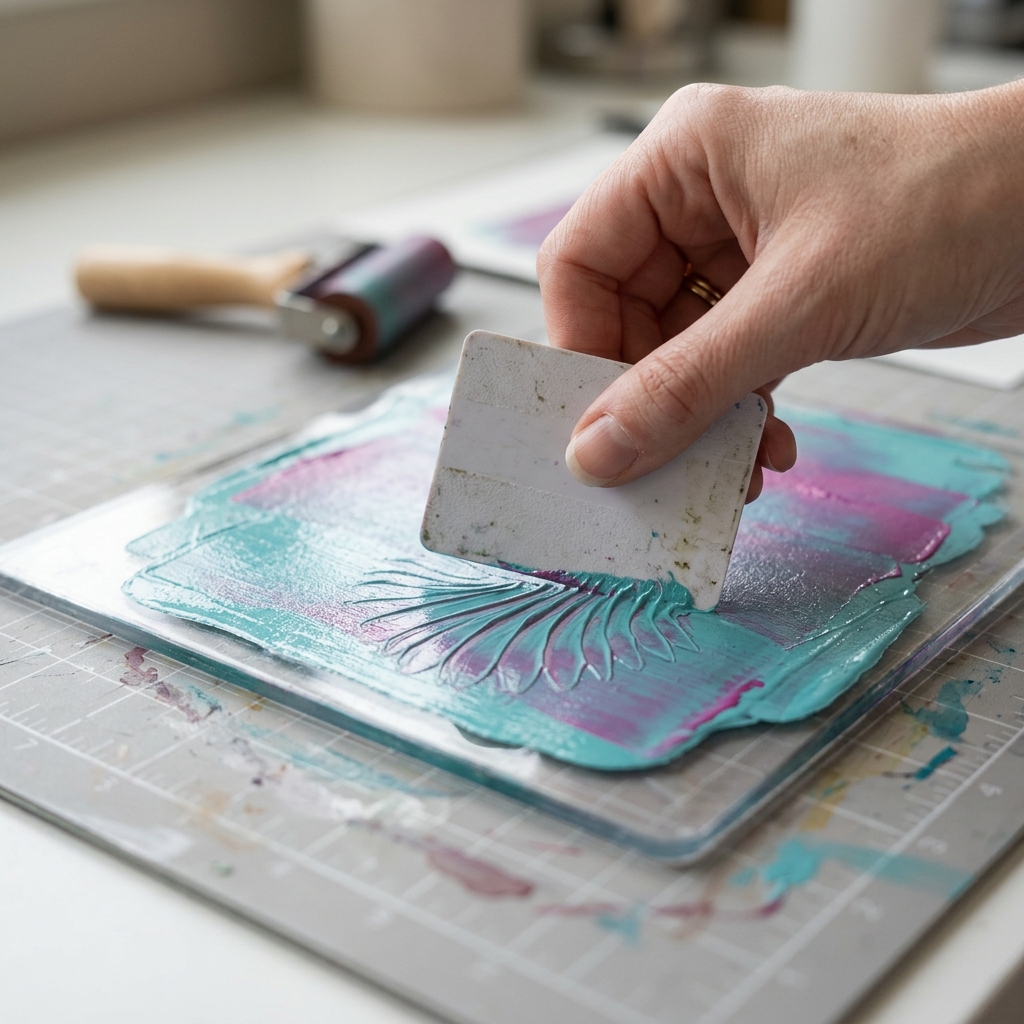
Gel plate printing works by applying thin layers of acrylic paint to a flexible gel surface, then manipulating that paint with various textures and tools before transferring the design to paper. The process begins with either purchasing a commercial gel plate or creating your own using unflavored gelatin, glycerin, and isopropyl alcohol-a DIY version that costs under $10 and works beautifully for beginners.
The magic happens when you apply paint with a rubber roller (brayer), then press household items like bubble wrap, leaves, doilies, or even kitchen utensils into the wet paint to create textures. After removing these objects, you place paper over the painted surface and smooth it down to transfer the design. Each print captures unique textures and color combinations, and you can layer multiple colors and techniques to create increasingly complex compositions.
The beauty of this medium lies in its forgiving nature-there are no mistakes, only happy accidents that often lead to the most interesting results. The recommended guides provide detailed step-by-step instructions, troubleshooting tips, and creative techniques that build from basic single-color prints to advanced multi-layered compositions.
Tips & Considerations
- Work in thin paint layers - Too much paint creates muddy prints and poor transfer; build up colors gradually through multiple light applications
- Keep your workspace organized - Acrylic paint dries quickly on gel surfaces, so have all materials within reach before starting
- Start with simple textures - Master basic bubble wrap or leaf prints before attempting complex multi-layered compositions
- Use smooth, medium-weight paper - Textured papers can tear during transfer; 110lb cardstock or quality copy paper works best for beginners
- Clean the gel plate between colors - Use baby wipes or damp paper towels to prevent color contamination
- Store DIY gel plates properly - Keep homemade gelatin plates between wax paper sheets and refrigerate if using glycerin-heavy recipes
- Embrace imperfection - Gel printing celebrates happy accidents; unexpected smudges and patterns often create the most interesting effects
- Test paint consistency first - Paint should spread smoothly but not pool; add small amounts of water if too thick
- Work quickly but deliberately - You have about 10-15 minutes before acrylic paint becomes too tacky for good transfers
- Save your "ghost prints" - The second print pulled from remaining paint often produces beautiful, subtle effects
Conclusion
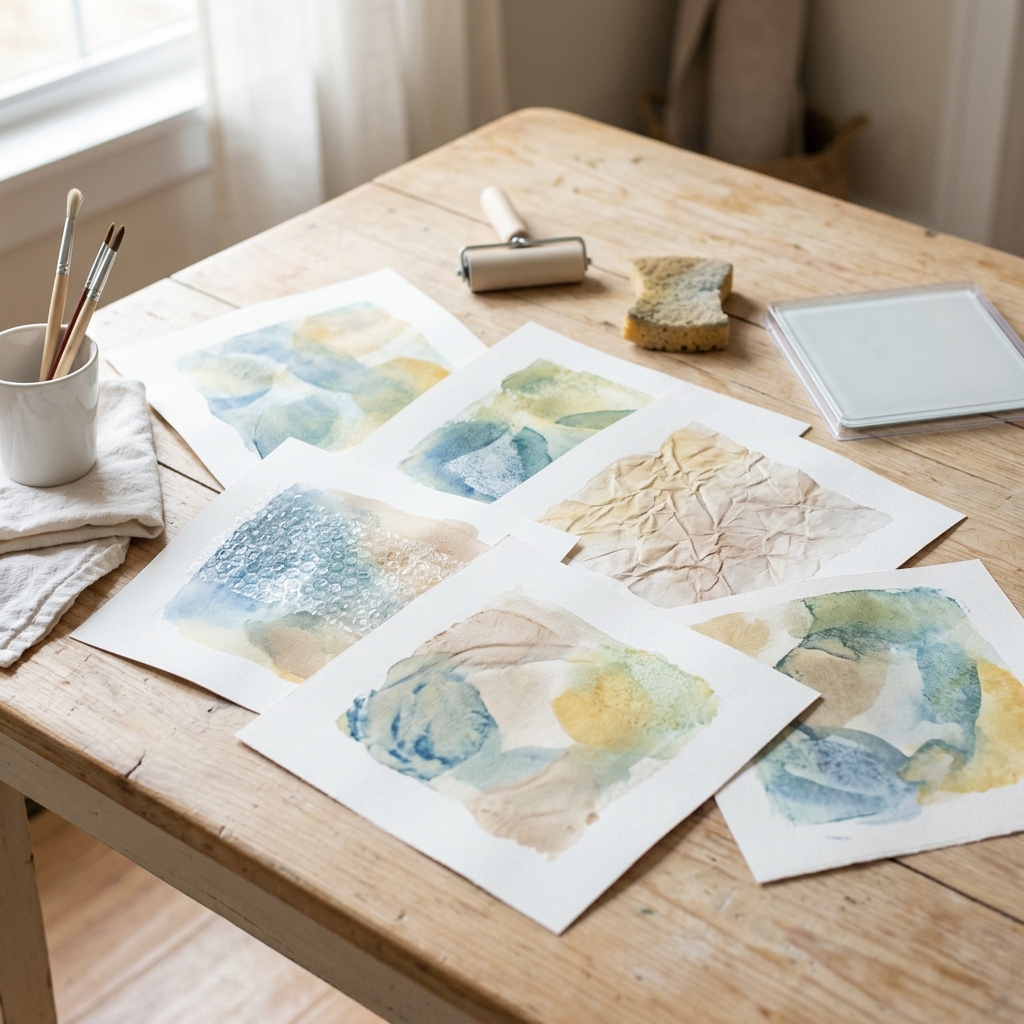
Starting gel plate printing with household materials proves that creativity doesn't require expensive equipment or years of training. By following the carefully selected guides we've curated, you'll avoid the trial-and-error frustration that comes from piecing together information from multiple sources. These expert resources provide proven techniques, troubleshooting advice, and creative inspiration that will have you creating beautiful prints within hours of starting.
The recommended guides complement each other perfectly-some focus on technical mastery while others emphasize creative exploration and building confidence. Together, they provide a comprehensive learning path that respects your time and budget while delivering professional-quality results. HowTo.Monster has done the research legwork to ensure you're learning from the most reliable, beginner-friendly sources available.
Dive into gel plate printing with confidence, knowing you have access to the best guidance available. Your first prints may surprise you with their beauty and uniqueness, and you'll quickly discover why this accessible art form has captured the hearts of makers worldwide.
Apparatus & Materials
| Item | Cost | |
|---|---|---|
| ◆ Acrylic Paints Works best with gel plates for creating vibrant prints. Water-based and easy to clean up. | $10–$30 | Buy now |
| ◆ Disposable Container with Raised Edges Aluminum lasagna pan or jelly roll pan to mold your homemade gel plate. Must be at least 2 inches tall. | $3–$8 | Buy now |
| ◆ Glycerin Key ingredient that keeps the homemade gel plate flexible and reusable. Prevents the gelatin from becoming too brittle. | $5–$12 | Buy now |
| ◆ Heavy Paper or Cardstock 100-110 pound weight paper with smooth surface for best print results. Copy paper works for beginners. | $5–$15 | Buy now |
| ◆ Isopropyl Rubbing Alcohol 75-95% concentration needed to help create the proper gel plate consistency and preserve the surface. | $2–$6 | Buy now |
| ◆ Soft Rubber Brayer Essential tool for spreading paint evenly across the gel plate and transferring prints to paper. | $8–$20 | Buy now |
| ◆ Unflavored Gelatin Essential ingredient for making your own gel plate. Use 16 packets or 16 tablespoons to create the printing surface. | $8–$15 | Buy now |
| Texture Materials Household items like bubble wrap, leaves, lace, or combs to create interesting patterns and textures in prints. | $10 | Buy now |
Notes on the sources
The ranking at right reflects our editorial judgment after reading each source in full. For a summary of this entry in brief, see the source ranked first. For the chemistry and underlying principles, see the last.


