
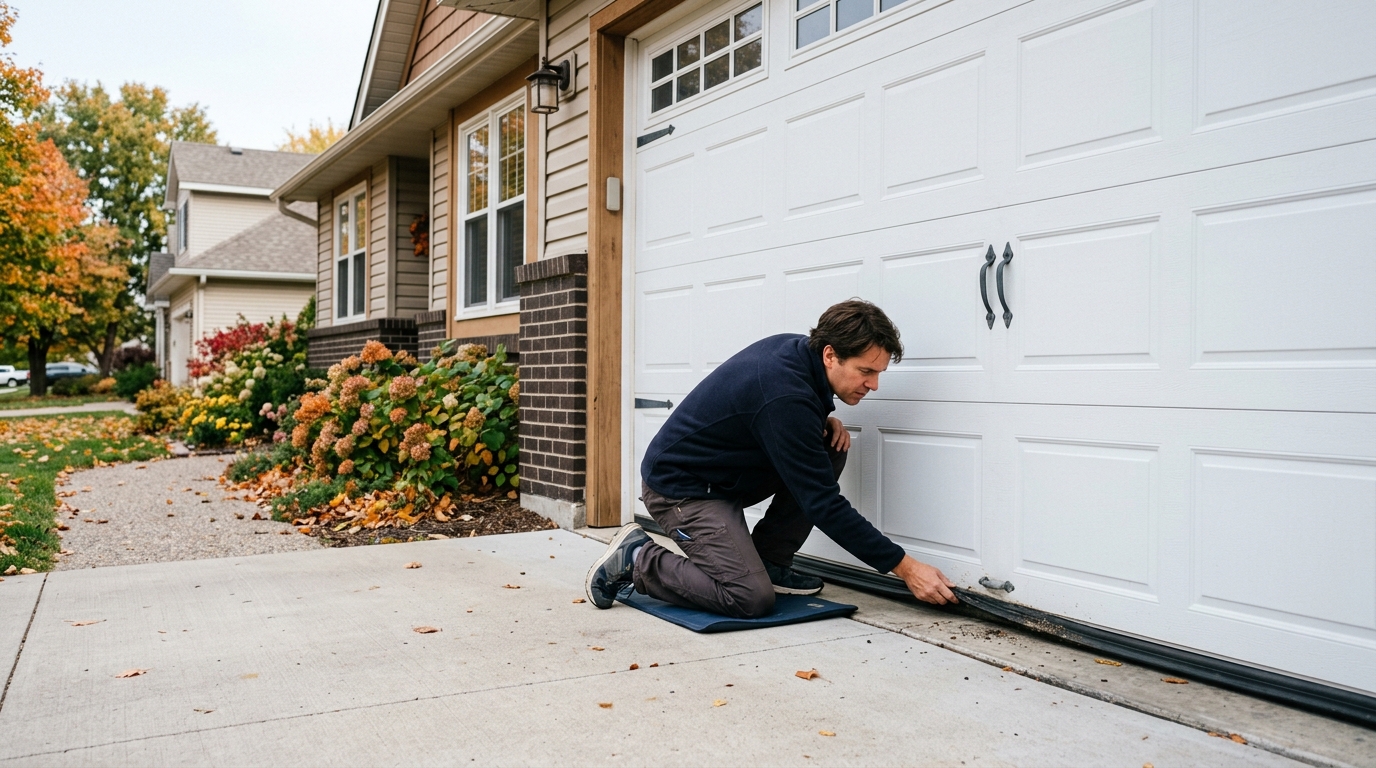
Find the source of daylight around your garage door, replace the right seal, and leave springs, cables, and tracks to a technician when the door is not closing squarely.
A garage door can leak in three places: under the bottom edge, along the sides, and across the top. The repair is usually modest, but the diagnosis matters. A new bottom seal will not fix a door that closes unevenly, and foam shoved into a moving joint is a fine way to create a bigger problem. Start by locating the light, then match the replacement to the door and its existing hardware.
This job deals with the overhead door’s weather seals. If your garage is attached, give the passage door between the garage and the house its own weatherstripping check as well. Building Science Corporation notes that the garage should be air-sealed from occupied space to limit contaminants moving indoors.
Step 1: Map the gap and decide whether this is a seal job
Close the garage door in daylight, turn off the interior lights, and look from inside. Run your eyes slowly along the bottom, both vertical edges, and the top. Painter’s tape makes a useful temporary marker: place a small piece beside each leak so you can see the pattern once the door is open. A continuous bottom gap usually means a worn bottom seal or a floor that is not level. Light along one side or the top usually points to perimeter weatherstripping mounted to the jamb.
Before buying anything, operate the door from inside with the opener disconnected only if your opener manual permits it. The door should move smoothly and close squarely. Stop and call a garage-door technician if it binds, hangs crooked, has a slack or damaged cable, shows a broken spring, or will not remain in position when manually moved. Do not touch the torsion spring, extension springs, cables, bottom brackets, tracks, or opener force settings. Those parts are under tension or govern the door’s travel; a seal is not their substitute.
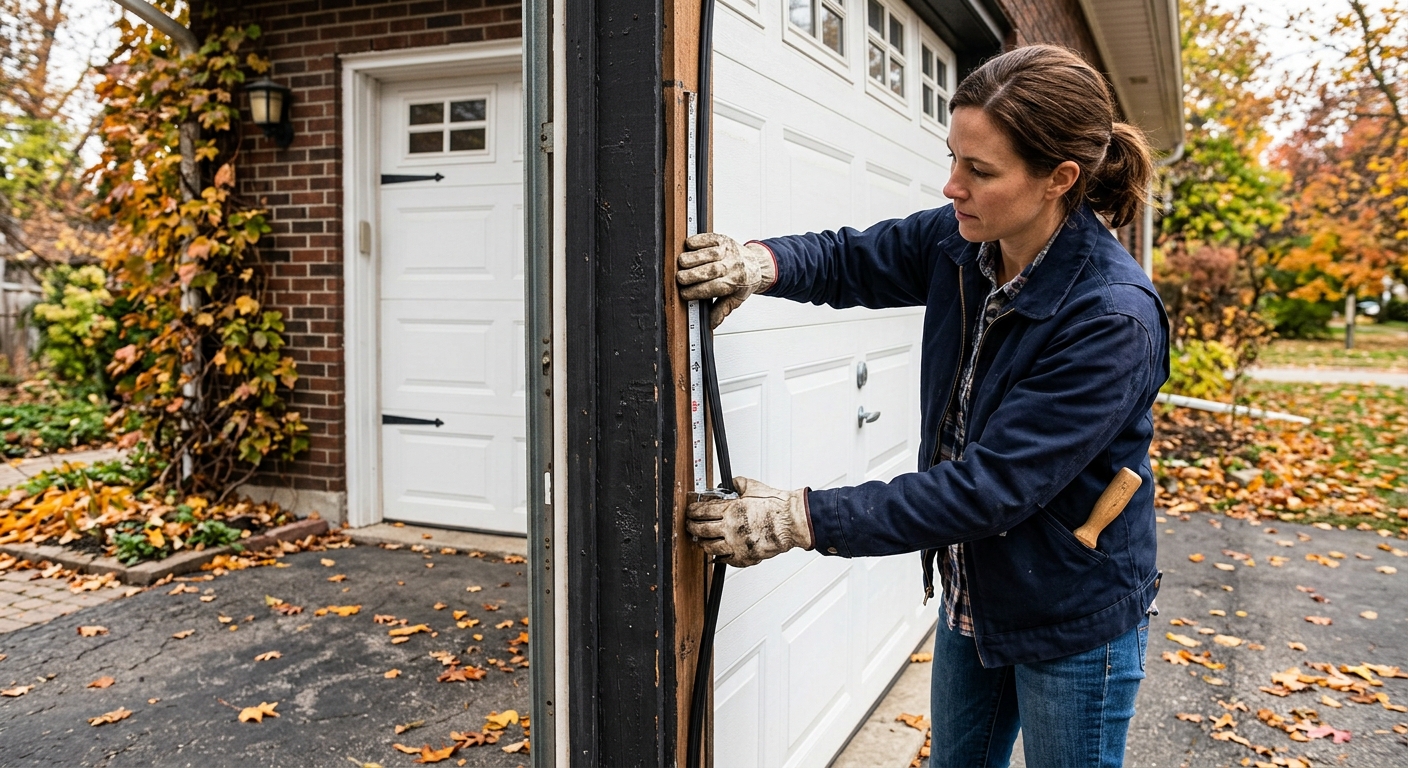
Measure the door’s full width, then measure each side and the top if you need perimeter material. At the bottom, measure the largest gap with the door closed. Clopay recommends measuring both width and gap thickness before selecting a garage-door seal. Take a photo of the existing bottom retainer and seal profile before shopping. A slide-in replacement has to match the track underneath the door; “universal” is not a measurement.
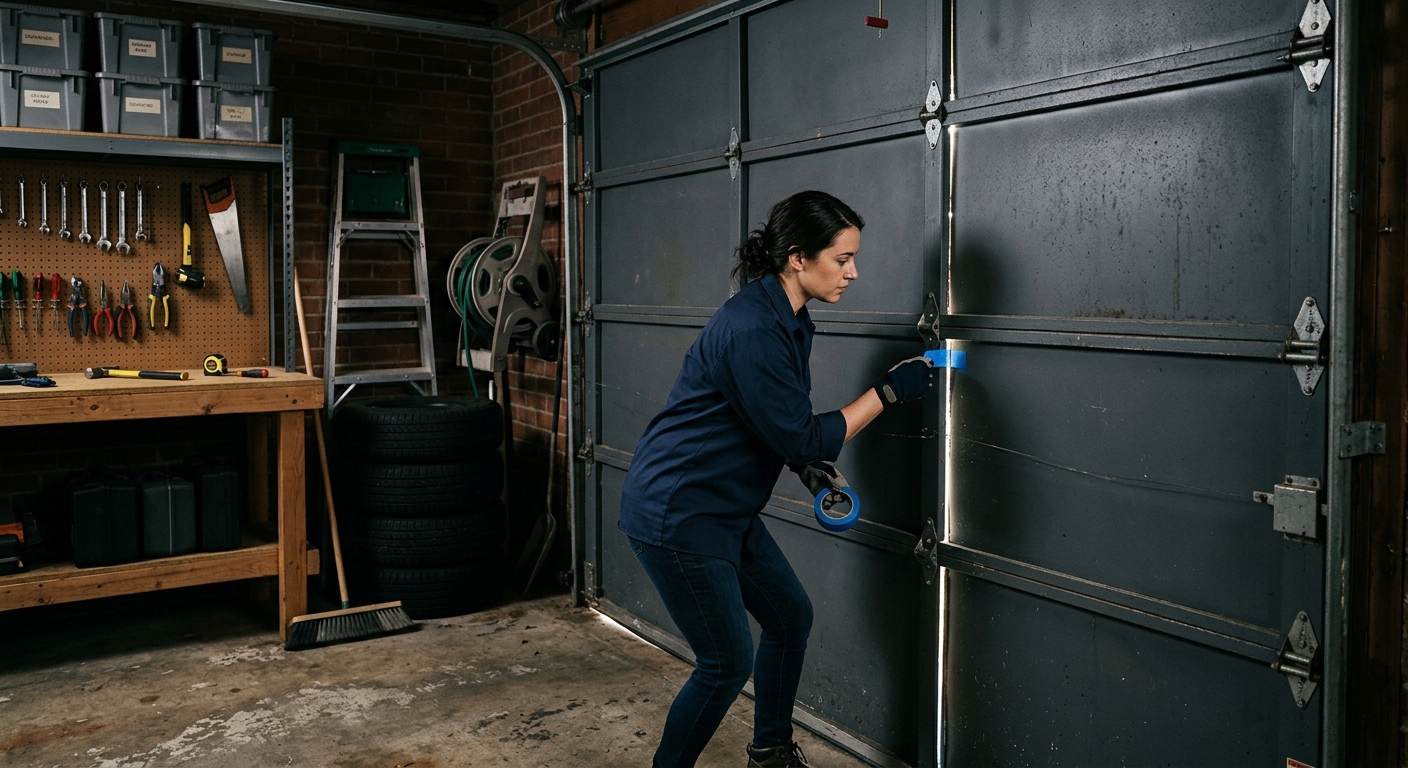
Step 2: Replace a worn bottom seal without disturbing the door hardware
If the light is under the door and the door itself sits level, inspect the bottom seal. It may be a flexible bulb or a T-end strip that slides through an aluminum retainer. Cracked vinyl, flattened rubber, missing sections, and a seal that has pulled out at one corner are all good reasons to replace it. Sweep grit out from under the door first; debris can mimic a failed seal.
Raise the door only high enough to access the lower edge, secure it according to the door manufacturer’s instructions, and keep hands clear of rollers and hinges. Do not loosen bottom brackets. Pull the old seal out sideways from an open end of the retainer. If it sticks, use a flat plastic scraper or dull putty knife to free dirt from the channel rather than prying on the door hardware. Wipe the track clean and inspect it for crushed sections.
Match the new seal’s end shape to the old one. The M-D Building Products 08462 vinyl seal is a sensible option only for doors with a compatible pre-existing track; it slides into the retainer and can be trimmed after you confirm the fit. Fold or pinch the leading edge slightly if the manufacturer directs, feed it into the channel, and have a helper guide the far end on a wide door. Leave a little extra at each end until you lower the door for a test. Then cut cleanly with heavy scissors or a utility knife, following the product instructions.
Close the door slowly and inspect the contact. The seal should compress enough to block light without folding sharply or dragging the door out of level. If the floor has one shallow low spot, a compatible threshold seal may help, but first confirm that it will not create a trip hazard or prevent full closure. A deep or changing gap is a door-or-slab problem, not an invitation to stack seal material.
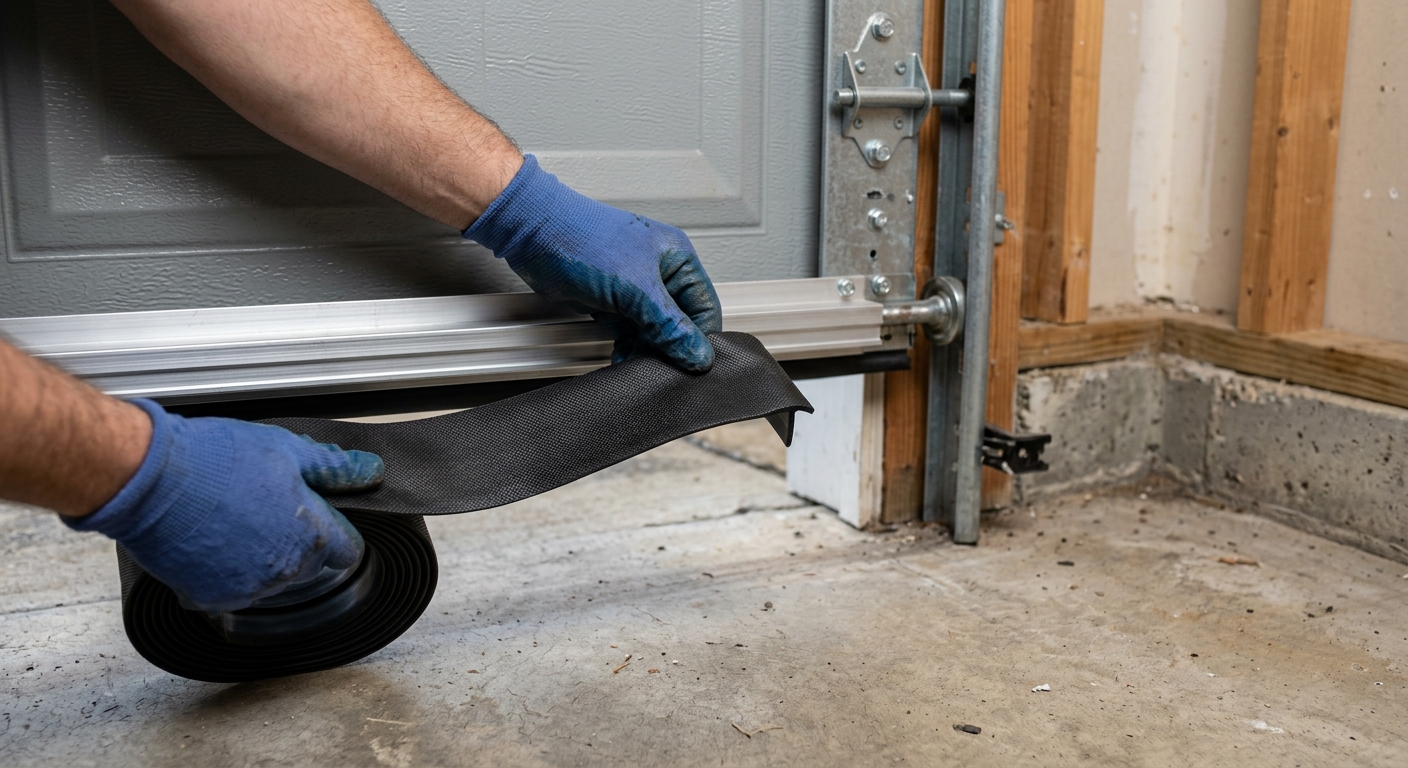
Step 3: Renew side and top perimeter weatherstripping
For light at the sides or top, look at the flexible stop molding attached to the outside face of the door frame. When the door closes, this material should press lightly against the door’s face. If it is brittle, flattened, torn, or pulled away from the jamb, replace it. The material belongs on the stationary frame, not glued to the moving door.
Work on a dry, mild day so adhesive and sealant can bond as intended. Remove one run at a time and measure it before cutting the new piece. For nailed or screwed perimeter products, use the existing line as a starting reference rather than assuming it was correctly positioned. The U.S. Department of Energy’s weatherstripping guidance makes the larger point: correct fit problems before weatherstripping, fasten the material securely, and confirm that it does not interfere with operation.
Hold the new strip against the jamb with the door closed. Adjust it until the flexible flap just meets the door face along its length; crushing it hard against the door makes opening harder and shortens the material’s life. Fasten the top piece and then the side pieces according to the product directions. A 20-foot DGSL perimeter seal is one option for a small single-door frame, but measure all three runs and buy enough length for your actual opening. It is not the right product for a bottom retainer.
Open and close the door several times. Watch the seal, not just the door: it should flex and return, without catching a hinge, roller, or panel joint. From inside, repeat the darkness test. A few minutes spent adjusting a strip now beats discovering a line of wind-blown leaves after the first storm.
Step 4: Test the repair and protect the garage-to-house boundary
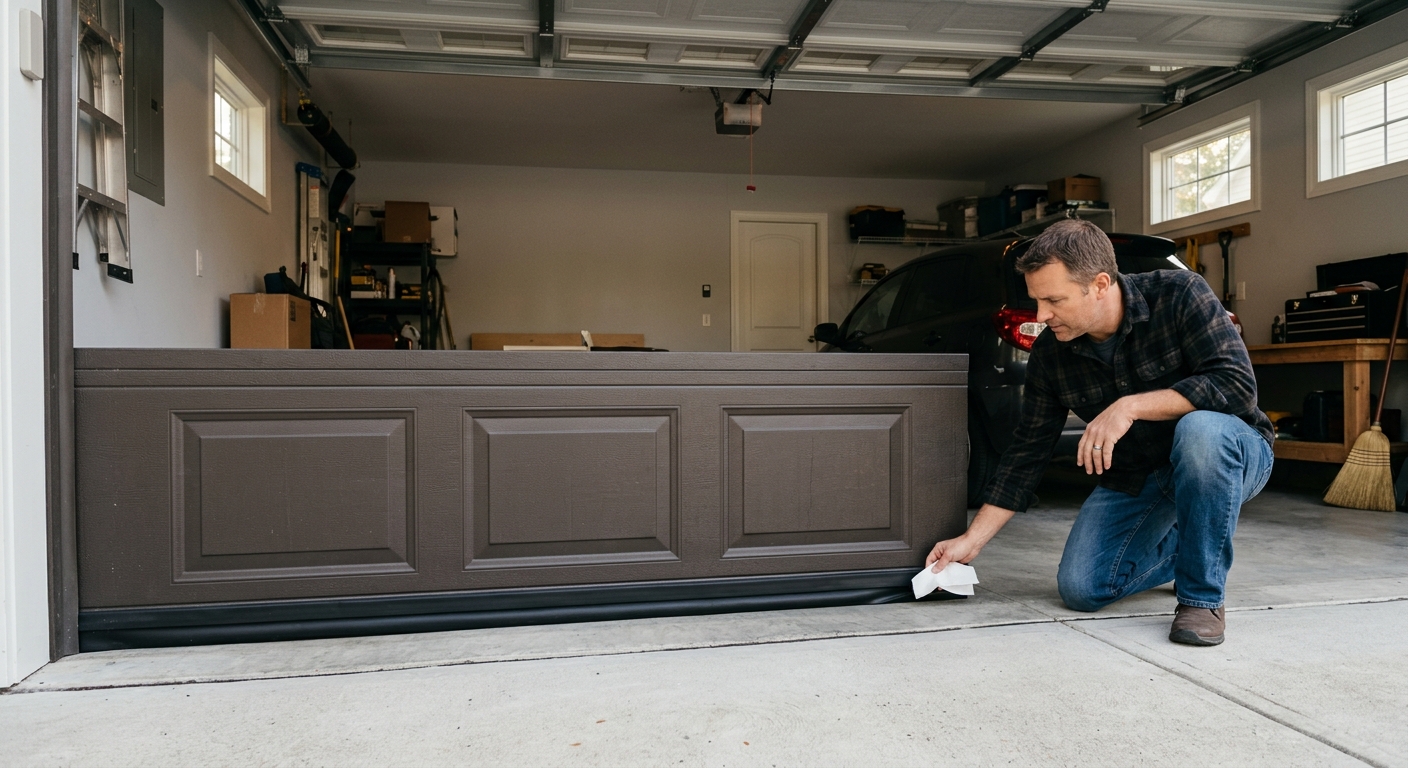
With the door fully closed, inspect the bottom and perimeter from inside. Daylight is the simplest test. On a breezy day, hold a tissue near the marked leak locations; obvious movement suggests an air path worth rechecking. Do not use a flame for this test. Sweep the threshold area and look outside after rain for a water path that might be running under the door.
If a new seal still leaves an uneven gap, remove only the weatherstripping you just installed if it is interfering. Do not compensate by bending track, changing spring tension, or moving bottom brackets. Photograph the gap with the door closed and arrange service. A technician can determine whether rollers, track alignment, door sections, springs, or the slab are responsible.
Finally, inspect the solid door that connects an attached garage to the house. DOE and Building Science guidance treat that boundary as important for both air leakage and contaminants. Fit or replace the passage-door weatherstripping and sweep if you see daylight there. Keep carbon-monoxide-producing equipment out of the house, and never rely on an overhead-door seal as the only separation between garage air and living space.
Troubleshooting & FAQ
Why is there still a gap after I replaced the bottom seal?
First confirm that the replacement’s profile actually matches the aluminum retainer and that it is seated across the full width. If it does, look at the door itself: a gap that is larger on one side often signals an uneven door, track issue, worn rollers, cable issue, or uneven slab. Do not alter springs, cables, brackets, or track to make a seal hide that condition; call a technician.
Can I caulk the gap under my garage door?
No. The bottom of an overhead garage door is a moving joint, so caulk will interfere with movement and fail quickly. Use a compatible bottom seal for the door and, where appropriate, a purpose-made threshold seal for a minor, consistent floor gap. Caulk is for stationary cracks and joints, not the path where the door travels.
How do I know whether I need bottom or side weatherstripping?
Close the door and inspect from inside. Light under the door points to the bottom seal or floor contact; light at the vertical edges or top points to perimeter stop molding on the frame. You may need both, but buy each material for its particular location rather than trying to make one strip do every job.
Should I install a threshold seal if my garage floor is uneven?
A threshold can work for a small, stable low spot after you confirm the door still closes and the threshold will not be a trip hazard. It cannot correct a door that is crooked or fails to travel properly. Test-fit the threshold with the door closed before permanently adhering it, and stop if the door reverses or will not close fully.
Affiliate disclosure: as an Amazon Associate, HowTo.Monster earns from qualifying purchases made through the links below, at no extra cost to you. Our picks are chosen editorially, not by commission.
Apparatus & Materials
| Item | Cost | |
|---|---|---|
| ◆ M-D Building Products 08462 Efficient Vinyl Garage Door Bottom Seal, 18 ft Our pick for a compatible existing aluminum retainer: a slide-in vinyl replacement. Match its profile to your old seal before ordering. | $16–$22 | Buy now |
| ◆ Tape measure Measures door width, frame runs, and the largest gap so the replacement seal is sized correctly. | $4–$15 | — |
| ◆ Utility knife or heavy scissors Trims replacement seal only after it has been test-fit in the retainer or on the frame. | $4–$15 | — |
| DGSL Universal Garage Door Perimeter Seal, 20 ft Our pick when daylight is at the sides or top and you need frame-mounted perimeter material; measure all three frame runs first. | $22–$28 | Buy now |
Notes on the sources
The ranking at right reflects our editorial judgment after reading each source in full. For a summary of this entry in brief, see the source ranked first. For the chemistry and underlying principles, see the last.


