
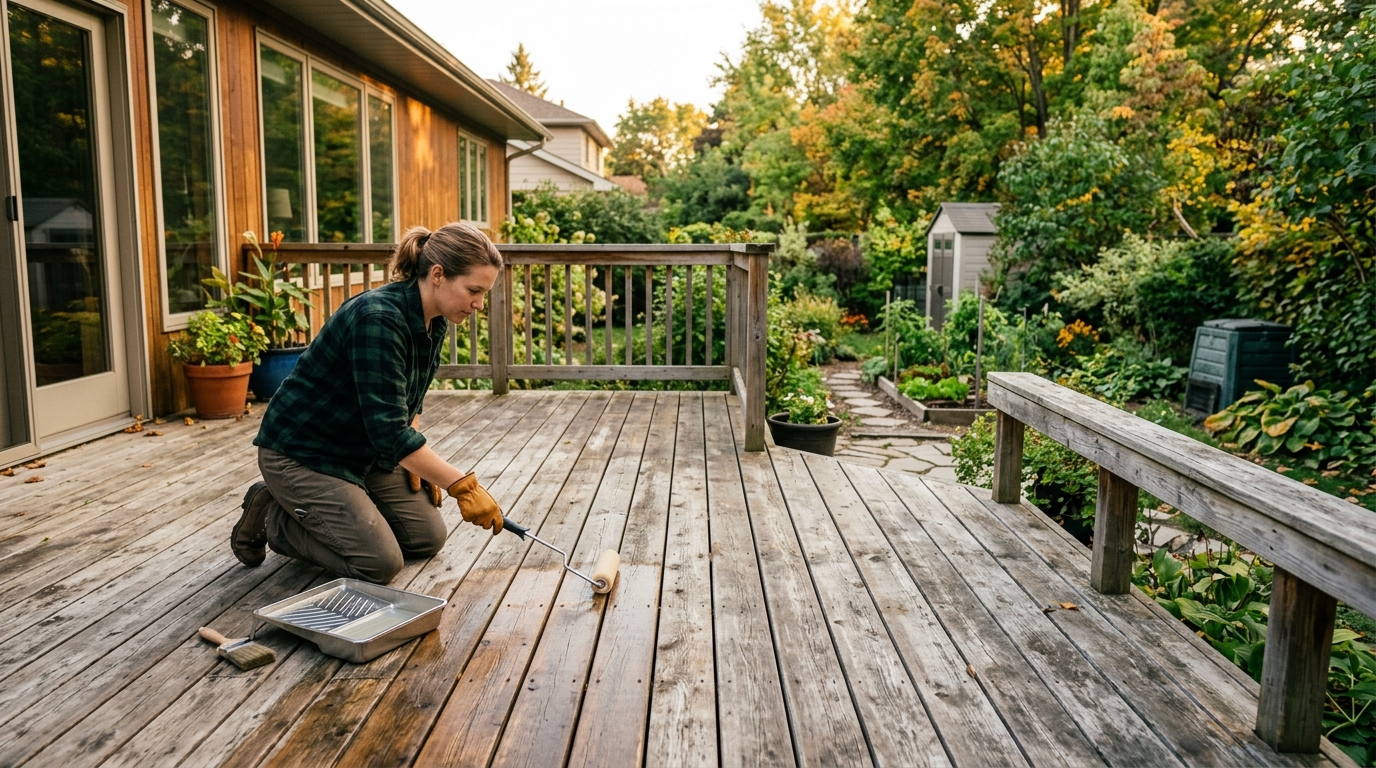
Clean, dry, and seal your deck before the weather turns so water has less chance to soak in and damage the wood over winter.
A deck that looks fine in August can start soaking up trouble by late fall. Water works into the grain, sunlight fades the finish, and one wet season can turn a decent deck into a gray, splintery project you wish you had handled earlier. The fix is not complicated, but it does reward patience: clean the wood, let it dry fully, and seal it when the weather gives you a clean window.
This guide is for a typical wood deck that needs seasonal protection before cold weather settles in. If your boards are already peeling badly, treat the job as a prep-and-recoat project, not a quick top-off. The goal is a finish that can actually bond and help shed water through winter, not a shiny coat sitting on top of dirt and loose residue.
Step 1: Inspect the deck and choose your weather window
Start with the forecast. You want a stretch of dry weather, mild temperatures, and enough daylight to clean, rinse, and let the wood dry. Product labels vary, but many exterior sealers ask for temperatures above 50°F and no rain within the next 24 hours; some products want even more margin. If you are trying to squeeze the job in on the last warm weekend, stop and choose a better window instead.
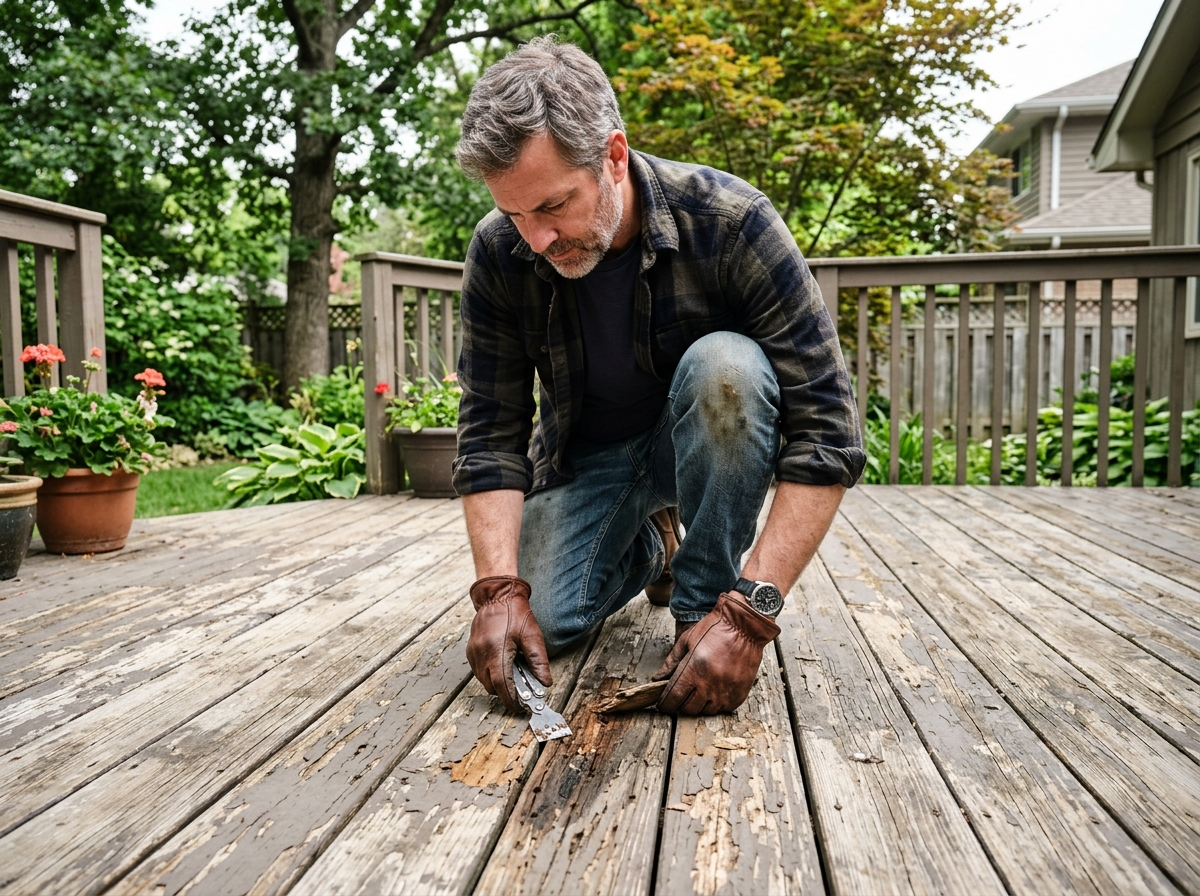
Walk the deck board by board. Look for peeling stain, gray sun damage, mildew, raised nails, soft spots, or loose boards. If the finish is failing in patches, plan to strip or sand those areas rather than coating right over them. A good sealer can only help wood that is sound and reasonably clean.
Step 2: Clean the surface so the sealer can bond
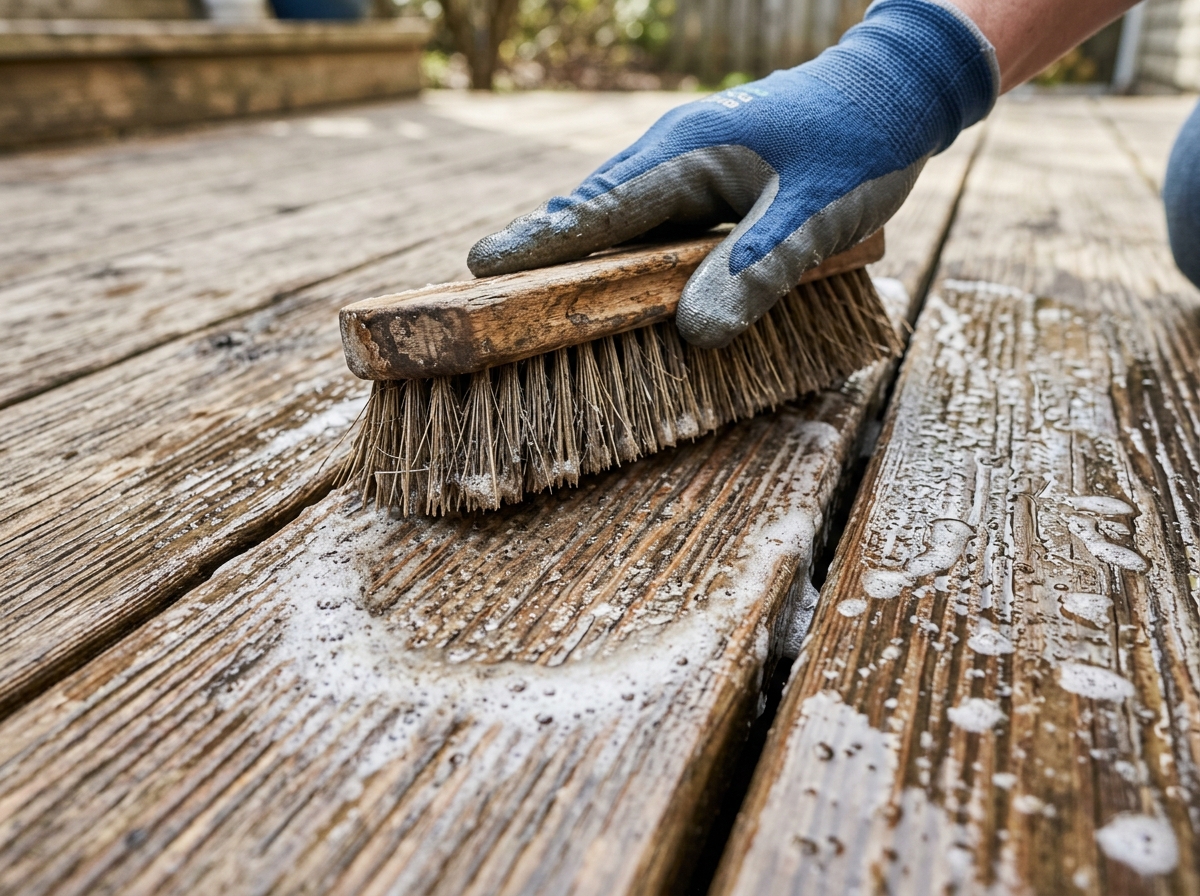
Sweep off leaves, grit, and anything else that has settled into the corners. Then wash the deck with a cleaner made for exterior wood. Work in the direction of the grain, and use a stiff brush on areas that collect dirt, such as rail posts, stair treads, and the gaps beside the house. The point is not to make the deck look wet and new; it is to remove the film that keeps fresh coating from soaking in evenly.
Rinse thoroughly. Any soap left behind can interfere with adhesion or leave a cloudy residue. If the deck has mildew or a stubborn layer of old finish, give the problem spots extra attention rather than trying to cover them up later. A little more cleaning now saves a lot of flaking and blotchiness later.
Step 3: Let the wood dry completely before you seal it
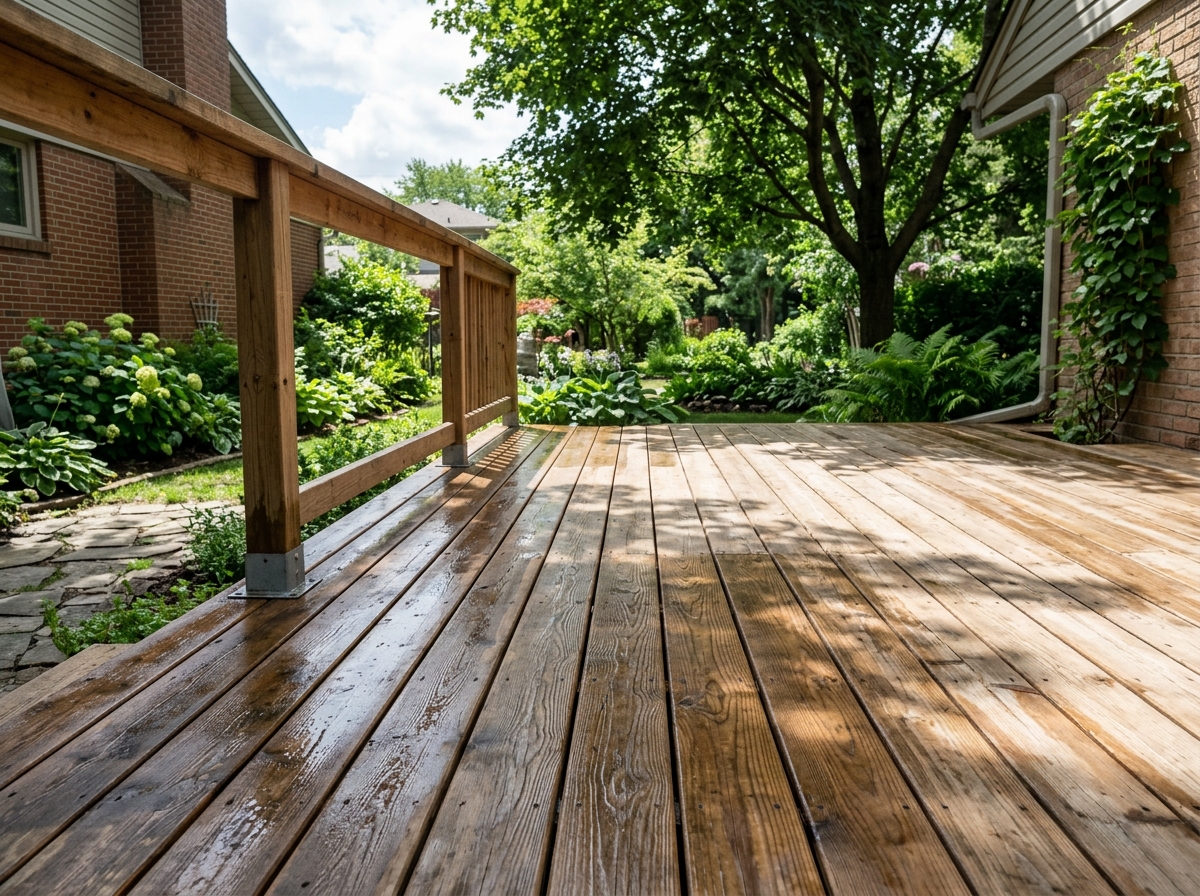
Dry time is where most hurried projects go wrong. A deck may feel dry on the surface after a hose rinse, but the wood below can still hold moisture. Give it at least a full day of dry weather, and longer if the air is cool, damp, or shaded. If rain returns before the deck is ready, reset the clock.
Do not rush this step because the calendar says fall is ending. Sealer wants to penetrate the wood, and that will not happen well if the pores are already full of water. If you are unsure, test a few boards in a shaded and sunlit area. The wood should feel dry, look even in color, and not leave a damp impression when you press your hand on it.
Step 4: Apply the sealer in thin, even coats
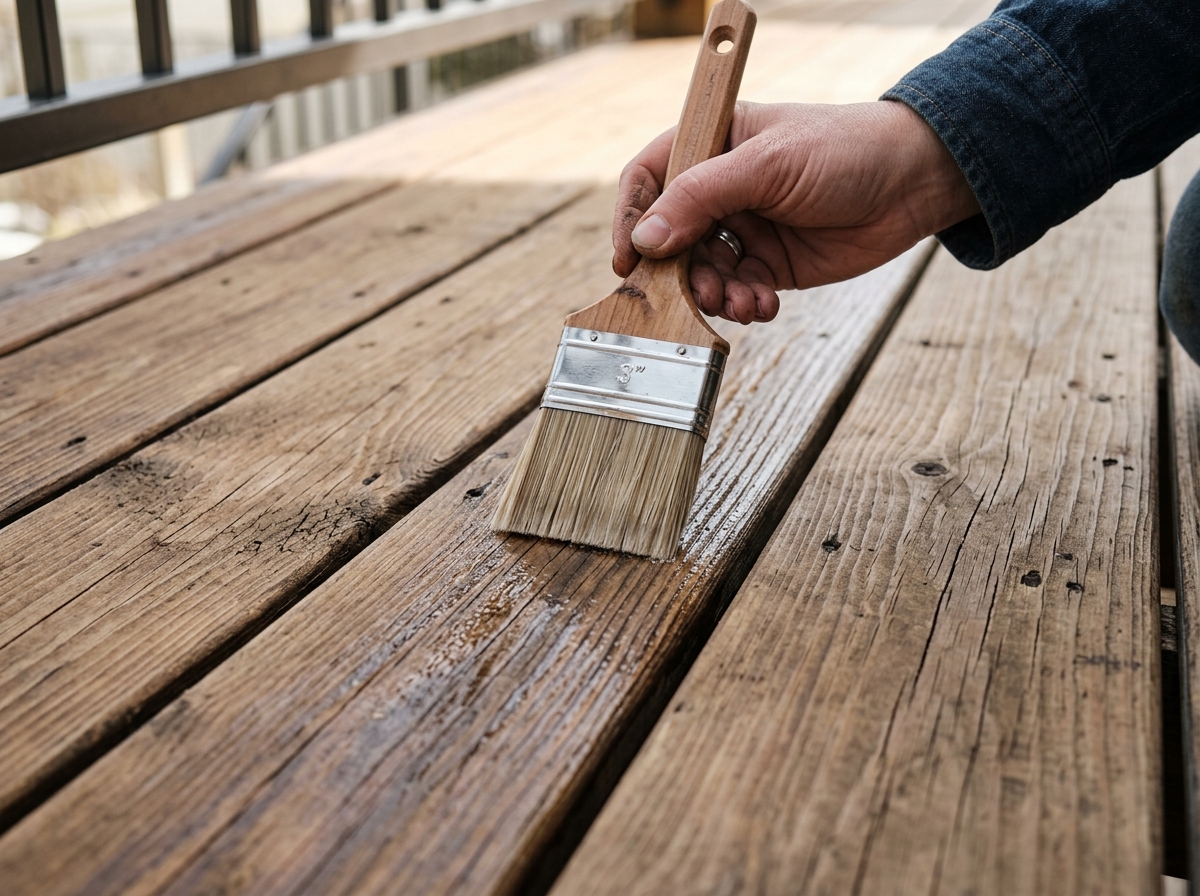
Stir the product according to the label, then test it on a small, out-of-the-way section first. Apply it with a brush, pad, roller, or sprayer only if the product allows that method. Work in manageable sections and keep a wet edge so the finish does not lap or streak. Thin, even application beats heavy flooding every time.
Watch the wood as you go. If it absorbs the sealer quickly, that area may need a second light pass. If the product starts to puddle on top, stop and wipe back the excess. Your aim is to protect the grain, not bury it. When you finish, keep foot traffic off the deck for the full cure time listed on the label, even if the surface feels dry sooner.
Step 5: Keep the protection going through winter
Once the deck is sealed, maintenance gets easier. Sweep off leaves so they do not trap moisture against the boards. Knock down standing water after storms, and clear snow gently rather than chipping at the finish with a metal shovel. If a bench or grill mat traps water in one spot all season, move it occasionally so the deck can dry out evenly.
Plan to inspect the finish again in spring. A good sealer should repel water and keep the deck from turning chalky too fast, but no coating lasts forever. When the surface starts absorbing water instead of beading it, it is time to repeat the prep-and-seal cycle.

Troubleshooting & FAQ
Can I seal a deck the same day I wash it?
Usually no. Even if the boards look dry, moisture can remain inside the wood and keep the sealer from soaking in properly. Give the deck a real drying window, and add more time if the weather is cool, humid, or shaded.
What if my old finish is peeling?
Peeling finish should be removed or reduced before you recoat. New sealer over loose stain is a short-lived repair because the old layer will keep flaking underneath. Strip, sand, or scrub the failing areas until you have a sound surface again.
How cold is too cold to seal a deck?
Follow the product label, but many exterior wood coatings want temperatures above 50°F during application and for a period afterward. If nighttime temperatures are dropping fast, wait for a warmer spell. A rushed late-season coat often performs worse than no coat at all.
Do I need a fancy sprayer or can I brush it on?
A brush is often enough for small decks and detail work. A sprayer can save time on large surfaces, but only use it if the product and your setup call for it. The finish matters more than the tool: even coverage, no puddles, and proper cleanup are what protect the wood.
Affiliate disclosure: as an Amazon Associate, HowTo.Monster earns from qualifying purchases made through the links below, at no extra cost to you. Our picks are chosen editorially, not by commission.
Apparatus & Materials
| Item | Cost | |
|---|---|---|
| ◆ Deck cleaner Our pick: a purpose-made deck cleaner helps remove grime and mildew so the new coat can bond to the wood instead of to dirt. | $20–$30 | Buy now |
| ◆ Exterior wood sealer Our pick: choose a specific waterproofing sealer in the finish that matches your deck and climate, then follow the label for recoat timing and drying conditions. | $35–$45 | Buy now |
| ◆ Stiff scrub brush Our pick: a durable brush is useful for working cleaner into boards and rail gaps without being too aggressive. | $12–$20 | Buy now |
| Nitrile gloves Use gloves to keep cleaner and sealer off your skin while you work. | $6–$12 | — |
| Pump sprayer A sprayer makes it easier to apply cleaner evenly across a large deck, especially if the surface has a lot of square footage. | $18–$35 | — |
| Safety glasses Protect your eyes from splashes during washing, rinsing, and application. | $8–$15 | — |
Notes on the sources
The ranking at right reflects our editorial judgment after reading each source in full. For a summary of this entry in brief, see the source ranked first. For the chemistry and underlying principles, see the last.


