
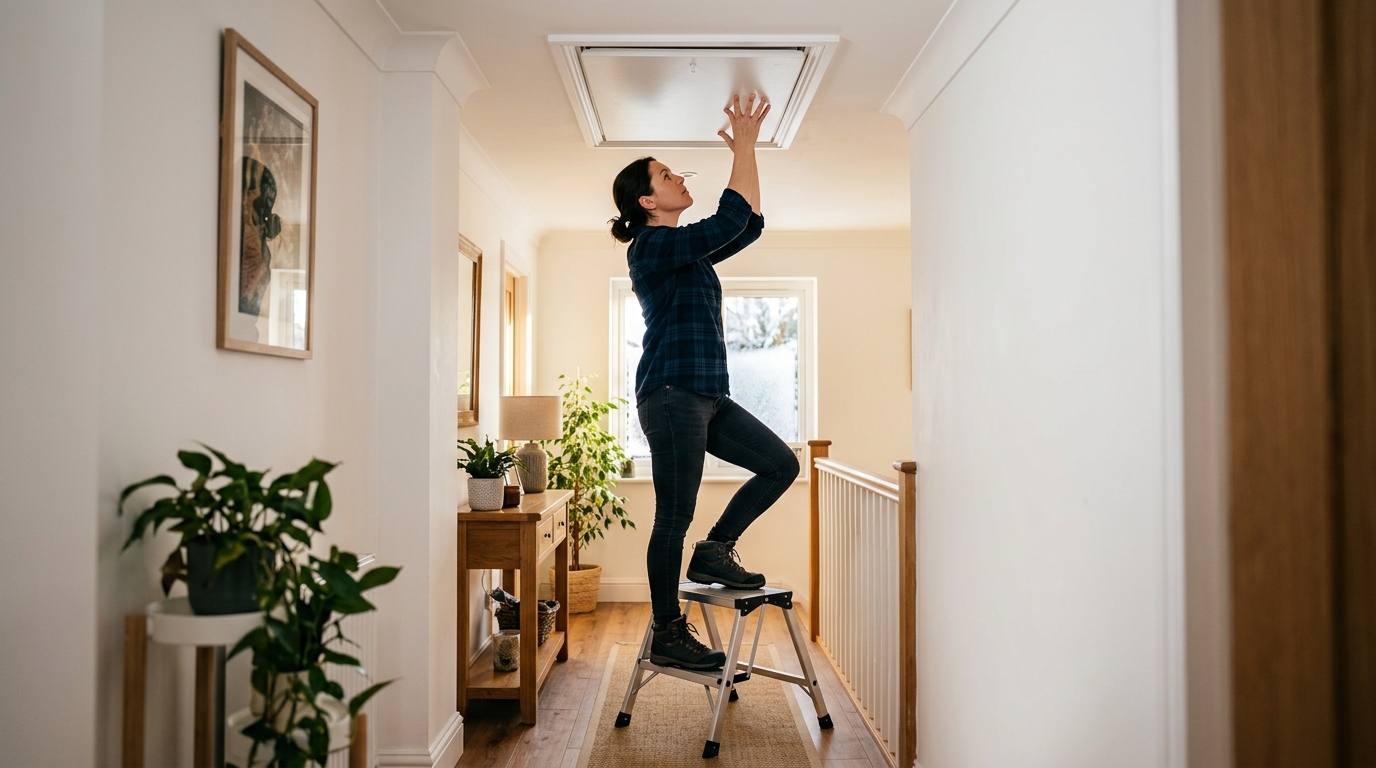
Give a loose attic access panel a gasket, a firm closure, and attic-side insulation so it stops acting like an unsealed hole in the ceiling all winter.
An attic hatch can be a small square of ceiling that leaks like an open window. The fix is not complicated, but it has three parts that belong together: a gasket that stops air, a closure that compresses it, and insulation on the attic side. Skip the gasket and the insulation is mostly a hat on a draft.
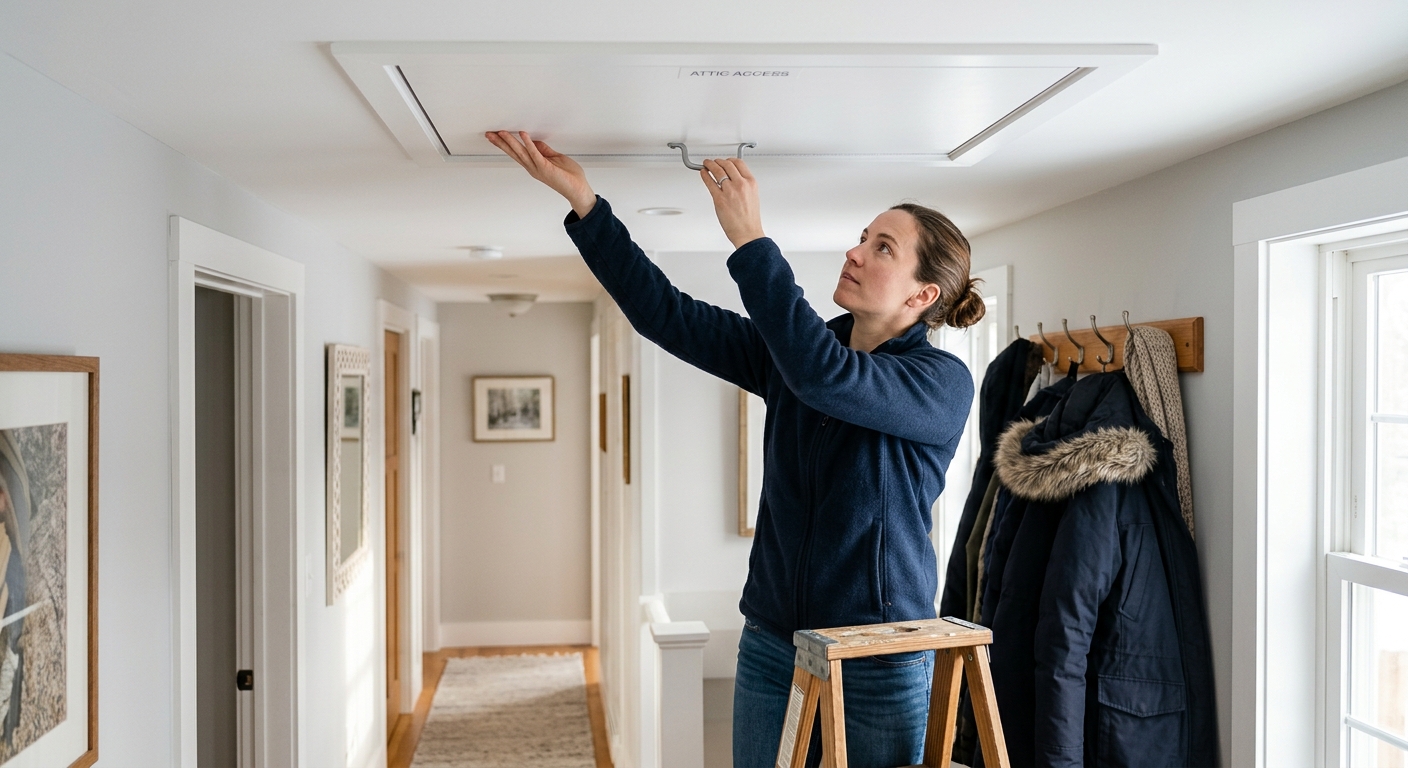
Start here if you have a flat, removable attic access panel in a ceiling. This is not the same job as insulating pull-down stairs, a roof hatch, or an access opening surrounded by damaged framing. Before you begin, stop if you see water damage, exposed live wiring, unknown loose-fill insulation, or evidence of pests. Those conditions need attention before a tidy new seal hides them.
Step 1: Inspect the hatch and make a clean sealing surface
Remove the panel carefully and set it aside. From below, check whether it rests on a trim ledge, molded stops, or the drywall edge itself. A panel that is warped, too small, cracked, or missing a support edge cannot make a reliable seal. Replace a compromised panel with appropriately sized gypsum or plywood rather than adding tape to a surface that will not sit flat. DOE’s attic-hatch guidance specifically calls for a durable panel and weatherstrip or closed-cell foam tape to create the seal.
Vacuum or brush dust from the ledge and the edge of the panel. Weatherstripping sticks best to a dry, clean surface; it also needs a continuous landing surface. If the panel drops directly onto narrow molding, ENERGY STAR recommends adding stops around the opening to create a wider place for the gasket and to support a closure. Keep the panel orientation consistent by marking its attic side with a pencil. A panel that is square only one way is easy to reinstall wrong after the first cold-night check.
From the attic side, inspect the opening’s perimeter. Loose-fill insulation should not spill into the opening every time the panel comes down. DOE recommends blocking around an access panel to retain loose fill. Build or repair a low, stable dam around the opening before you add an insulated lid, but do not block soffit ventilation or bury wiring. If you encounter vermiculite-like loose fill, damaged wiring, or an unlabelled recessed fixture, stop. This is not the moment to disturb insulation or improvise a fire-clearance detail.
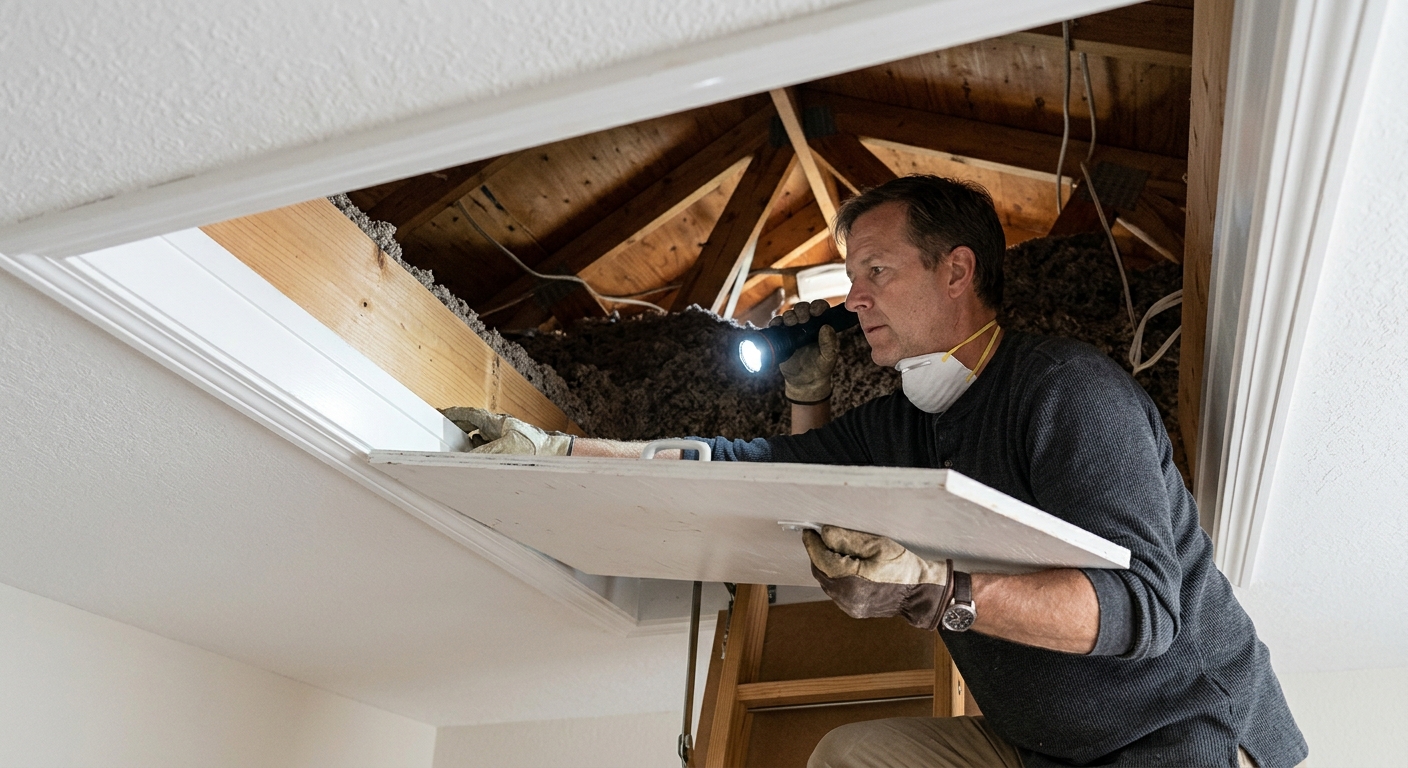
Step 2: Apply weatherstripping and add a closure that compresses it
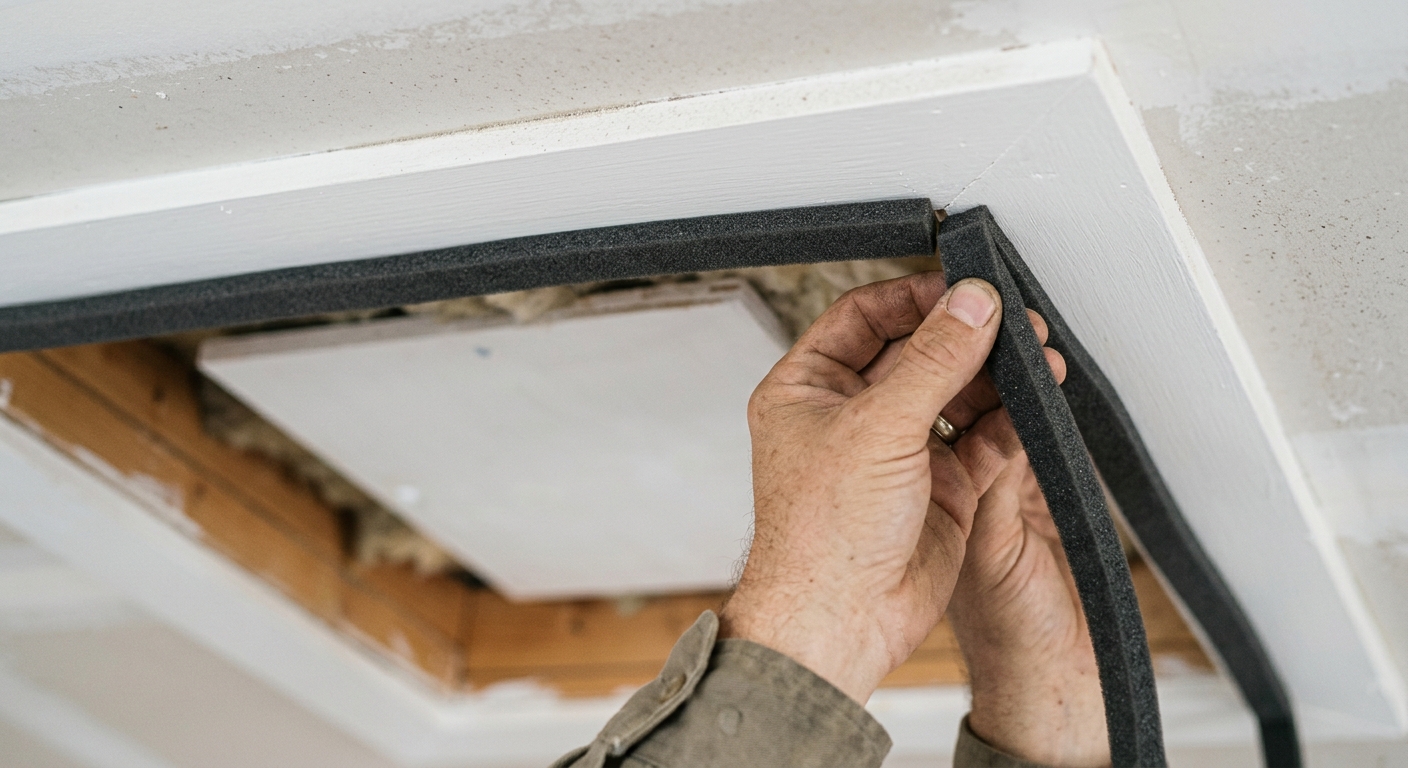
Choose durable self-adhesive weatherstripping or closed-cell foam tape sized for the gap you measured. Apply one unbroken run around the hatch perimeter, placing it either on the frame/ledge or on the panel—whichever gives it a broad, clean, continuous contact surface. Do not stretch the tape as you apply it. Stretching can make it shrink back later and leave a gap at a corner. Butt the ends together tightly instead of stacking them.
Reinstall the panel and press gently around its edges. It should meet the gasket evenly without rocking or hanging below the ceiling. Look for a visible gap or a section where the panel has no resistance at all; that is usually a crooked panel, uneven support, or tape applied to the wrong surface. Correct the fit before adding more layers. A thick gasket that prevents the panel from sitting down is not an upgrade.
If the panel can lift or shift, install a simple mechanical closure that pulls it snugly against the gasket. DOE’s Building Science Education guidance calls for latch bolts or another fastener that pulls the access door tight; ENERGY STAR similarly describes hook-and-eye fasteners positioned so the weatherstrip is slightly compressed when latched. Use hardware that suits the panel and trim, and keep it easy to release from below. The goal is light, even compression—not a bowed panel or stripped screw.
Step 3: Insulate the attic side without creating a messy access point
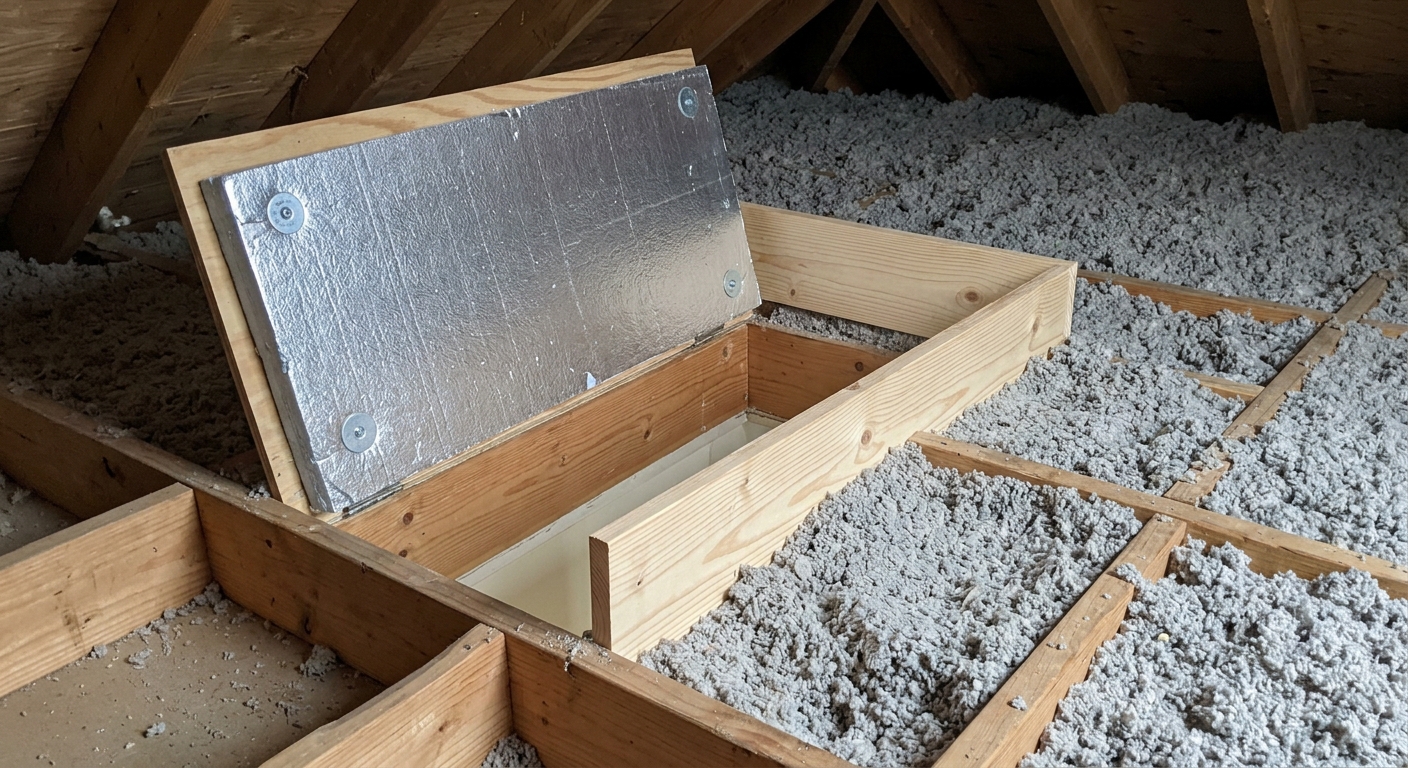
With the hatch on a stable work surface, measure its attic-facing side. Cut rigid foam insulation slightly smaller than the panel so it clears framing and can be removed without scraping the opening. DOE’s Building America guidance recommends rigid insulated sheathing and notes that cutting it about one-quarter inch smaller than the hatch allows clearance. Attach it with a compatible construction adhesive and mechanical fasteners where the panel material calls for them. Follow the adhesive label and let it cure before hanging the panel overhead.
Keep the insulation secure and flush to the panel. It must not interfere with the panel landing on the gasket, snag nearby framing, or press against electrical components. Do not use this lid as a place to store boxes, and do not let loose-fill insulation collapse onto it. The dam you checked in Step 1 should keep the surrounding attic insulation in place while allowing the panel to come out for inspections.
This flat-hatch method is deliberately different from a pull-down stairway. A stair unit needs a tall insulated cover above and around the stairs, not a foam panel glued to the moving stair door. If you discover pull-down stairs after starting, use a purpose-built cover sized to that opening or follow DOE’s separate stairway guidance. The MRPAPA 54-by-25-by-11-inch cover listed in Materials is a conditional option for an opening within its stated dimensions; measure first.
Step 4: Reinstall, test for drafts, and check it every season
Reinstall the panel, engage the closure, and examine the seam from below. On a cold or windy day, hold the back of your hand near the edges, or use a smoke pencil only if you can do so safely and away from smoke alarms. A strong draft means the gasket is not being compressed evenly. Open the hatch and adjust the tape, panel fit, or latch rather than adding random caulk. A removable access panel should remain removable.
Check again after the first heating week and at the start of every cold season. Adhesive foam can loosen in dusty attics; a panel can warp with humidity; a latch can pull free from thin trim. Replace degraded weatherstripping and keep the attic-side insulation attached. If the room below stays unusually cold or you see frost, condensation, or water staining near the hatch, look for a broader attic air-leak or moisture problem instead of endlessly thickening the gasket.
A sealed hatch improves one weak spot in the ceiling plane. It will not replace adequate attic insulation, ventilation, roof repair, or professional air sealing around large bypasses. Still, this is one of the rare home-maintenance jobs where a small piece of weatherstrip can make the whole house feel less like it is exhaling warm air into the attic.
Troubleshooting & FAQ
Should I caulk an attic hatch shut?
No. An attic access panel needs to remain removable for inspection and service. Use weatherstripping as a gasket and a closure that compresses it, which seals the hatch while preserving access.
Where should the weatherstripping go?
Put it on the panel or the frame, wherever it can make continuous contact with a clean, broad surface. DOE says the gasket may go on either the frame or panel. Test-fit the panel before relying on the adhesive.
Do I need to insulate the attic hatch if the attic floor is insulated?
Yes. Without insulation on the hatch, the access panel is a comparatively thin break in the insulated ceiling. Attach rigid foam or another suitable insulation to the attic side while keeping the panel removable and clear of hazards.
What if my attic access uses pull-down stairs?
Use a cover built above and around the stairway or a purpose-made stair cover, not this flat-panel method. DOE treats pull-down stairs as a separate detail because the moving assembly and tall opening need a different enclosure.
Why is the hatch still drafty after I added tape?
The gasket may not be compressed evenly, the panel may be warped, or its support ledge may be too narrow. Clean the contact surfaces, correct the panel fit, and add or adjust a closure rather than piling on more weatherstrip.
Affiliate disclosure: as an Amazon Associate, HowTo.Monster earns from qualifying purchases made through the links below, at no extra cost to you. Our picks are chosen editorially, not by commission.
Apparatus & Materials
| Item | Cost | |
|---|---|---|
| ◆ Closed-cell foam weatherstripping tape Choose durable self-adhesive tape sized to the measured gap and install one continuous gasket around the panel or frame. Local selection makes it easier to match the opening. | $5–$12 | — |
| ◆ Pencil and measuring tape Use household measuring tools to size the panel, foam, and gasket accurately. No purchase link is needed. | $2–$12 | — |
| ◆ Rigid foam insulation board Cut a board slightly smaller than the hatch and attach it to the attic side to restore insulation over the access panel. | $12–$30 | — |
| Hook-and-eye closure hardware Use only if the panel shifts or will not lightly compress the gasket on its own. Position it to pull the lid snug without bending it. | $4–$10 | — |
| MRPAPA attic stair insulation cover, 54 x 25 x 11 inches A conditional alternative only for pull-down attic stairs within the product’s stated 25-by-54-by-11-inch coverage; it is not needed for a flat removable hatch. | $25–$35 | Buy now |
Notes on the sources
The ranking at right reflects our editorial judgment after reading each source in full. For a summary of this entry in brief, see the source ranked first. For the chemistry and underlying principles, see the last.


