
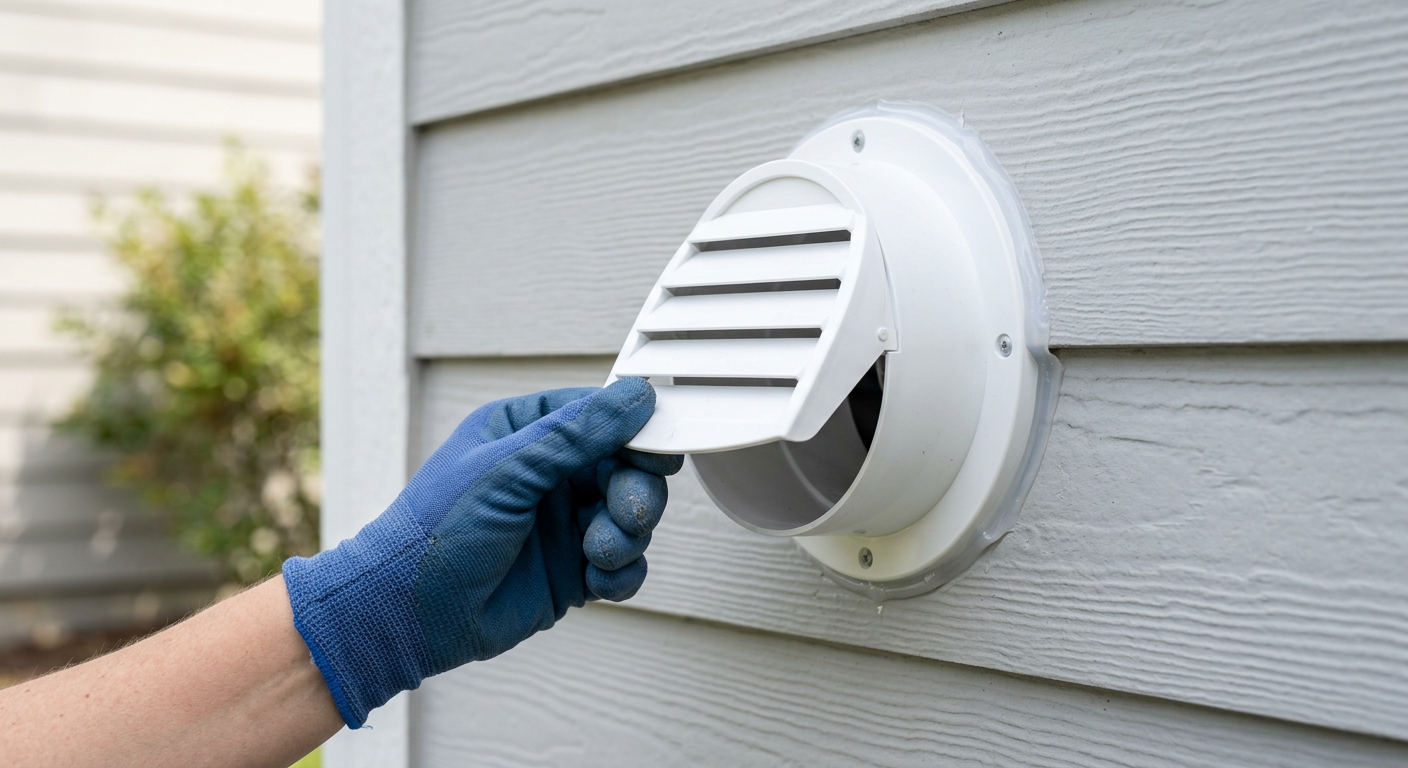
Stop drafts and rain from sneaking around a dryer vent hood by resealing its exterior flange without blocking the flap that carries hot, damp air outside.
A gap around a dryer vent hood is small enough to ignore until a draft, rain streak, or insect trail tells you otherwise. The repair is usually straightforward: clean the hood flange, secure it to sound wall material, and seal its perimeter. The mistake that turns a simple job into a safety problem is sealing the moving flap or the exhaust opening. The U.S. Fire Administration says the outdoor covering should open when the dryer runs.
Short version: First, unplug the dryer and inspect the hood and duct for lint, damage, and a working flap. Second, remove failed caulk, tighten the hood, and repair only the wall-to-flange weather seal. Third, let the sealant cure as labeled, then run the dryer briefly and confirm the flap opens freely.
This is a repair for an intact, accessible hood and sound siding, trim, stucco, brick, or masonry. If the hood will not fasten securely, the wall is soft or water-damaged, or the duct is disconnected inside the wall, stop here and bring in a qualified dryer-vent or exterior-repair professional.
Step 1: Inspect the hood and make the area safe
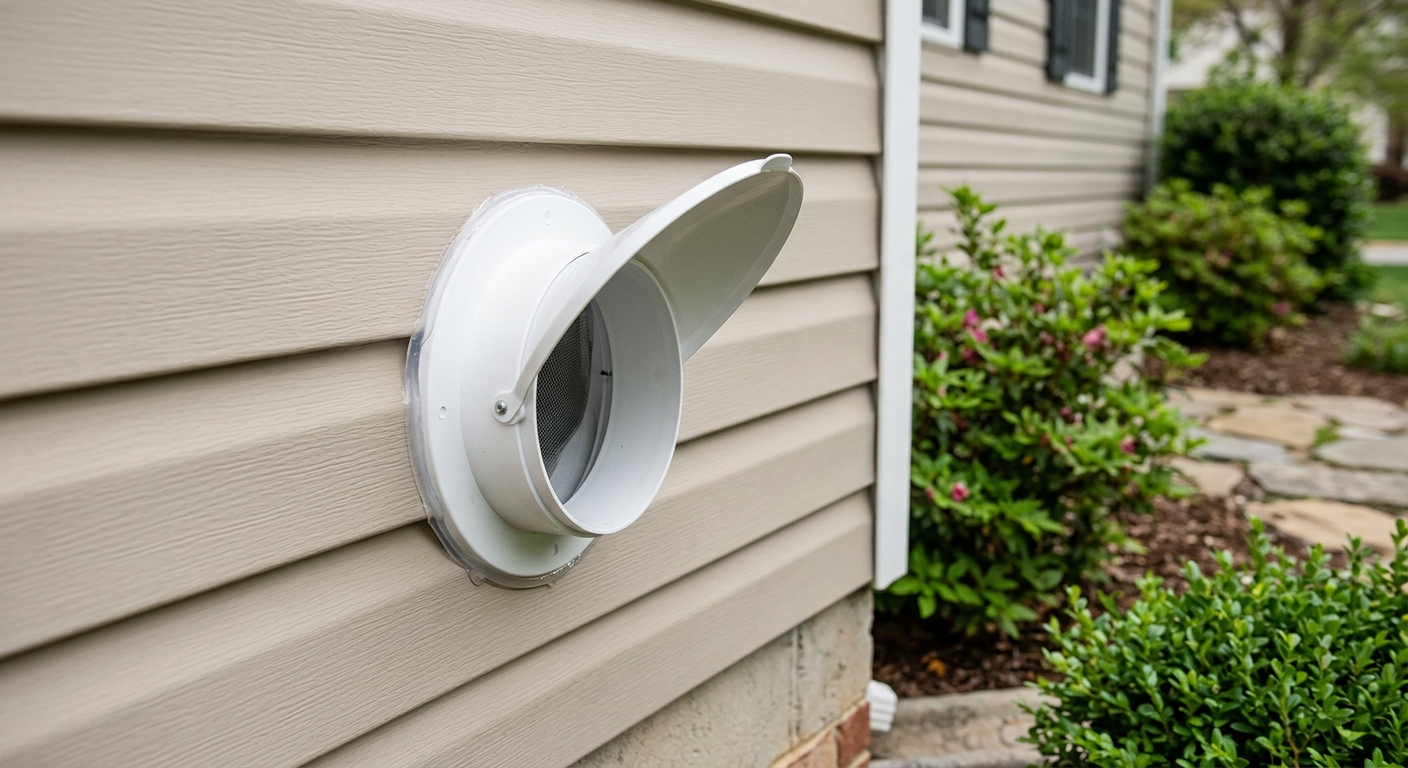
Unplug the dryer before moving it or touching the connector. Go outside and look at the termination hood. You are checking three separate things: whether the hood is firmly attached, whether the flap swings open and closes under its own weight, and whether the gap is around the flange rather than through broken siding or masonry. A loose hood, cracked collar, bent flap, or missing fastener calls for repair or replacement before any caulk goes on.
Clear loose lint from the hood by hand or with a soft brush. Do not install a screen across the outlet, and do not pack foam, mesh, or sealant into the pipe. The dryer must exhaust directly outdoors; the U.S. Fire Administration also advises checking the vent system for damage, crushing, or restriction. If you can see a crushed flexible connector behind the dryer or suspect a blockage, address that first. A neat exterior bead cannot compensate for a restricted vent.
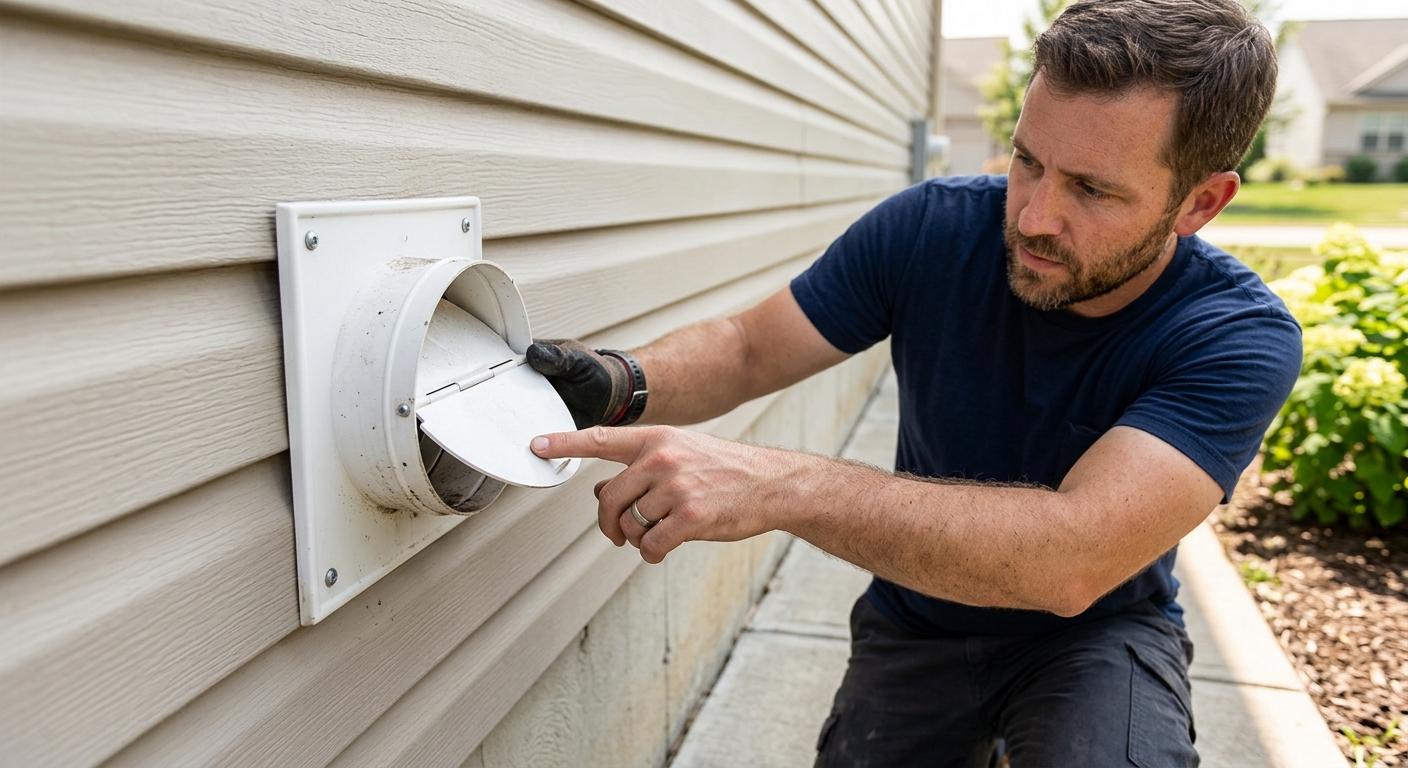
Look at the wall surface around the hood. Sound paint, siding, mortar, or trim can be cleaned and resealed. Peeling paint, swollen wood, crumbly mortar, or a broad stain suggests water has already reached the substrate. Probe gently with a screwdriver only where you can repair the surface afterward. If material is soft or breaks away, do not bridge the damage with a thick bead; repair the wall and remount the hood on solid backing.
Step 2: Remove failed sealant and secure the flange
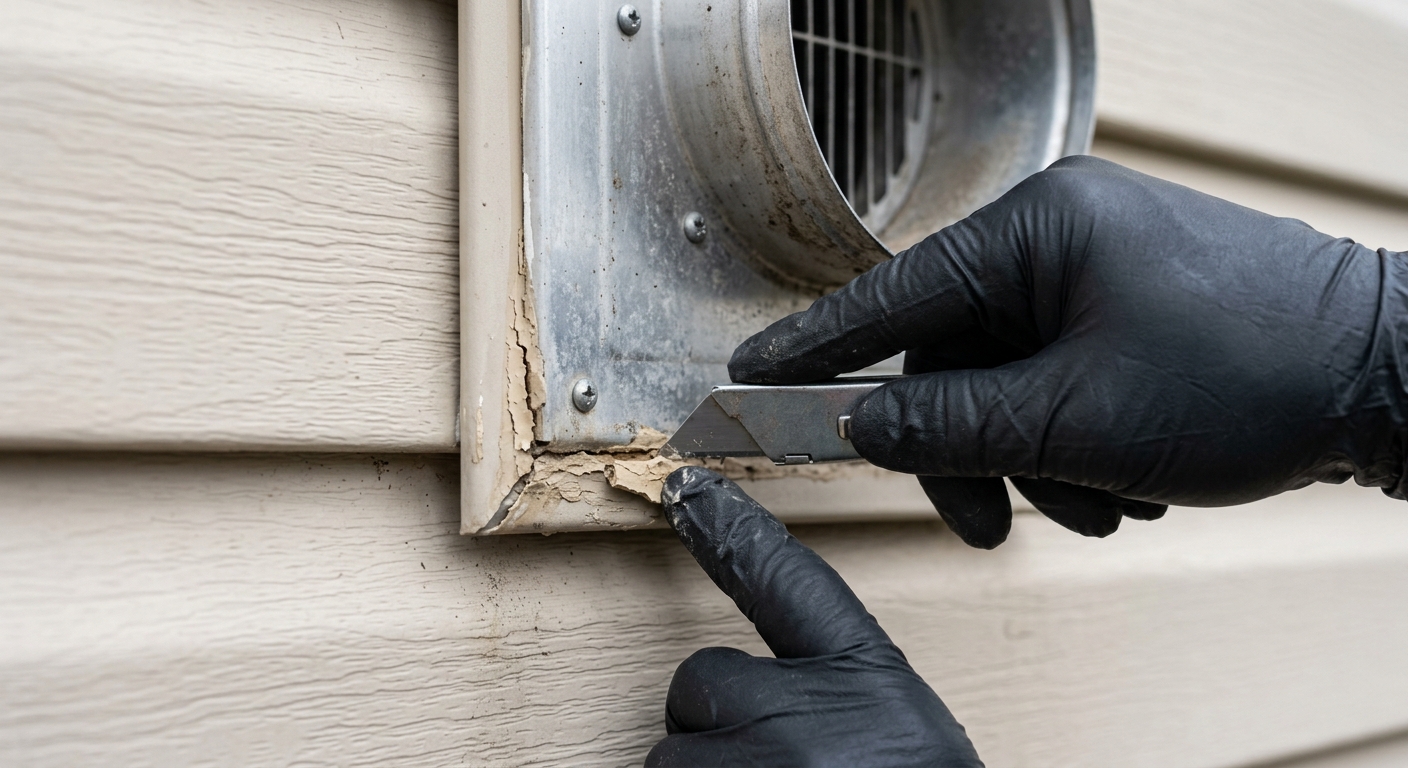
On a dry day, use a utility knife or a caulk-removal tool to cut away loose, cracked, or detached caulk around the outer edge of the hood flange. Work slowly so you do not gouge vinyl siding or loosen the hood. Pull away the debris, then brush and wipe the joint clean. The surfaces must be dry and free of dust, lint, and old loose sealant for a new bead to bond.
Check every visible mounting screw. Tighten a screw only until the flange sits flat; overtightening can crack plastic hoods or distort vinyl siding. Replace a missing or rusted exterior-rated fastener with one that matches the existing mounting approach. If tightening exposes a gap because the flange is warped or the collar is broken, replace the hood rather than trying to sculpt it back into shape with sealant.
The duct connection is a different joint from the weather seal. If the accessible metal duct-to-hood connection is loose, correct it with a proper mechanical connection and HVAC foil tape or mastic as appropriate. ENERGY STAR recommends mastic or metal tape for duct leaks and specifically warns that ordinary cloth duct tape does not last. Keep that work inside the duct connection; do not run tape across the hood flap or exterior outlet.
Step 3: Apply a narrow weather seal around the outside edge
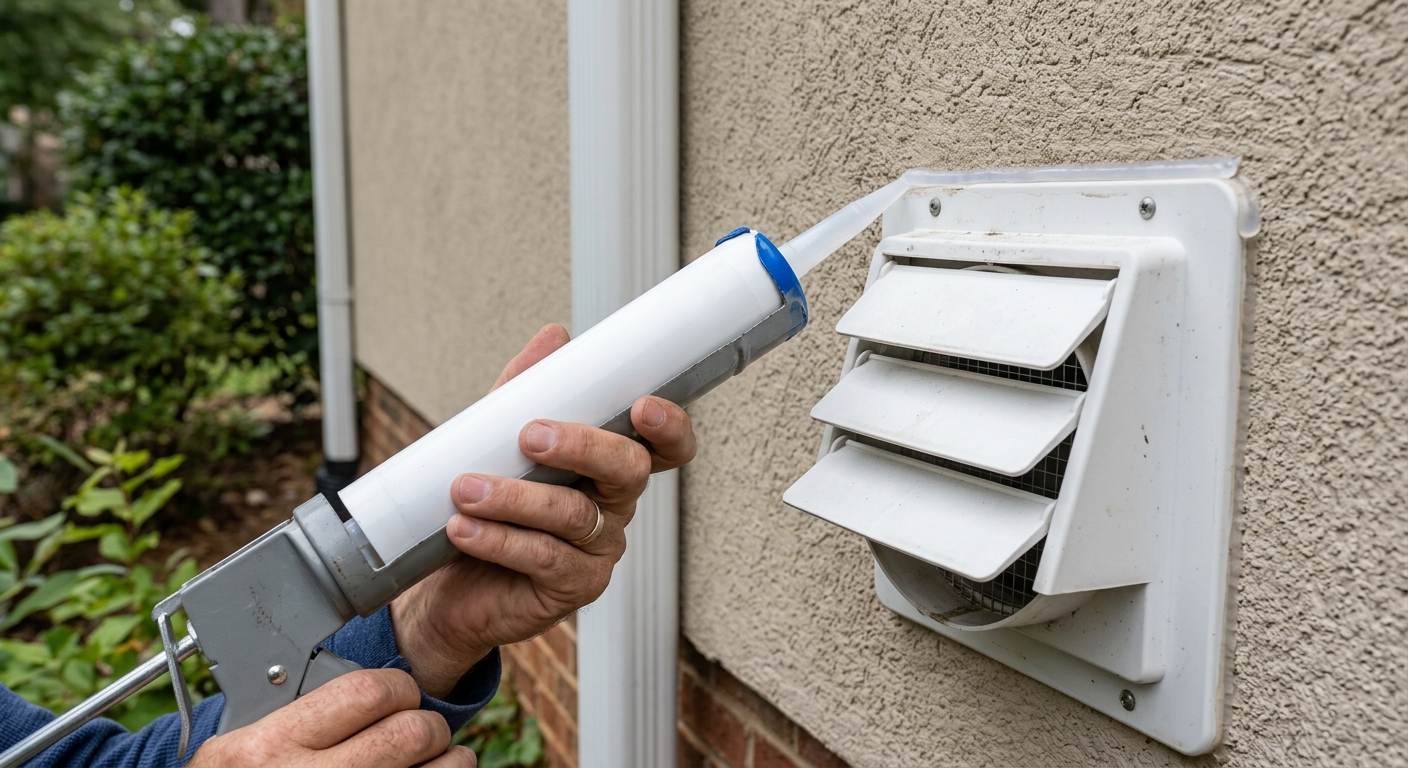
Load an exterior-rated silicone into a caulk gun, or use a small squeeze tube for a short joint. Cut the nozzle opening smaller than you think you need. A narrow, continuous bead is easier to control and less likely to creep into the flap. Hold the nozzle at the seam between the wall and the outer perimeter of the flange, then pull a steady bead around the top and sides. Continue along the lower edge only if the hood manufacturer’s design and your wall detail allow it to drain; never block purpose-built drainage slots or weep paths.
Tool the bead lightly with a gloved finger or finishing tool so it contacts both surfaces. Do not smear sealant onto the flap, louvers, duct opening, or the hood’s mounting face. The aim is a clean rain-and-air seal where the flange meets the wall, not an airtight cap over the termination. Remove painter’s tape, if used, before the bead skins over.
Follow the product label for temperature limits and cure time. DAP’s high-temperature RTV silicone technical sheet, for example, describes exterior use and says the cured material remains flexible; the same sheet supplies the application and cure instructions that govern your particular tube. Keep the dryer off until the sealant has cured enough for the conditions and label.
Step 4: Test airflow and revisit the joint after the next rain
Once the sealant has cured, plug the dryer back in and run it on an air-only or short normal cycle. Watch the exterior hood from a safe position. The flap should open with airflow and close when the dryer stops. If it does not move, turn the dryer off and investigate lint buildup, a stuck flap, a damaged hood, or a restriction in the duct. Do not force it open and leave it that way; the hood is meant to keep weather and pests out when the appliance is off.
Feel near—never inside—the perimeter joint for a strong draft. Then inspect after the next rain. A dry wall and an unimpeded flap mean the repair did its job. A continuing stain, water behind siding, or condensation around the hood points to a bigger flashing, siding, or duct problem. Annual dryer-duct cleaning remains part of the job: USFA fire-prevention guidance recommends cleaning the ductwork every year, while the lint filter should be cleaned before and after each load.
Troubleshooting & FAQ
Should I caulk all the way around a dryer vent hood?
Seal the exterior flange-to-wall seam, but do not cover moving parts, drainage features, or the outlet itself. Many hoods are designed to shed water at the lower edge, so inspect the hood for a weep path and preserve it. If the design is unclear, follow the hood manufacturer’s installation instructions rather than filling every visible gap.
Why does the flap not open after I resealed the hood?
The new bead may have touched the flap, or lint and weather may already have made it stick. Turn the dryer off, remove only the sealant interfering with the moving part, and clean the hood. If the flap still will not move freely, replace the hood or have the duct checked for a restriction.
Can I use expanding foam around a dryer vent?
Do not use foam to fill the exhaust path or to glue a loose hood into place. The repair needs an accessible, flexible weather seal around a securely mounted flange. Foam can obscure defects, interfere with service, and expand where it does not belong; repair damaged wall material and fasten the hood properly instead.
Is gray cloth duct tape okay for the dryer duct joint?
No. ENERGY STAR says ordinary duct tape is not long-lasting and recommends mastic or metal tape for duct leaks. Use a listed foil HVAC tape or mastic only where it belongs on the metal duct connection, not as the exterior weather seal.
When should I replace the whole dryer vent hood?
Replace it when the plastic is cracked, the flap is missing or warped, the collar is loose, or the flange cannot sit flat on sound material. A new bead of sealant is not a structural repair. Choose a hood that matches the duct diameter and maintains a free, weather-protected exhaust path.
Affiliate disclosure: as an Amazon Associate, HowTo.Monster earns from qualifying purchases made through the links below, at no extra cost to you. Our picks are chosen editorially, not by commission.
Apparatus & Materials
| Item | Cost | |
|---|---|---|
| ◆ DAP High Temp 100% RTV Silicone Sealant Our pick for the weather bead: an exterior-use RTV silicone that remains flexible after curing. Apply only around the hood flange, following the tube label. | $8–$14 | Buy now |
| ◆ Utility knife or caulk-removal tool Cuts away failed sealant so the new bead can bond to clean, dry surfaces. | $5–$12 | — |
| HVAC foil tape For an accessible, sound metal duct-to-hood joint only; it is not the exterior weather seal. Choose a listed foil HVAC tape. | $7–$15 | — |
Notes on the sources
The ranking at right reflects our editorial judgment after reading each source in full. For a summary of this entry in brief, see the source ranked first. For the chemistry and underlying principles, see the last.


