

Patch a small tear or rescreen the whole frame with beginner-friendly steps, the right spline size, and a clean finish that keeps bugs out.
A torn screen does not always need a full replacement
A window screen that has a single tear can usually be saved, but only if the mesh around it is still in decent shape. The trick is deciding quickly whether a simple patch will hold or whether the frame needs a full rescreen. That decision matters because patching a screen that is already brittle usually wastes time and still leaves gaps for insects.
This guide gives you both paths. First, inspect the damage and choose the repair that matches the condition of the mesh. Then follow the appropriate steps to cleanly patch or rescreen the frame so the finished screen stays flat and does its job.
Step 1: Decide whether to patch or rescreen
Look closely at the damage before you touch the frame. A patch makes sense when the tear is small, the surrounding mesh is still tight, and the screen is otherwise in good shape. If the mesh feels brittle, is sagging in several places, or has multiple weak spots, a full rescreen is usually the better fix.
The reason is simple: a patch only reinforces the area you can see. It does not restore strength to sun-damaged mesh, and it will not stop nearby strands from failing later. If you have to keep finding new tears, the extra time spent rescreening is worth it.

Step 2: Patch a small tear
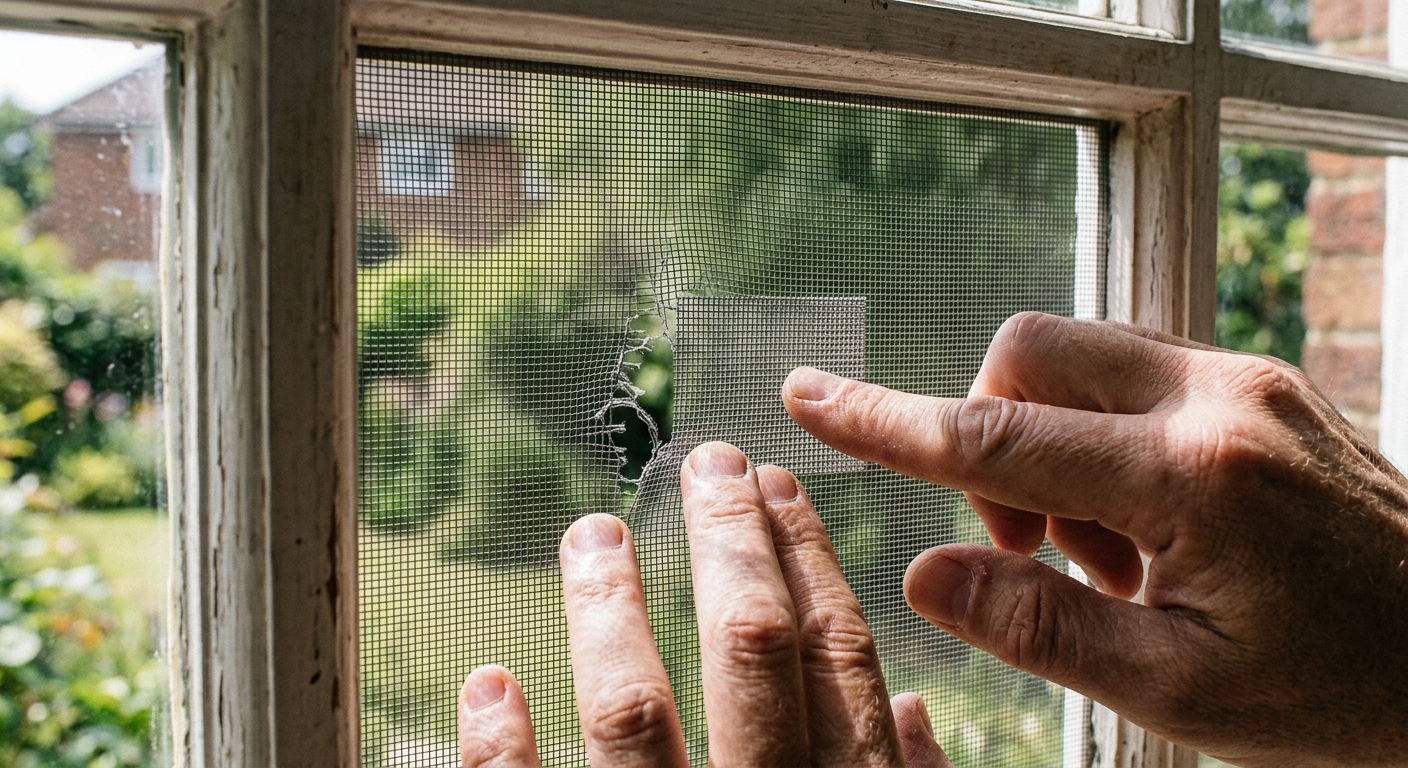
Clean the damaged area with a little rubbing alcohol and let it dry fully. Then trim any loose strands so they do not keep unraveling under the patch. Cut the patch so it overlaps the tear by about one inch on every side, then press it flat from the inside-facing side of the screen if possible.
The goal is a flat, sealed surface with no lifted corners. If the adhesive patch is wrinkled or caught on loose fibers, it will peel early. Take a minute to smooth the mesh first, and do not use a patch on a screen that is already crumbling around the hole.
Step 3: Remove the old spline and mesh for a full rescreen
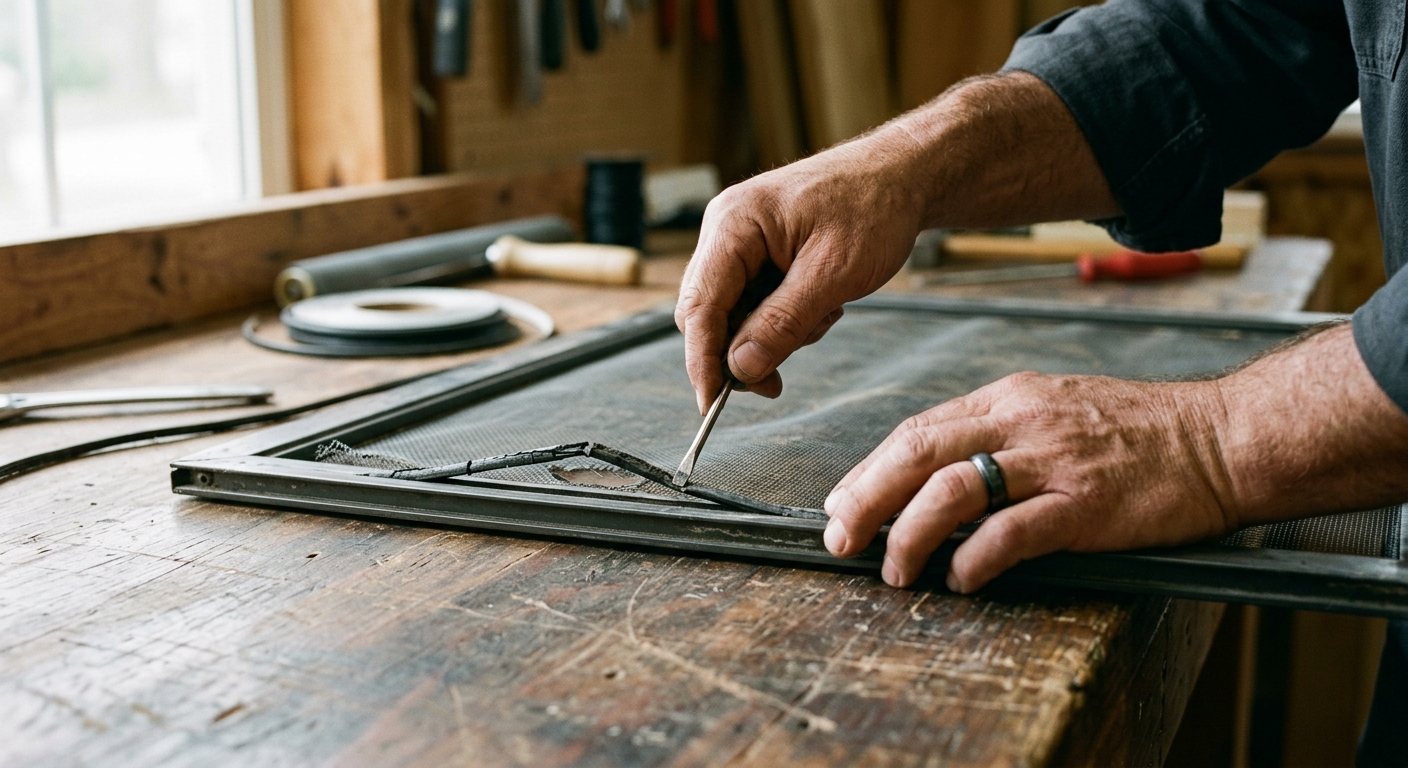
If the screen needs a full rebuild, place the frame on a flat surface and lift the old spline out of the groove with a small screwdriver. Work slowly so you do not gouge the channel. Once the spline is free, peel away the old mesh and clear debris from the groove.
This part is mostly about patience. A clean groove makes the new spline seat evenly, and a clean frame keeps the new mesh from catching while you tension it. If the old spline is brittle, it may come out in short pieces, so expect to work around the frame one section at a time.
Step 4: Lay in the new mesh and roll the spline
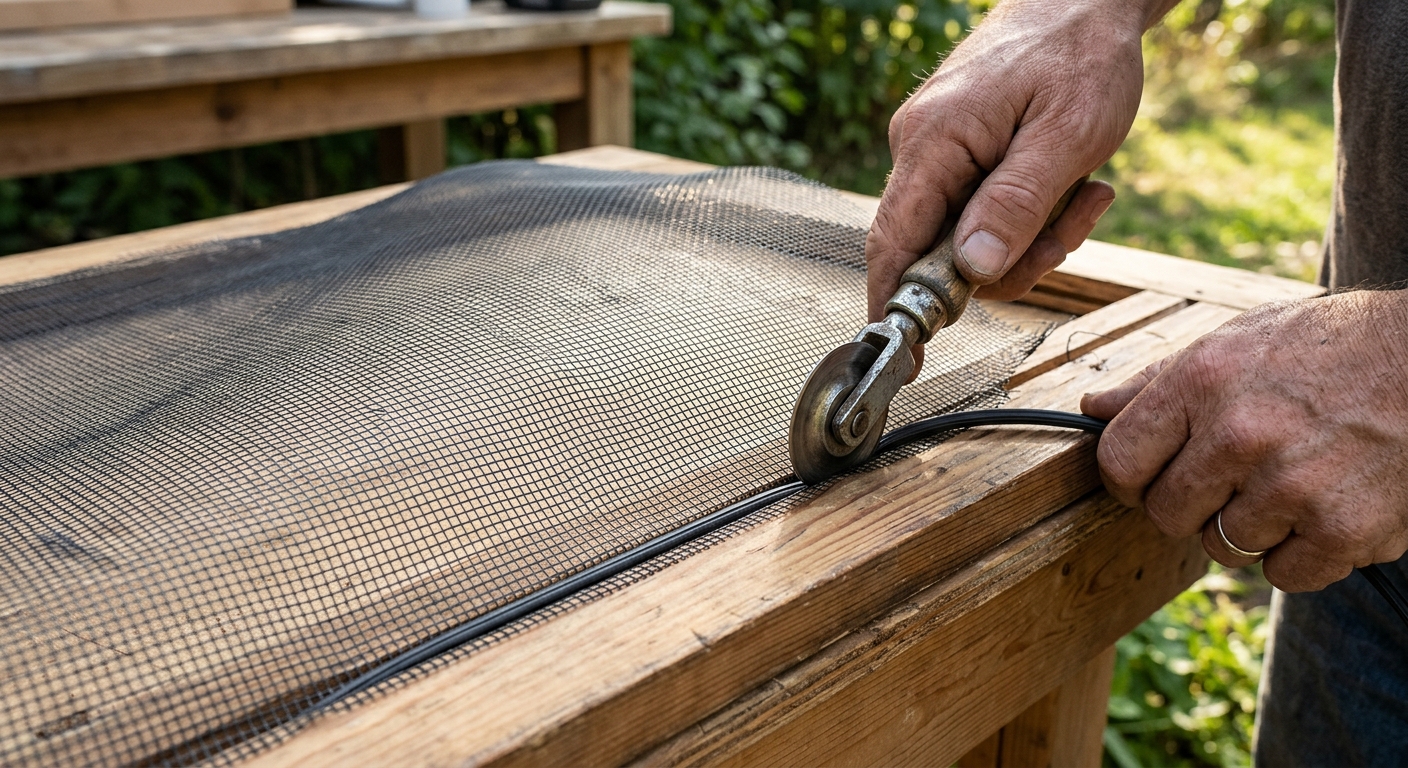
Cut a piece of replacement mesh that overlaps the frame by at least one to two inches on every side. Center it carefully, then start one long edge by pressing the spline into the groove with a spline roller. Move to the opposite long edge next so the mesh tightens evenly before you finish the shorter sides.
Do not pull the mesh so hard that it warps the frame. The best result is taut, not drum-tight. If you see diagonal ripples, back up and reset the tension on that side before you keep rolling. That small correction now is what keeps the screen flat later.
Step 5: Trim the excess mesh and reinstall the screen
Once the spline is fully seated, trim the extra mesh with a fresh utility knife blade along the outside edge of the groove. Keep the blade angle shallow so you cut the excess without nicking the new screen line. After trimming, reinstall the frame and check that it sits flat and does not pop loose when lightly pressed.
A clean edge is the sign that the job was done in the right order. If the frame bows or the mesh looks wavy, the tension was uneven and you may need to backtrack one side. When it is right, the screen should look smooth, feel snug, and keep bugs out without rattling.

Apparatus & Materials
| Item | Cost | |
|---|---|---|
| ◆ Replacement window screen mesh Provides the new screening surface when the old mesh is too damaged to patch. | $8–$20 | Buy now |
| ◆ Screen spline Locks the new mesh into the frame groove during a full rescreen. | $5–$12 | Buy now |
| ◆ Spline roller tool Presses the spline into the groove without tearing the new mesh. | $6–$15 | Buy now |
| ◆ Utility knife Trims excess mesh after the spline is fully seated. | $5–$12 | Buy now |
| Cut-resistant gloves Adds protection when trimming mesh with a sharp blade. | $10–$20 | Buy now |
| Rubbing alcohol Cleans the tear area before applying a patch so adhesive grips better. | $3–$7 | Buy now |
Notes on the sources
The ranking at right reflects our editorial judgment after reading each source in full. For a summary of this entry in brief, see the source ranked first. For the chemistry and underlying principles, see the last.


