
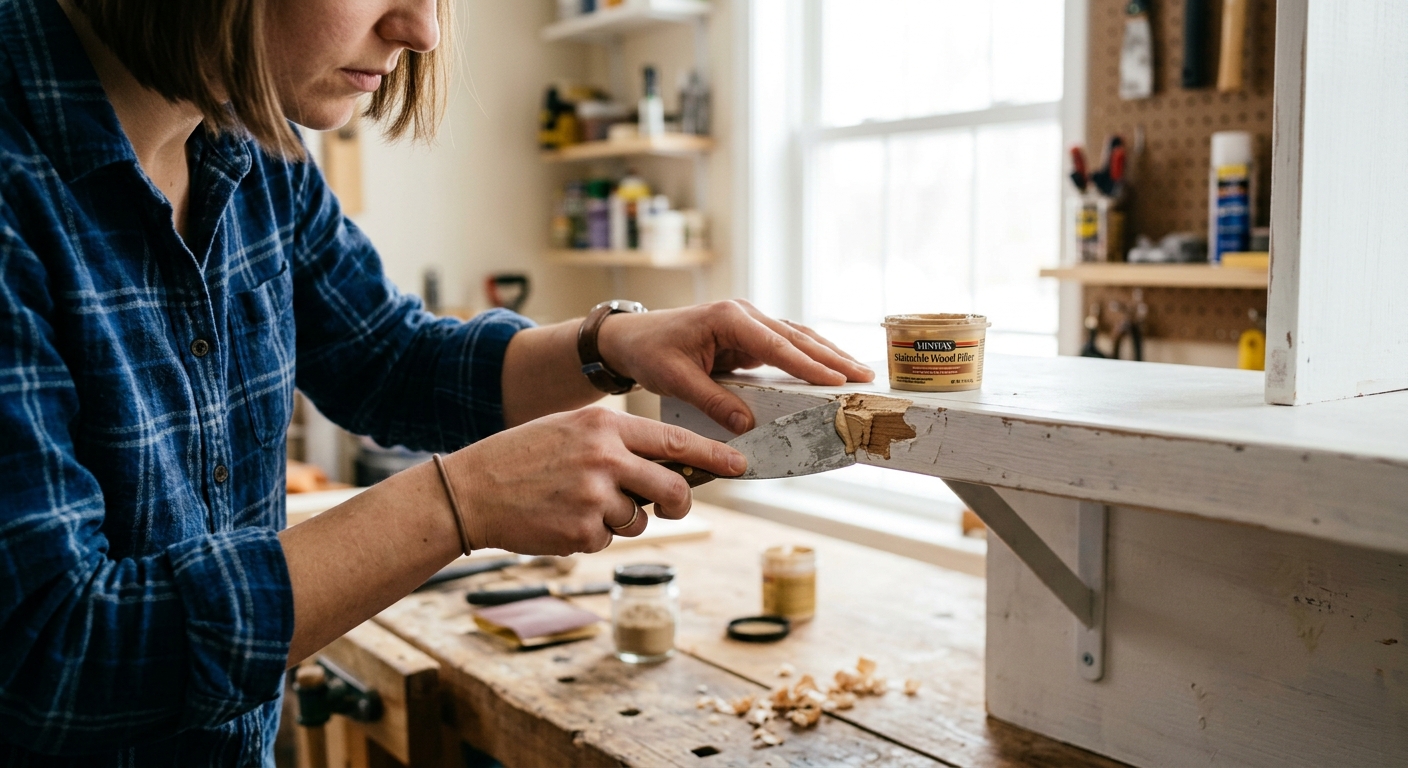
Trim loose fibers, fill the chip, sand it flush, and touch up the paint so a damaged shelf edge looks clean again without stripping the whole piece.
A small shelf chip is usually a trim-and-fill job
A chipped shelf lip looks worse than it is. In most cases, the damage is limited to the painted surface and a few crushed fibers beneath it, which means you do not need a full refinish. The fastest path is to remove anything loose, rebuild the missing edge with filler, and blend the repair with sanding and paint.
This guide is written for painted shelves, bookcases, utility shelves, and other flat wood edges that take daily knocks. It is intentionally beginner-friendly: no specialty spray gear, no furniture spray booth, and no need to strip the whole piece unless the damage is bigger than it first appears.
The key is to repair to a sound edge before you paint. If you trap loose flakes under filler, they will show later as a soft or cracked patch. If you skip primer, the touch-up can flash differently and make the repair more obvious than the chip itself.
Step 1: Trim back loose paint and fibers
Start by inspecting the damaged lip from the side and from above. Any paint that is lifting, curling, or already detached should come off now; do not bury it under filler. A sharp utility knife, a small chisel, or the corner of a scraper can clean the edge without widening the repair too much.
The goal is to convert a ragged chip into a stable repair area with firm boundaries. Think of it as making a tiny patch bay: once the damaged edge is squared up, filler can bond to the solid wood or existing finish around it instead of hanging on to dust and flakes.
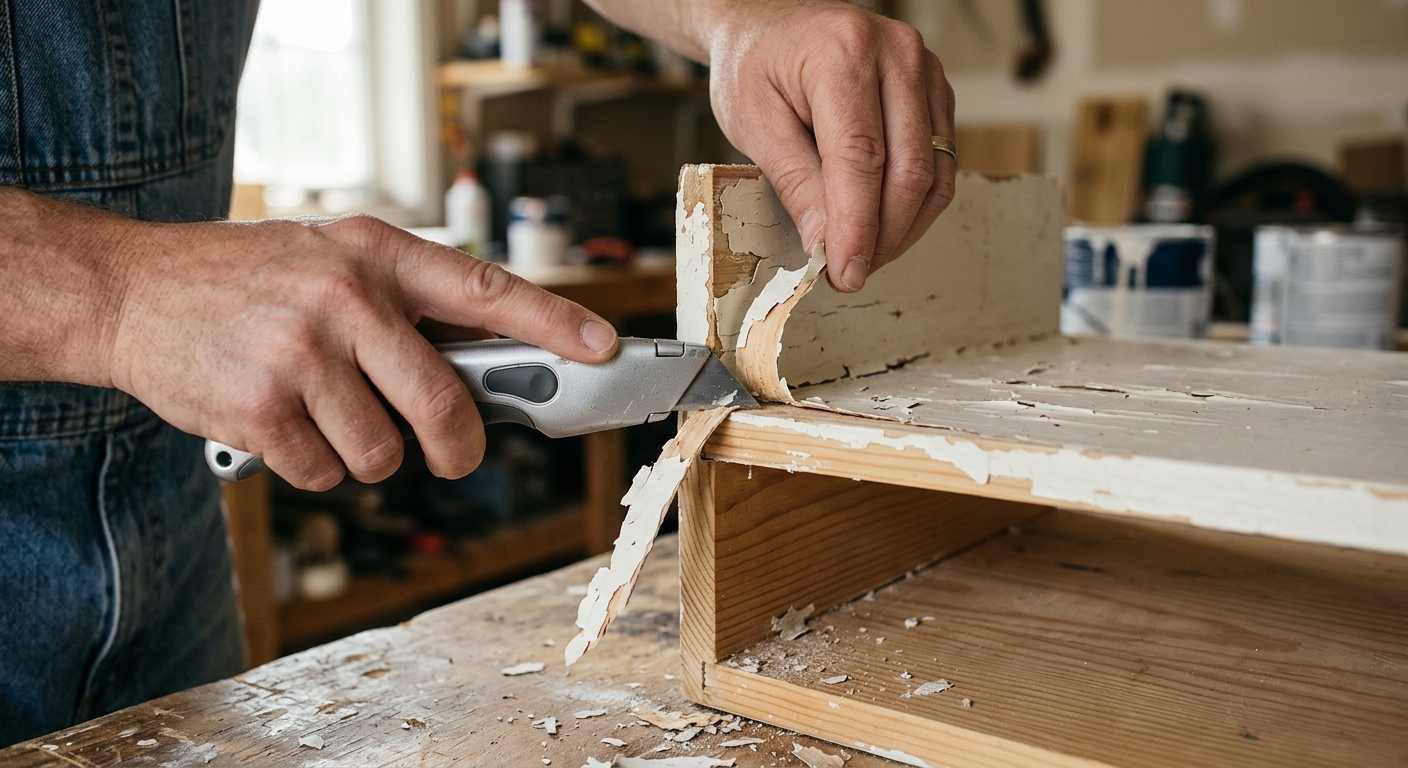
Watch your knife angle. A shallow, controlled cut is safer than digging straight down, which can gouge more than you intended. If the shelf is veneer-covered or the paint has lifted over a thin layer, stop as soon as the edge is sound; you are not trying to carve a new profile.
Step 2: Fill the missing edge in thin layers
Use a hard-setting wood filler or two-part epoxy putty for the missing shelf lip. Press it firmly into the chip so it keys into the cavity, then slightly overfill the area so you have material to sand back later. For deeper chips, build the patch in two passes rather than trying to bridge the entire void at once.
The practical reason for thin layers is simple: thick filler is harder to cure evenly and more likely to slump or crack at the edges. A small overfill gives you room to shape the repair flush without creating a hollow spot that will appear after paint dries.
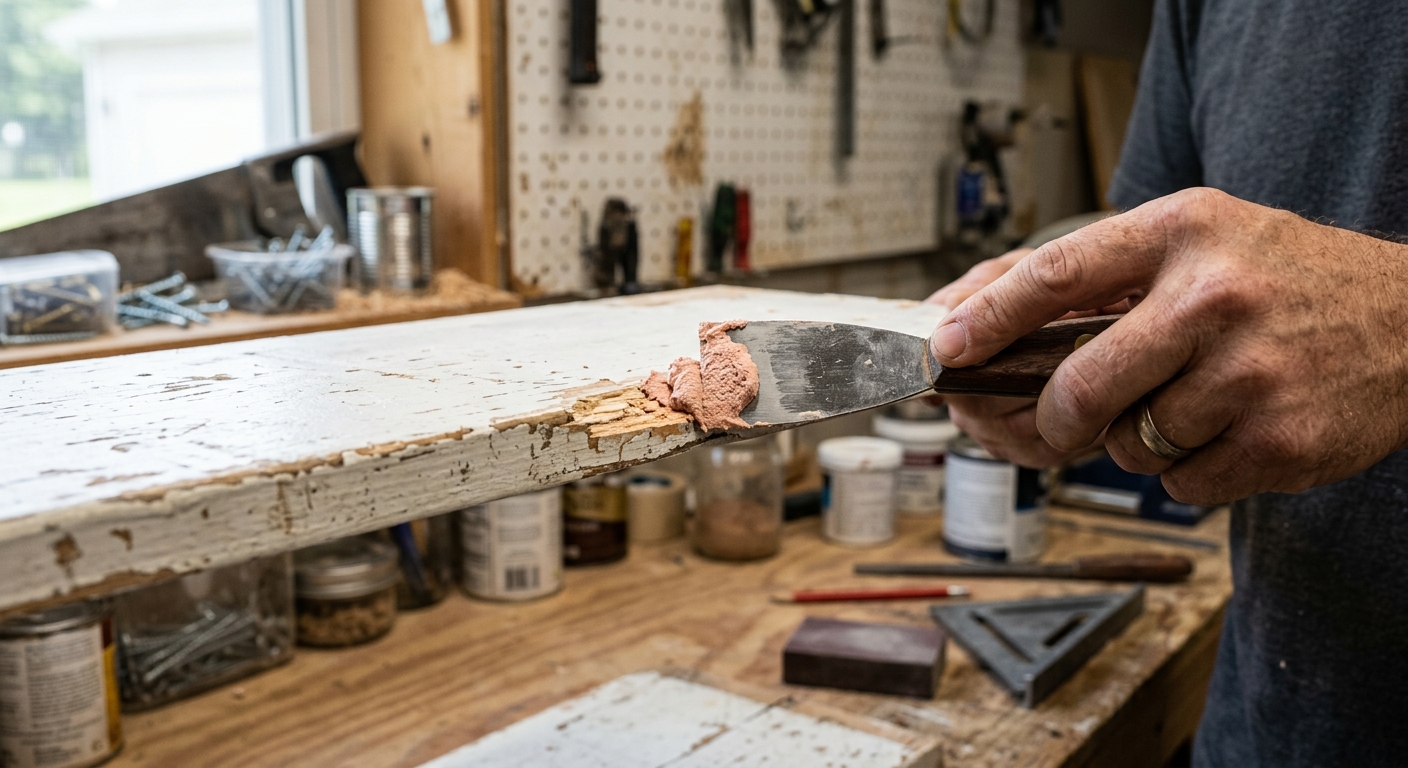
Keep the repair slightly proud of the surface, but do not pile it on. If you need a sharp corner or a crisp edge line, use a flat tool as a temporary form while the filler sets. The more accurately you shape the filler now, the less aggressive the sanding step has to be later.
Step 3: Sand it flush without flattening the shelf profile
Once the filler cures fully, sand it level with the shelf lip using fine-grit sandpaper on a sanding block. Move in short strokes and check the profile often with your fingers. The touch test matters because painted shelf edges can look flat in bad light even when they still have a ridge or dip.
This step is where many repairs go wrong: people sand the repair smooth but accidentally sand away the original edge contour. The fix is to treat the shelf lip like a shape, not just a flat plane. Let the block ride the existing surface and stop as soon as the patch blends visually and by feel.
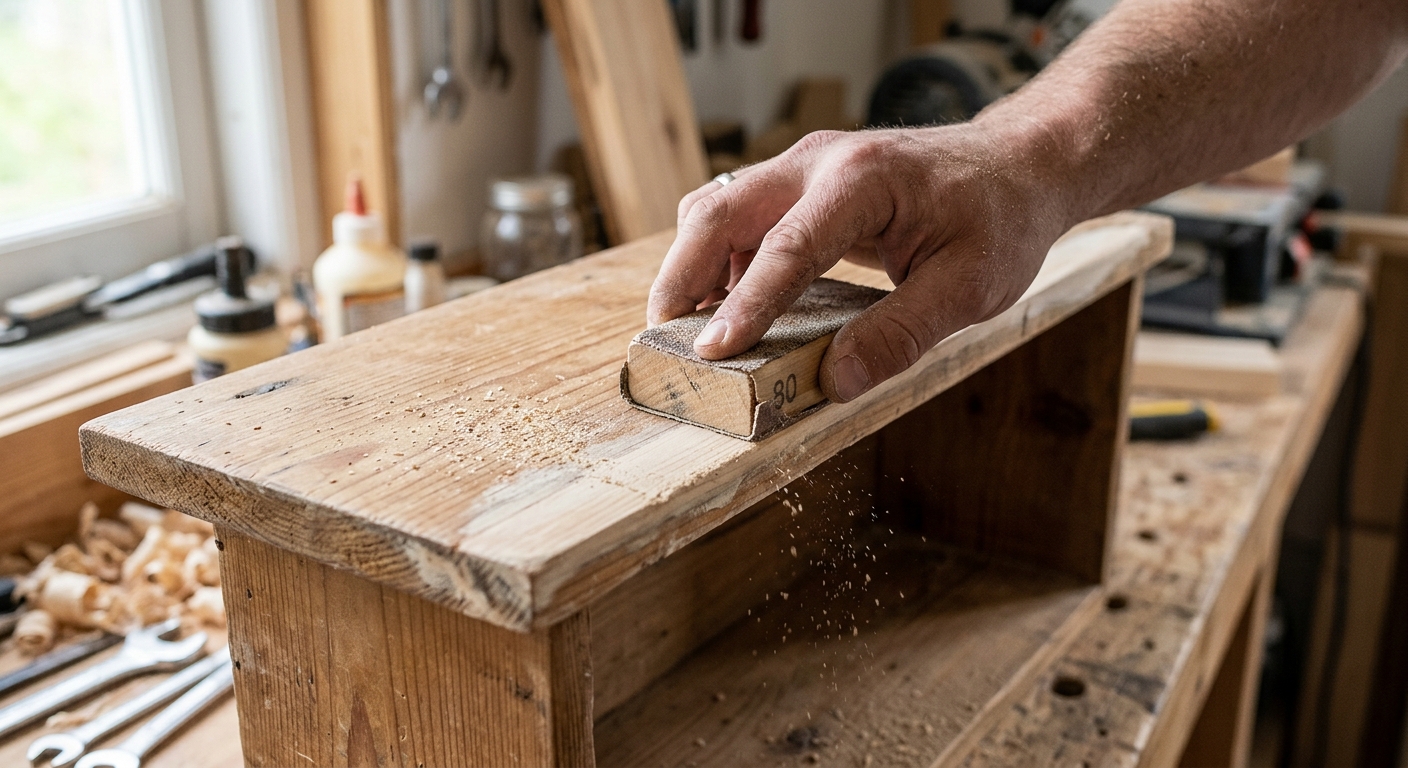
If the patch exposes pinholes or tiny lows, add a thin skim of filler and sand again after it cures. It is better to do a second light pass than to keep sanding harder on one thick mound. For dust control, wipe the area clean between checks so you are feeling the repair itself, not a layer of dust.
Step 4: Prime, paint, and feather the blend
Bare filler almost always looks different from the surrounding paint, even when it is sanded perfectly. Apply a small coat of primer over the patch, let it dry, and then touch up with matching paint. If the shelf has a matte or eggshell finish, feather the paint slightly wider than the repair to reduce the visibility of the transition.
Primer is not just a formality here. It helps the topcoat cover evenly and keeps the filler from absorbing paint differently than the surrounding surface. If the color still flashes after the first coat, a second light coat often helps more than one heavy coat.
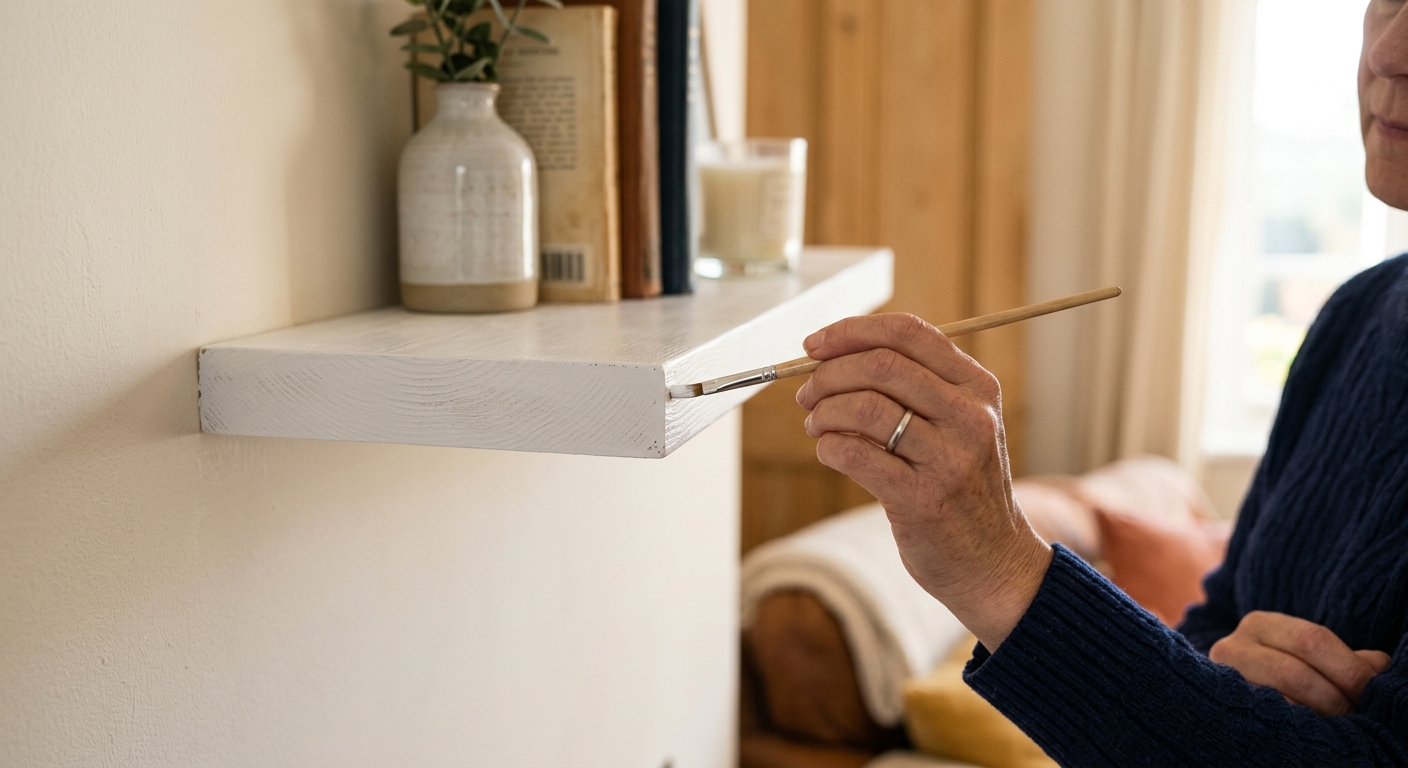
Let the touch-up cure fully before loading the shelf again or pressing objects against the edge. Fresh paint on a high-contact lip can scuff quickly, and a repair that looks good but is still soft will seem to fail for no good reason. For the neatest result, match not only the color but also the sheen as closely as you can.
Apparatus & Materials
| Item | Cost | |
|---|---|---|
| ◆ Matching touch-up paint Restores the shelf lip color after the repair has been primed and sanded smooth. | $10–$25 | Buy now |
| ◆ Primer Seals the filler so the touch-up paint covers evenly and blends better. | $7–$20 | Buy now |
| ◆ Putty knife Presses filler into the chip and helps level the patch before sanding. | $4–$12 | Buy now |
| ◆ Sanding block Keeps the repair flat while you sand the patch flush with the shelf lip. | $5–$12 | Buy now |
| ◆ Utility knife Trims loose paint and ragged fibers back to a stable edge before filling. | $5–$15 | Buy now |
| ◆ Wood filler Rebuilds the missing shelf edge after the loose material has been removed. | $8–$18 | Buy now |
| Dust mask Helps reduce exposure to sanding dust while you shape the repair. | $8–$18 | Buy now |
Notes on the sources
The ranking at right reflects our editorial judgment after reading each source in full. For a summary of this entry in brief, see the source ranked first. For the chemistry and underlying principles, see the last.


